
Kitchen Organization
24 Tupperware Organization Ideas to Keep Containers and Lids Together
An overflowing container cupboard can hide plenty of lids without offering the one that fits. Whether you own Tupperware, other food-storage brands, or a mixed collection, a clear pairing system matters more than a row of matching-looking bins.
These 24 Tupperware organization ideas help you manage bases, lids, and the space between them. Start by finding complete pairs, then plan around the containers you actually use. The ideas concern storage of clean, empty containers; each product’s own instructions still control cleaning, heating, freezing, and food use.
This article contains affiliate links. If you buy through them, Havelyo may earn a commission. As an Amazon Associate I earn from qualifying purchases.
1. Match every container with its actual lid
Spread out one shelf’s worth of containers and try the lids on their matching bases. Similar dimensions or colors do not guarantee a fit, especially when several brands or generations of one product line are mixed together.
Check the containers in the refrigerator and dishwasher before declaring a lid missing. Keep confirmed pairs together while you sort, and leave uncertain pieces in one small temporary area. This gives you a real picture of the collection before you choose organizers.
2. Set a limit for unmatched pieces
Give orphan lids and bases a short, defined holding period while you look for their partners. A small box works better than allowing unmatched pieces to drift back into every stack, where they create the same search next time.
Choose a review date that suits your household and check once more before deciding what leaves. Follow local recycling guidance for the specific material. Keeping one deliberate temporary box is useful; letting it become a second permanent container cabinet usually is not.
3. Inspect condition before reorganizing
Look over the containers and lids as you match them. Cracks, distorted edges, damaged latches, or worn seals may affect whether a piece remains suitable for its intended use. Follow the manufacturer’s care and replacement guidance rather than judging by appearance alone.
Do not use storage tricks to hold a damaged lid closed or make a warped container stack neatly. Set questionable pieces aside for a decision before returning the working collection. Organizing fewer usable containers is more helpful than making room for everything by default.
4. Group containers by compatible family
Keep each compatible container family together so its lids are easy to recognize. One brand may have several lid styles, so use the actual fit rather than the logo as your sorting rule. Group round and rectangular systems separately when that is clearer.
You do not need to replace usable containers to create a matching collection. Give each existing family its own lane or shelf section first. When a piece eventually needs replacing, checking compatibility can prevent another unrelated lid style from entering the cabinet.
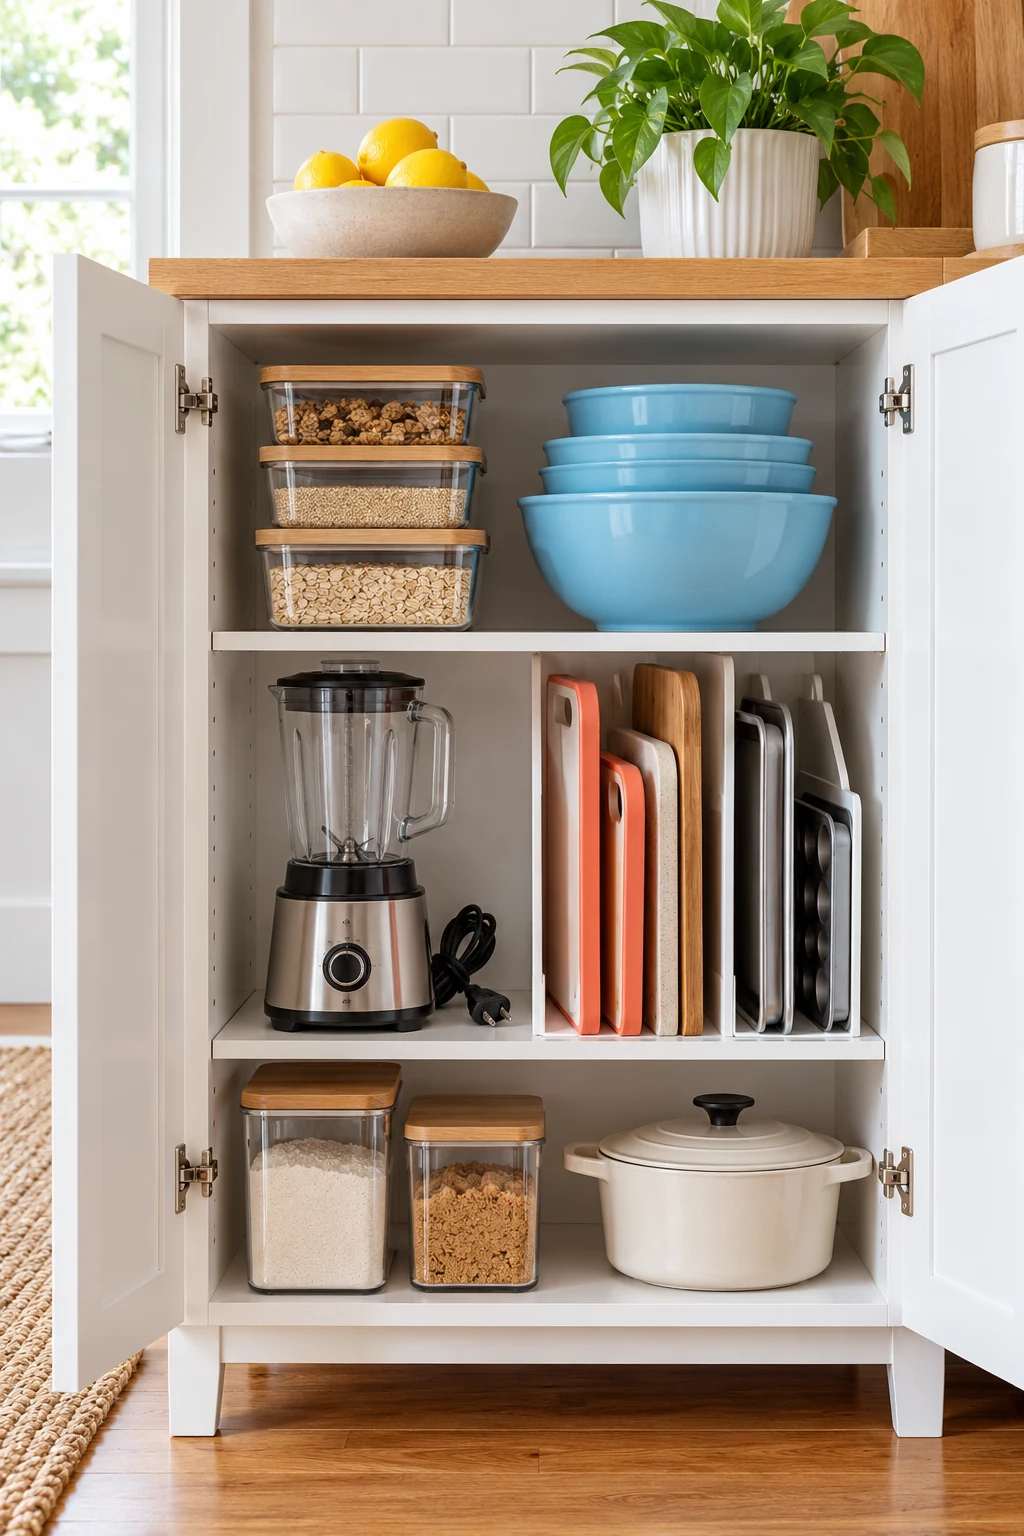
5. Nest bases that separate without a struggle
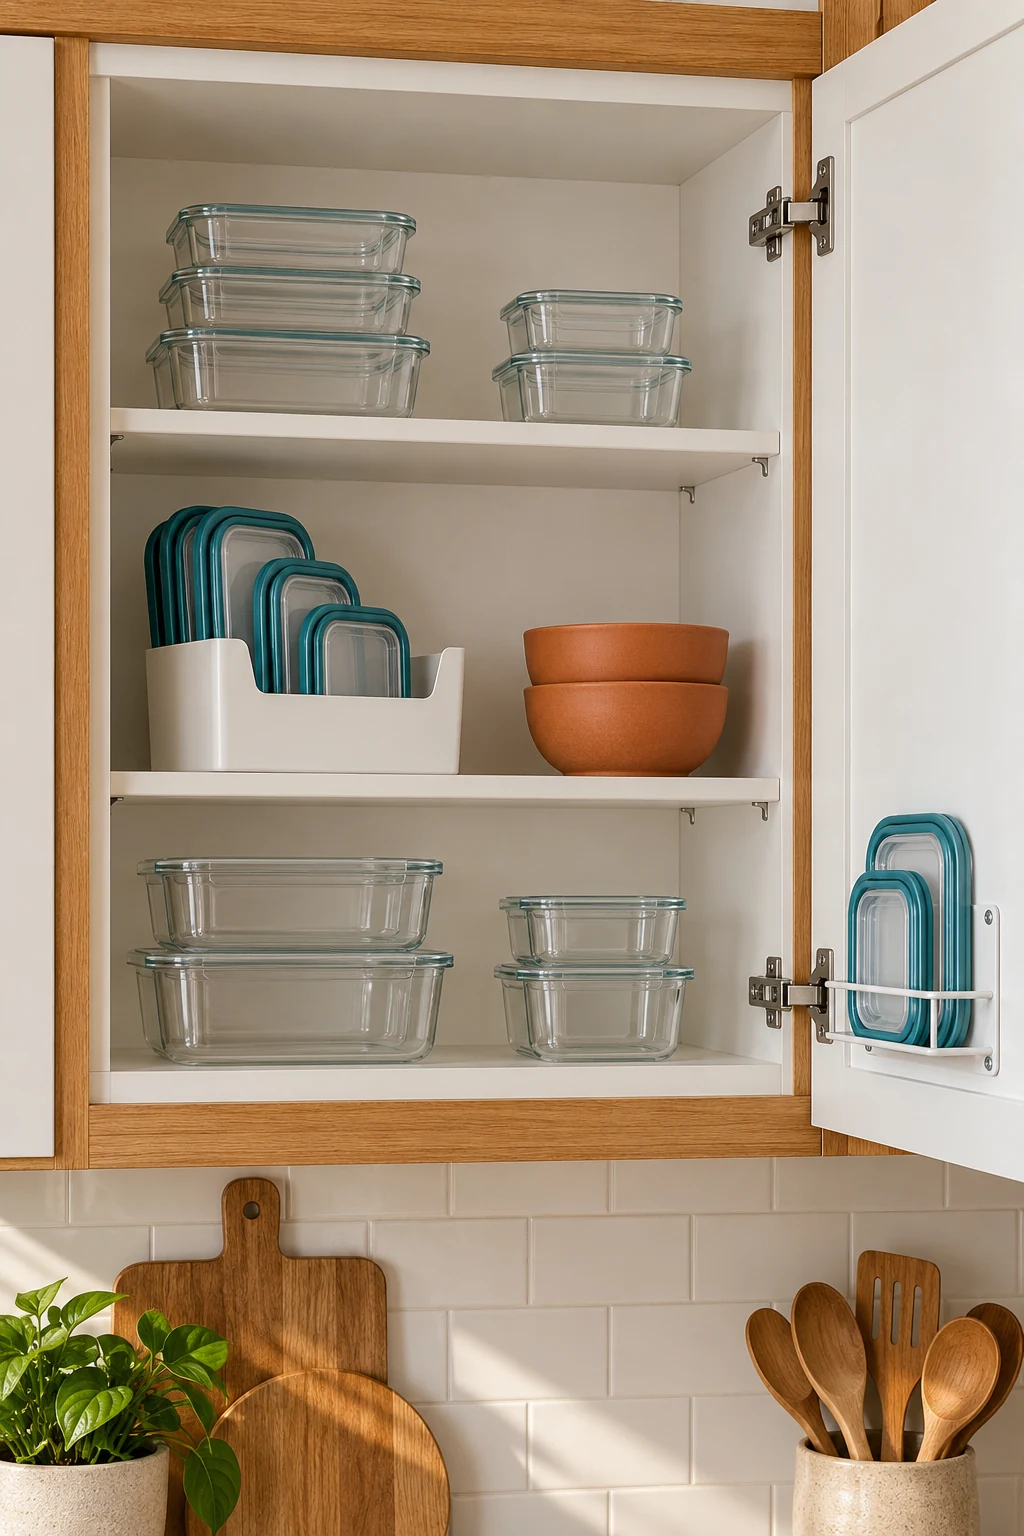
Nest compatible empty bases to reduce their shelf footprint, with the largest underneath and smaller pieces inside. Keep stacks modest enough that you can remove the size you use most without carrying the entire tower to the counter.
Avoid forcing unlike shapes together, and follow material-specific guidance for nesting. A tight fit can turn putting dishes away into a tug-of-war. Leave regularly used sizes in their own short stacks when deeper nesting makes them harder to retrieve.
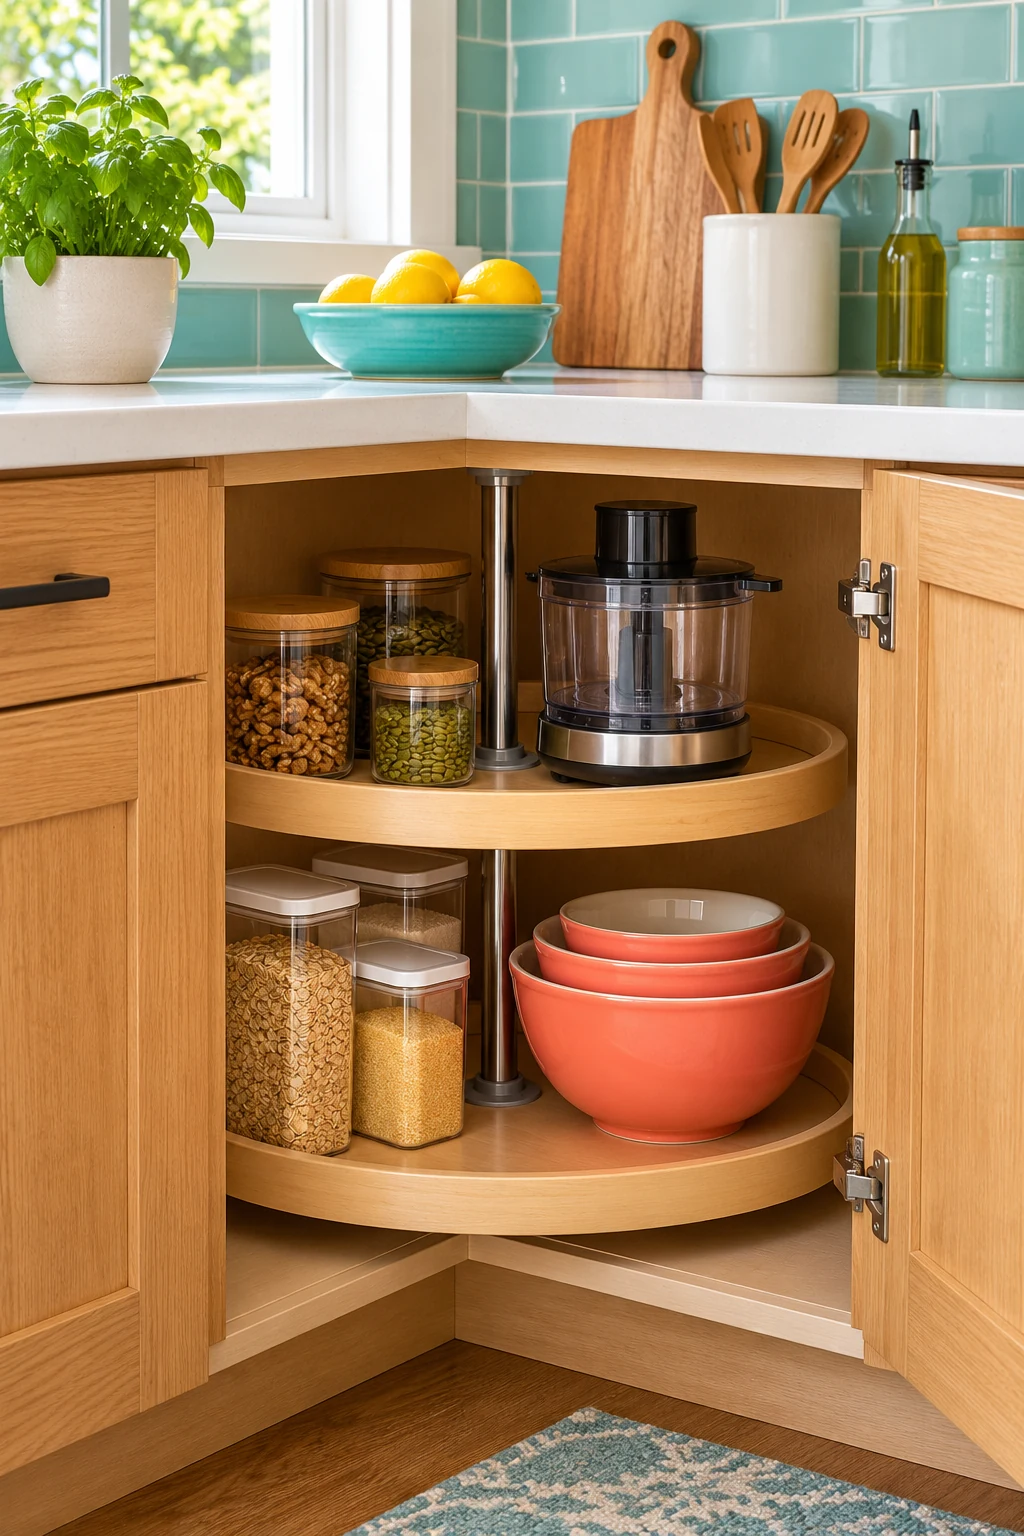
6. Keep the daily pair assembled
A container used for the same lunch almost every day can stay with its lid beside it or loosely positioned as its care instructions allow. Keeping that pair together removes one small decision from a busy morning.
Reserve this extra space for a few frequent pairs rather than the entire collection. Fully dry both parts before storage, and avoid sealing in residual moisture. The space tradeoff can be worthwhile when it prevents repeated lid hunting.
7. Divide a deep drawer into base and lid zones
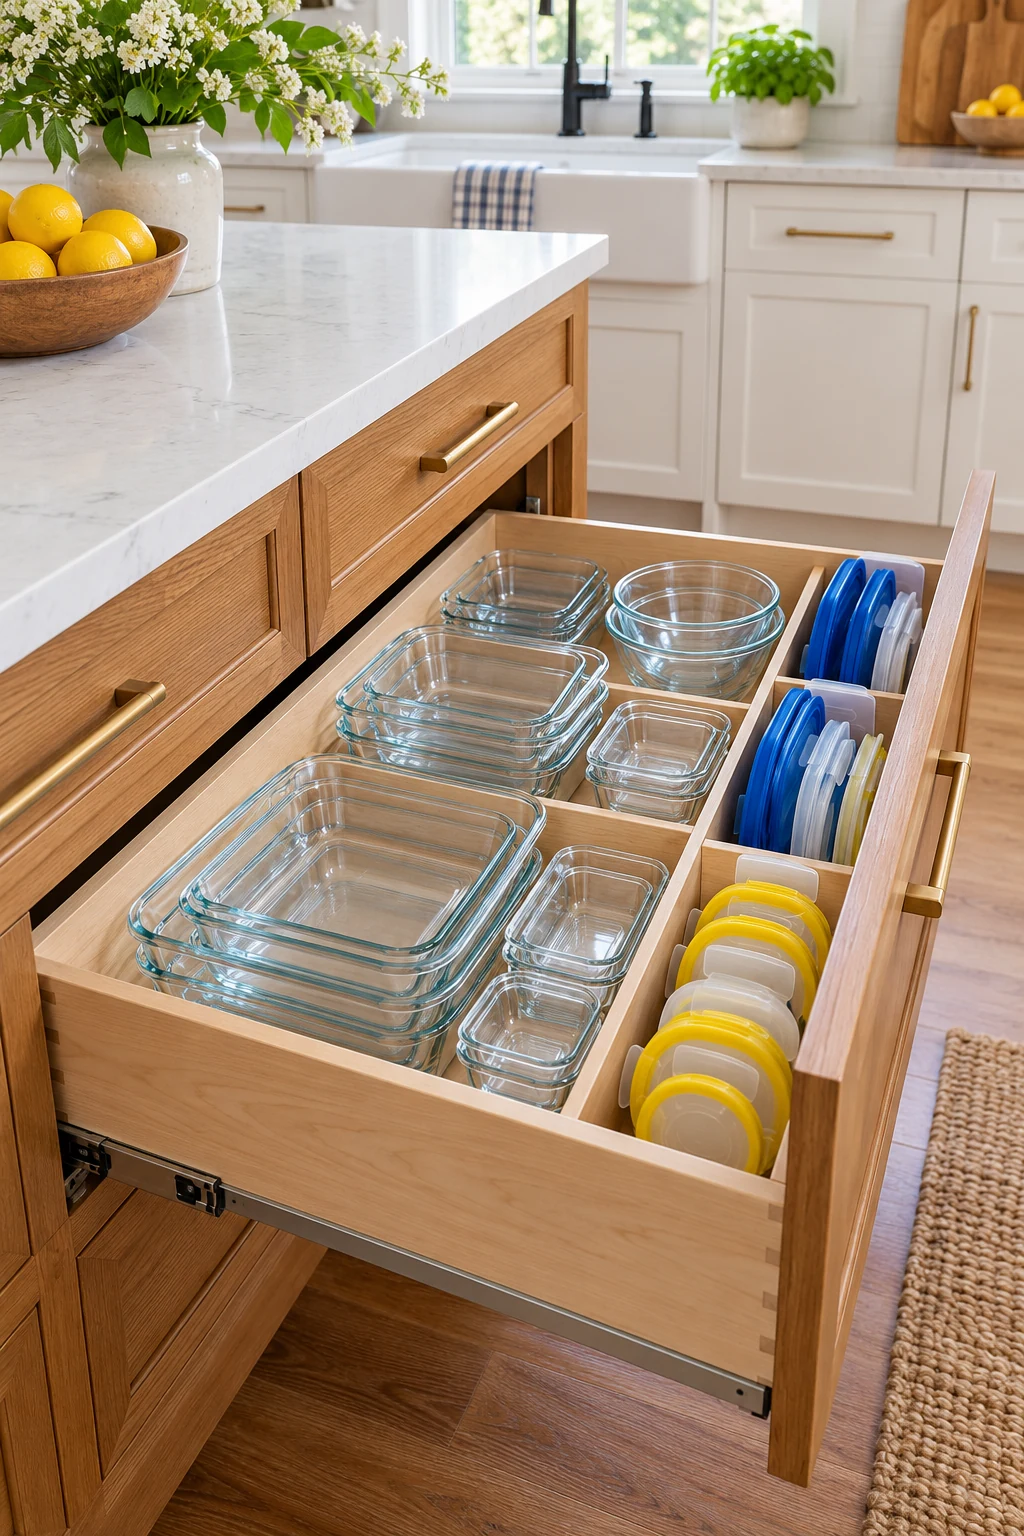
Use a drawer’s width to separate nested bases from upright lids. The boundary keeps the stacks from expanding into each other and makes the empty area for a container in use easy to recognize.
Utoplike’s large bamboo dividers suit sturdy drawer spans of 17.8 to 20.6 inches and stand 2.4 inches high. They create lanes, not tall-lid supports. Check loaded drawer clearance and add suitable lid support where needed without applying excessive pressure to the drawer sides. View on Amazon.
8. File container lids upright by family
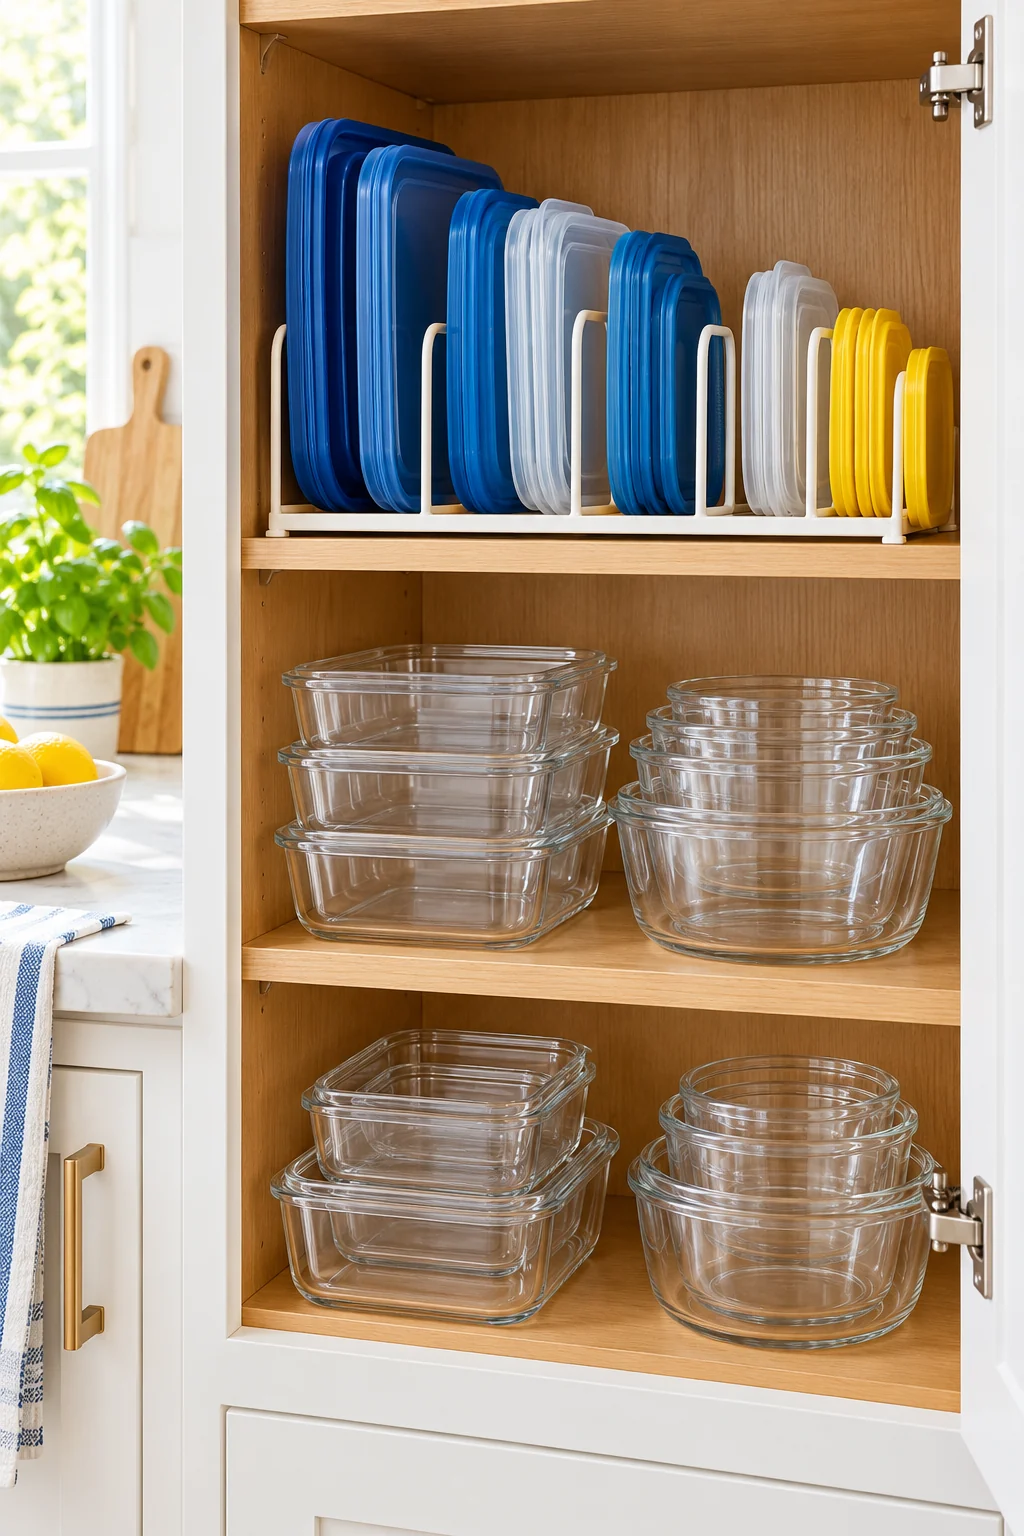
Store lids on edge in adjustable compartments so you can see their outlines instead of lifting a flat pile. Keep the lids for each compatible family together, then arrange that group by size if several sizes share similar colors.
The YouCopia StoraLid 24 Organizing Hero organizer has five adjustable dividers and is listed for lids up to 9 inches wide. Check its footprint and loaded height. The model name does not guarantee that twenty-four of your particular lids will fit. View on Amazon.
9. Give tiny lids their own shallow tray
Small dressing-cup and condiment lids easily fall beneath larger pieces. Put them in a shallow compartment where you can see the whole group, keeping their matching cups close enough that the storage still feels like one system.
Joseph Joseph Blox modular trays let you use a small compartment without committing to a full-width insert. Check the dimensions of the trays you choose and keep the arrangement removable for cleaning. Store loose tiny parts where children cannot access them. View on Amazon.
10. Separate round shapes from rectangular stacks
Round tubs often leave awkward gaps when mixed into a rectangular row. Give them their own compact group so their curved rims do not push square containers out of alignment or prevent a drawer divider from sitting where it is useful.
Try the arrangement with your existing storage before buying matching bins. A small rounded collection may fit best in one open corner, while the rectangular pieces use the longer lane. Preserve comfortable access rather than forcing every shape into equal compartments.
11. Arrange sizes around what you pack
Put the containers you reach for most near the front, whether those are sandwich boxes, leftovers tubs, or small snack cups. Size order is helpful only when it also fits the way your household uses the collection.
Keep occasional large pieces farther back if they remain reachable. Avoid burying a daily container inside a large nesting stack just because the shapes fit beautifully. A short, accessible stack can be worth the additional shelf width.
12. Use a handled bin for one complete container family
A removable bin can gather a small set of bases and lids on a deep shelf. Pulling out the group lets you choose a pair at counter height instead of reaching behind other stacks with one hand.
The iDesign clear 8-by-8-by-6-inch pantry bin is a hand-wash-only option for a modest collection. Compare usable interior space with the actual containers and leave grip clearance. Keep the loaded bin light enough to remove comfortably, especially if any pieces are glass. View on Amazon.
13. Keep tall stacks out of shallow openings
A shelf may be tall enough for a stack once it is inside but too low at the doorway to lift the stack out. Measure the opening and retrieval movement, including the extra height your hand needs to grasp the top piece.
Split a tall tower into two short stacks when the opening is tight. If the shelf adjusts, check its supports and the space required by items above before moving it. Making one level taller should not create an unusable shelf elsewhere.
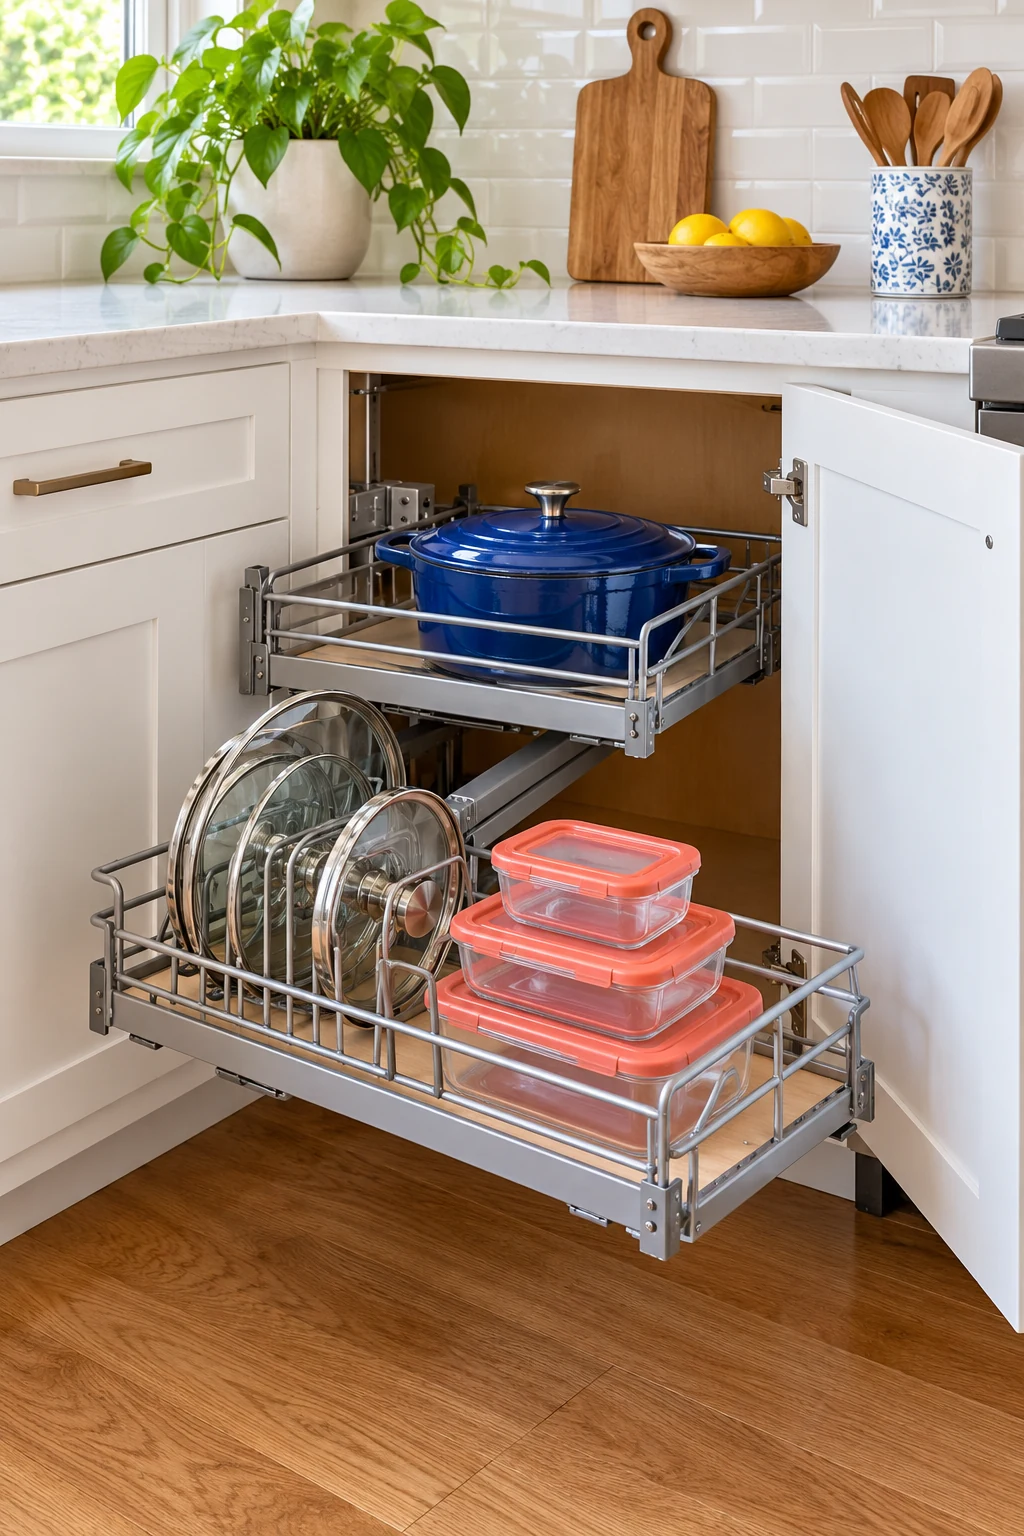
14. Put a deep container cabinet on a rollout
A correctly installed pullout can make the back of a lower container cabinet usable. Keep nested bases low and add appropriate support for lids so everything remains in place while the shelf moves.
The LYNK PROFESSIONAL 11-by-21-inch chrome pullout provides one cabinet-mounted sliding level. Measure the door opening, installed footprint, loaded height, and extension path. Follow its mounting and load instructions; the organizer needs sound support rather than simply resting on the cabinet floor. View on Amazon.
15. Add a removable level above short stacks
If short container stacks leave a large unused gap above them, a stable freestanding shelf can create a second accessible level. Put lighter pieces above and make sure both groups can come out without moving the shelf itself.
The Simple Houseware white metal-top shelf set includes two different-sized pieces. The larger is listed at 12.75 inches wide, 9 deep, and 5.9 high. Check the clear space underneath, follow the approved arrangement, and avoid building extra improvised tiers. View on Amazon.
16. Keep glass containers low and manageable
Store heavier glass containers on a low, well-supported shelf or in a drawer rated for the load. Leave enough room to get both hands around a stack, and keep the everyday pieces in small groups you can lift comfortably.
Follow the maker’s nesting guidance and avoid knocking rims together. An organizer that fits the collection is not automatically rated for its weight. Check the cabinet, drawer, and any added insert as a complete system rather than relying on one component’s capacity.
17. Create a small lunch-packing zone
Gather the lunch containers, matching lids, reusable cutlery, and other clean packing pieces you use together. One drawer section or nearby shelf can make it easier to prepare lunch without opening three unrelated storage areas.
Keep food and clean food-contact items away from household cleaners. Leave insulated bags open to dry according to their care instructions before putting them away. This zone should hold the daily packing set, while bulky spare bags and occasional picnic gear can live elsewhere.
18. Reserve a row for regular meal-prep containers
If you regularly prepare several meals at once, keep that specific set together with its matching lids. Count the pieces you normally use and allocate a row that holds the clean empty set without borrowing space from every other category.
Do not turn an occasional intention to meal prep into a reason to store a huge unused collection. Use the set you actually reach for and follow its food-use instructions. Cabinet organization alone does not determine microwave, freezer, or dishwasher suitability.
19. Move oversized occasional containers out of the daily zone
Large picnic boxes, cake carriers, or holiday leftover tubs can occupy more space than the containers used all week. Store them near serving dishes or another clean kitchen-storage area when that keeps the everyday cabinet easier to use.
Keep each piece with its lid and label an opaque storage location if needed. Make sure a bulky carrier can pass through the opening before using an upper shelf. Avoid overhead positions for heavy pieces that are difficult to lift securely.
20. Keep removable parts with the correct model
Some containers have removable seals, vent pieces, or inserts that need separate cleaning. Follow the manufacturer’s instructions for taking them apart and reassembling them, and keep the pieces associated with their original model while they dry.
Do not make a communal loose-parts bin if similar seals could be confused. Store the complete dry container as directed and check that all required parts are present before use. A matching-looking lid does not establish an airtight, leakproof, or heat-safe fit.
21. Label the storage location instead of every lid
A shelf-edge or bin label such as round lunch boxes can show everyone where a container family belongs. It is especially useful in a shared kitchen where people put clean dishes away at different times.
Use wording based on recognizable shape or purpose and place the label where it stays visible. Avoid covering the container’s care markings or applying unsuitable labels to food-contact areas. Keep the categories broad enough that returning a lid does not require studying a complicated code.
22. Leave places for the containers currently in use
Remember that the refrigerator, lunch bag, and dishwasher may hold part of the collection while you organize. Leave their spaces available instead of filling every apparent gap with spare lids or another nesting tower.
Try a full return after the next dishwasher cycle and adjust the layout then. If complete clean sets no longer fit, reduce or relocate occasional pieces before buying another organizer. The useful capacity is the amount you can put away without pressing or forcing the drawer.
23. Dry lids before placing them in tight rows
Check the rims, seals, and recessed corners after washing, because a lid can feel dry on top while moisture remains underneath. Follow the care instructions and allow every part to dry before storing it in a tightly grouped row.
Use a temporary drying spot that does not crowd the main prep area. Clean and dry the organizer too, especially if it has grooves that collect droplets. A storage lane should be ready for dry pieces rather than becoming a hidden extension of the dish rack.
24. Keep a simple return routine
When putting dishes away, match uncertain pieces immediately instead of dropping them into the nearest stack. Return lids to their family and bases to their usual size group, leaving the everyday sets easiest to reach.
If one category repeatedly spills into another, change its space or reduce the collection. A successful system does not need every container to look identical. It needs enough clarity that the next clean lid has an obvious home.
Match one shelf of containers, give those complete pairs clear homes, and test the layout after a full dishwasher cycle. Build from the arrangement that is easiest to maintain. Subscribe to the Havelyo email list for more practical small-space decorating and organization ideas.