
Pantry Organization
30 Pantry Organization Ideas to Make Ingredients Easy to Find
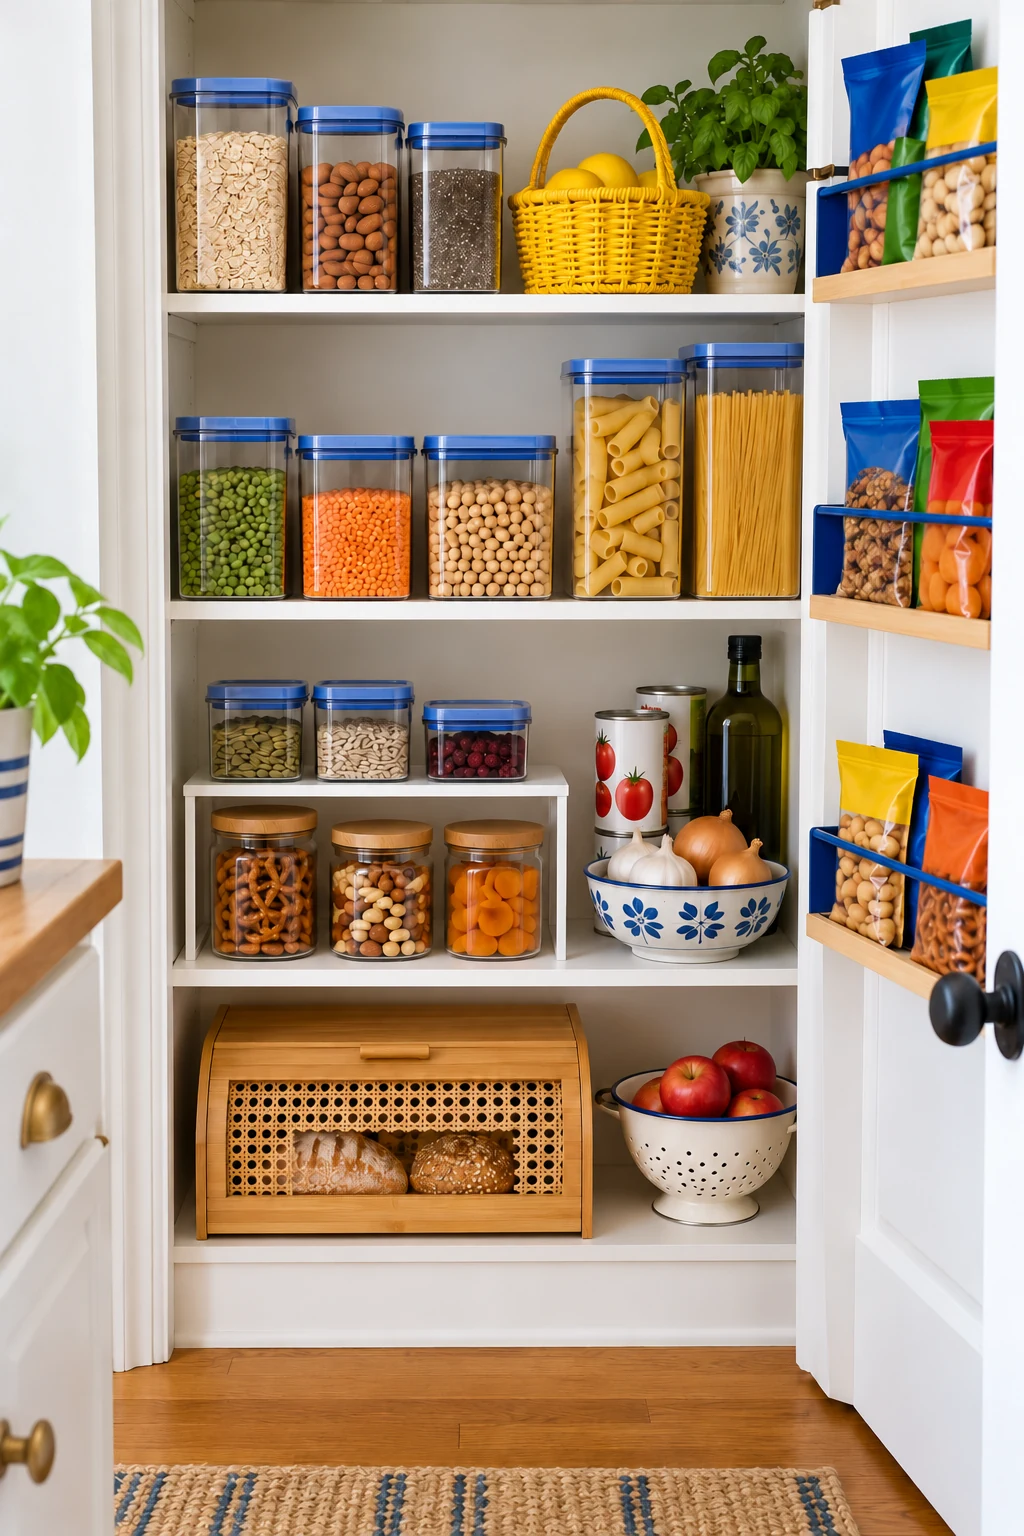
A pantry can be full of food and still leave you wondering what’s for dinner. The problem is often a hidden row, a slumped bag, or three different places for the same ingredient. A few clear homes make the shelves easier to use.
These 30 pantry organization ideas work with everyday cabinets, small pantries, and larger shelves. Start by sorting one troublesome section, then arrange the foods you reach for most. Use containers and organizers where they solve a real access problem, and keep food-storage directions in charge of where each ingredient belongs.
This article contains affiliate links. If you buy through them, Havelyo may earn a commission. As an Amazon Associate I earn from qualifying purchases.
1. Start with the shelf that hides the most
Choose one pantry shelf and set its contents on a clear counter. Group matching foods, check packaging, and notice the ingredients you keep buying twice. A small starting area makes the reset manageable and shows whether the problem is clutter, hidden depth, or an awkward shelf height.
Wipe the empty shelf and let it dry before putting food back. Keep only pantry-appropriate items here, following their storage labels. Set aside questionable or damaged packages for a proper safety check rather than treating a prettier container as a fix.
2. Make zones around meals you actually cook
Put the ingredients that start a familiar dinner near one another. Pasta, unopened sauce, and canned tomatoes might share a section, while rice and beans get another. These loose meal groups can be more useful than arranging every package by color.
Keep the groups broad enough that groceries still have an obvious home. An ingredient used across several recipes can stay in one central staple zone. Move a category after a week of cooking if you keep reaching to a different shelf for it.

3. Give the daily staples the easiest reach
Reserve the most comfortable shelf for the foods you use several times a week. That might be oats, rice, or lunch ingredients, depending on your routine. You should be able to lift each item without moving something heavy or standing on your toes.
Test the arrangement with everyone who uses the pantry. A low grab-and-go shelf may help a seated user, while another person needs a different reachable band. Keep the most important labels facing the opening instead of assuming one eye-level shelf suits the whole household.

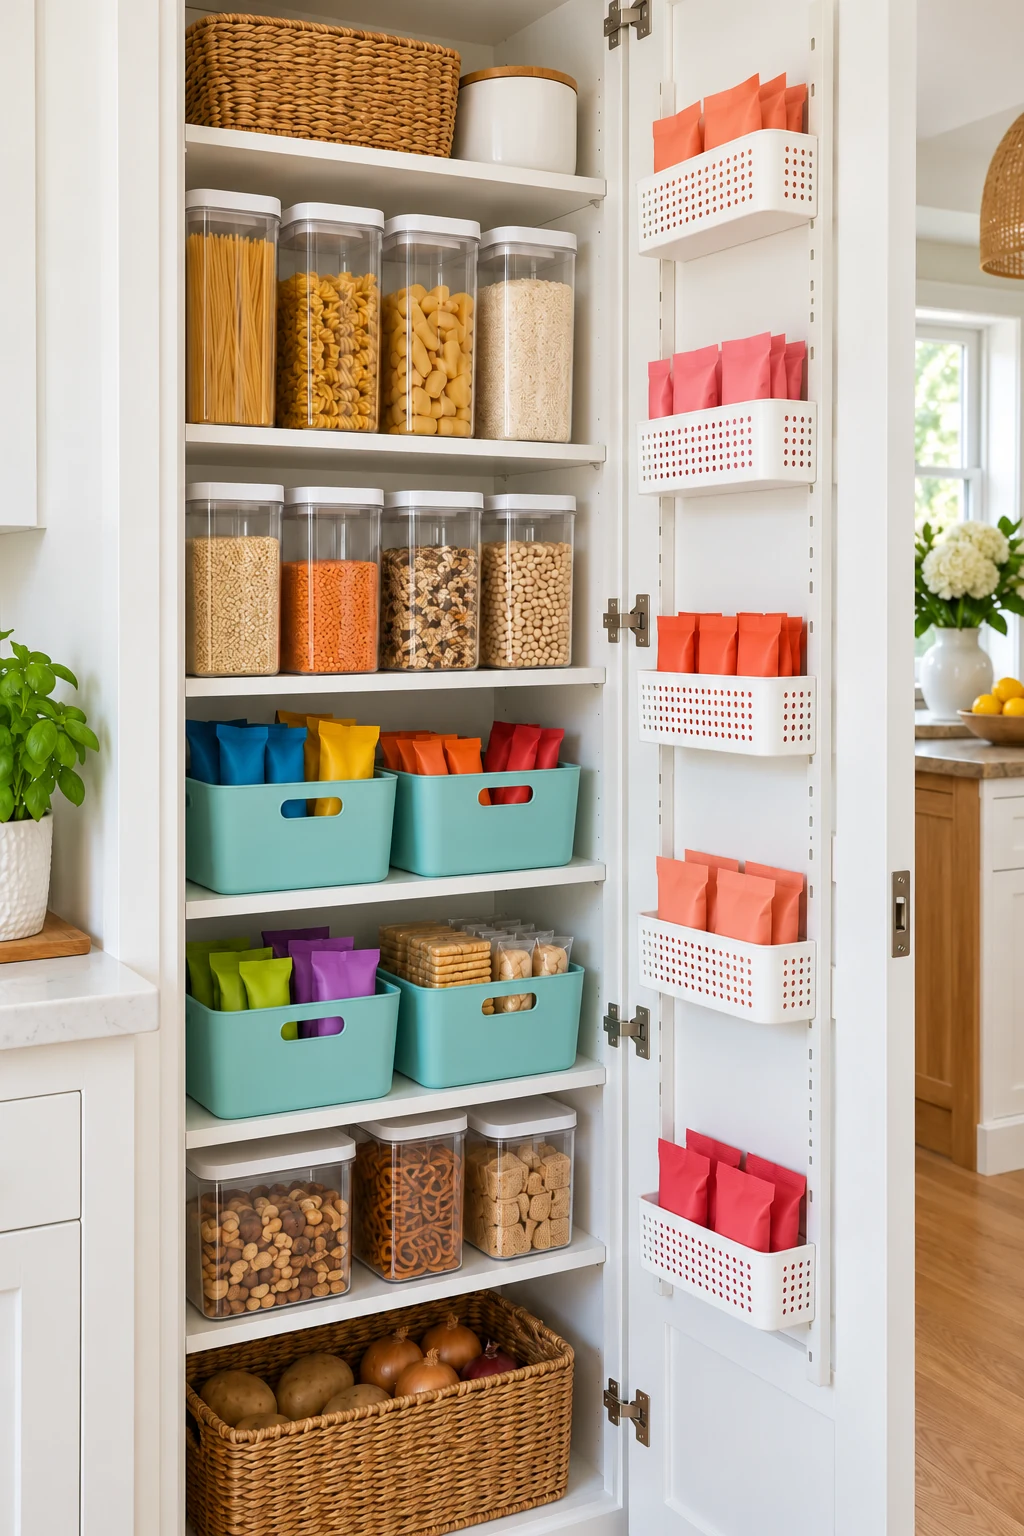
4. Stand small packets in divided storage
Gravy mixes, seasoning envelopes, and instant oatmeal disappear quickly when they lie in a loose pile. Stand them upright with the names visible, grouping one kind in each compartment. Keep preparation directions and allergen information on the packets intact.
The YouCopia ShelfBin Packet Organizer, Four-Tier, Speckled White has four stepped compartments and a handle, so a small packet collection can come to the counter together. Check packet width and leave room above the back tier. Wide pouches may work better in a plain open bin.
5. Lift the back row of small cans
A stepped shelf makes a few rows of short cans easier to scan. Put similar foods together and face their labels forward. This works best when can bases sit fully on each step and the back row stays within comfortable reach.
The Copco 3-Tier Spice Rack Organizer, 15-Inch, White/Gray is 15 inches wide with tiers about 2.75 inches deep. Compare that step depth with your cans before using it. Keep oversized cans on the main shelf, and count the can height above the riser when measuring the opening.
6. Turn a bottle cluster into a rotating row
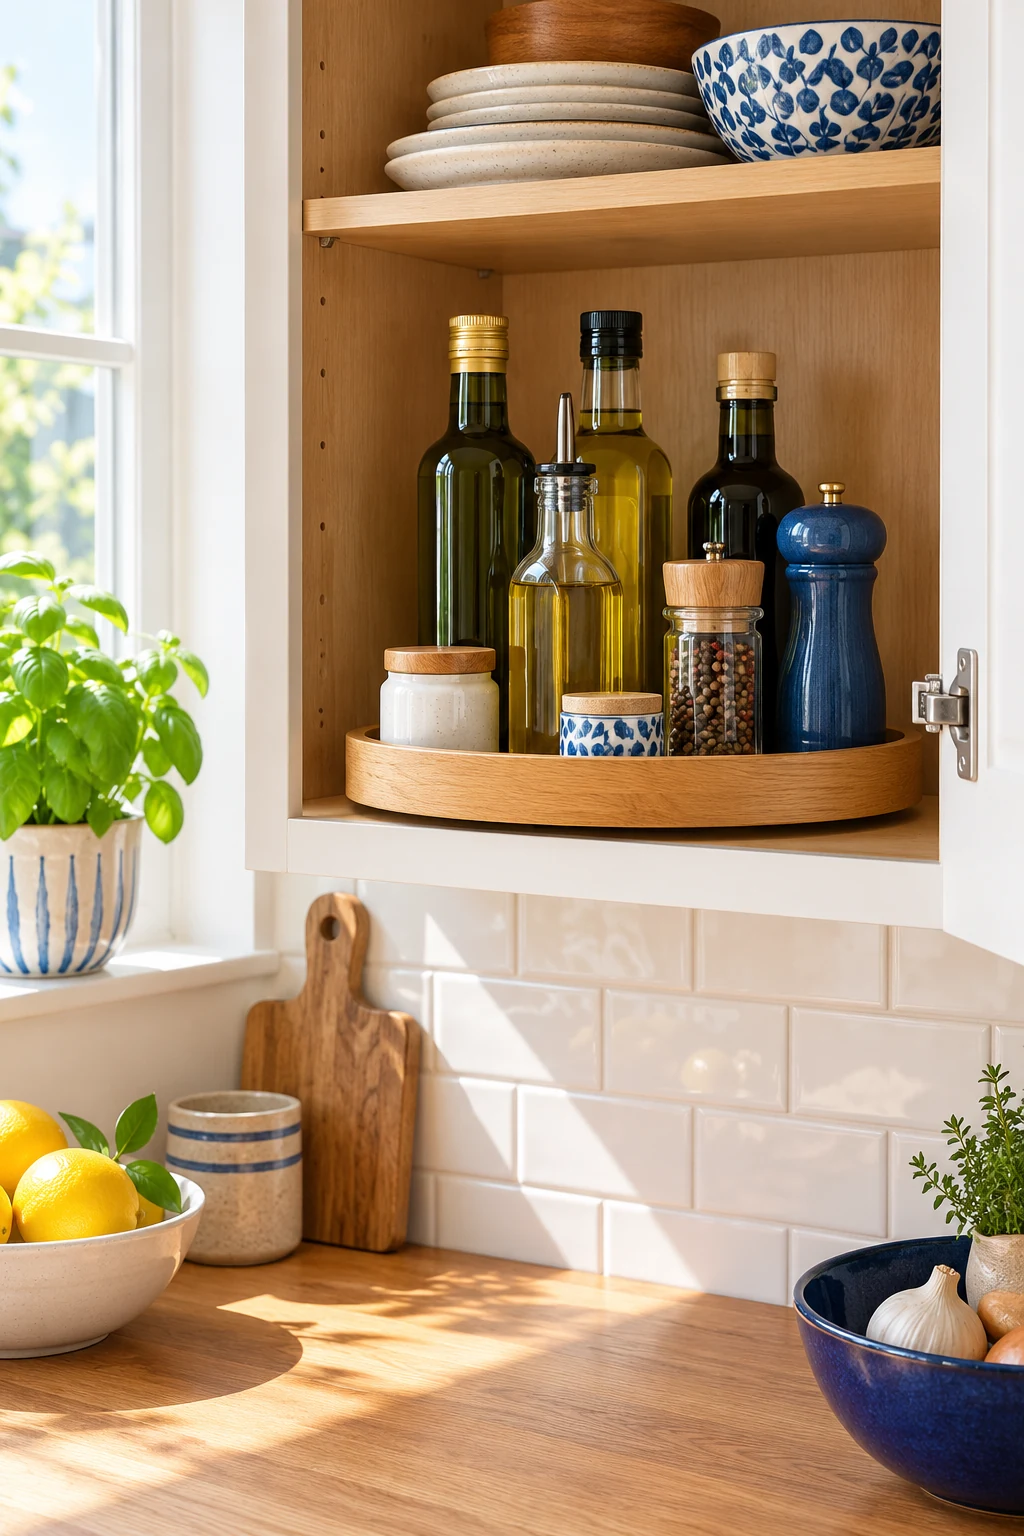
A turntable can help in a reachable corner where small bottles keep hiding behind one another. Arrange the bottles around the outside so their labels turn toward you. Keep a few inches of visual breathing room instead of packing the center tightly.
Try the Copco Nonskid Lazy Susan Turntable Organizer, 12-Inch when its 12-inch diameter fits your shelf. Allow room for the loaded tray to rotate and for the door to close. Store each food according to its label; moving an opened sauce onto a pantry turntable does not make it shelf-stable.
7. Bring a deep shelf forward with a basket
Use an open basket for a category that otherwise stretches into the back of a deep shelf. A few snack bags or baking add-ins can move together, so you can inspect the contents on the counter instead of reaching past the front row.
Test a clean box you already own before buying a bin. Its handle or rim needs to pass through the door opening, and the filled container should be easy to lift. Avoid a giant mixed-food basket that becomes a second pantry to rummage through.
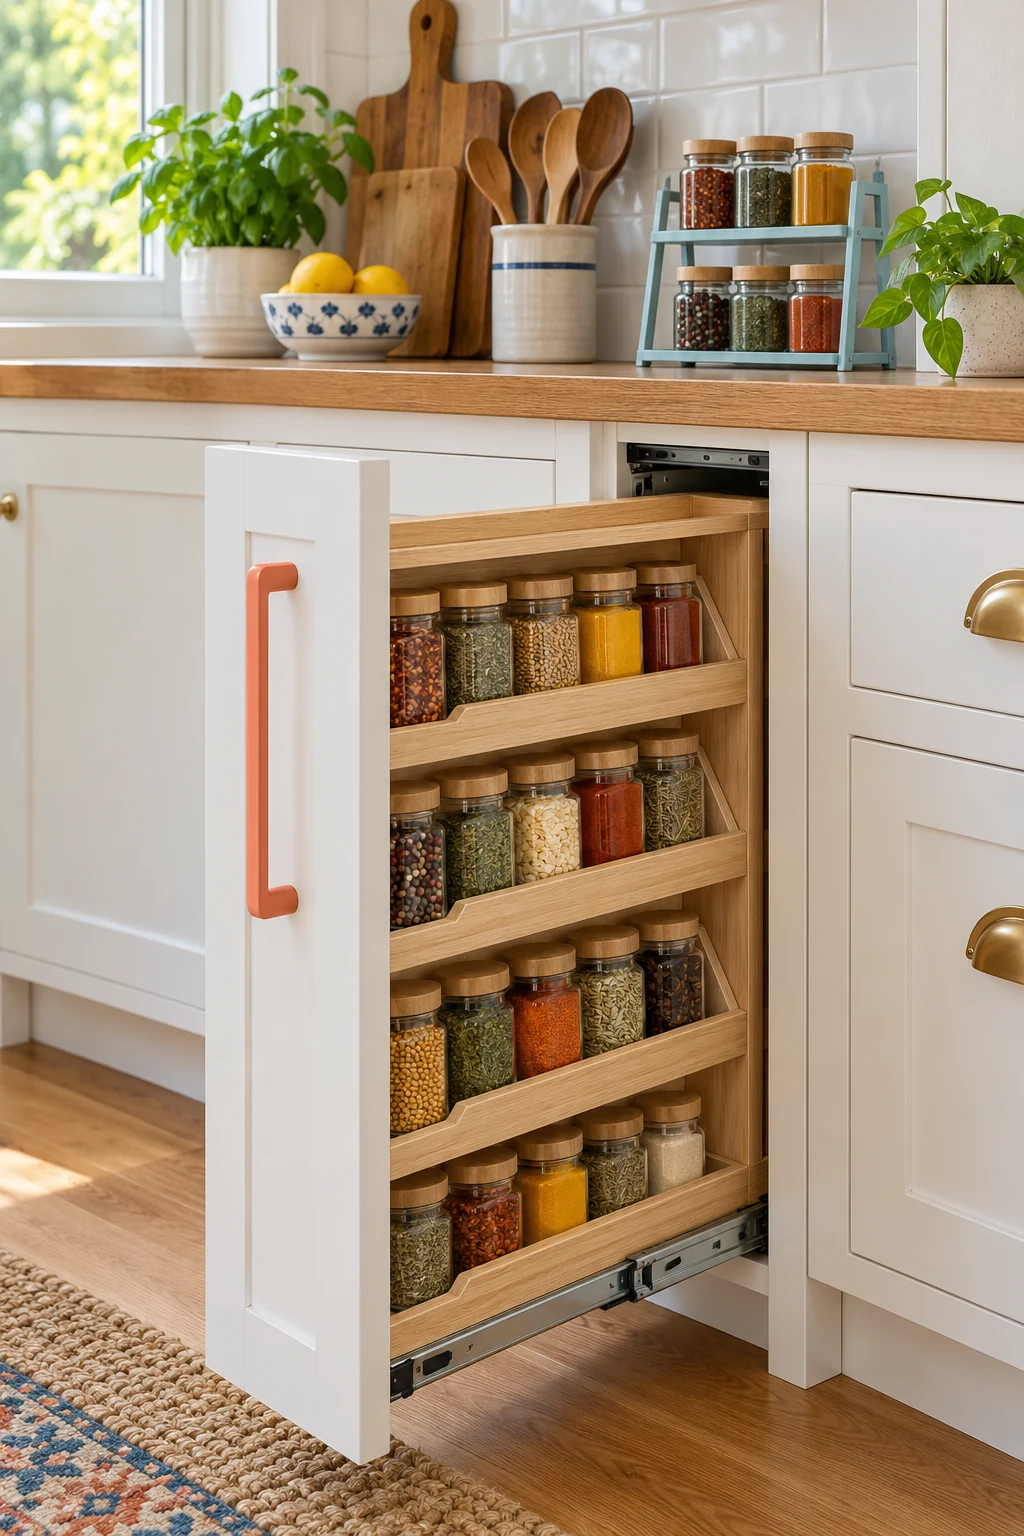
8. Use low containers beneath a short shelf opening
When a shelf is too short for a tall canister, choose a lower shape rather than wedging a lid against the shelf above. A clear lid is useful when you tend to look down into the pantry. Leave enough room to grip the sides.
The Rubbermaid Brilliance Pantry Storage Container, 7.8-Cup, Clear is a lower rectangular option for a moderate quantity of dry ingredients. Its listed capacity is 7.8 cups; measure your food volume instead of guessing from bag weight. This pantry model is not microwave safe, so use it for storage.
9. Decant only the staples that benefit
Decanting makes sense when a bag slumps, spills during measuring, or hides how much is left. Start with one frequently used ingredient rather than buying containers for every package. Foods that pour neatly from their original boxes can stay there.
The OXO Good Grips POP Container, Big Square Medium, 4.4-Quart offers a 4.4-quart container with a push-button lid for a regularly used dry staple. Check shelf height and the opening needed for your scoop. Keep the original food instructions and identifying details, and avoid combining an older batch with a fresh refill.

10. Put labels where your eyes land
Choose label placement based on the shelf. Front labels work on eye-level bins, while lid labels help on lower shelves or pull-out drawers. Write the ingredient or category plainly, and keep lettering large enough to read without picking everything up.
Add a second small information label only where it solves a problem, such as identifying the exact rice variety. Removable labels make a trial layout easier to change. Do not cover a package’s cooking directions, allergen statement, date, or lot code with a decorative label.
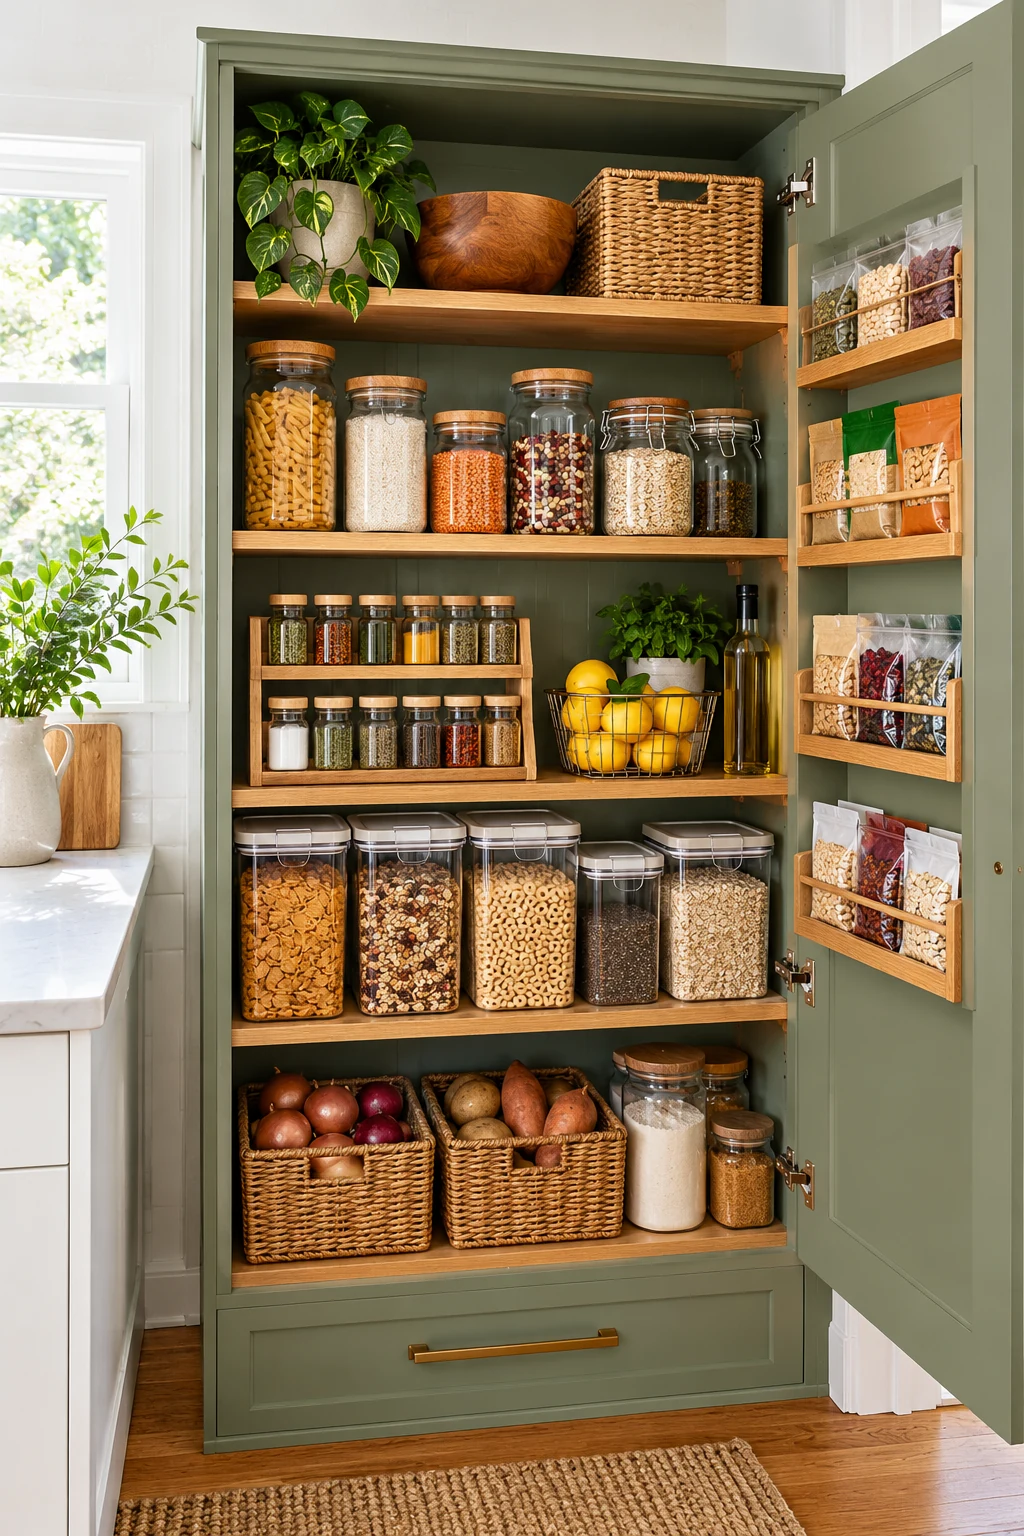
11. Keep a record of the packaging you remove
If food moves out of its original package, keep the details that help you identify and use it. Photograph the ingredient list, allergen statement, preparation instructions, date, and lot code, then connect that record to the container with a simple name or number.
A small folder of clean package panels works too, provided each panel matches the current batch. Update it when you refill rather than collecting unrelated labels. Leaving the food in its original bag inside a suitable outer container can be the simpler option.

12. Make rotation a front-to-back habit
When groceries arrive, bring the packages you plan to use first to the front. Put newer duplicates behind them without burying labels. A short, single-category row makes this easy to see and is less work than maintaining a spreadsheet for every item.
Use the wording on each package rather than assigning one universal expiration rule. Date labels can refer to quality, and storage directions still matter after opening. If you need food-specific guidance, check the FDA’s linked FoodKeeper resource or the food manufacturer.
13. Make one use-soon meal basket
Gather a few foods you want to cook with next into a small basket at the front of the pantry. Think half a bag of pasta, a current open grain package, or a can you already planned to use. Give the group an actual meal in your weekly plan.
Keep the basket small enough to review before the next grocery trip. It is a reminder, not a place to rescue unsafe food or hold items needing refrigeration. Return ingredients to their main zones if plans change so the basket does not become permanent overflow.
14. Separate unopened extras from everyday food
A designated backstock area helps you see the difference between what is open and what is waiting. Place an extra jar or box in that area only after the everyday location has its working supply. This keeps duplicates from spreading across several shelves.
Choose a limit that fits your space and how quickly you use the food. A single backup may be plenty for some categories, while another household needs more. Check this area before shopping, and never let it crowd out ingredients you actually use.
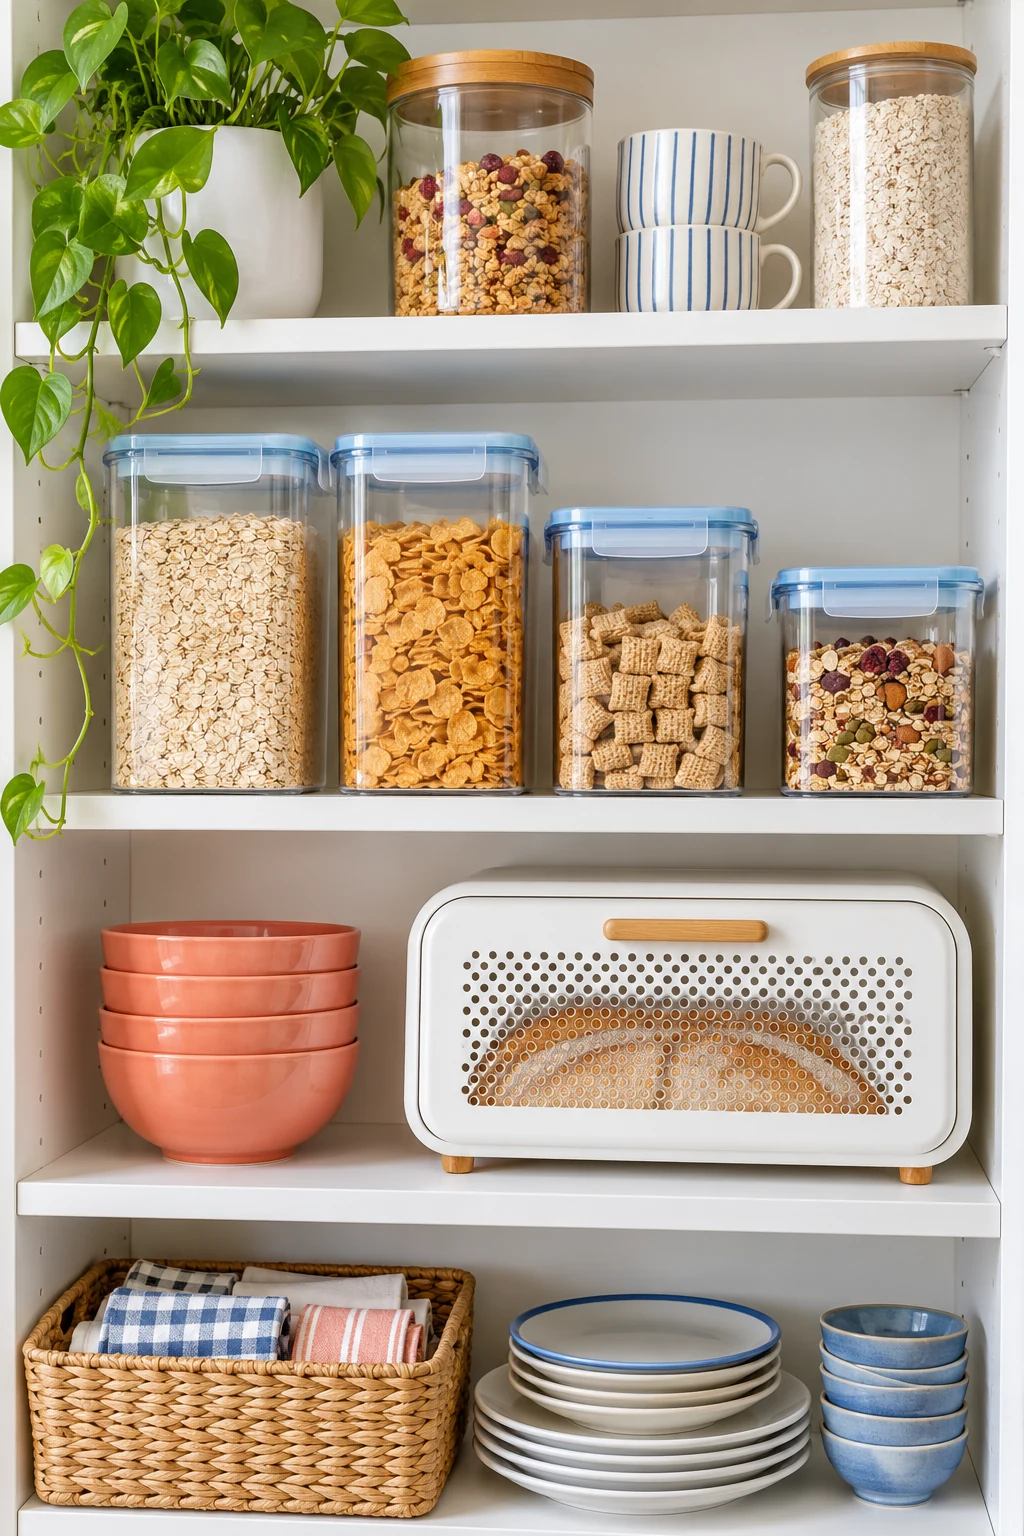
15. Give snacks one easy-to-browse bin
Corral individually wrapped snacks in an open bin with the tops facing up. Sort by a useful category, such as bars or crackers, rather than squeezing every snack into one oversized container. Keep any shared outer packaging when it carries necessary ingredient or allergy information.
Leave enough space for someone to return an item without compressing the row. If the bin overflows, hold the refill package in backstock and replenish as needed. Food-allergy needs may call for clearly separated storage and dedicated handling rather than a mixed snack bin.
16. Gather breakfast into a single landing spot
Keep everyday breakfast foods within one comfortable reach so mornings require fewer open doors. Oats, cereal, and a sealed granola package can share a shelf even if their packaging differs. Put less-used breakfast extras just to the side.
Choose a landing spot near bowls if that works with the kitchen layout, but away from steam and heat. Do not store perishable toppings here for convenience. A tray can define the zone without requiring you to replace every package with a matching canister.
17. Keep small baking extras together
Chocolate chips, cupcake liners, extracts, and unopened decorating supplies can fill tiny gaps all over the pantry. Gather the pantry-suitable items into a baking caddy so you can bring them to the work area together. Keep small bottles upright and securely closed.
Separate frequently used flour and sugar if their containers make the caddy too heavy. Retain any refrigeration instructions on extracts, toppings, or opened ingredients. After baking, remove stray measuring tools and spills before returning the caddy to its shelf.
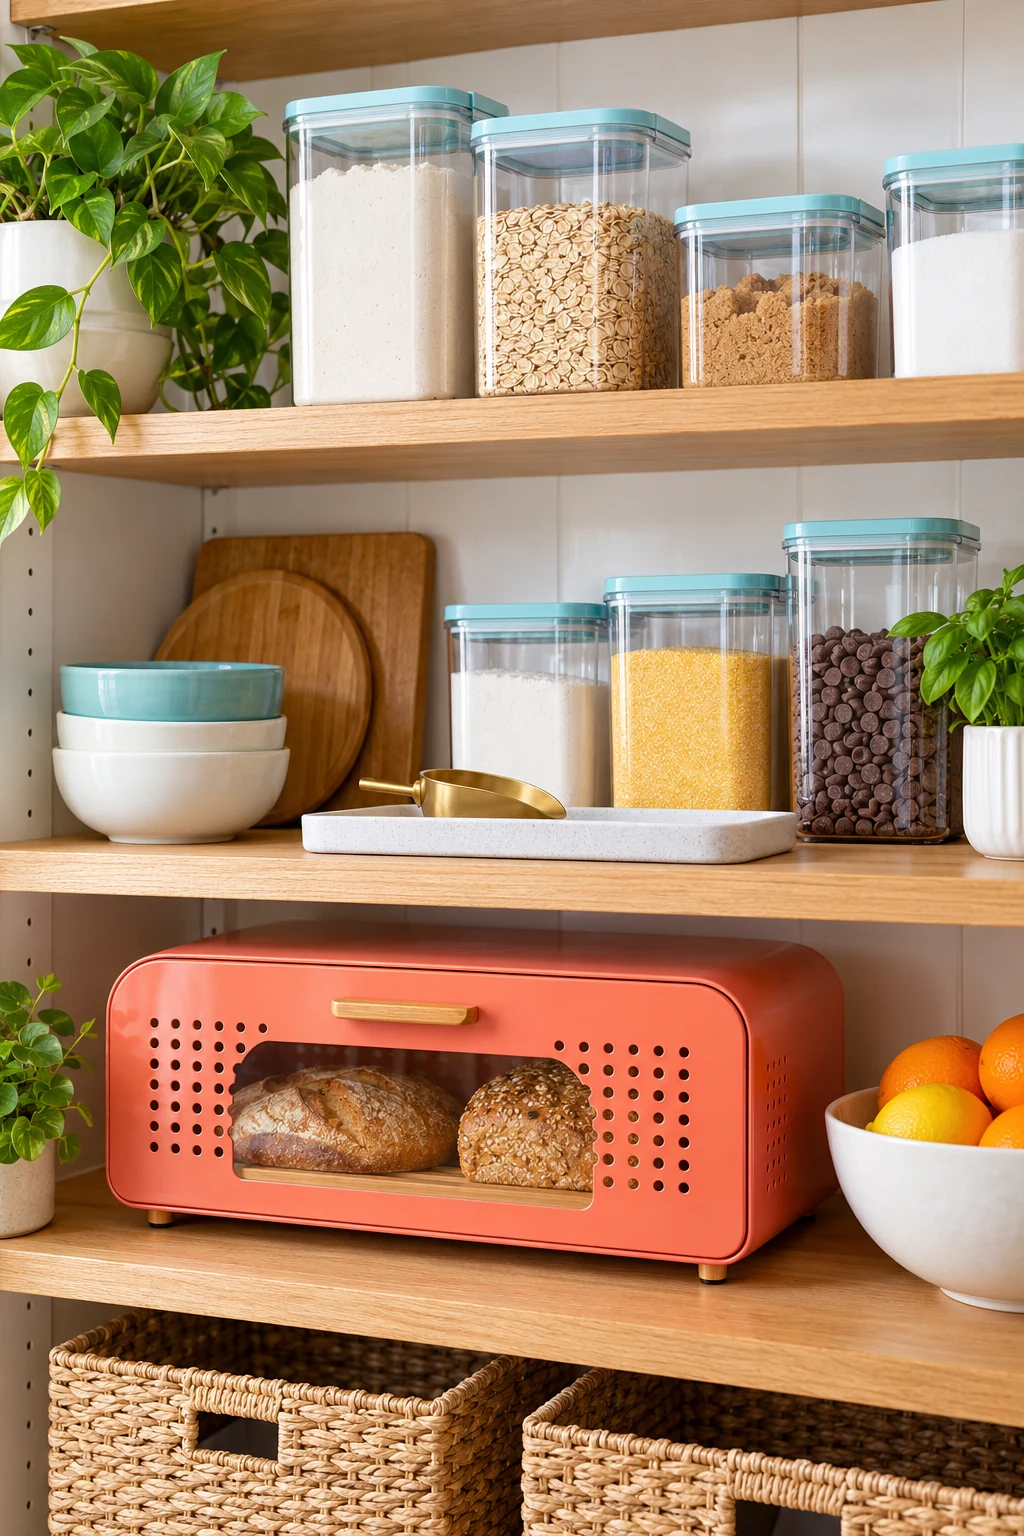
18. Stand flat pasta boxes like books
Place slender pasta boxes upright with their narrow labeled ends toward the opening. This can make a row easier to browse than a stack that must be lifted apart. Keep the cooking panel accessible and separate shapes that need different preparation times.
Use a stable bin or the side of the cabinet to support a short row if boxes tend to lean. Do not cram them tightly enough to crush corners. Soft pasta bags may need a different container so their contents are not squeezed beneath heavier packages.
19. Add an intermediate shelf for short packages
A tall gap above short jars can hold a removable shelf, provided both levels remain easy to use. Try this for a small group of jars above and short boxes below. Measure the items themselves, including lids, before choosing a shelf insert.
The Simple Houseware Expandable Stackable Kitchen Counter Shelf Organizer, White, Metal Top provides two metal shelf pieces that can be arranged to suit the opening. Check each piece’s footprint and the actual clearance beneath it. Use the maker’s supported arrangement and keep the top level light enough to retrieve comfortably.
20. Give foil and wrap boxes their own levels
Long kitchen-wrap boxes often fall into the food supply even though they are tools for using it. Assign them a narrow section near the pantry edge, with each box reachable independently. Keep sharp cutting edges facing a direction that avoids snagging your hand.
The YouCopia UpSpace Adjustable Box Organizer, Original, White separates boxes on adjustable shelves instead of balancing them in a tall stack. The Original version is listed at 8.8 inches wide. Check full depth and box overhang, and make sure the pantry door clears the longest box.
21. Bring a spice collection out of the shadows
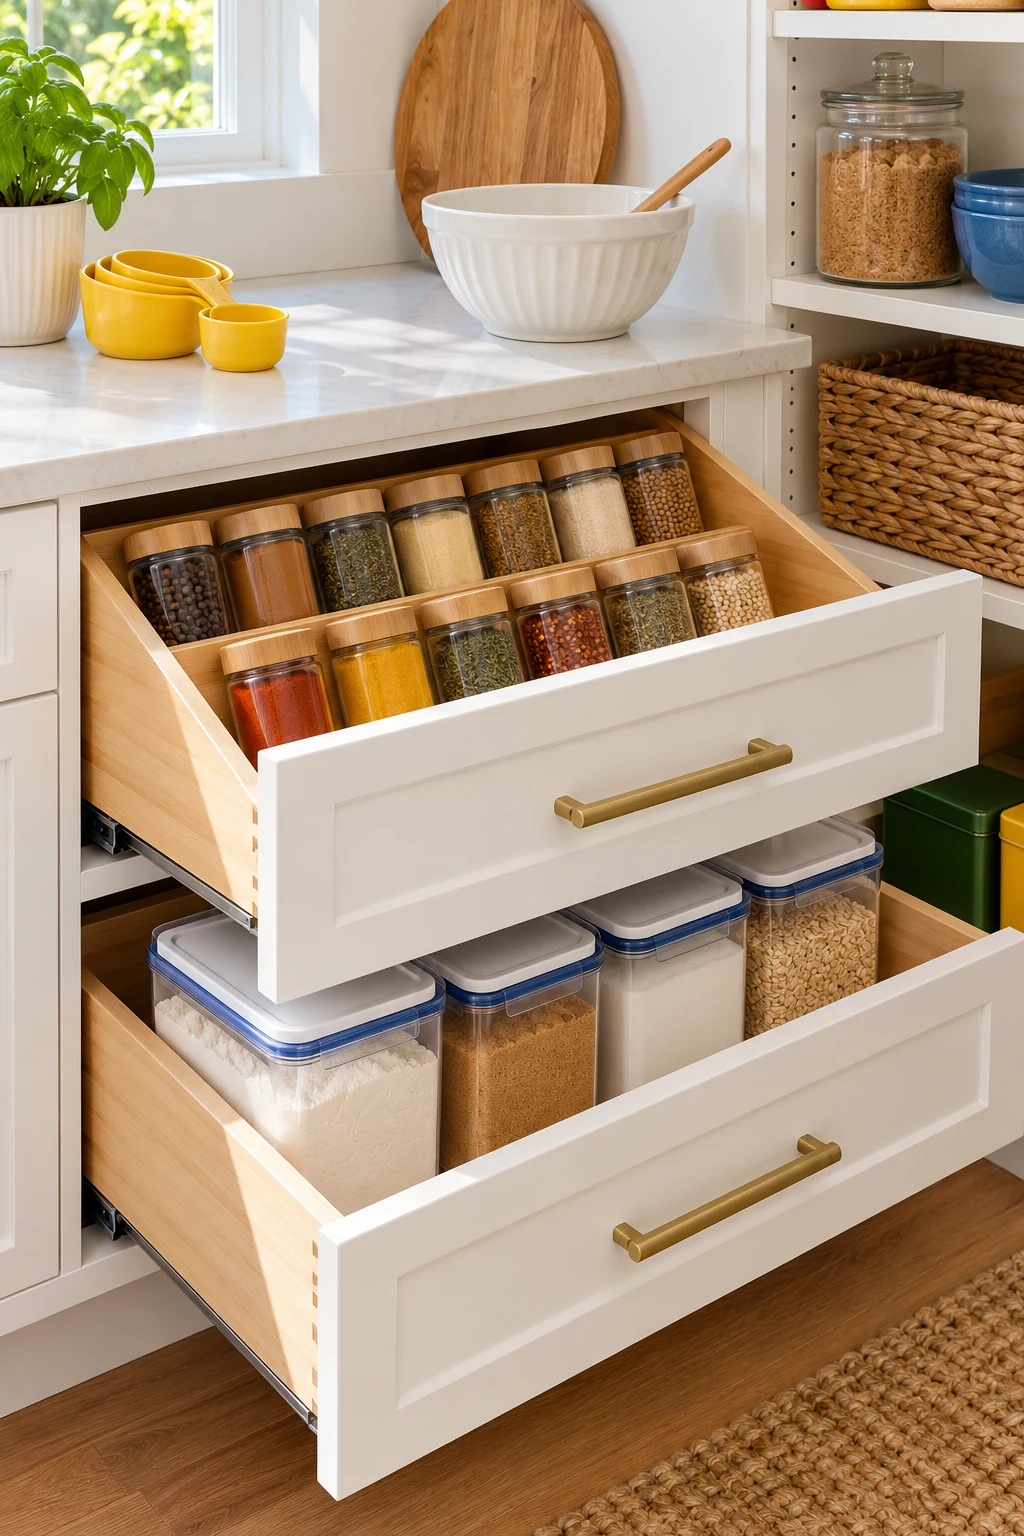
If spices live in the pantry, give them a defined section close to the opening. A collection several rows deep needs a way to bring the rear jars forward. Alphabetical order helps only when the labels are actually visible.
The YouCopia SpiceStack Adjustable Spice Organizer, 24-Bottle uses pull-down drawers to expose the jars in a cabinet-style opening. Check the 11-inch closed depth plus space for the drawer movement. Large refill bottles should have their own shelf spot instead of being forced into the smaller channels.
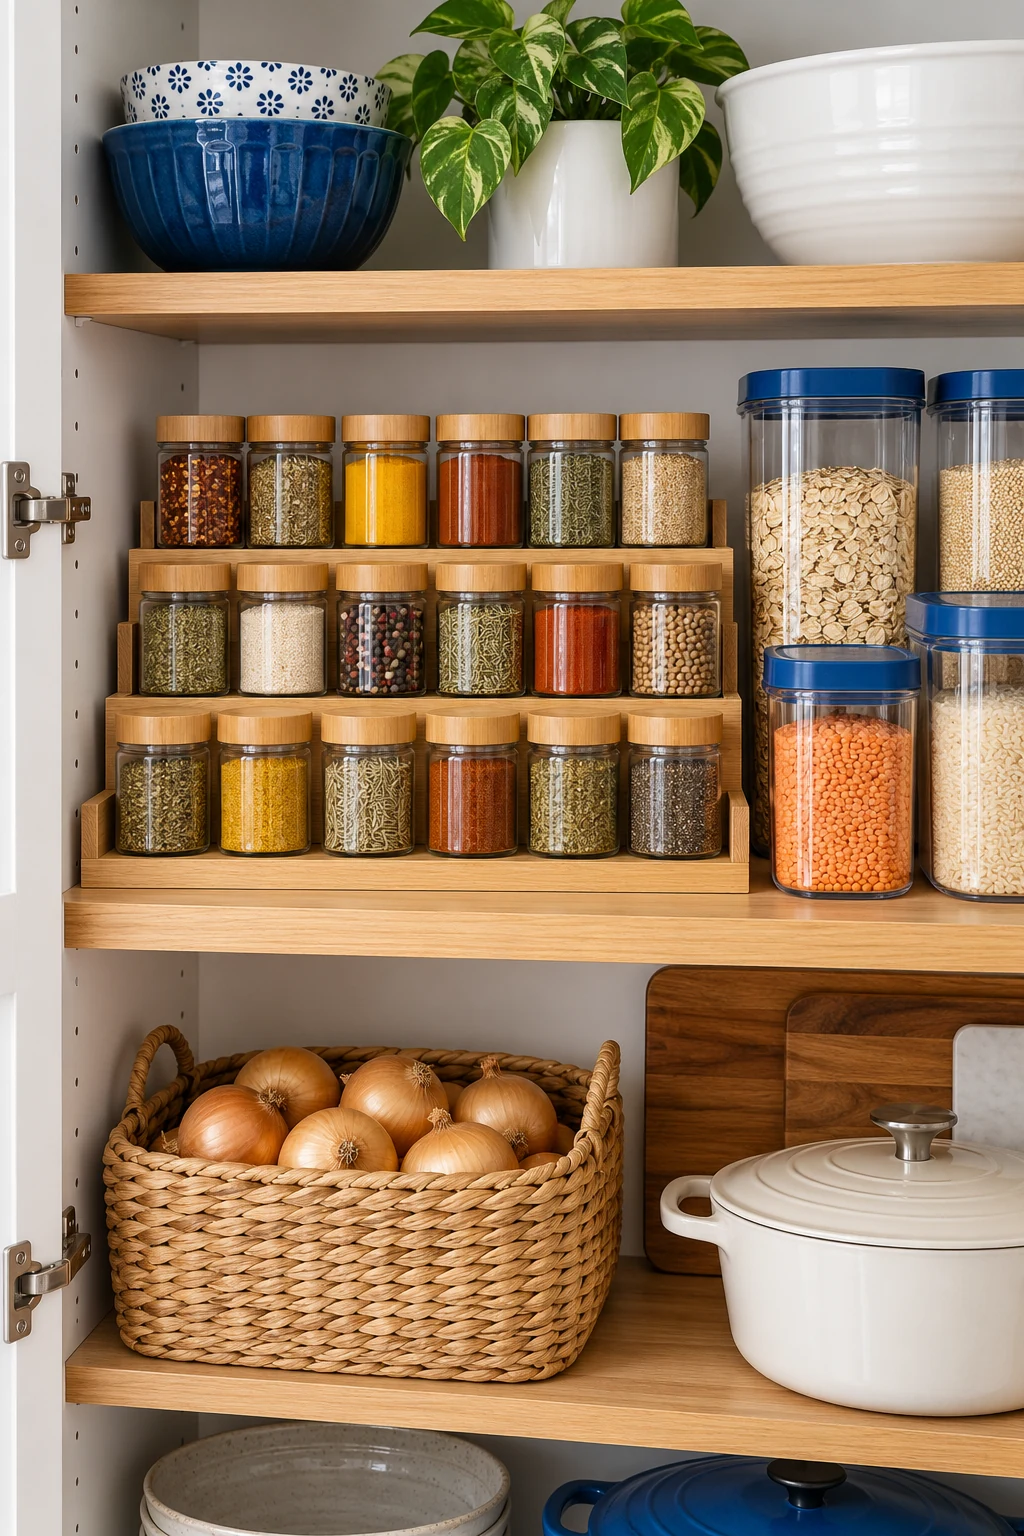
22. Use a narrow gap for one upright category
A slim space beside a bin can hold a small row of tall, flat packages, such as unopened crackers or tortillas whose labels allow pantry storage. Give the gap one purpose so the contents can be recognized from the doorway.
Keep the packages fully supported on the shelf, not balanced against a moving door or drawer. If the gap is too tight to slide them out easily, leave it empty. A few spare inches are useful when groceries come in different sizes.
23. Keep the heaviest pantry goods low
Large bags, bulky jars, and other heavy foods belong where you can lift them with control. A lower shelf can be easier than raising a full container from above shoulder height. Keep the items off the floor and out of the door path.
Check the shelf’s load instructions and distribute weight rather than concentrating everything in the middle. Containers do not make an overloaded shelf stronger. If a shelf bows or its supports look loose, unload it and address the shelving before filling it again.
24. Reserve the highest shelf for light extras
Use a hard-to-reach shelf for lightweight, infrequently needed pantry accessories rather than daily food. Spare paper napkins, empty lunch bags, or a light seasonal baking-supply box can fit here without hiding ingredients that need regular checks.
Keep each container small enough to lift down securely and avoid stacking boxes overhead. Use an appropriate stable step stool when needed; never climb pantry shelves. If you rarely retrieve something from this shelf, reconsider whether it needs kitchen space at all.
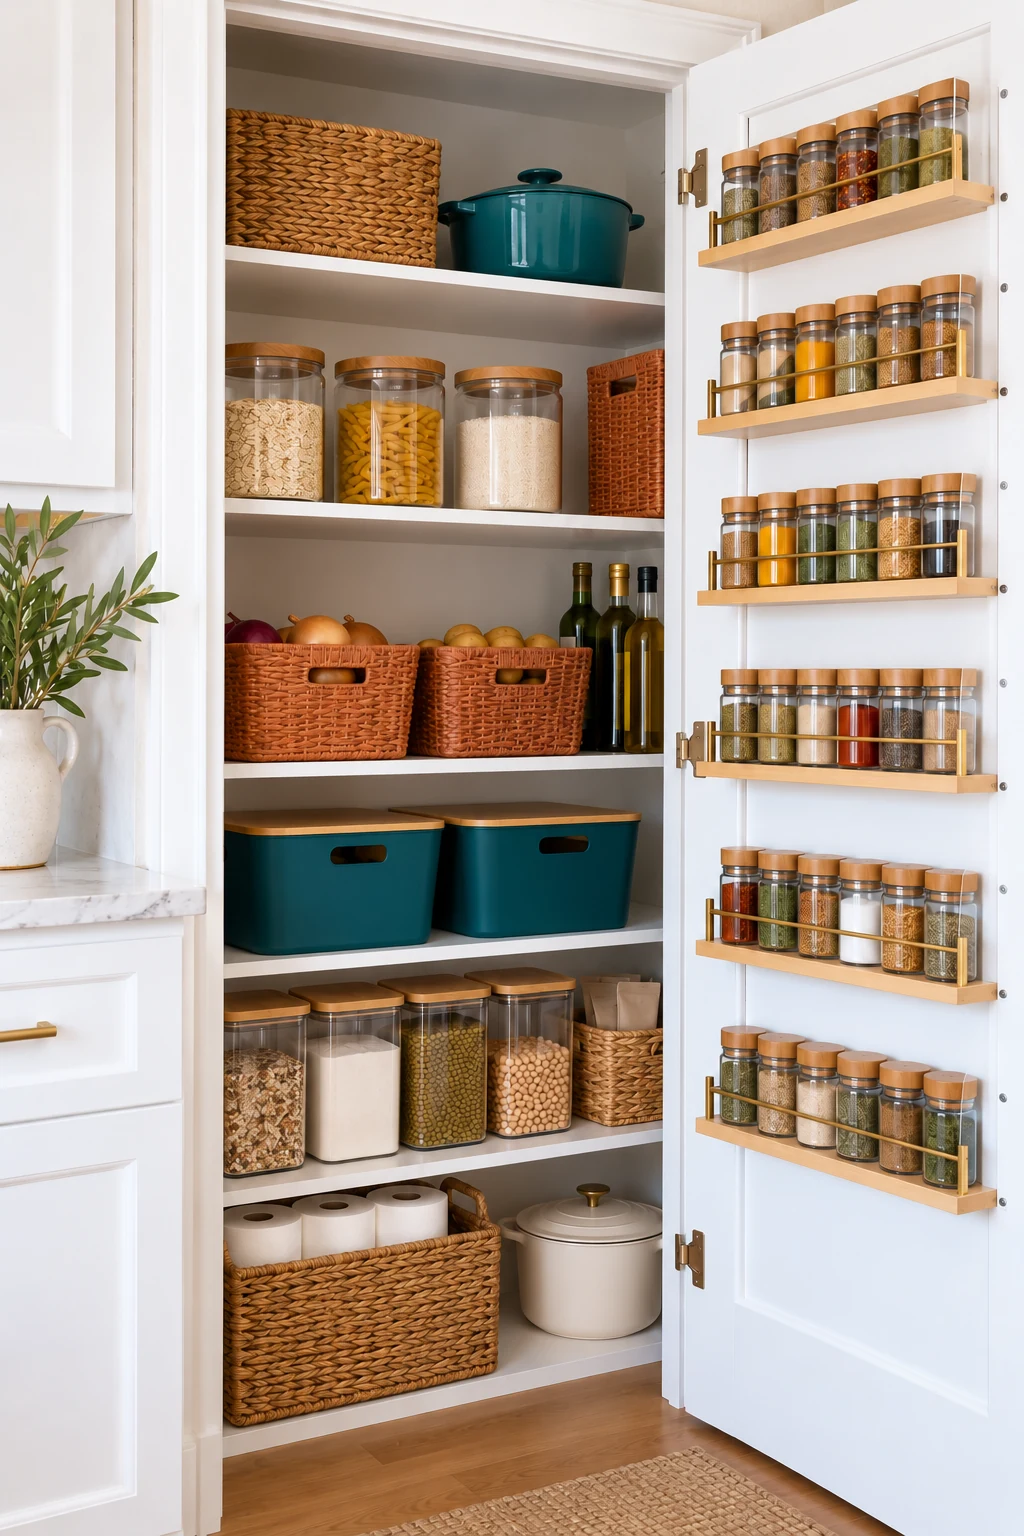
25. Test shallow storage on the inside of the door
A suitable pantry door can hold a few lightweight packets in shallow storage. First close the door with a cardboard mock-up in position to see where shelves and hinges interfere. A door organizer uses interior depth even when it looks thin.
Follow the organizer’s door type, mounting, and load instructions, including any required securement. Get permission for holes if needed, and do not assume adhesive mounting is damage-free. Keep glass jars and heavy cans on shelves unless a specific system is designed for them.
26. Give wire shelves a stable landing surface
If narrow jars wobble between shelf wires, use a compatible solid liner or a stable tray for that small area. The goal is to support the container bases so each item stands level. Measure around shelf supports instead of forcing a liner to buckle.
Choose a material suited to the shelving and easy to remove for cleaning. A liner does not increase the shelf’s load capacity, and thick edges should not catch a sliding bin. Keep food in its own appropriate packaging or food-storage container.
27. Keep cleaning products out of the food zones
Pantry space can become a catchall when the kitchen is small. Move household cleaners, sprays, and similar products to a separate suitable location so leaks and mix-ups are less likely. A labeled food bin does not replace sensible separation.
Keep pantry shelves focused on food and clean kitchen supplies that belong with it. If you cannot relocate a nonfood item safely, review its storage instructions before building a layout around it. Never reuse a chemical container for food, even if it looks convenient.
28. Let the container set the category limit
Choose a realistic amount of shelf space for a category before it expands across the pantry. One basket for snack bars or one row for canned beans gives you a visible limit. It is easier to notice excess when the boundary stays consistent.
Adjust the space if your household genuinely uses more, rather than squeezing packages into an undersized bin. The limit should support your routine, not create a weekly restocking chore. Leave a little room for the different shapes groceries bring home.
29. Keep one grocery note at the point of use
Place a simple shopping list near the pantry, or use one shared phone list while you cook. Add an item when the working supply is low, then check backstock before buying. This connects the organization system to what actually comes home.
Write the specific ingredient you need, such as rolled oats or crushed tomatoes, when similar packages share a shelf. Avoid keeping separate lists that drift out of sync. A quick look inside the pantry before leaving can resolve most duplicate purchases.
30. Build a short reset into grocery day
Before putting groceries away, return misplaced foods, wipe visible crumbs, and bring older usable packages forward. Check the use-soon basket and empty packaging at the same time. This brief routine keeps the system from needing another full clear-out each month.
Notice the section that repeatedly becomes messy and change that one part. A wider packet bin or a lower everyday shelf may solve more than new labels. Keep the layout flexible enough to follow how you cook as seasons, schedules, and shopping habits change.
Pick the shelf that slows you down tonight and give just that section a clear job. Once you can find its ingredients, use the same approach on the next shelf. A pantry that is easy to put away is much easier to keep organized. Subscribe to the Havelyo email list for more small-space decorating and organization ideas.