
Kitchen Organization
35 Kitchen Storage Ideas to Make the Most of Your Space
A kitchen can run out of usable space long before every shelf is full. Plates may be hard to reach, an appliance may claim the only prep area, or pantry extras may hide the food you already bought. Better storage starts by making those everyday jobs easier.
These 35 kitchen storage ideas work together as a flexible whole-room plan. Begin with one busy area, move supplies closer to the task they serve, and measure before adding organizers. Keep doors, drawers, appliance ventilation, and walking routes clear. Choose the changes that fit your kitchen rather than trying to use every idea at once.
This article contains affiliate links. If you buy through them, Havelyo may earn a commission. As an Amazon Associate I earn from qualifying purchases.
1. Start with the storage problem you notice every day
Choose the moment that regularly slows you down: unloading dishes, packing lunch, or digging for a pan. Empty just the cabinet or drawer involved and sort what is there. Moving one misplaced category can make more difference than adding another organizer.
Set aside duplicates and items that belong elsewhere before planning storage. Keep a useful working collection that matches your household, rather than an imagined kitchen routine. You can revisit the rest of the room after this first area works better.
2. Build zones around tasks
Group supplies by the jobs you do in the kitchen. Keep chopping tools near the prep space, baking equipment together, and mugs beside the beverage area. The goal is fewer trips across the room while you work.
A zone can span a drawer and the cabinet below it; it does not need a matching set of bins. In a shared kitchen, walk through the arrangement with everyone who cooks. Adjust it when two frequently used zones compete for the same spot.
3. Measure the opening as well as the cabinet
Cabinet interiors are often wider than their openings. Measure around hinges, center stiles, door handles, and shelf supports before buying a bin or pullout. An organizer that fits inside may still be impossible to remove when loaded.
Test a paper or cardboard footprint through the opening, then allow extra room for your hand. Include the height of handles, lids, and anything that rises above the organizer. Accurate access measurements are more useful than a cabinet’s nominal size.
4. Reserve the easiest reach for the daily collection
Place your everyday plates, favorite pan, and usual drinking glasses where they are comfortable to reach. Move occasional serving pieces to less convenient locations, provided they can still be retrieved safely.
Do not organize purely by appearance if it makes the kitchen harder to use. A shelf that suits one adult may not suit another household member’s reach. Keep heavy or awkward items lower and use appropriate help for anything difficult to handle.
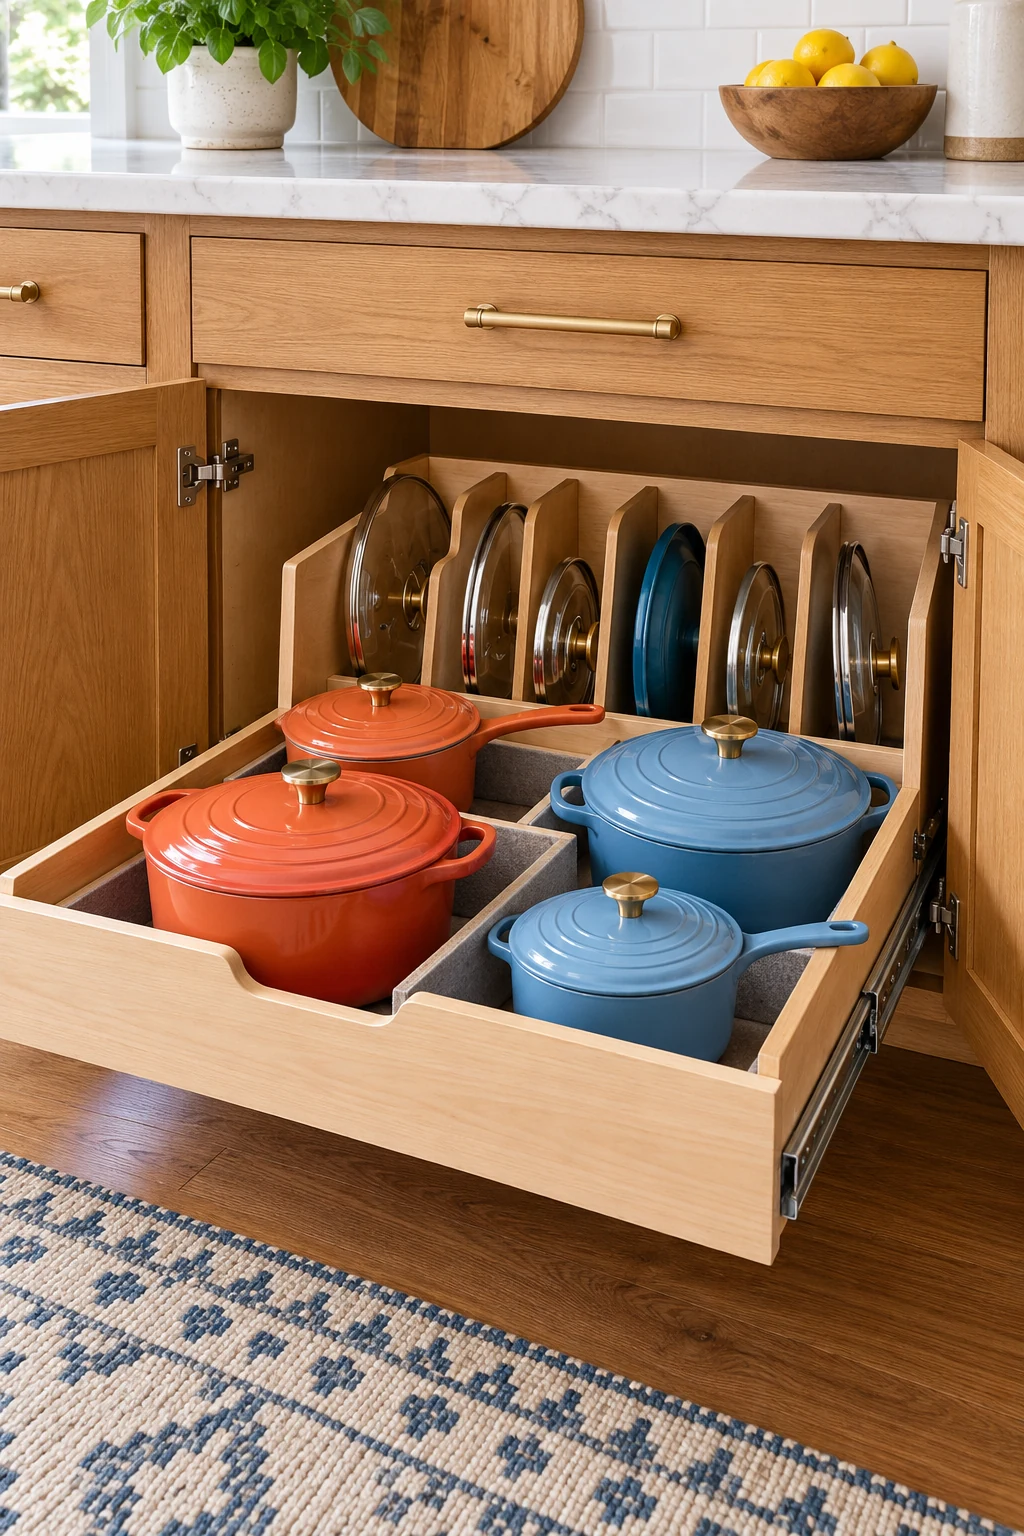
5. Keep heavy cookware low and accessible
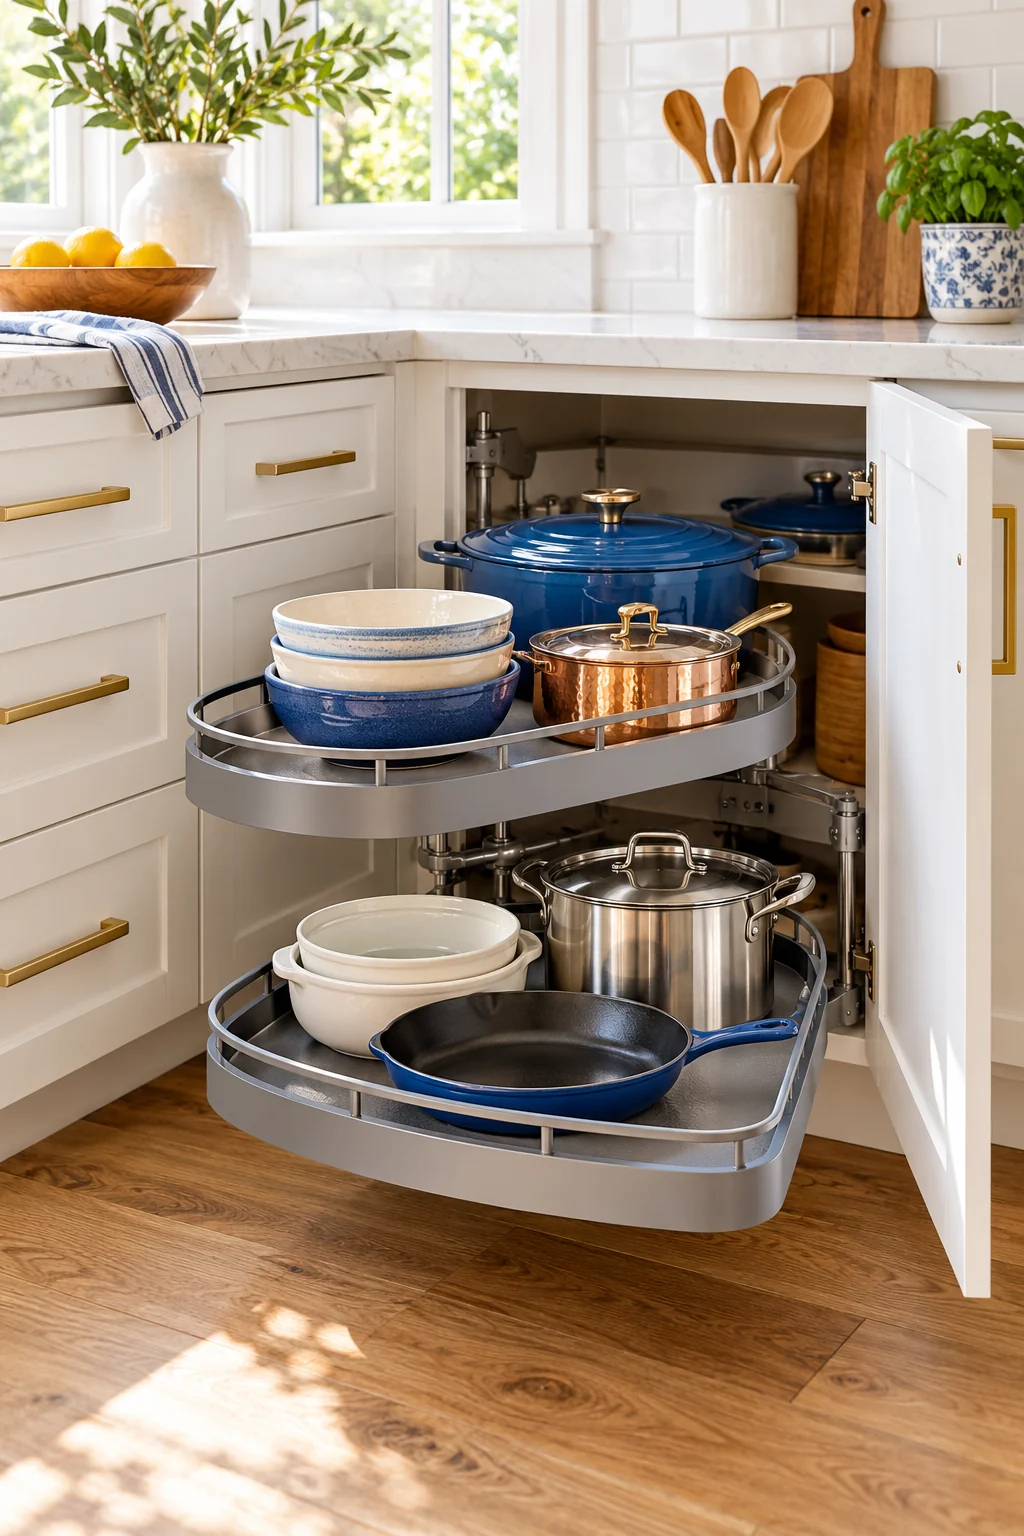
Give heavy pots and small appliances a supportive lower location that does not require reaching deep behind other items. Check cabinet and drawer load limits, especially when several heavy pieces share the same shelf.
Low storage should still allow a controlled lift. If lifting from near the floor is difficult, a suitably supported waist-height spot may be better. Avoid tall towers that require holding one heavy item while balancing the rest.
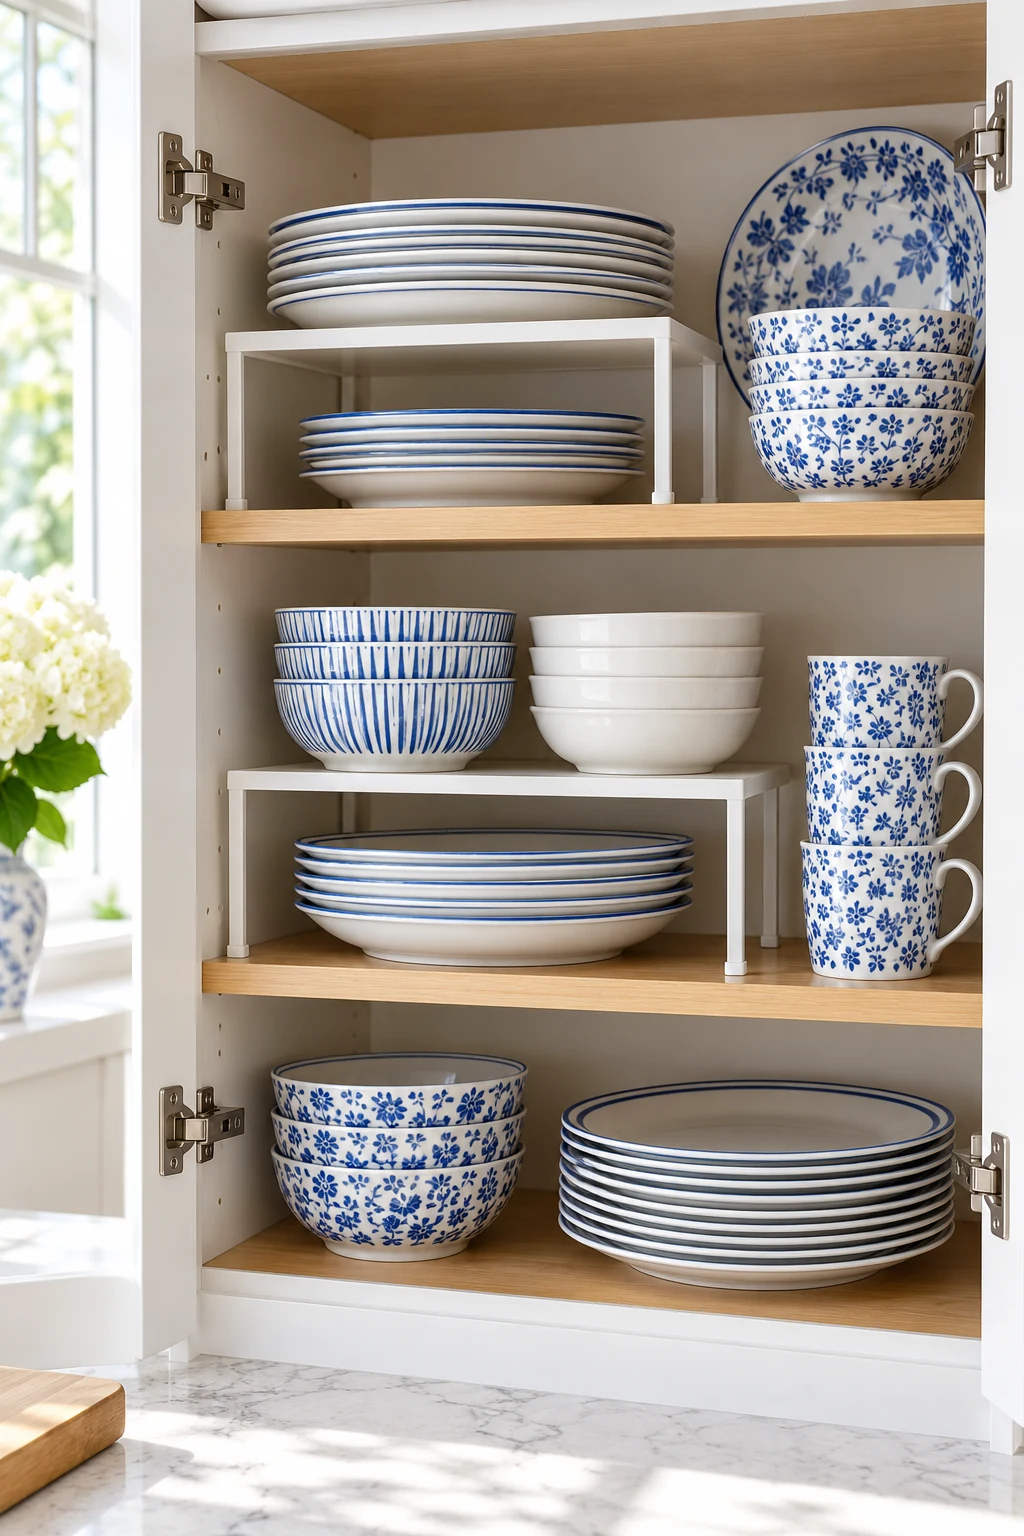
6. Add a second level for short dish stacks
When a shelf has a tall empty gap, a freestanding riser can separate bowls from plates. Keep each stack short enough to lift comfortably, with finger room above it. This uses height without making you move one category to reach another.
SONGMICS Cabinet Organizer Shelves come as a smaller and larger piece for different arrangements. Measure each shelf and the clear space beneath it; the overall listing size does not describe both pieces. Follow the maker’s setup and load guidance, including any stacking instructions. View on Amazon.
7. Keep mugs in one easy-to-scan row
Line up the mugs you use most with their handles accessible. Store them near tea or coffee supplies, but away from heat and steam that could affect nearby food. A single visible row is often easier than a packed cluster.
If you own more mugs than the space supports, move occasional ones to another cabinet. Hooks beneath a shelf need a suitable shelf structure and secure mounting. Do not add them where hanging mugs would obstruct items below or put extra load on weak shelving.
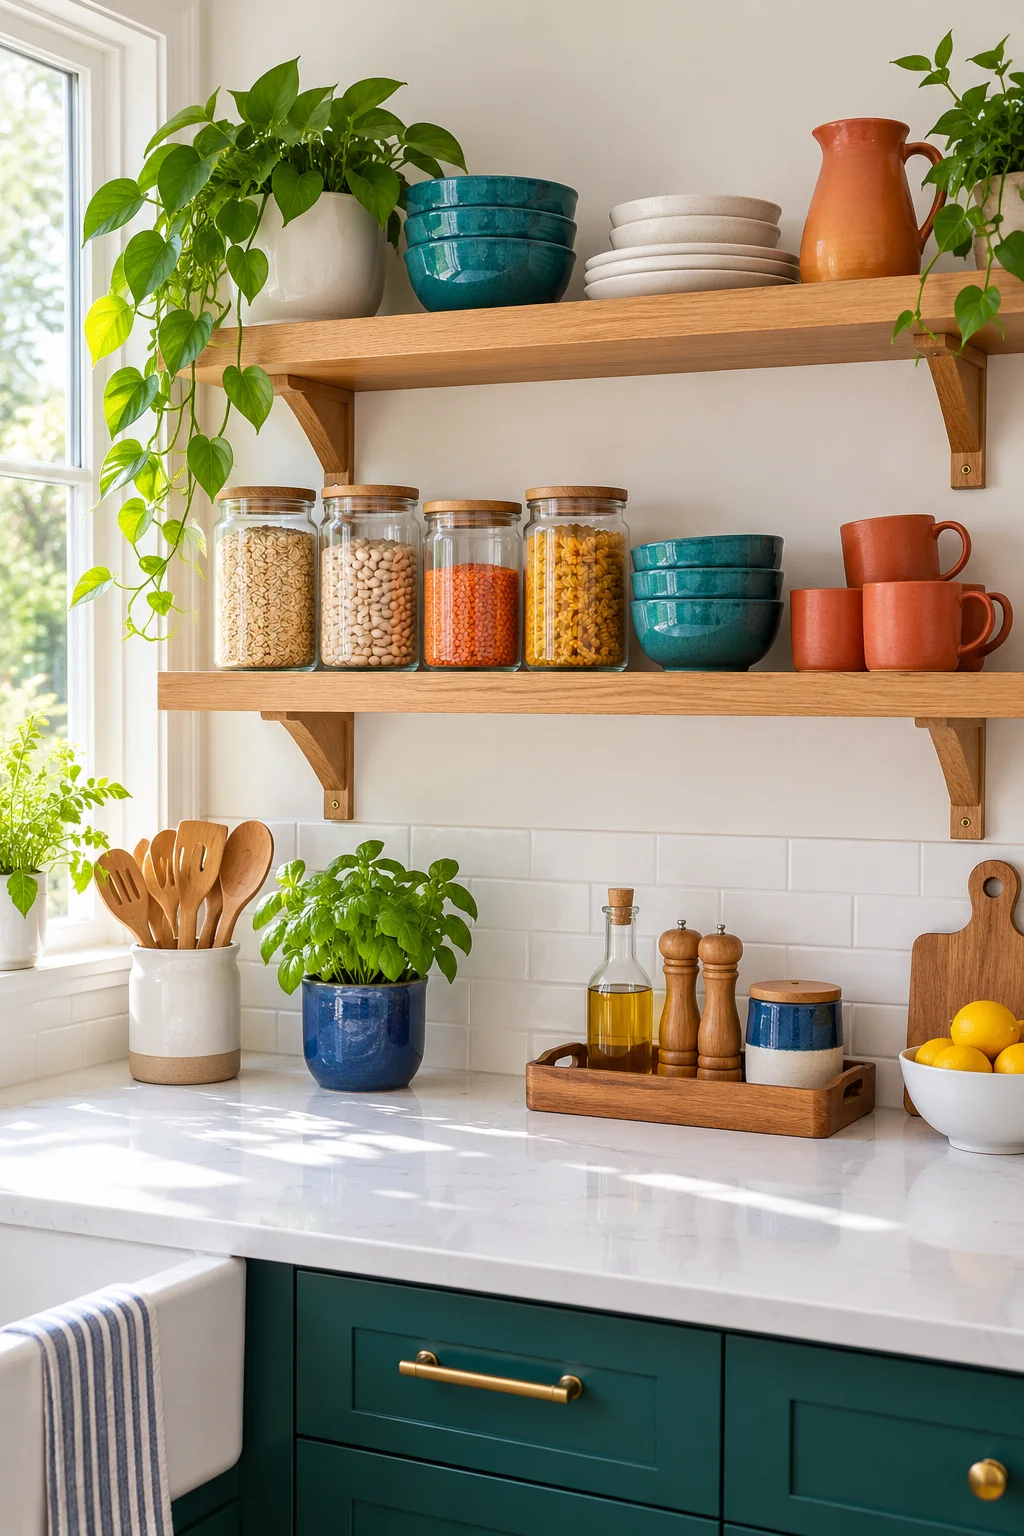
8. Give fragile glassware room to be lifted
Store glasses in stable positions with space between rims and nearby objects. Place taller pieces where you can lift them straight out without tilting them through a narrow opening. Keep the shelf free of items that could fall against the glass.
Follow the glassware maker’s advice before stacking or nesting pieces. A storage layout that depends on squeezing glasses together is difficult to maintain safely. Reserve prime space for daily glassware and protect occasional stemware in a suitable separate location.

9. Choose a flatware tray that leaves useful room beside it
Separate everyday flatware from oversized cooking utensils instead of forcing both into one insert. Keep the flatware section near the dishwasher or dining area where it is most useful. Leave a neighboring lane for a few long items.
The standard gray Joseph Joseph DrawerStore Compact Cutlery Organizer has angled compartments and a narrow footprint. It requires at least 3.25 inches of drawer clearance, even though the empty tray is lower. Test your handle shapes and avoid overfilling the channels. View on Amazon.
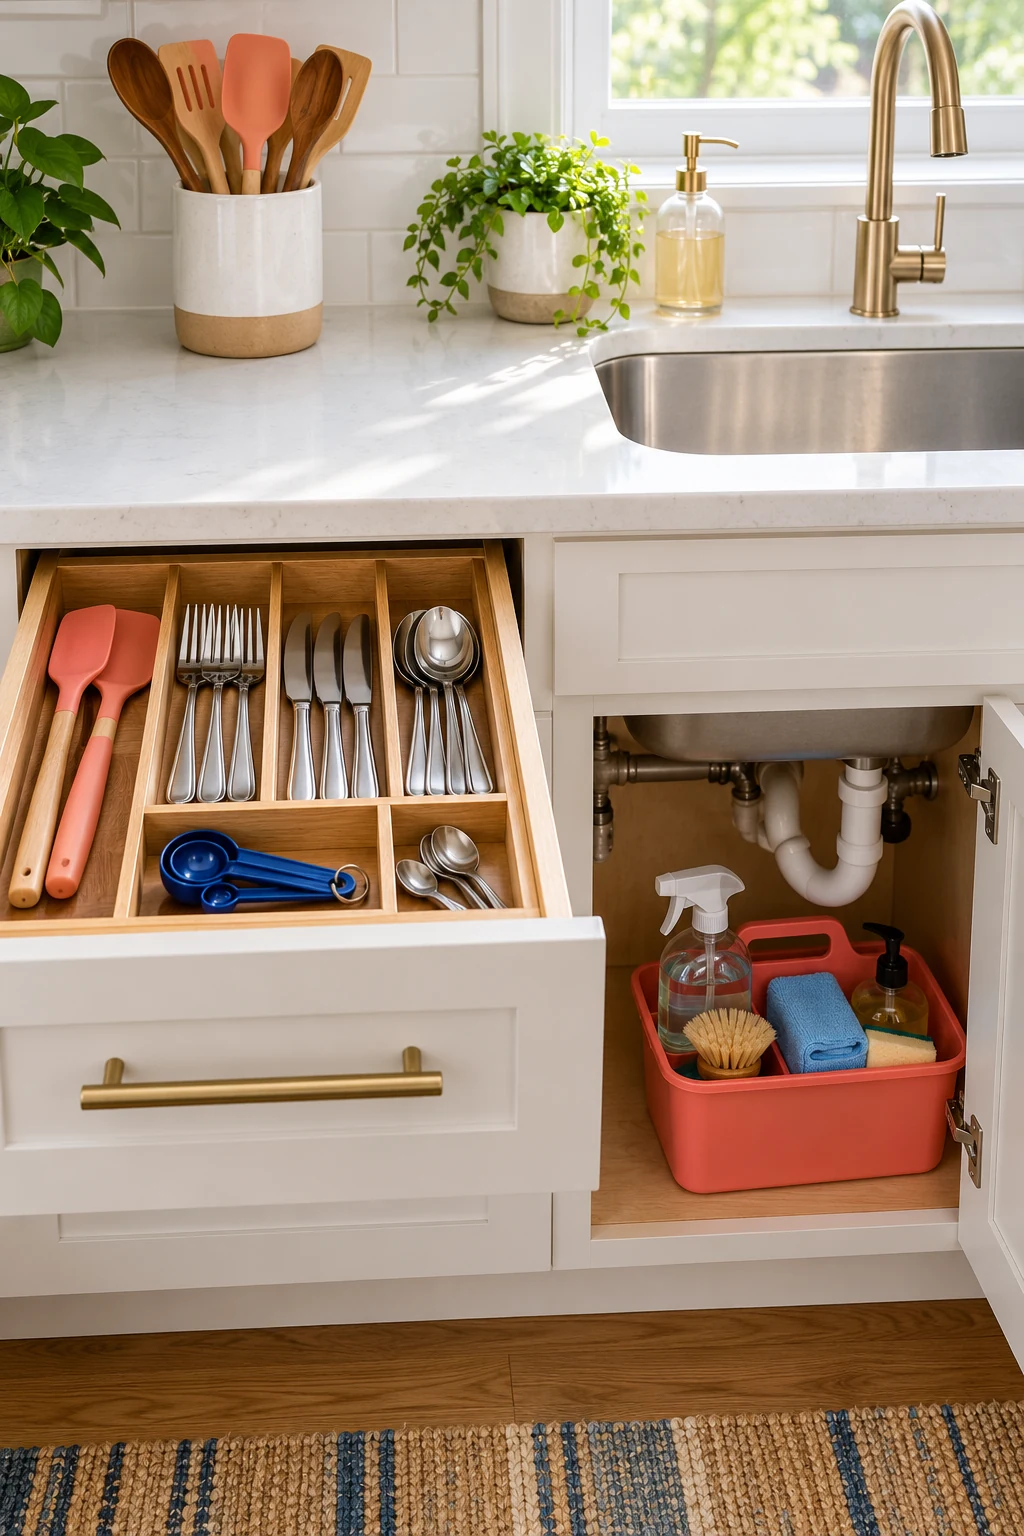
10. Give bulky tools an open drawer section
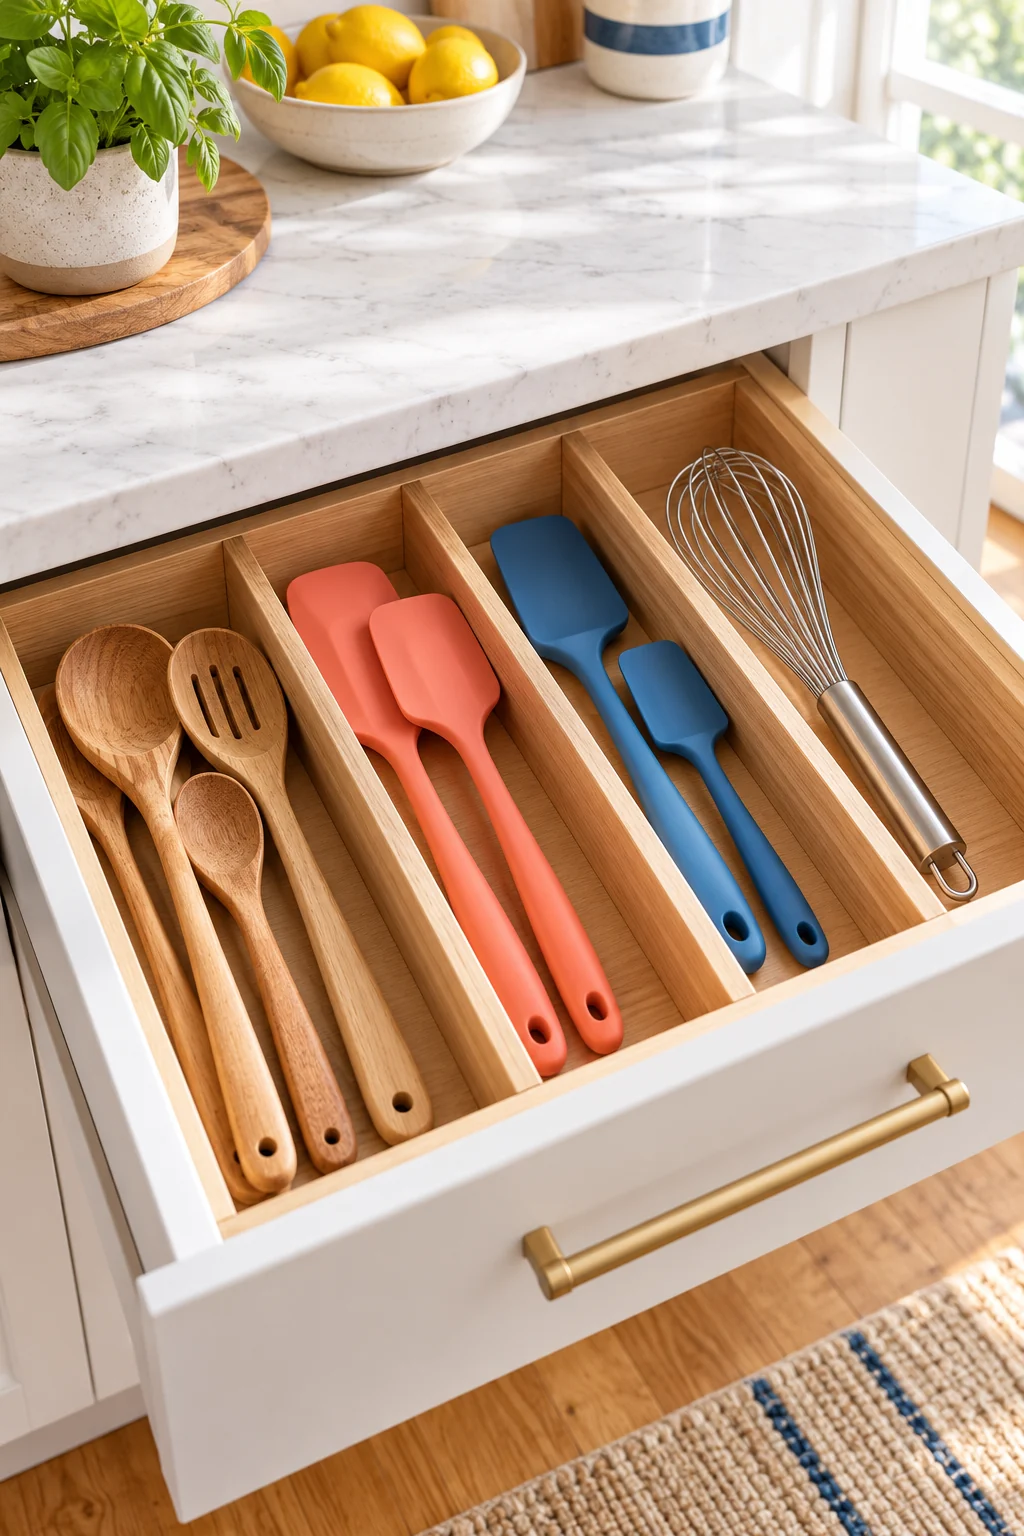
A whisk, ladle, and masher need more room than a peeler or teaspoon. Set aside one open or divided section for their awkward shapes, with handles aligned so you can pull a tool out cleanly.
Keep only the tools used regularly in this drawer. Store an occasional oversized utensil with the equipment it serves. If a tool catches when the drawer closes, move it to a deeper location rather than pushing the drawer shut.
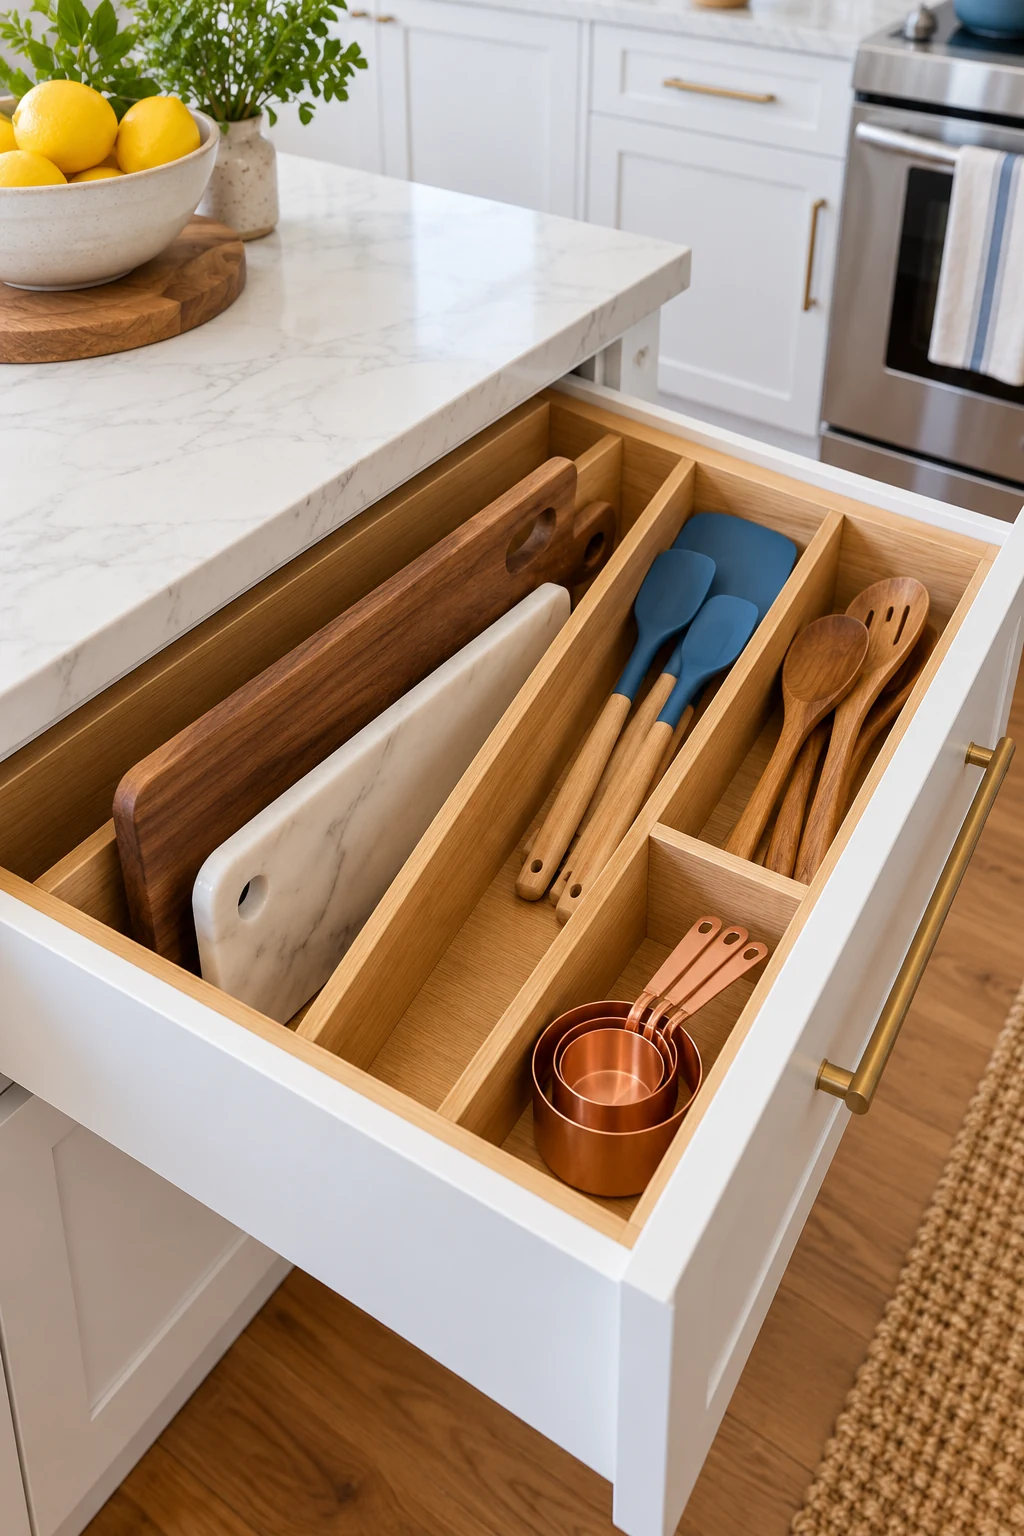
11. Replace a large knife block with appropriate protected storage
If counter space is limited, consider a purpose-made knife drawer insert that supports and shields the blades. Choose a secure drawer near the prep area and check the fit of each knife, including the handle.
Never put loose knives in a general utensil bin. Keep sharp tools inaccessible to children and use any covers or safety features recommended by the maker. The aim is to recover counter room while preserving careful, predictable knife access.
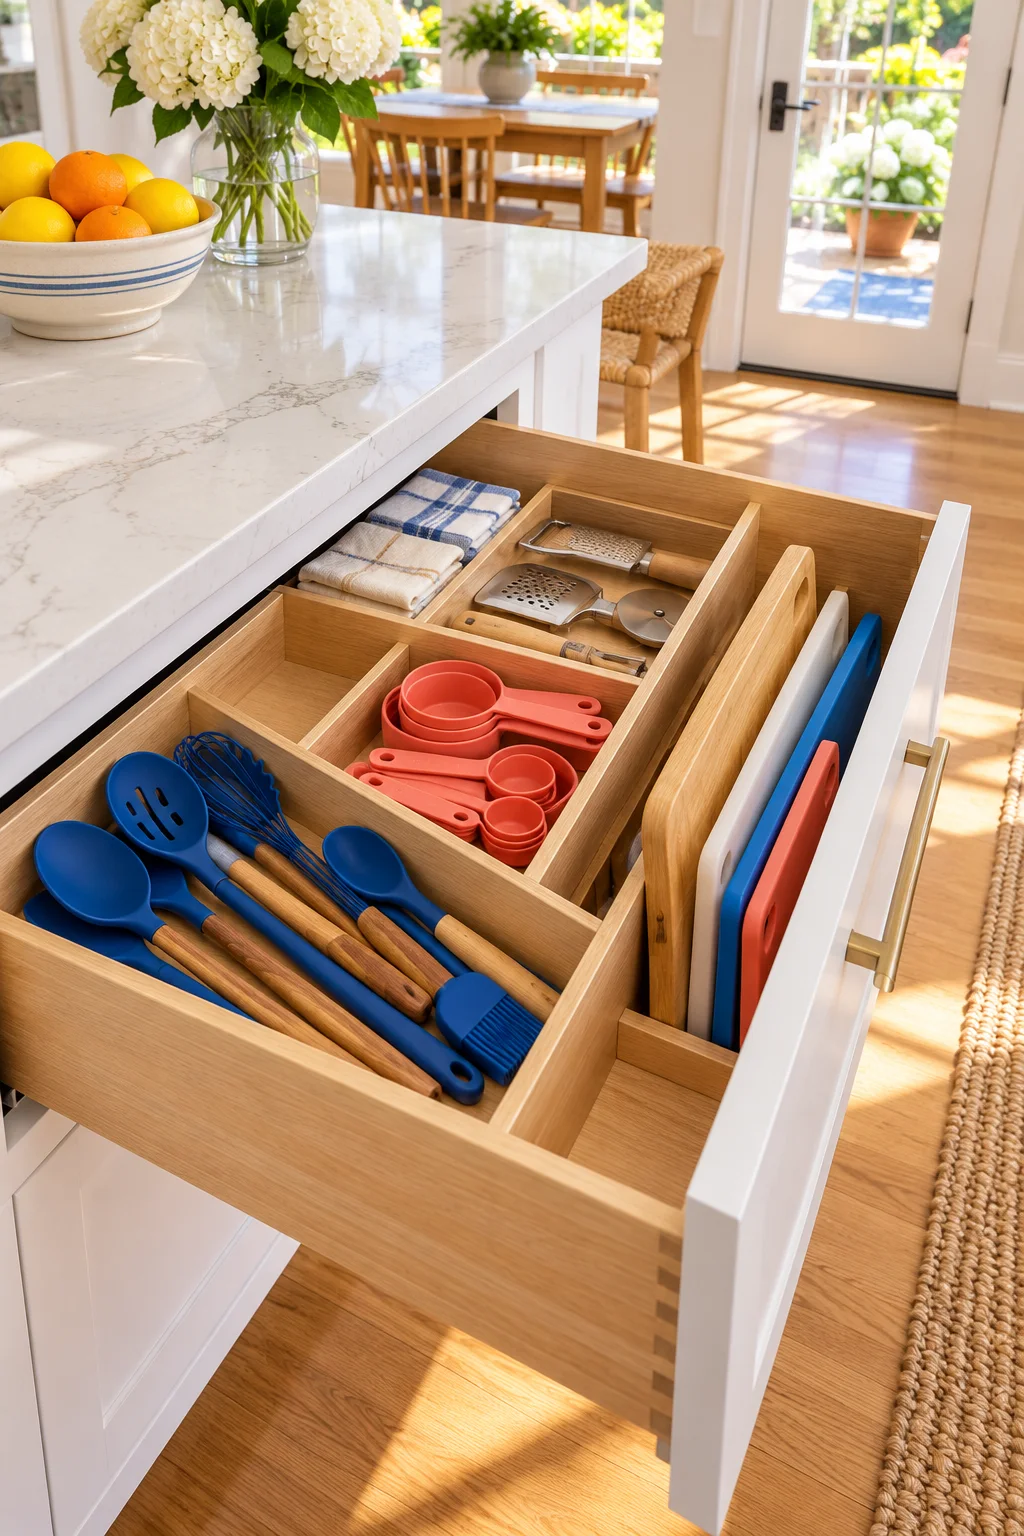
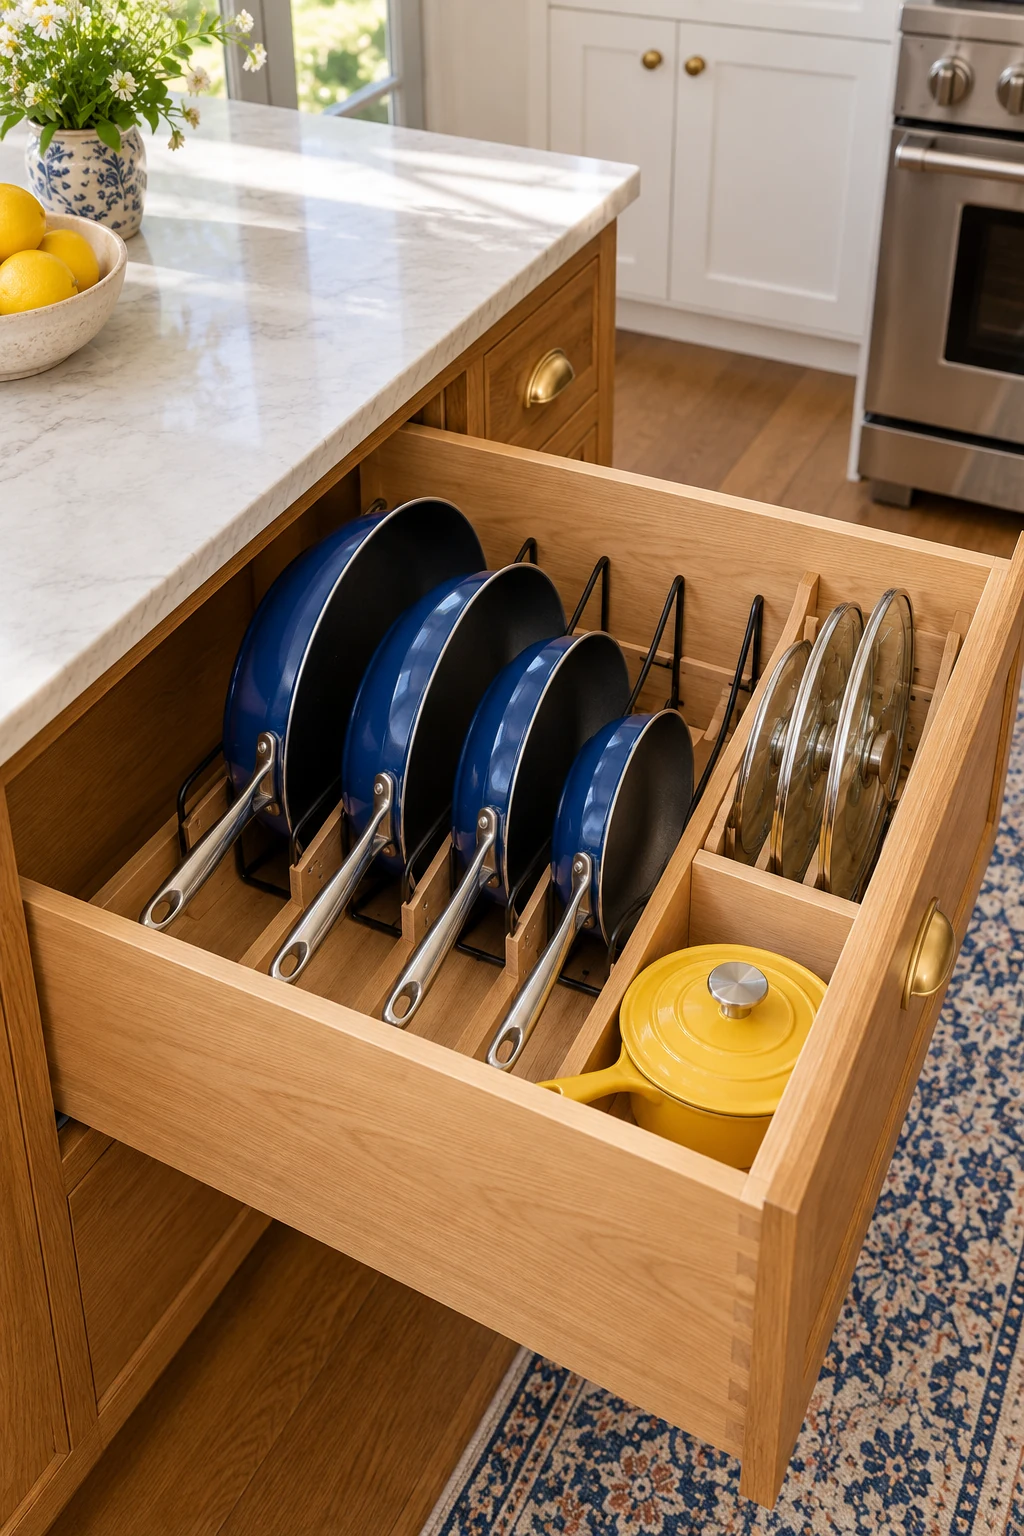
12. File sheet pans and cooling racks upright
Give thin baking equipment individual vertical slots so you can reach a cookie sheet without lifting a stack. A lower cabinet near the oven can work if the pans clear its opening and do not interfere with adjacent items.
YouCopia StoreMore Bakeware Rack’s Organizing Hero edition has seven adjustable dividers and a listed 11.6-by-7.4-inch base footprint. Allow for the pans rising above its 6.4-inch divider height. Use the current edition’s measurements rather than dimensions from an older listing. View on Amazon.
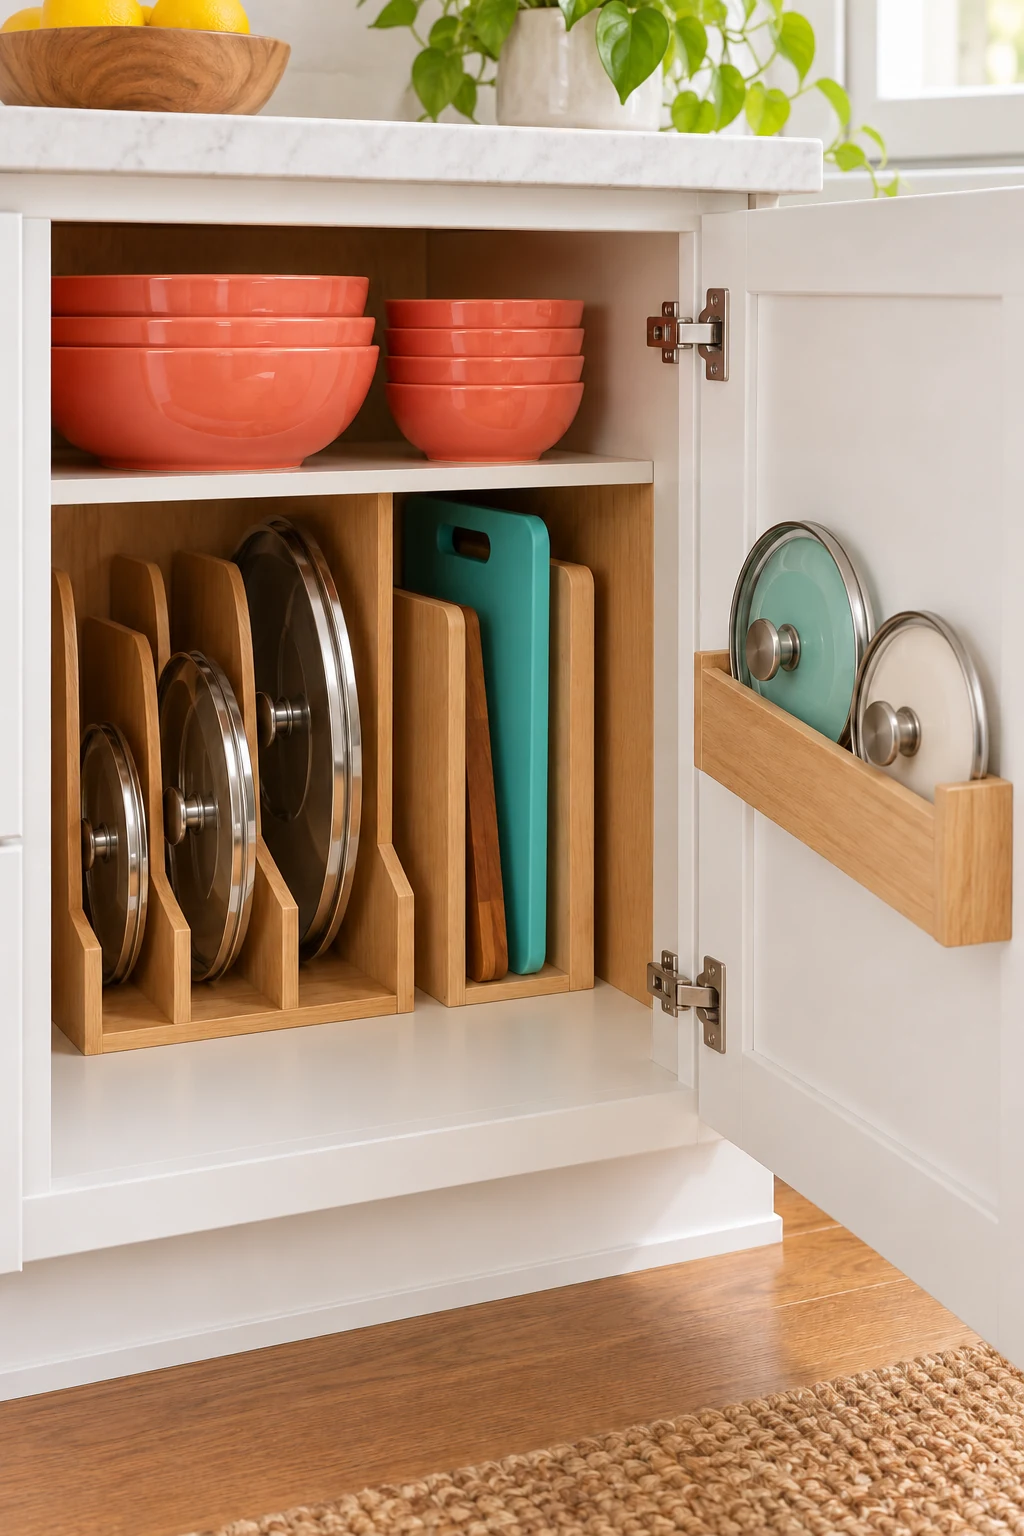
13. Separate frequently used pans from occasional cookware
Keep the frying pan and saucepan you use most near the front of the cooking zone. Store specialty pans farther back or on another shelf so they do not need to move during everyday meals.
Nest cookware only where the maker permits it, with suitable protection for finishes when needed. A few short, stable groups are easier to manage than one tall stack. If a handle repeatedly catches another pan, give it an individual position.
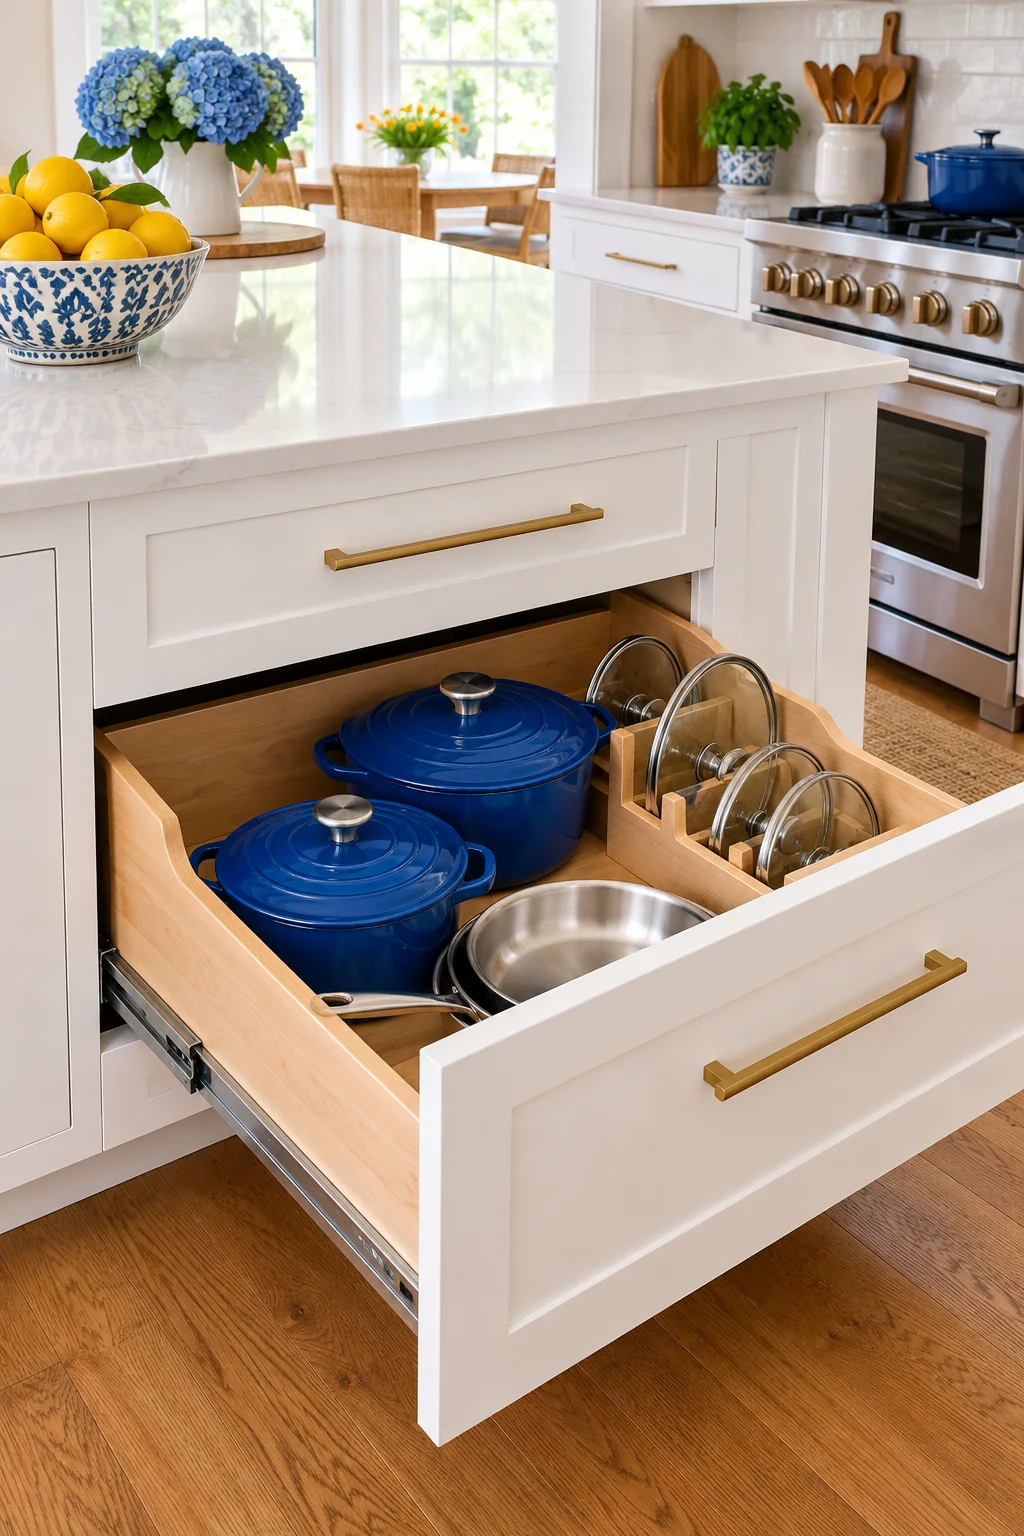
14. Use the door for suitable small lids
Small lids can occupy a measured door pocket while their pots stay on the shelf. Lay out the lid positions with the door closed so handles will not collide with shelving. Keep the door lightly loaded.
Joseph Joseph CupboardStore Gray Pan Lid Holders use adhesive mounting. Limit the arrangement to compatible flat lids, use a conservative 6.3-to-9-inch diameter range, and respect the listed 1.1-pound maximum per holder. Follow finish restrictions and the required waiting time before use. View on Amazon.
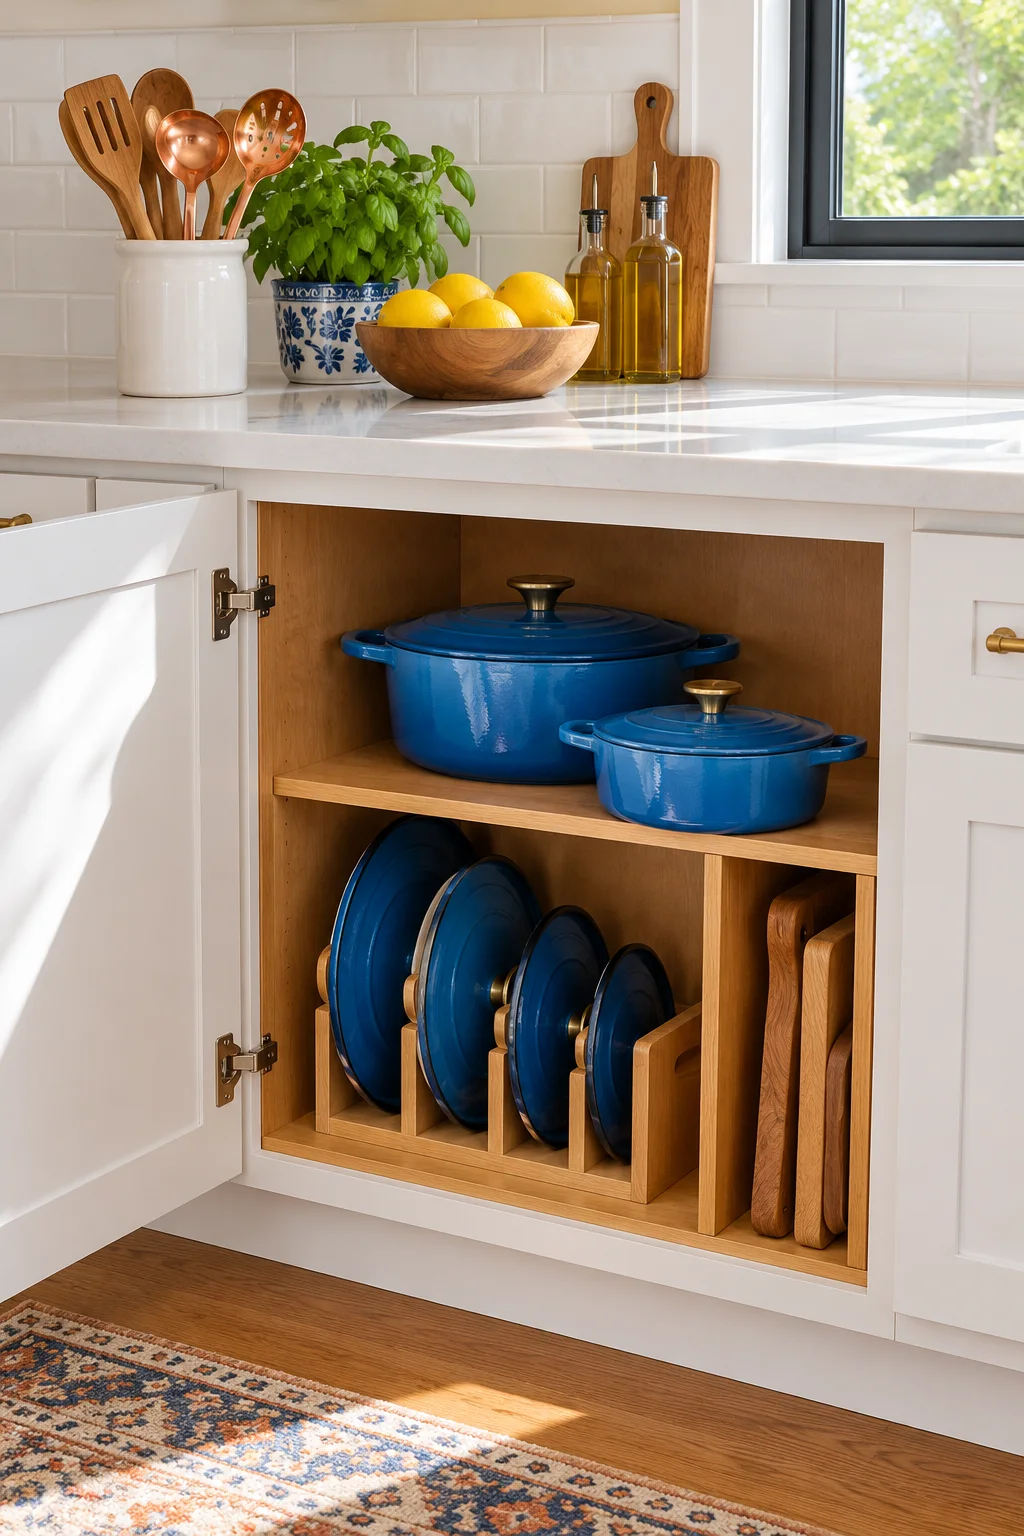
15. Keep cutting boards near the prep surface
Store clean, dry boards on edge in a stable rack or supported cabinet slot. Put their handles or upper edges where you can grip them easily. This clears the backsplash without moving prep equipment across the kitchen.
Give heavy wooden boards a location and support suited to their weight. Avoid wedging damp boards into a tightly enclosed gap. Different materials have different care needs, so follow their instructions instead of treating every board as interchangeable.
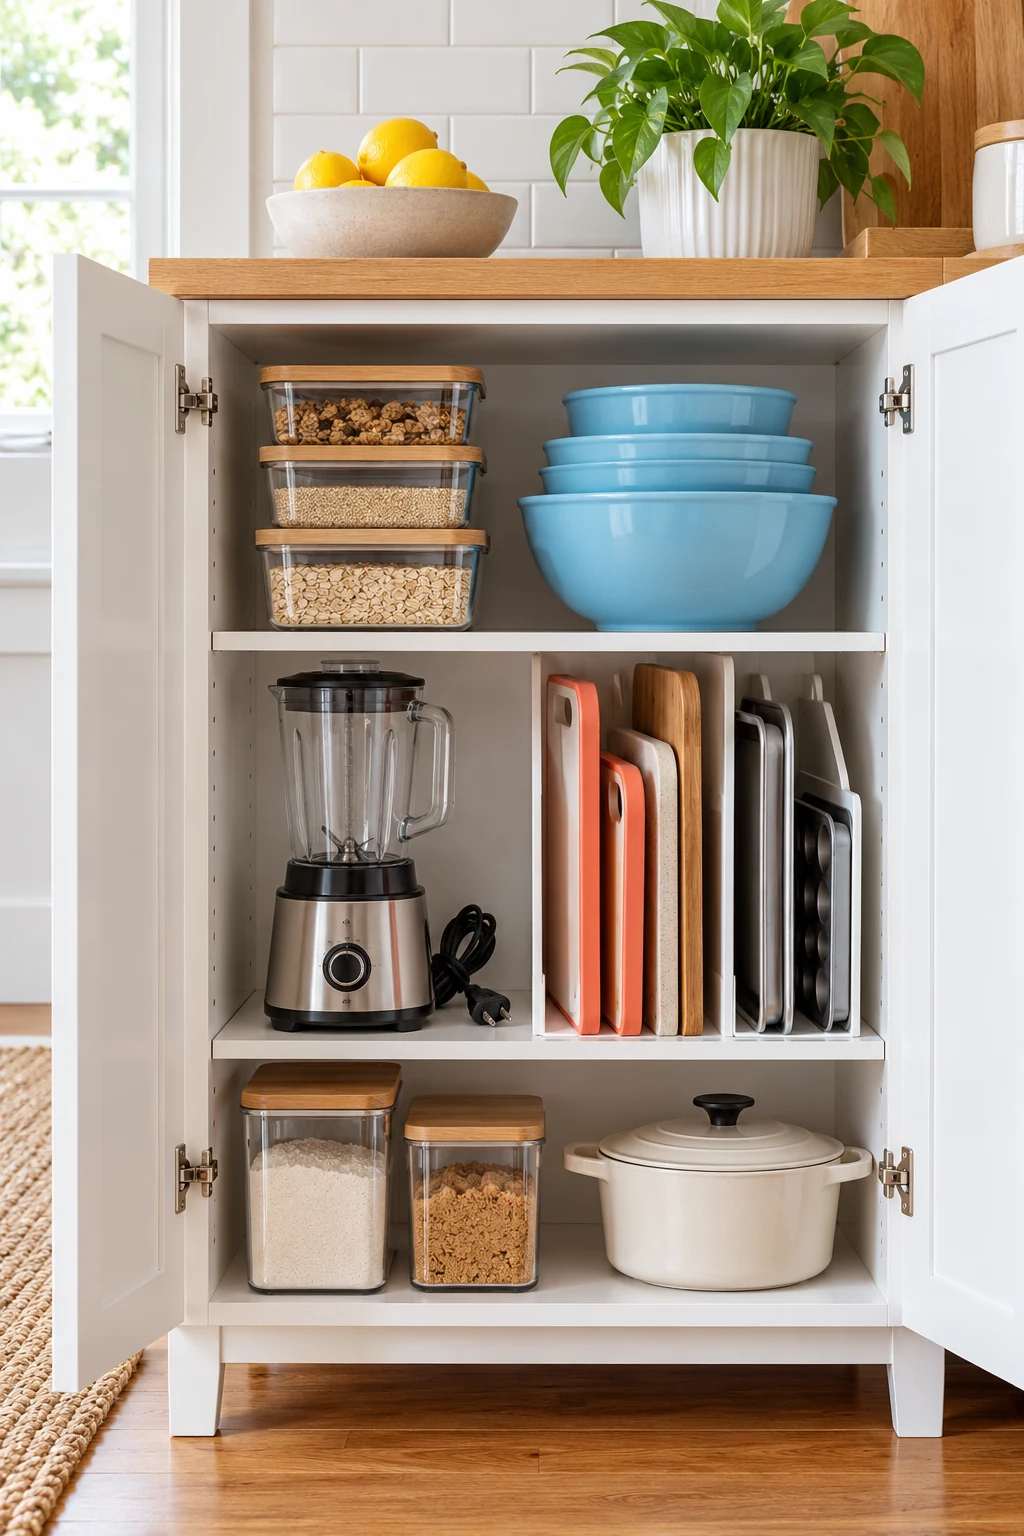
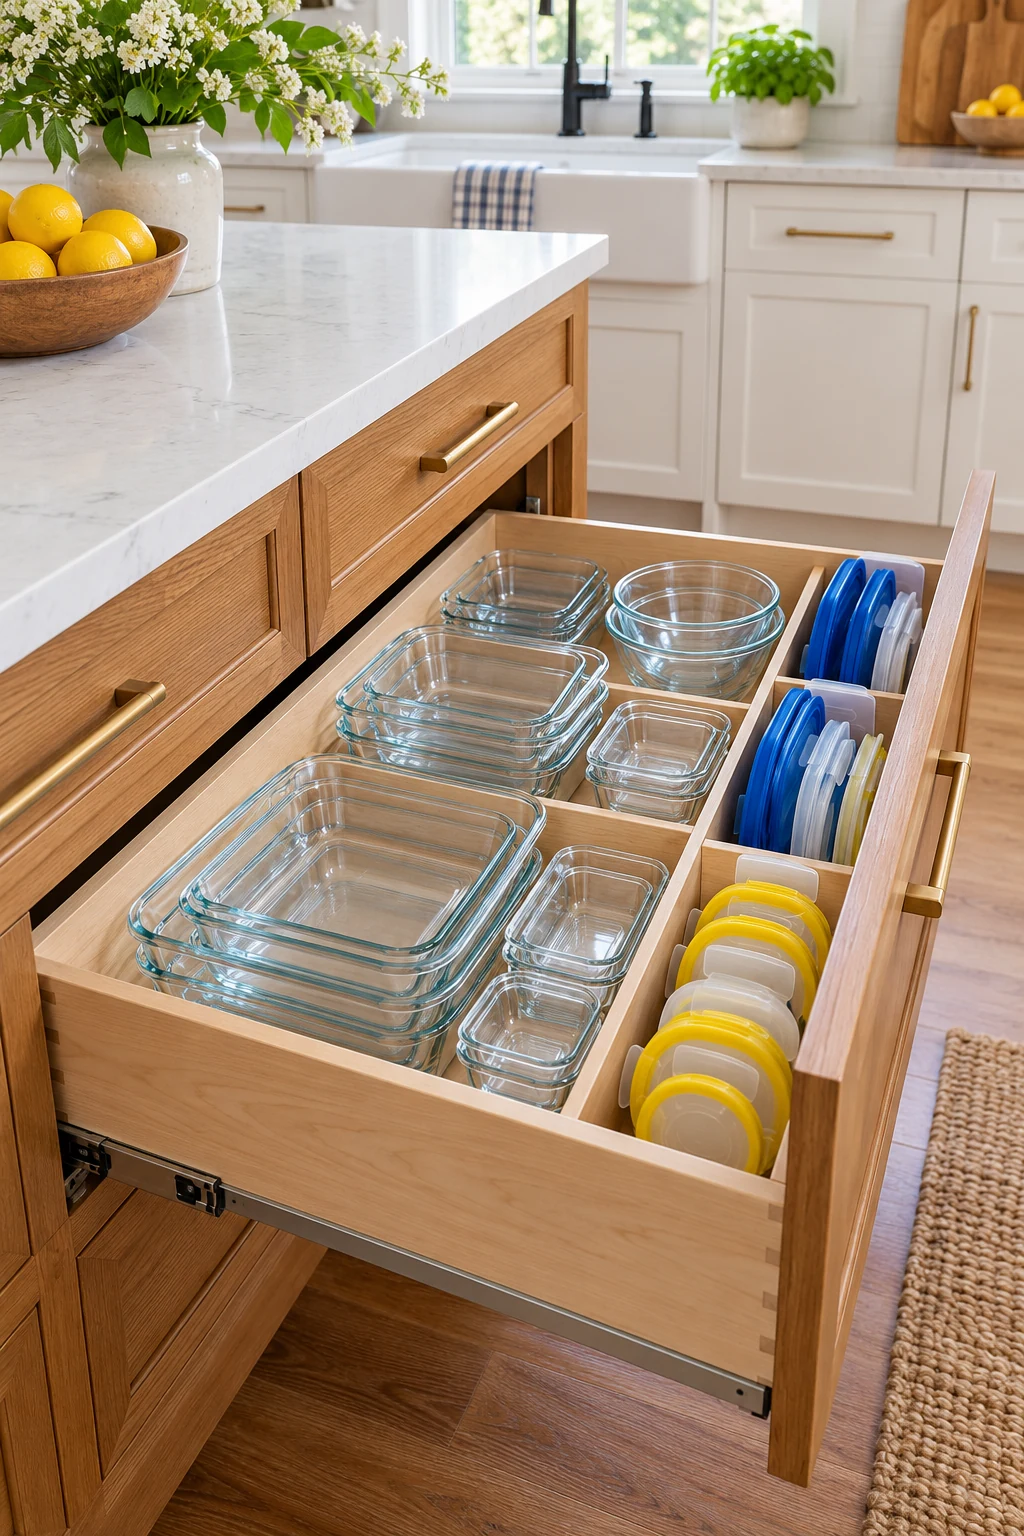
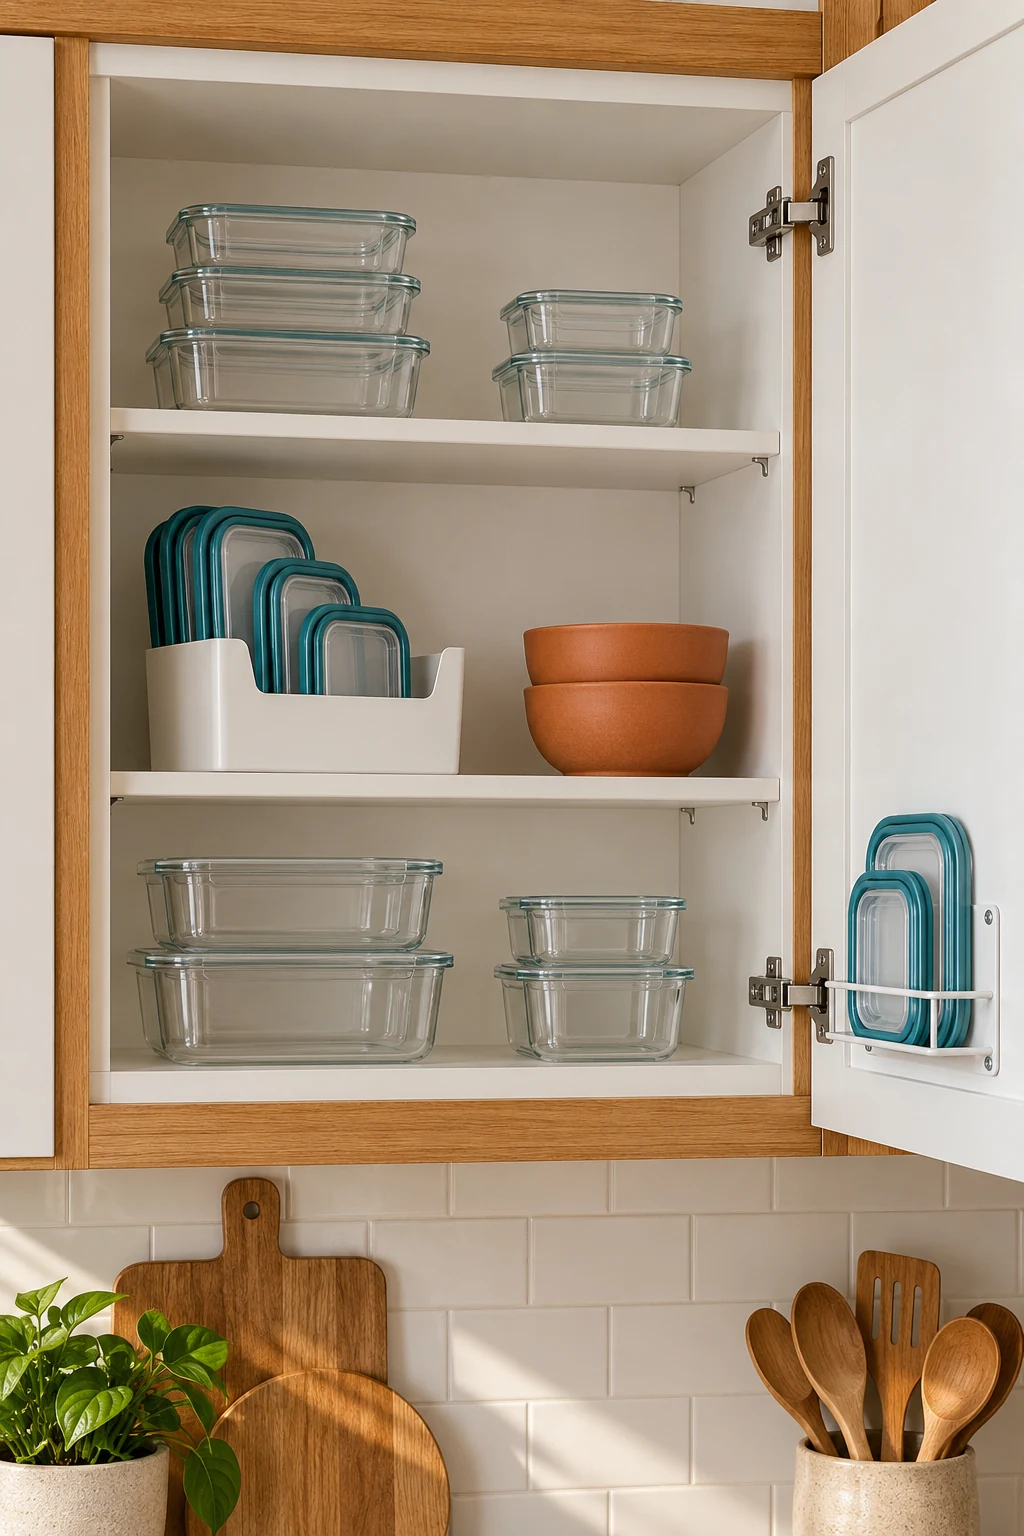
16. Match container lids before buying more storage
Gather food containers and their lids, match them, and decide which sizes your household uses. Nest compatible empty containers and give lids a separate visible section. An organizer works best after the mismatched collection has been sorted.
YouCopia StoraLid 24 Container Lid Organizer has five adjustable dividers and is listed for lids up to 9 inches wide. Treat 24 as the model name rather than a guarantee for your collection. Check the current footprint and the loaded height before placing it in a drawer. View on Amazon.
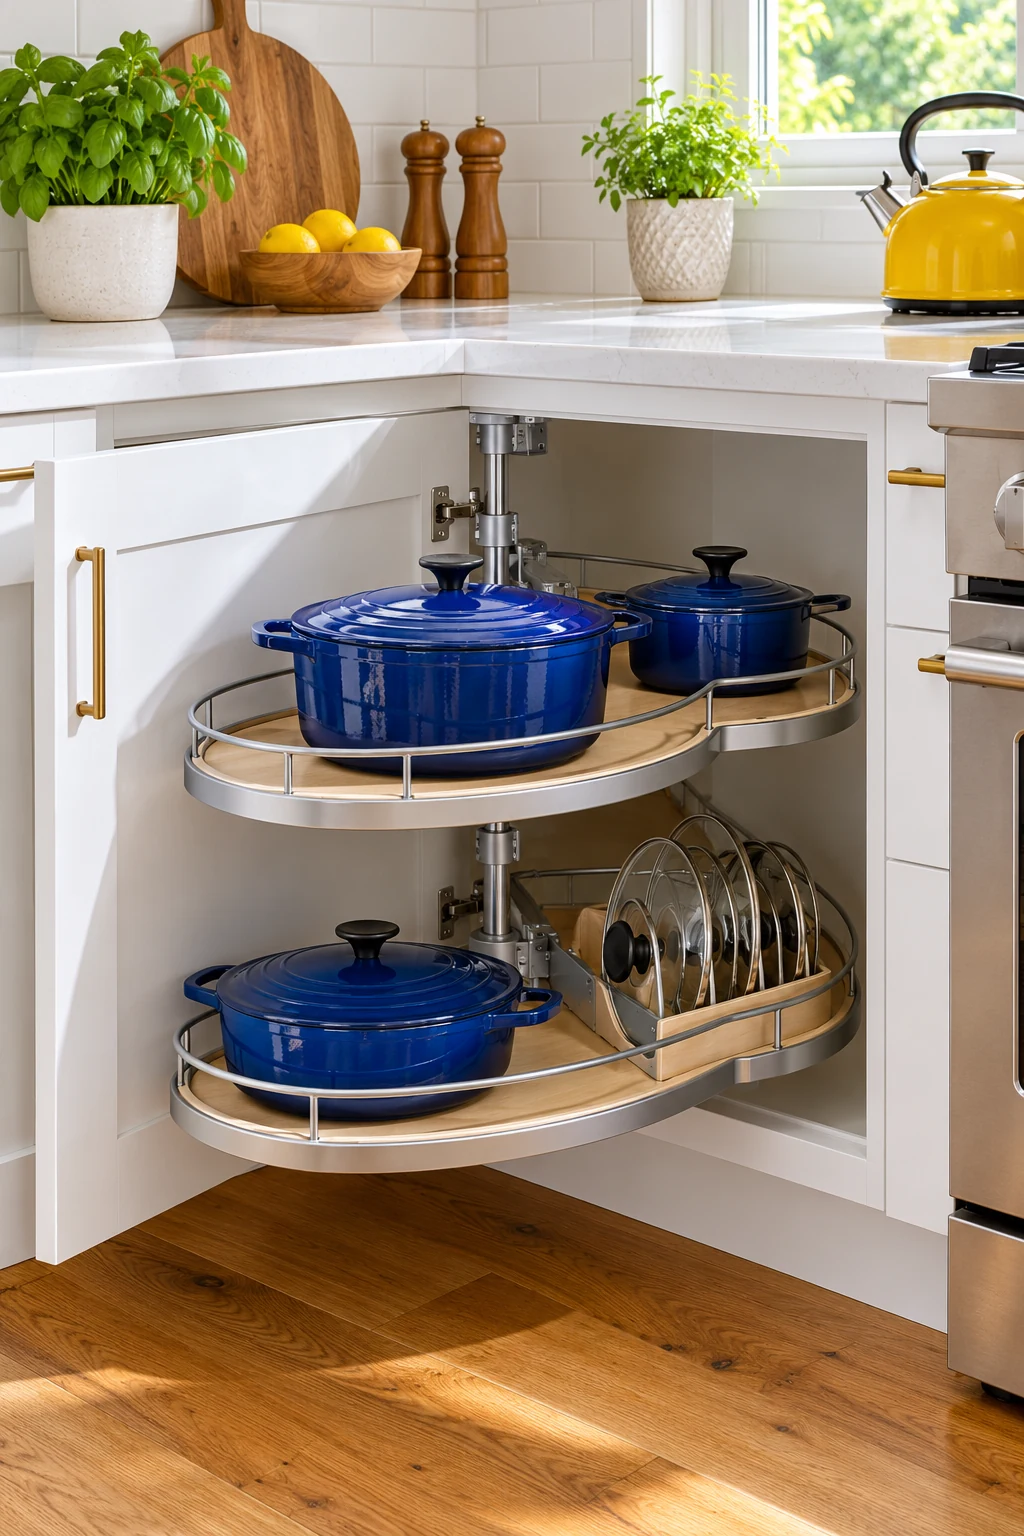
17. Limit water bottles to a workable collection
Put frequently used bottles together with their matching caps and small removable parts. Use a stable row or appropriately shaped bottle rack so round bottles do not roll into the back of a cabinet.
Follow each bottle’s cleaning and drying guidance before storing it. Tall bottles need enough room to lift out, and loose straws need their own contained location. Move occasional travel bottles away from the daily collection if the shelf becomes crowded.

18. Rotate short bottles out of a reachable corner
A turntable can bring short bottles to the front of a cabinet without moving a whole row. Choose a shelf where you can see the contents and rotate the tray without hitting the door or nearby storage.
The Copco Nonskid Lazy Susan Turntable has a 12-inch nominal diameter and a raised rim. Measure the available rotation area, then check your bottle bases against the usable interior. Keep the load balanced; a rim and liner do not guarantee that tall bottles cannot tip. View on Amazon.
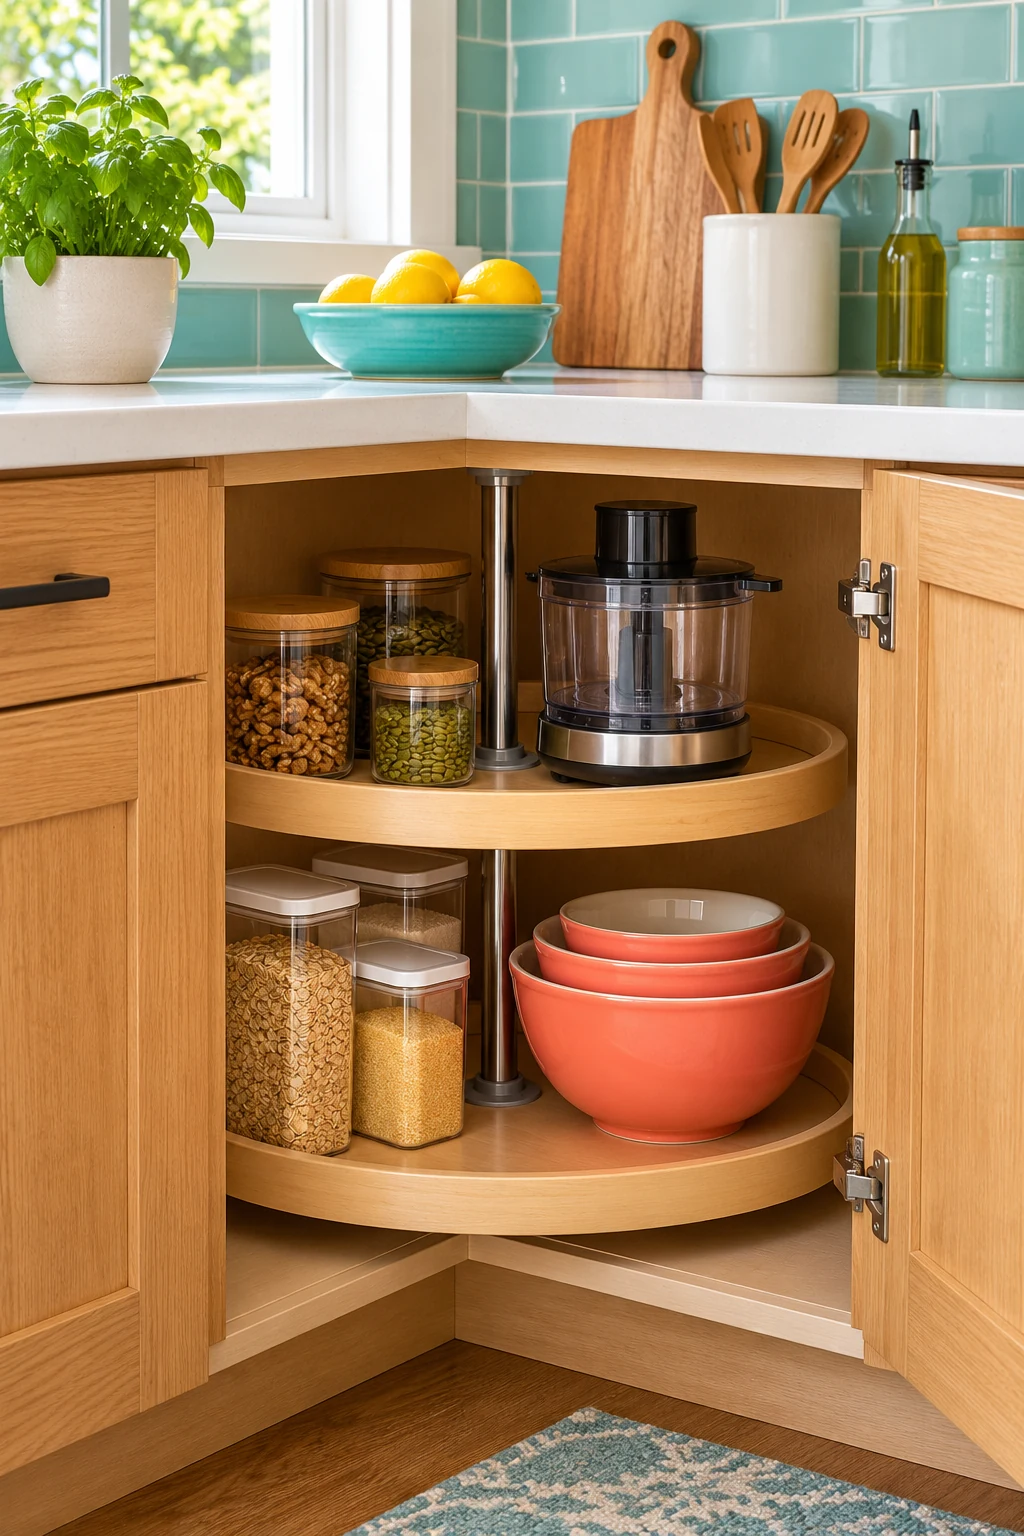
19. Give small packets stepped compartments
Seasoning packets, tea envelopes, and similar sealed items disappear easily behind taller boxes. Group them in a shallow organizer that lets their upper edges remain visible. Put the categories you use often toward the front.
YouCopia ShelfBin Packet Organizer has four stepped compartments and a handle, with the maker listing 10.7 inches deep by 6.5 wide by 5.2 high. Check packet width and the extra room needed to lift it. Keep food in its original protective packaging inside the organizer. View on Amazon.
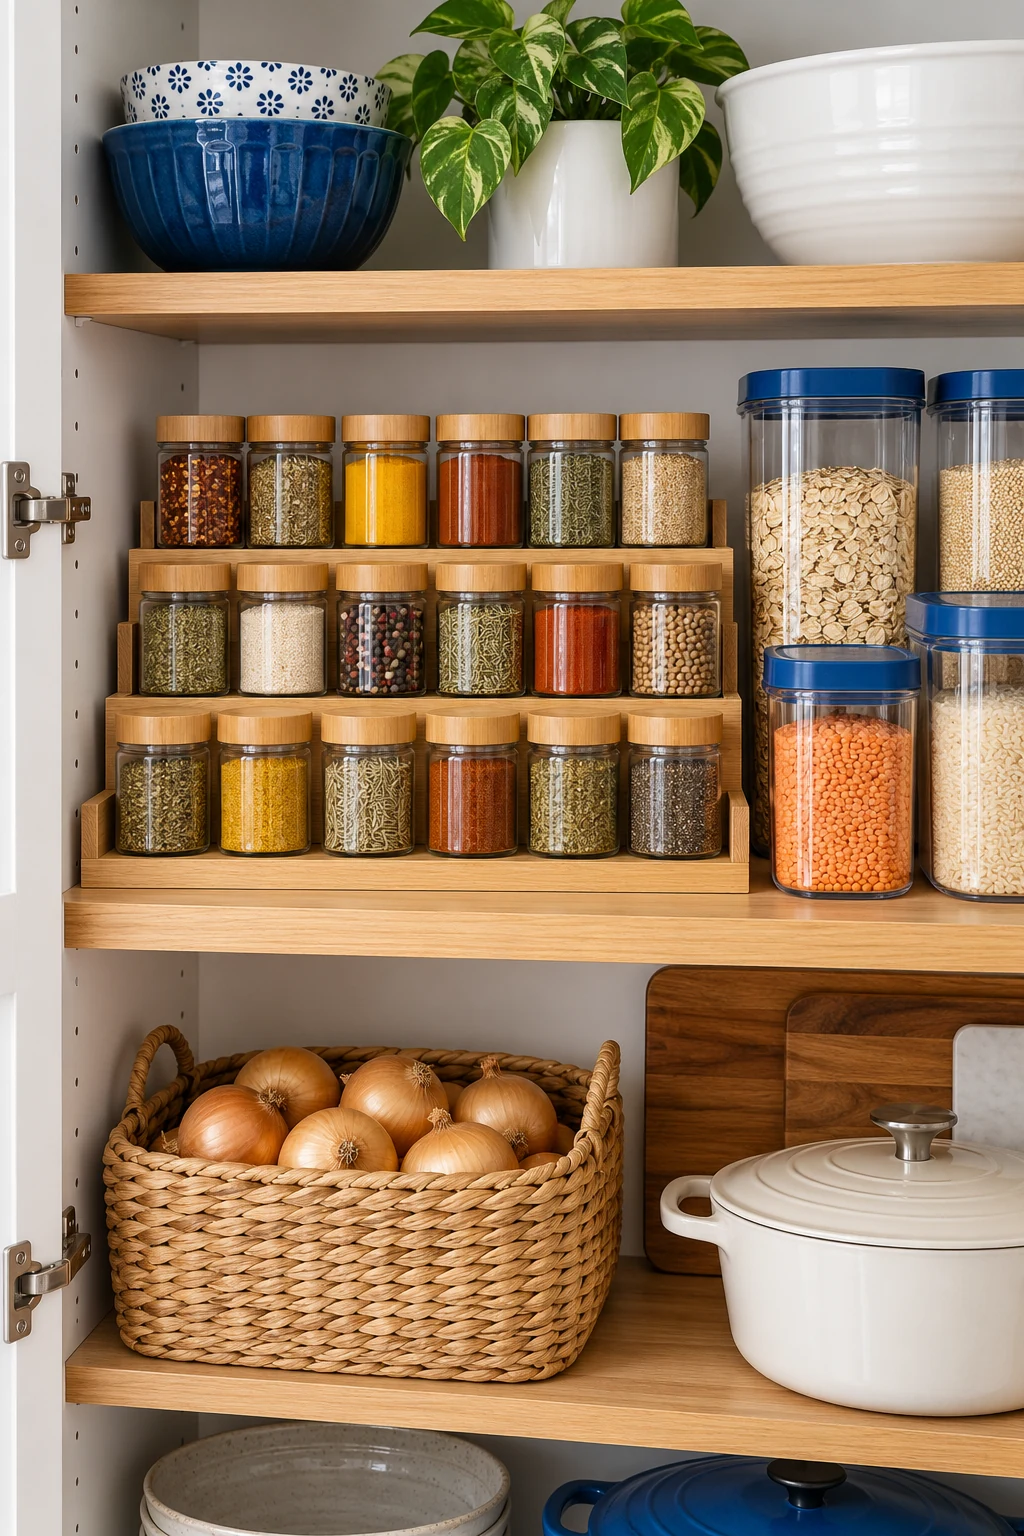
20. Use a canister only for a staple you refill regularly
A properly sized canister can make a frequently used dry ingredient easier to measure and return to the shelf. Keep the name, best-by information, and any allergen or cooking details available when transferring from the original package.
OXO Good Grips POP Big Square Medium Container holds a listed 4.4 quarts. Its broad opening can suit regular baking, but ingredient weight does not translate directly into volume. Check the footprint, clean and dry it as directed, and do not treat a storage container as an extension of food safety limits. View on Amazon.
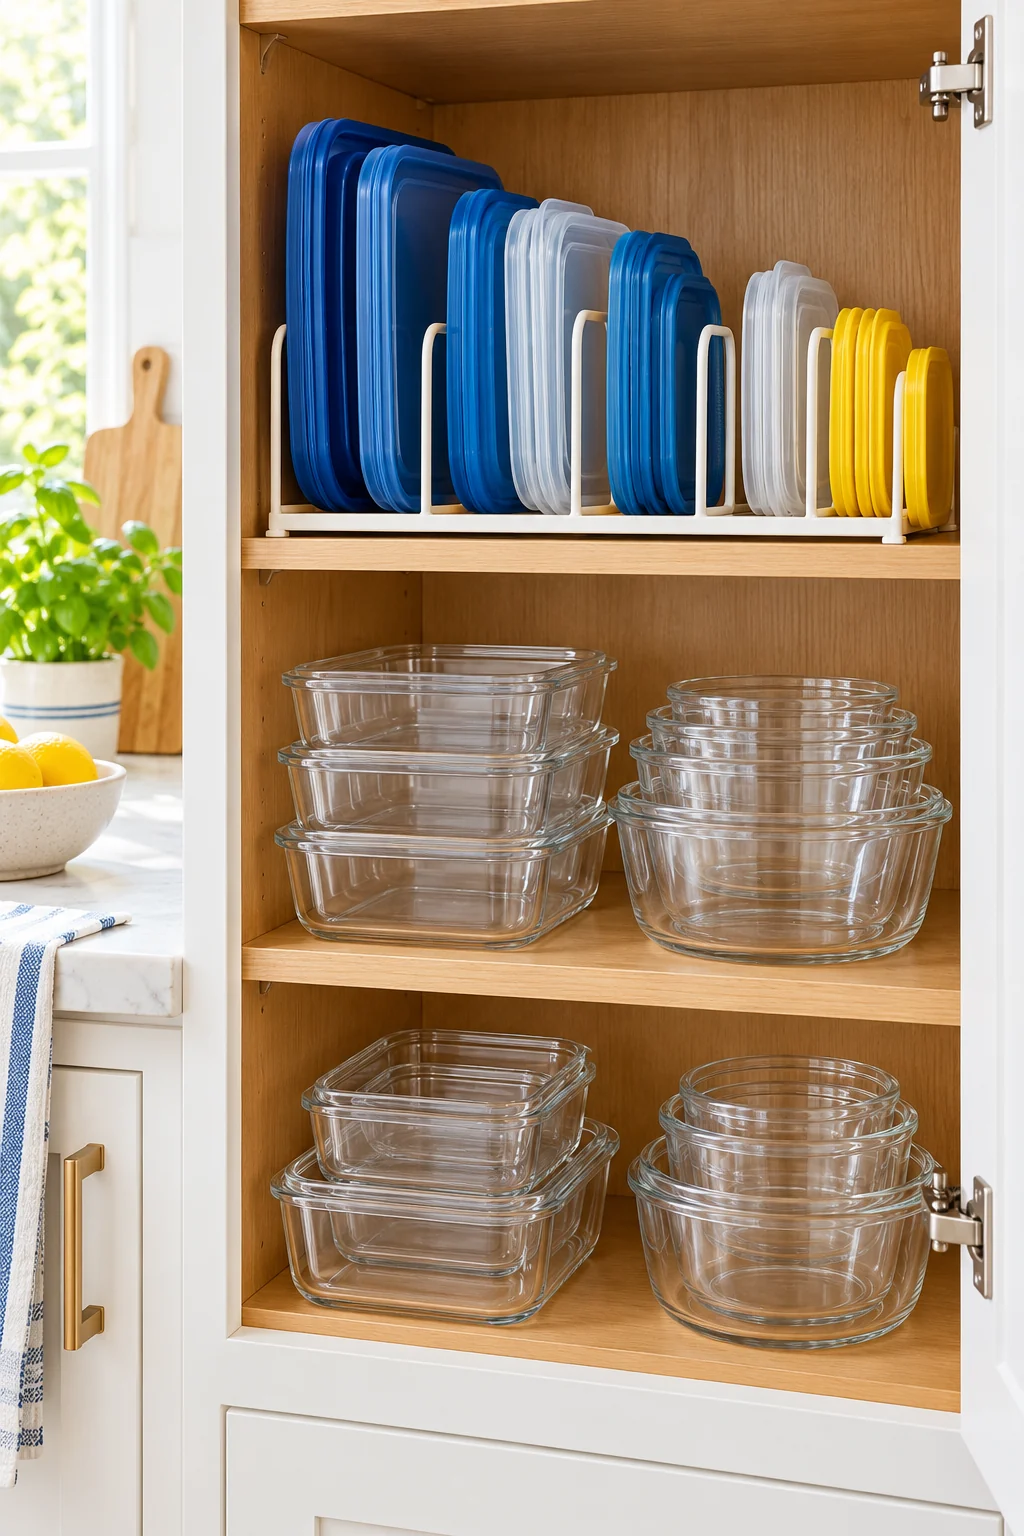
21. Give unopened backups their own shelf section
Keep extra packages behind or above the working supply, where the storage conditions suit the food. Group duplicates together so you can count them at a glance. This makes the everyday shelf less crowded.
Check the backup section before shopping and rotate suitable items according to their dates and package instructions. Avoid opening another package simply because the first is hard to find. A small household may need one backup rather than an entire bulk-storage cabinet.
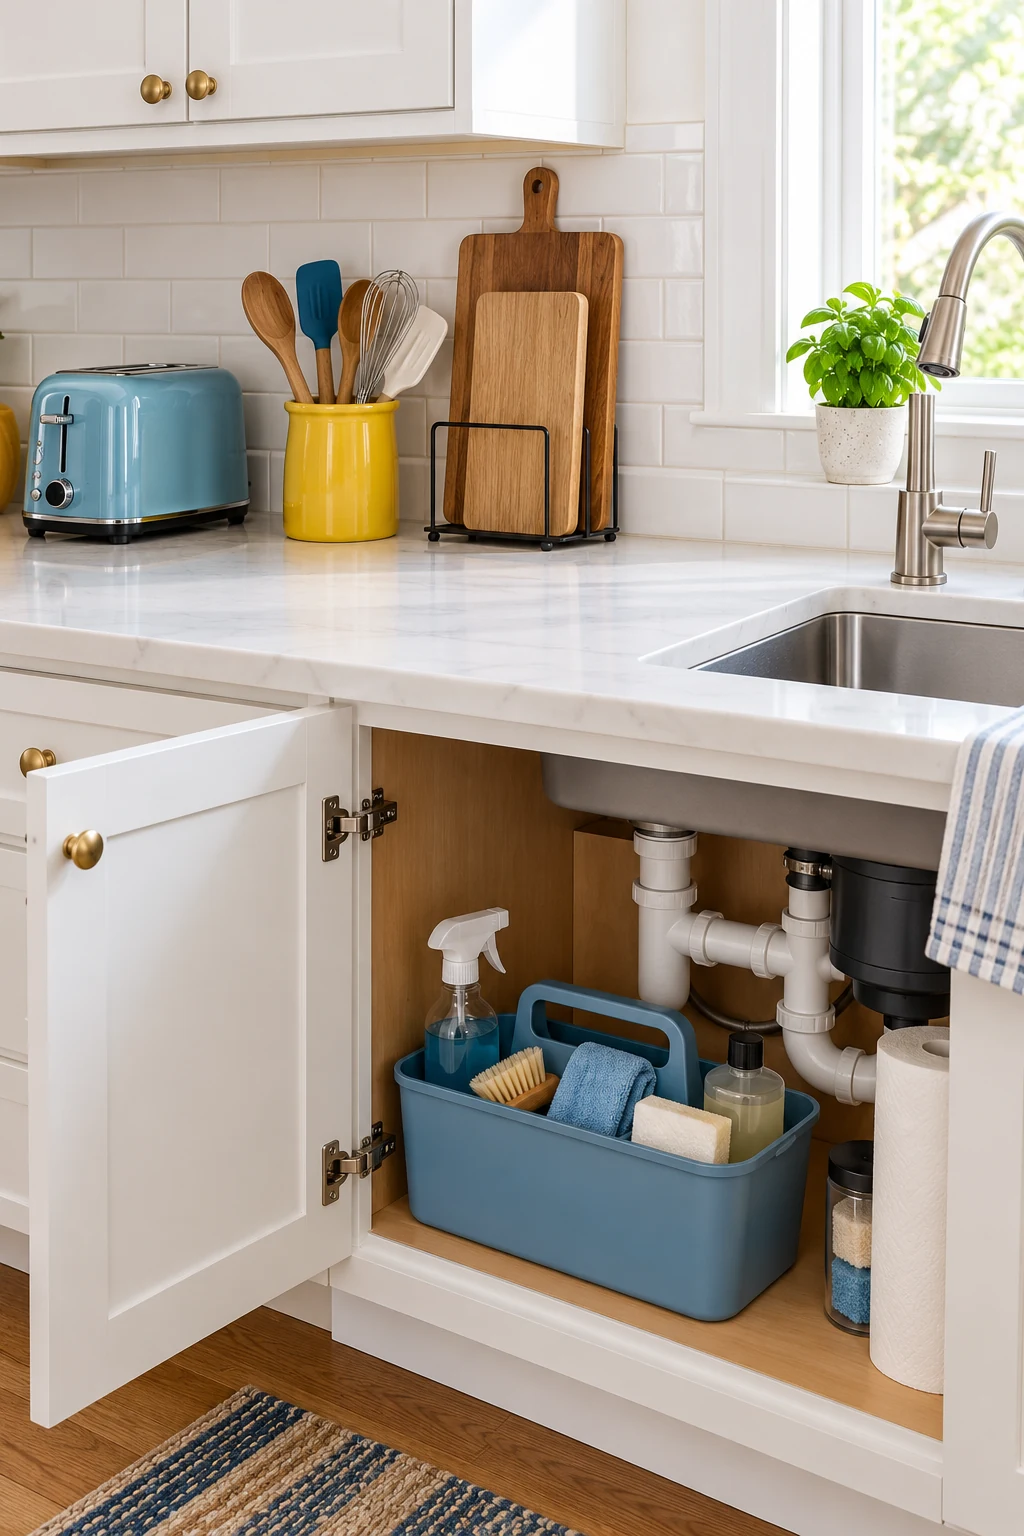
22. Store produce according to the food, then choose a container
Decide which produce belongs in the refrigerator and which can remain elsewhere before choosing a basket. Follow reliable food-specific storage guidance and keep the container easy to inspect and clean. An attractive display should still suit what is inside it.
Avoid buying a large tiered stand unless your household actually needs that amount of countertop produce storage. Keep any counter collection modest and review it often. Separate items when their storage needs differ rather than assuming one fruit bowl works for everything.
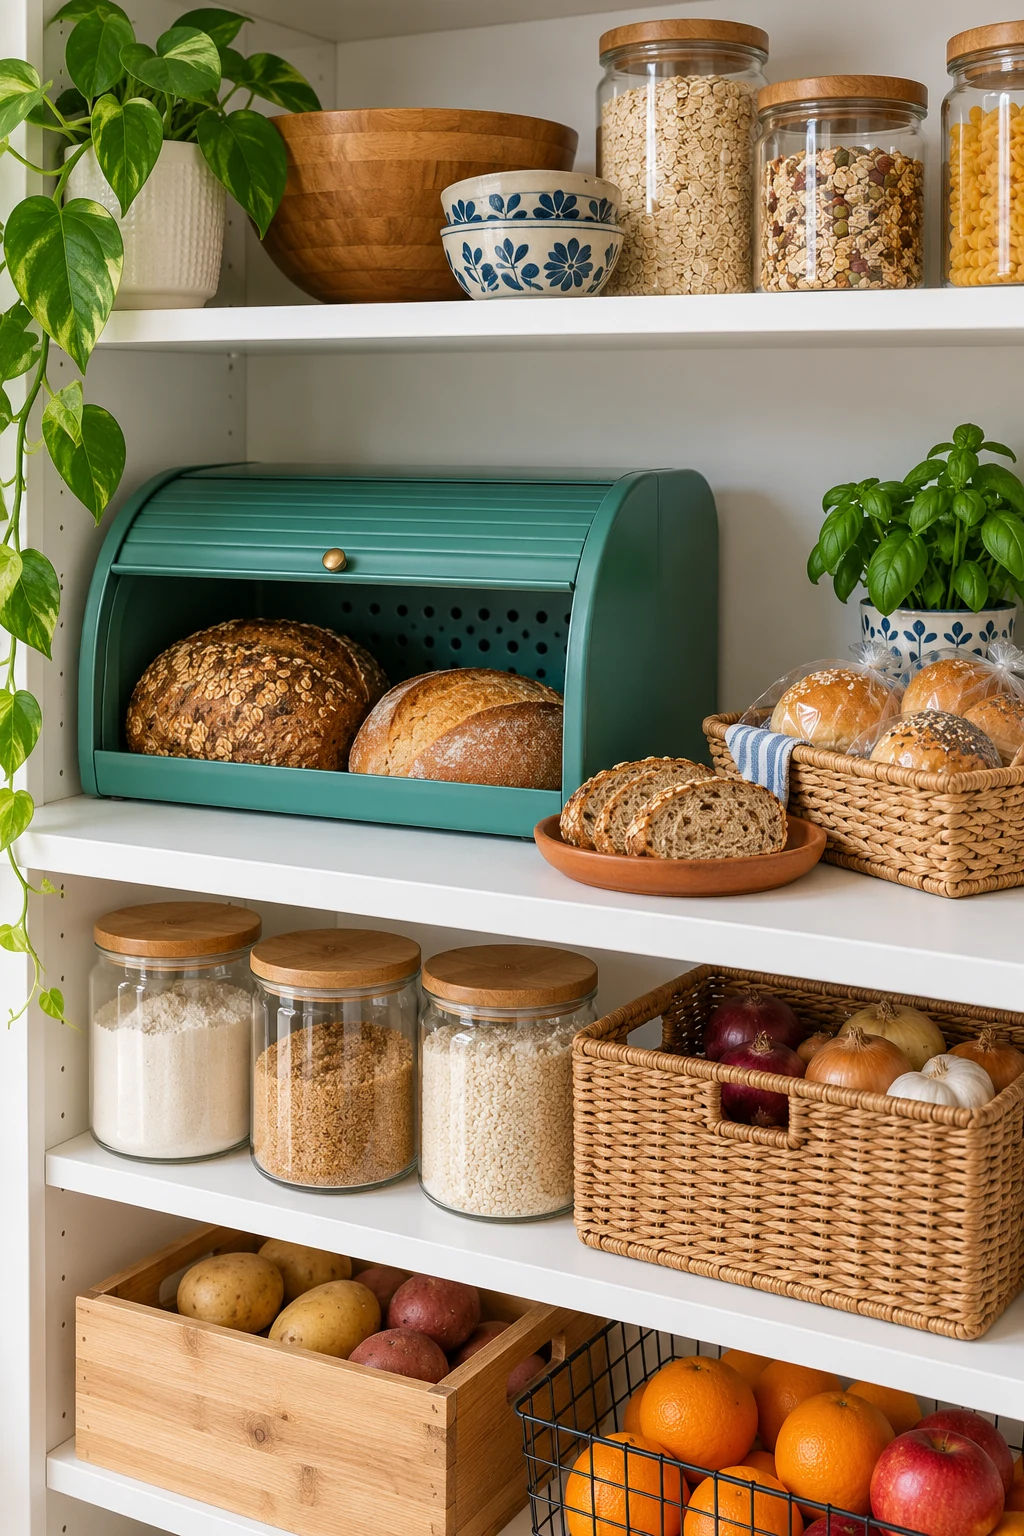
23. Give bread one defined place
Choose a bread-storage location that suits the product’s package instructions and your household’s pace of use. A bread box or dedicated shelf can prevent loaves and tortillas from spreading across the prep area.
Measure the opening with the usual loaf size in mind, and leave room to access it. Keep the storage clean and check contents regularly. A box can contain visual clutter, but it cannot guarantee freshness or a longer safe storage period.
24. Use refrigerator zones that preserve airflow
Group refrigerator contents so you can see what needs using, while following the appliance manual and food-storage guidance. Keep raw animal foods appropriately contained to prevent leaks onto other foods, and maintain the required cold temperature.
Avoid filling the refrigerator with so many bins that vents are blocked or usable space shrinks. Choose removable containers only where they improve access and can be cleaned easily. A simple use-first area helps only if the food remains stored safely.
25. Label freezer packages where you can see them
Use freezer-suitable packaging and label contents and dates on the side visible in storage. Group similar foods in manageable sections so you can find dinner without emptying the compartment.
Keep vents, seals, and appliance mechanisms clear according to the manual. Do not assume an ordinary pantry bin is suitable for freezer temperatures. Review food-specific storage guidance and plan meals around what you already have rather than filling every gap.
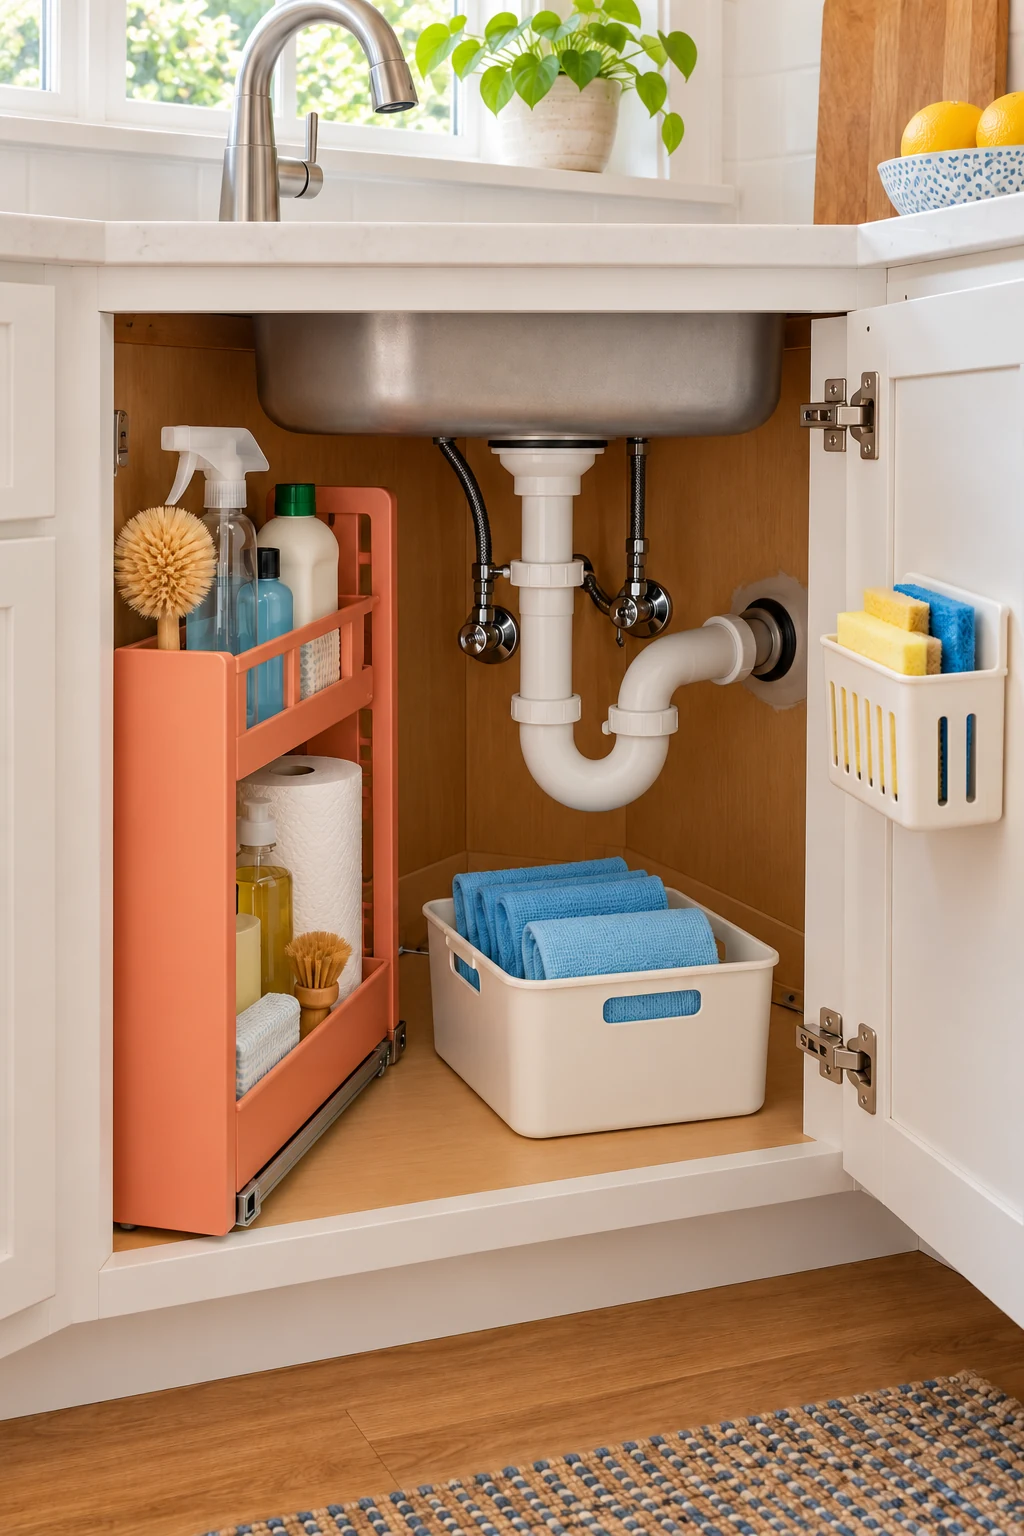
26. Organize under the sink around access needs
Reserve space for pipes, valves, waste equipment, and any required servicing access before adding storage. Keep cleaning products upright in their original labeled containers and secure them appropriately from children and pets.
Use small removable groups instead of one large organizer that hides a leak or blocks a valve. Store food and food-contact supplies elsewhere. If the space is damp or leaking, address that problem before putting organizers back.
27. Stop bags from taking over a lower cabinet
Choose a defined home for clean plastic grocery bags you actually reuse. Keep the quantity limited, with excess bags handled through an appropriate local reuse or recycling route. Store bags securely away from children and pets.
The simplehuman Wall Mount Grocery Bag Dispenser has separate loading and dispensing openings, and the maker lists capacity for up to 30 bags. Check the door or wall mounting surface and installed clearance. Do not pack it so tightly that you have to pull out the whole supply. View on Amazon.
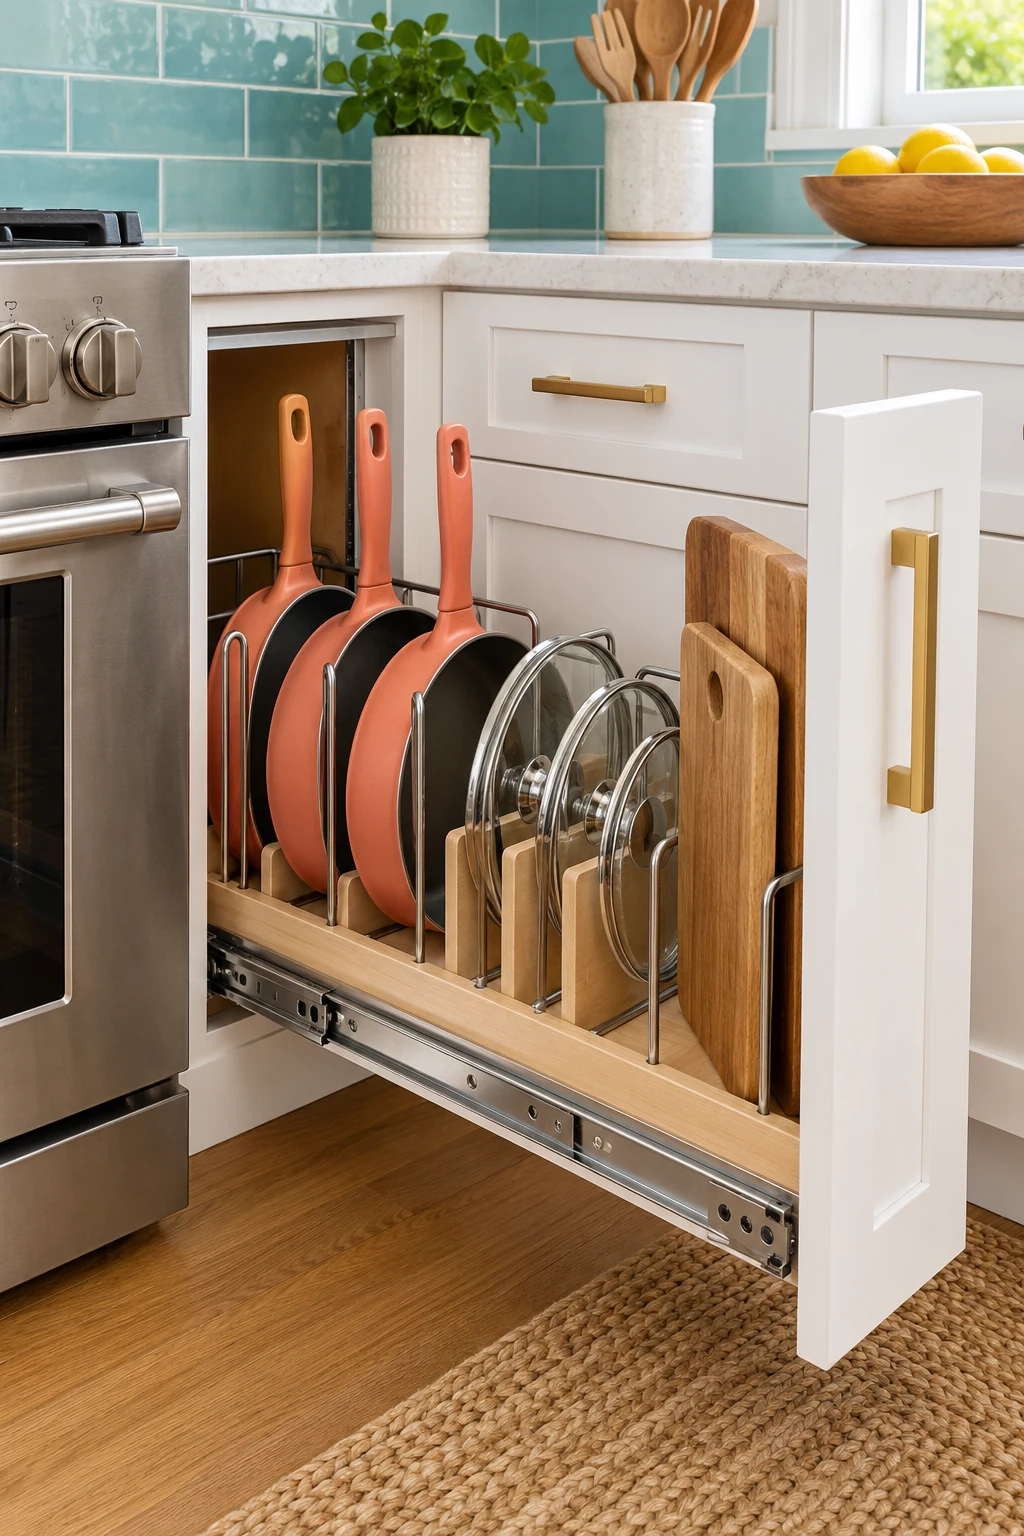
28. Keep towels close to cleanup
Put clean dish towels in a nearby drawer or basket and give the towel in use a suitable drying location. Separate food-area towels from cloths used for household cleaning. This makes returning a clean towel straightforward.
Keep textiles away from burners and other heat sources. Dry them appropriately before enclosed storage, and avoid hanging them where they block an appliance door or ventilation. The most convenient spot is only useful if it stays safe and easy to maintain.
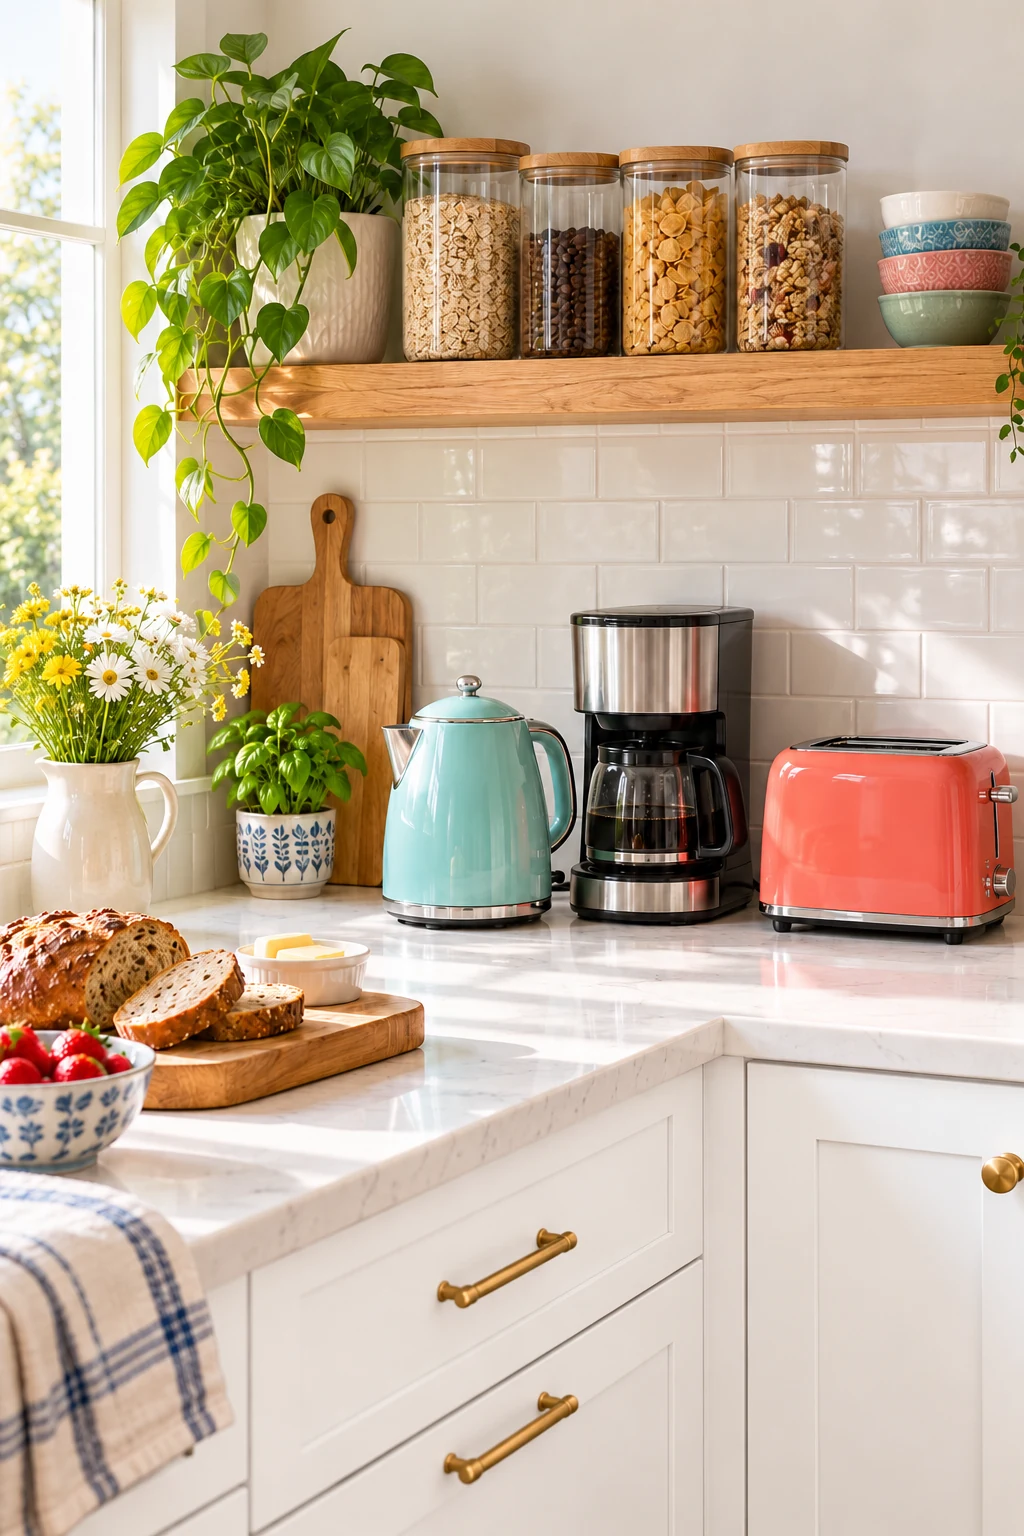
29. Add a cart only where it has a parking place
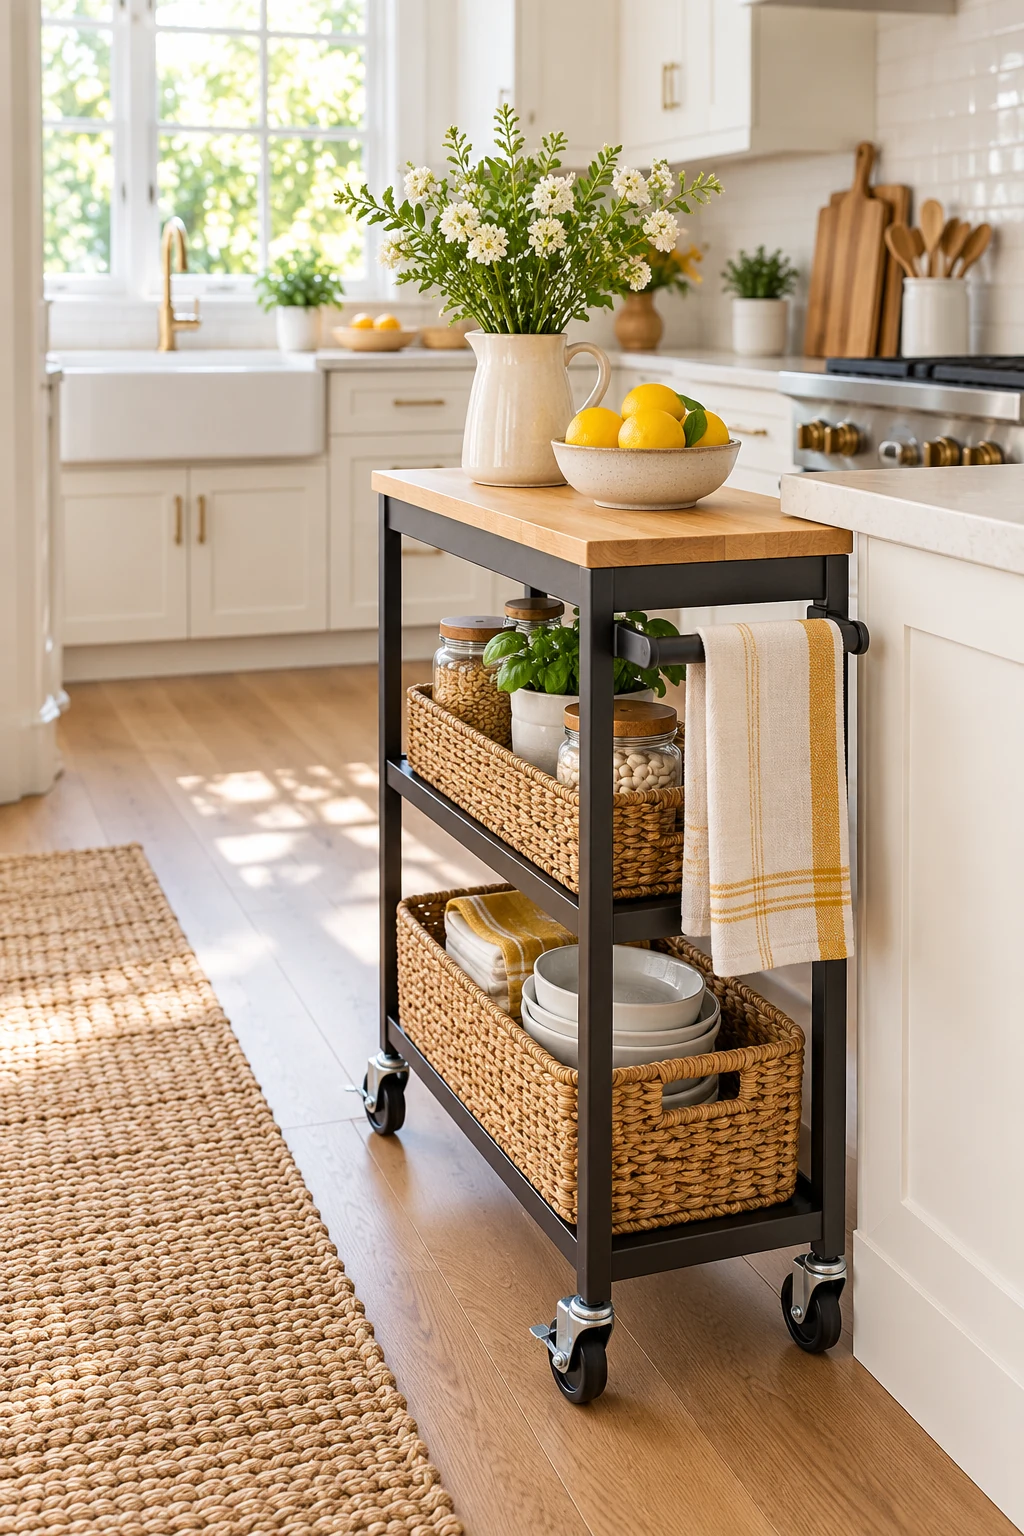
A cart can hold overflow supplies when there is a real gap in the kitchen layout. Measure its footprint, handle projection, and the clearance needed to move past it. Leave exits, appliance access, and everyday walking routes open.
Follow the cart’s assembly, load, stability, and caster instructions. Keep heavier stored items low and do not assume a storage cart is approved for operating a heat-producing appliance. If it must be moved before every task, another location may work better.
30. Use an island end for a specific light category
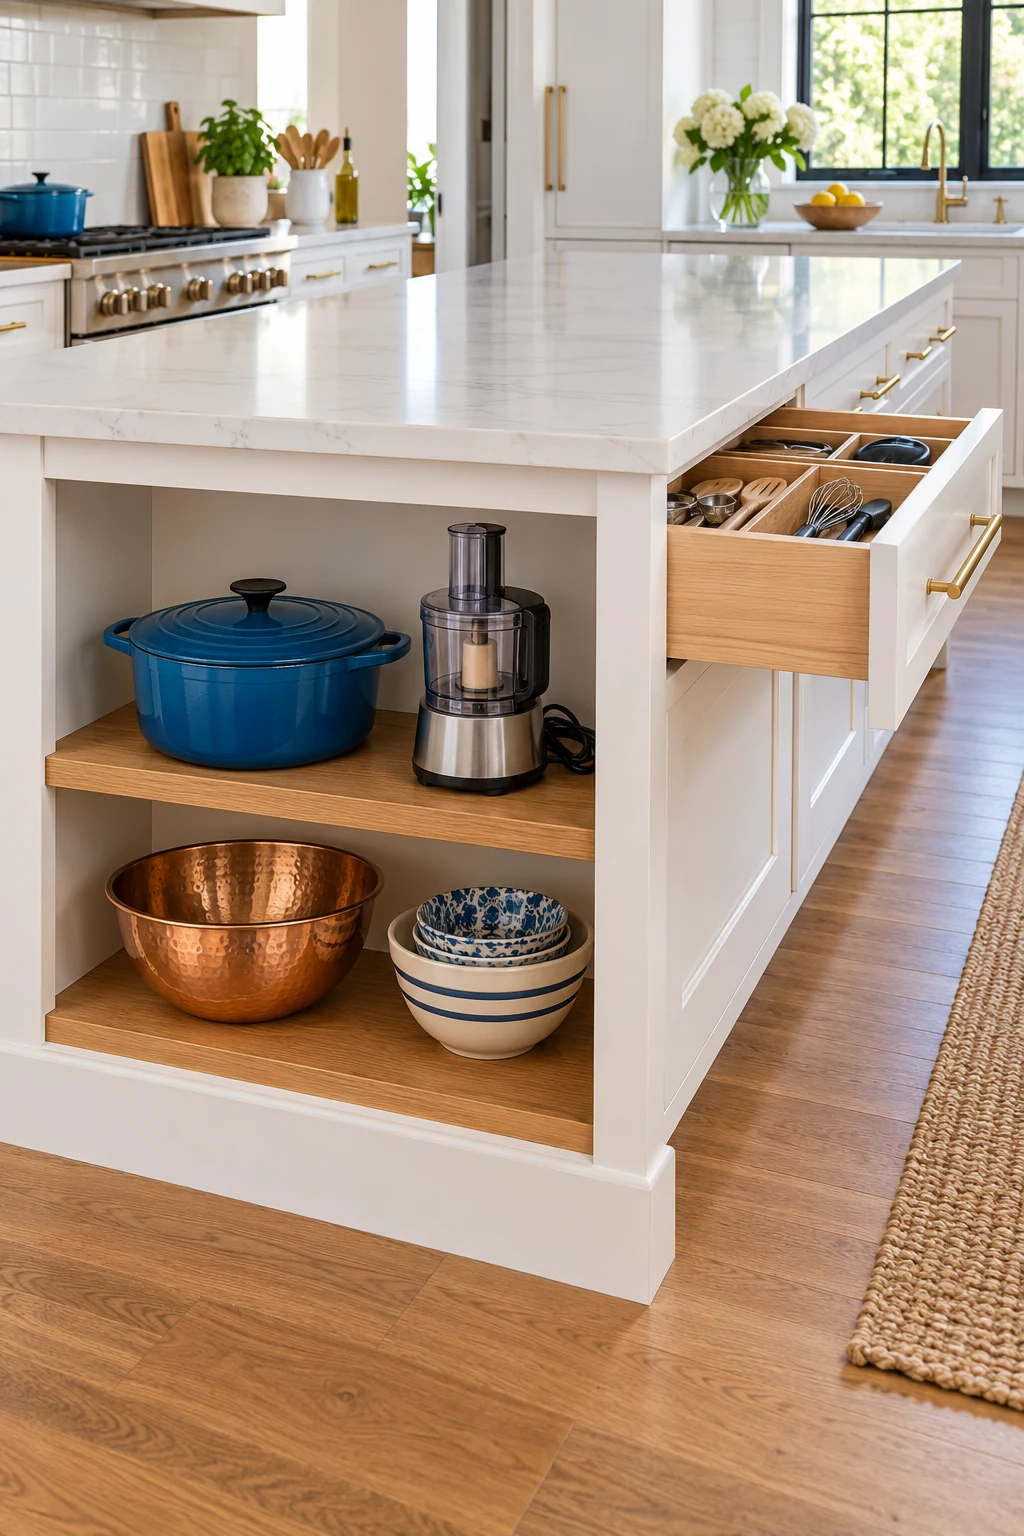
An open shelf at the end of an island can hold a basket of napkins or a few regularly used cookbooks. Keep the category contained so it does not spill toward seating or the floor.
Check that stools, knees, and walking paths still have enough space. Avoid adding projecting hooks where people brush past. Use the island’s interior for heavy equipment rather than loading an unsupported end feature with more than it was designed to carry.
31. Move entertaining supplies to a nearby cabinet
A dining-room sideboard or nearby storage cabinet can hold serving platters, spare linens, and occasional dishes. Keep the kitchen’s easiest storage for the items used in ordinary meals.
Check the furniture’s load and anchoring requirements, and protect fragile pieces with suitable spacing. Store food only where conditions and the cabinet are appropriate. A nearby overflow spot is helpful when you can remember what is there without searching every room.
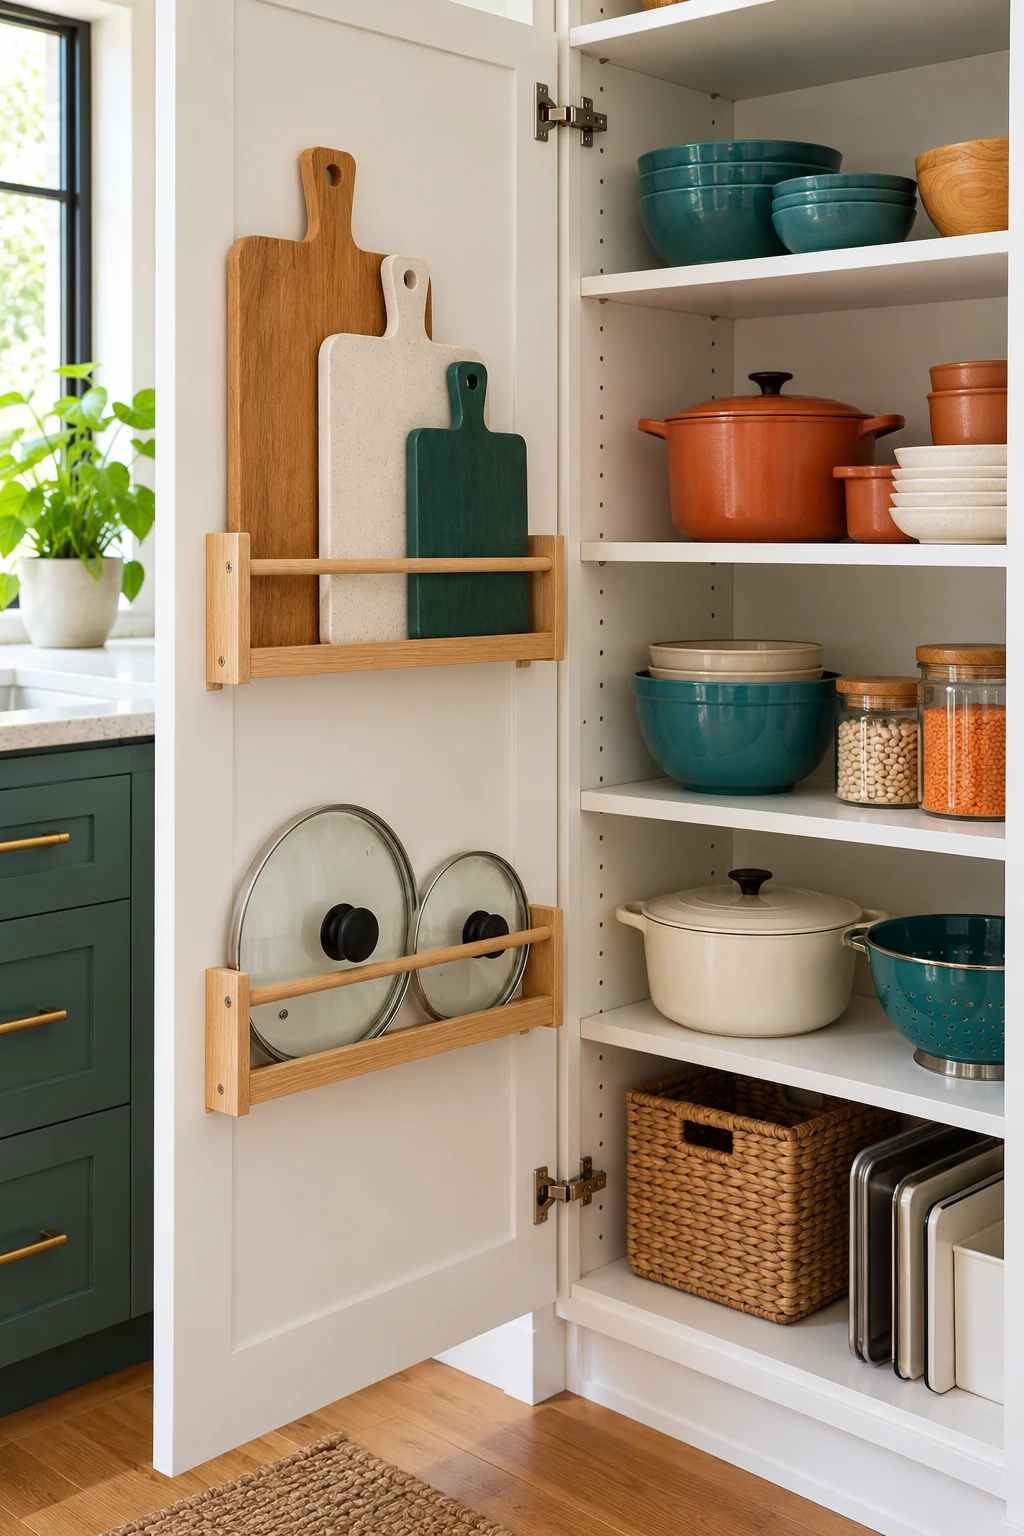
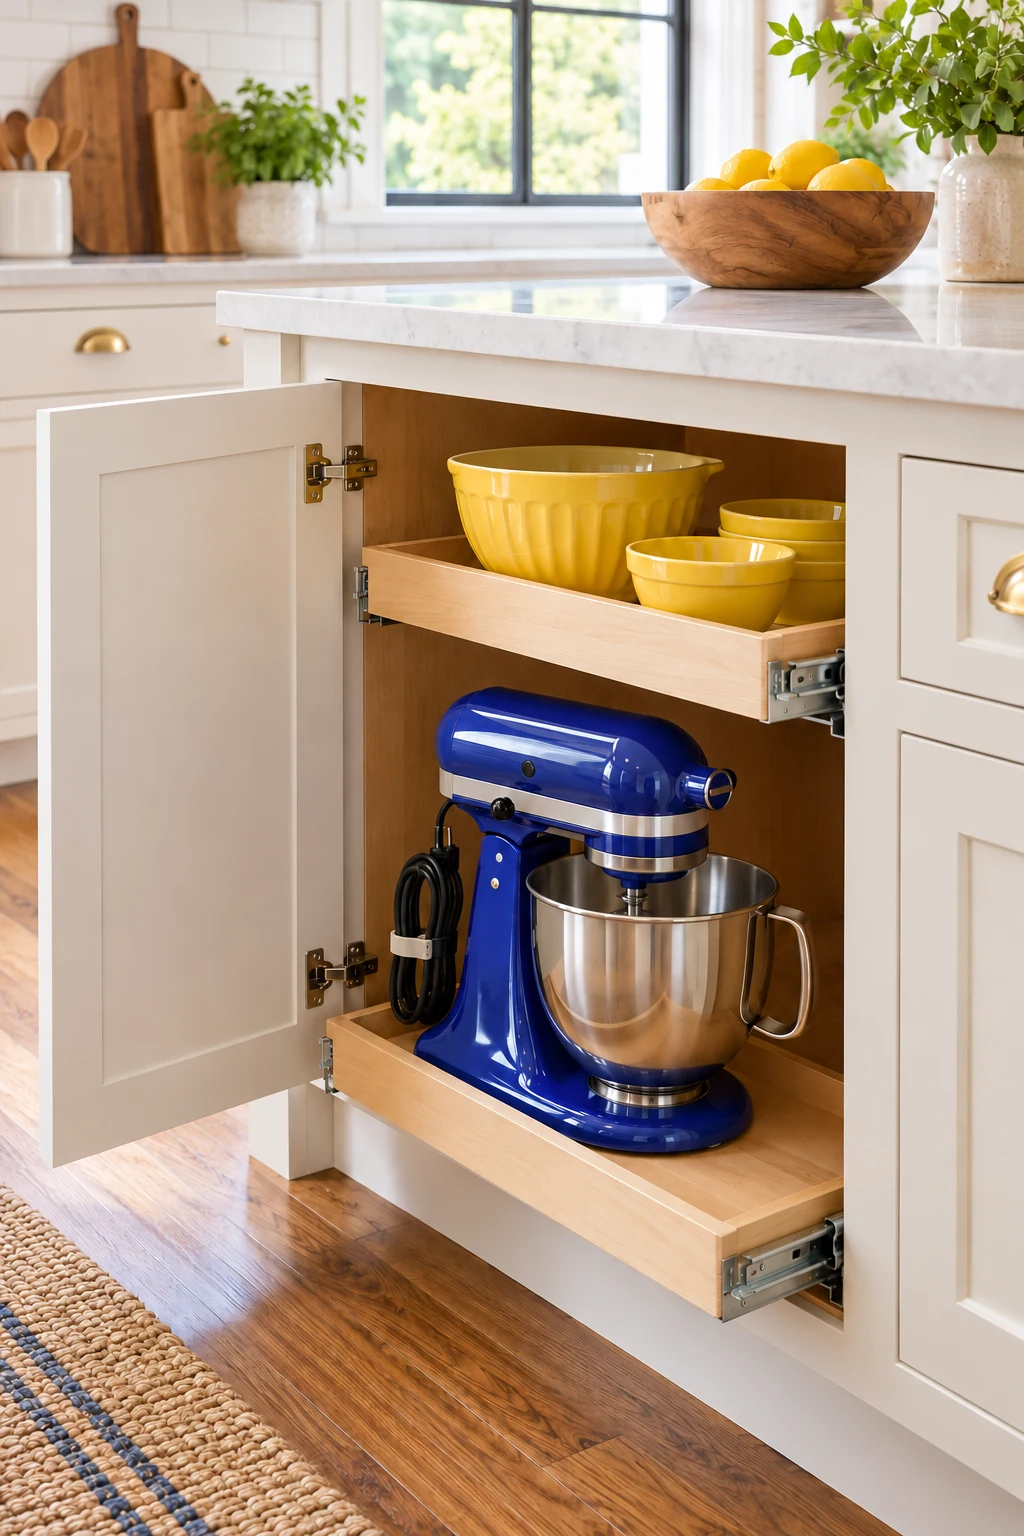
32. Give occasional appliances storage homes
List which small appliances you use daily, weekly, and rarely. Leave a daily appliance out when storing it would make the routine harder, and find supportive accessible homes for the others.
Store appliances only after unplugging, cooling, cleaning, and drying them as their manuals direct. Move them to an approved operating surface with the required clearances before use. An appliance garage or shelf is not automatically a safe place to run a heater, cooker, or blender.
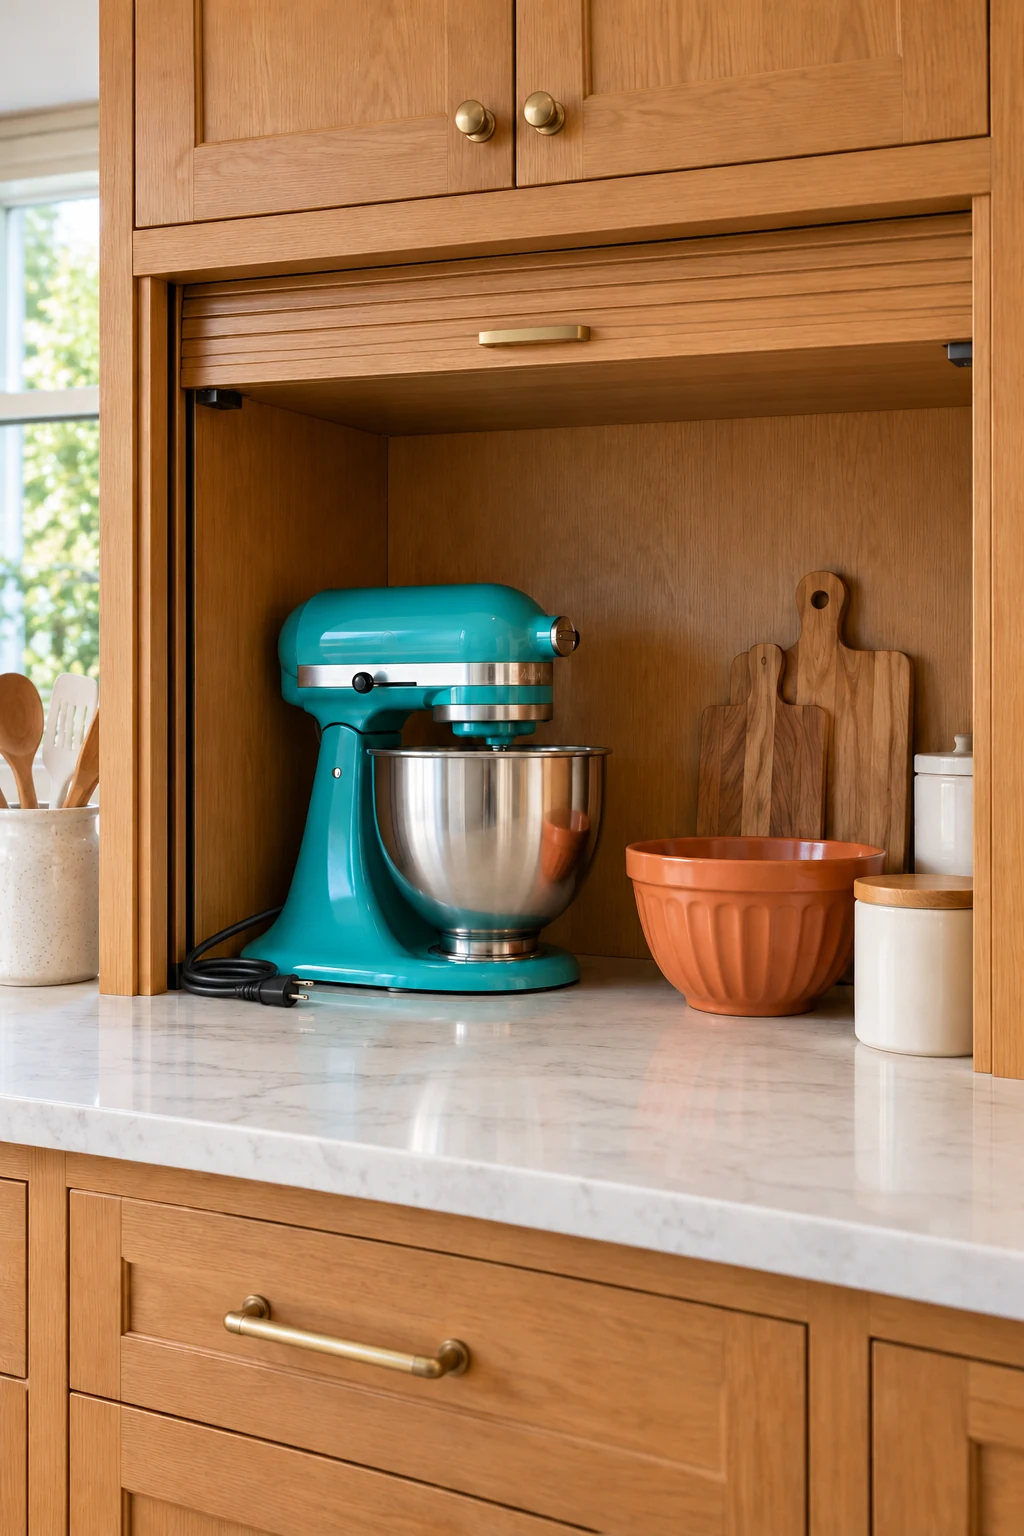
33. Contain the recipes and notes that reach the kitchen
Give a small number of active recipes, grocery notes, or household instructions one defined location outside the main prep surface. A nearby drawer or removable file can keep paper from collecting beneath appliances.
Separate confidential paperwork and permanent records from everyday kitchen notes. Keep paper away from water, steam, and heat. Remove finished shopping lists and outdated printouts so this practical little station does not become an archive.
34. Label only the storage that needs explanation
Labels help most on opaque bins, backup supplies, and shared household categories. Use the words someone would naturally look for, such as baking extras or lunch supplies. Put labels on the face visible from the cabinet opening.
Skip labels where the contents are already obvious and easy to recognize. Keep original food and chemical information intact. A useful label should clarify where something returns without creating a new task every time the brand or package size changes.
35. Use the shopping list as a storage check
Before adding groceries to the list, scan the pantry, refrigerator, and freezer. Notice categories that are crowded, nearly empty, or repeatedly hard to put away. Your storage should reflect what the household actually uses.
Make one small correction at a time: widen a container section, reduce backups, or move a daily tool closer to its task. A quick regular reset keeps the kitchen workable without requiring a complete reorganization every month.
Start with the storage problem you encounter most often, then make one measured change. Keep the arrangement that makes cooking and putting things away easier for your household. Subscribe to the Havelyo email list for more small-space decorating and organization ideas.