
Kitchen Organization
25 Kitchen Shelf Ideas That Add Useful Storage
Kitchen shelves can add character and genuinely useful storage, but the shelf that looks beautiful in a photo still has to hold your dishes and stay out of the way. Depth, support, and easy reach make the difference between a working shelf and another surface to rearrange.
These 25 kitchen shelf ideas cover wall shelves, existing cabinet shelves, island openings, and freestanding storage. Begin with the items that need a home, then choose the location and support around them. A single well-placed shelf can be enough. Measure before shopping, follow mounting and load instructions, and preserve the clearances around every nearby appliance.
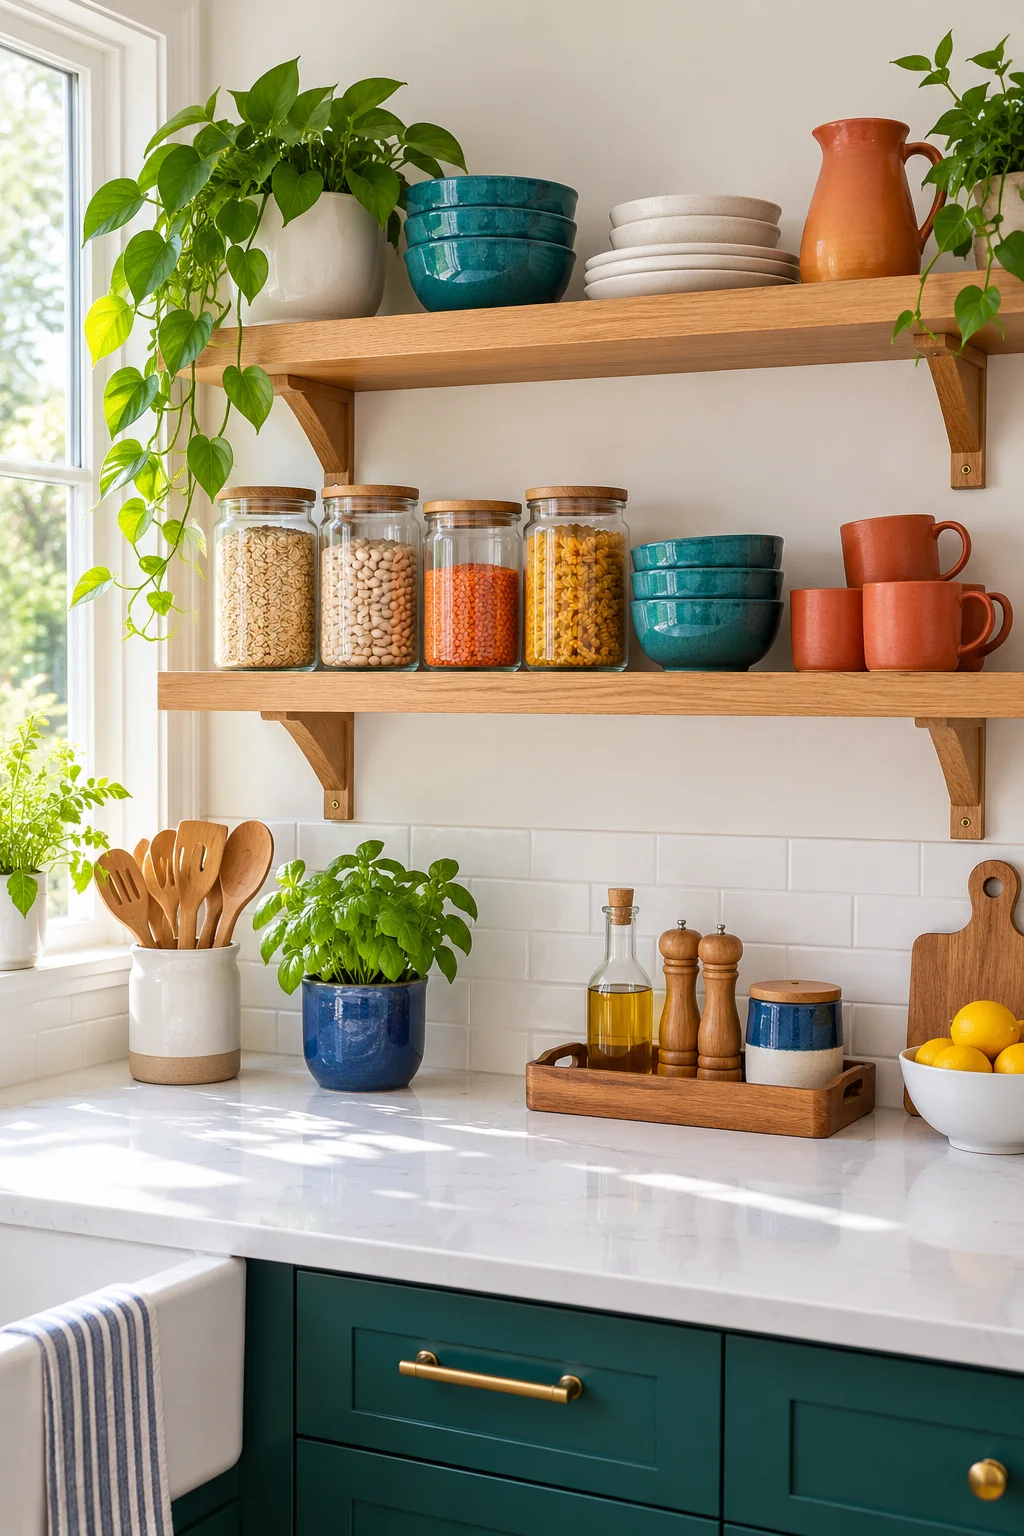
This article contains affiliate links. If you buy through them, Havelyo may earn a commission. As an Amazon Associate I earn from qualifying purchases.
1. Start with one reachable dish shelf
A single open shelf for everyday dishes can be more useful than a wall covered in shelves. Position it where plates can move between the dishwasher, counter, and table without crossing a busy cooking zone.
Choose shelf depth around the largest plate and leave room to lift it safely. Heavy dish stacks need a shelf, supports, and wall fixings rated for the combined load. If you are unsure about the wall construction, have a qualified installer check it.
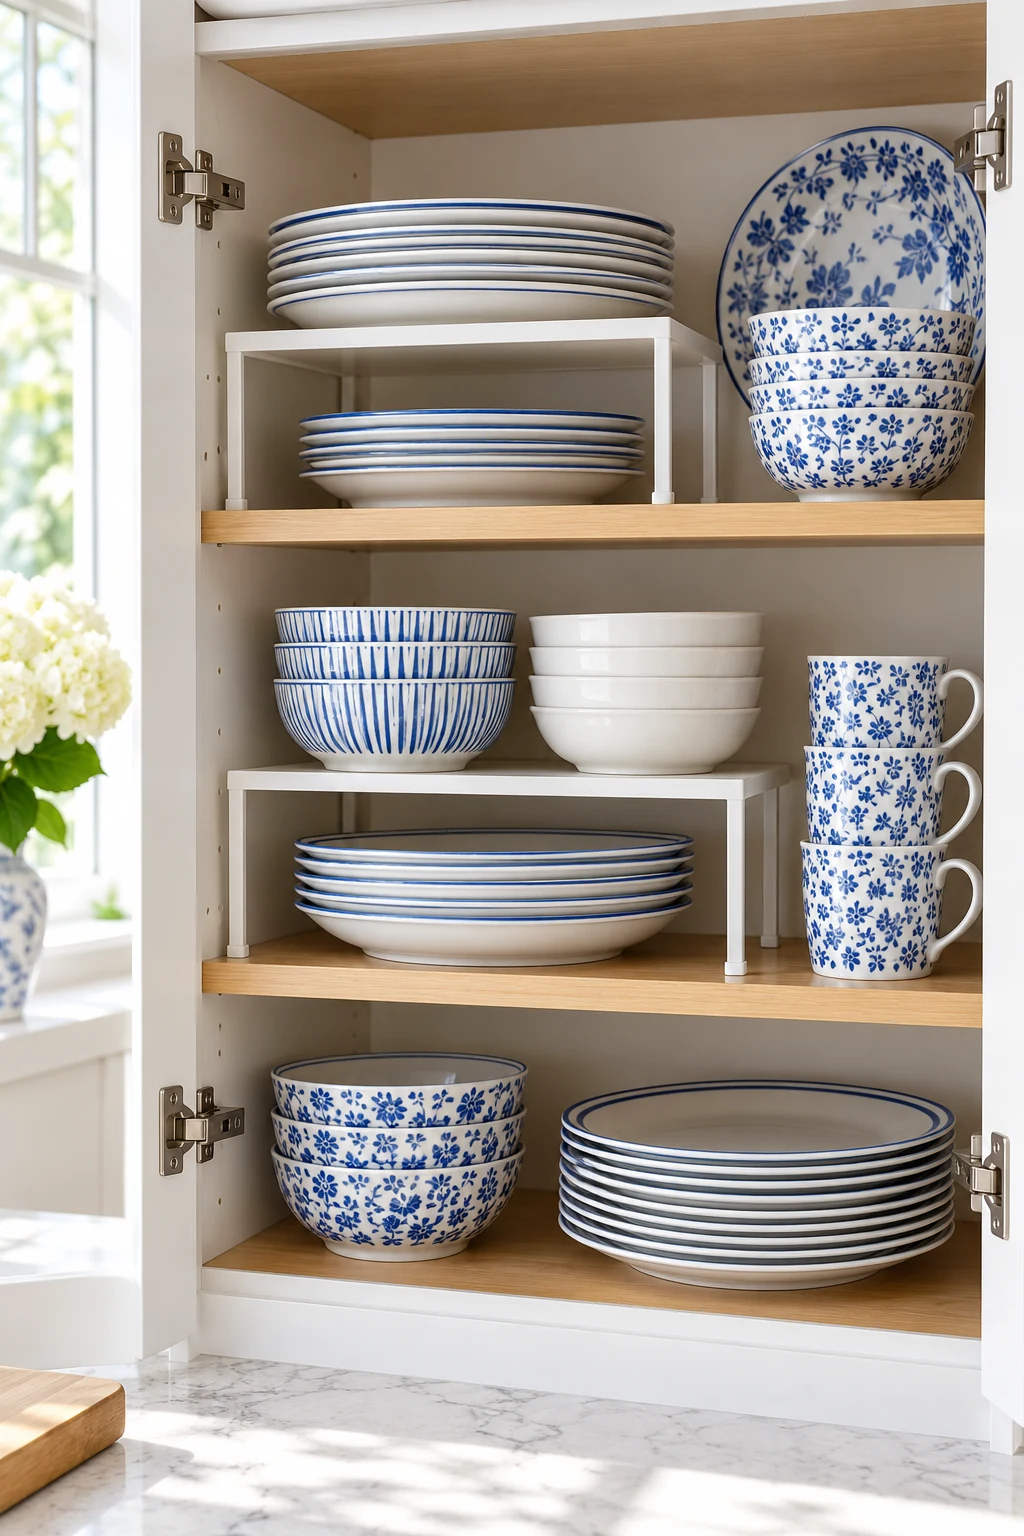
2. Let the brackets become part of the style
Visible brackets can give a plain shelf a deliberate look while making its support easier to understand. Warm wood with simple white or black brackets suits many small kitchens and lets useful dishes provide the color.
Buy the board and supports as a compatible system, following the stated span, fixing, and load guidance. A bracket’s rating does not guarantee the wall can carry that load. Keep heavy items near the support positions as the maker instructs.
3. Use a shallow ledge for small jars
A shallow ledge can hold a single row of frequently used jars without taking the depth of a dish shelf. Put it near the prep area where labels are easy to scan, away from heat and splash zones.
Measure jar bases and leave a secure edge rather than balancing bottles on a decorative picture ledge. Follow each ingredient’s storage directions. A slim ledge is for a small active collection; larger refill containers can stay in a cabinet.
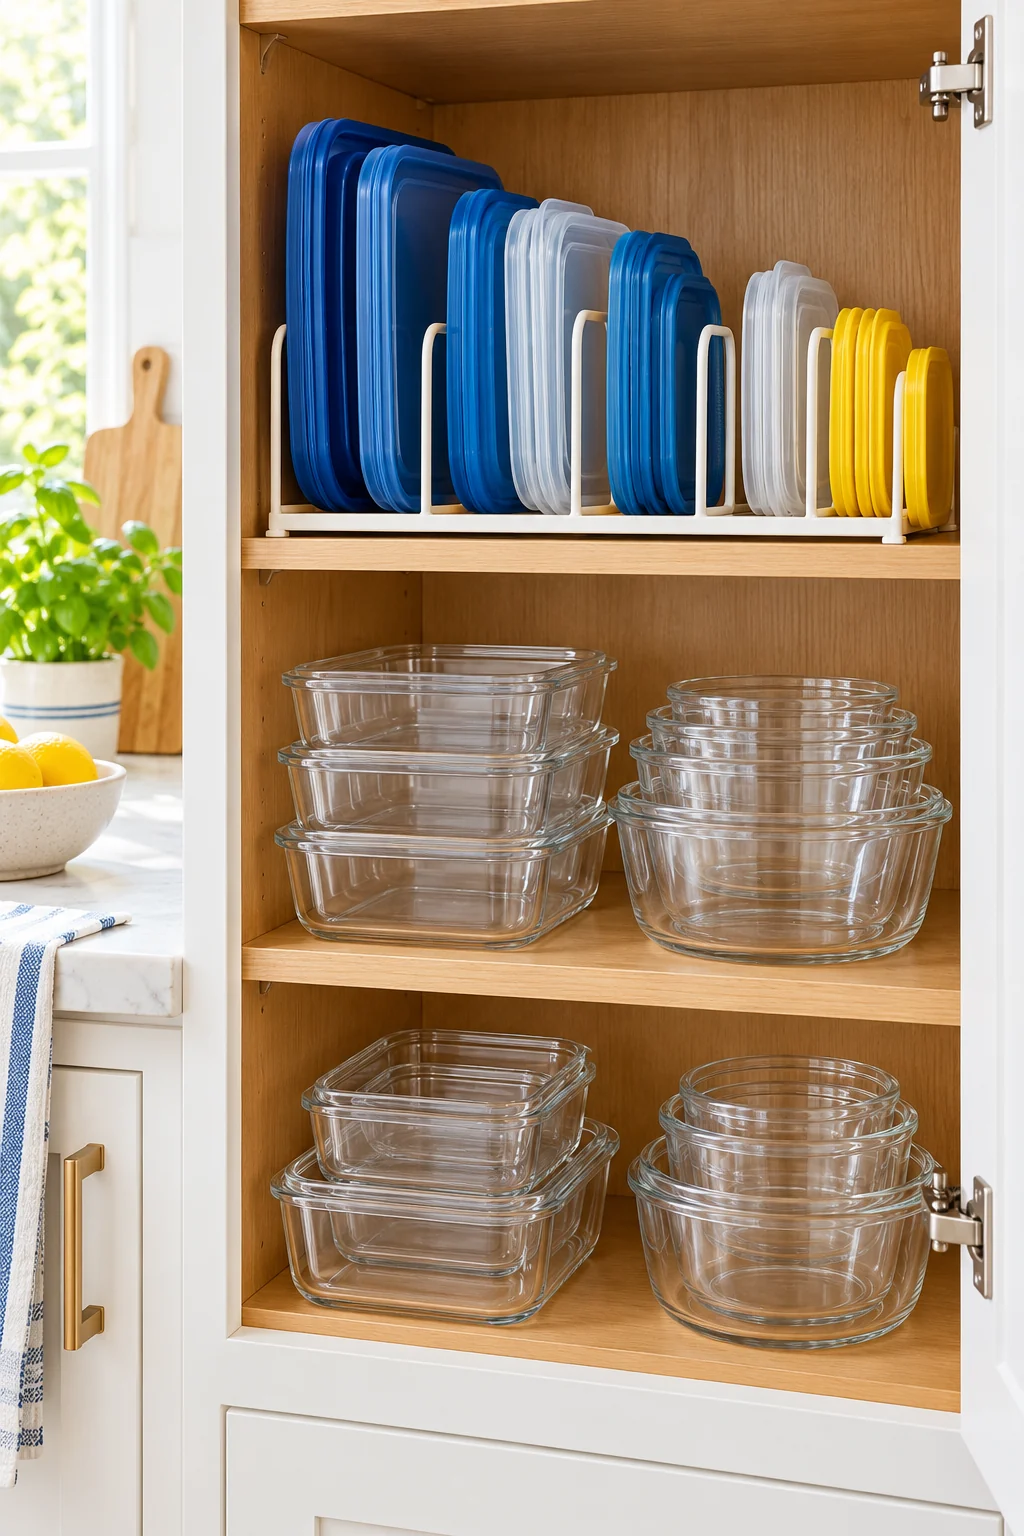
4. Fit a shelf into an awkward alcove
A narrow recess beside a cabinet can become a small shelf niche for mugs, bowls, or a handled kit. Measure the opening at several heights because older walls and cabinet edges may not be perfectly square.
Use a shelf and fixing approach suited to the wall, with the necessary permission if you rent. Do not wedge an unsupported board between surfaces. Leave a little visual space around the contents so the niche stays easy to scan rather than becoming a miniature cupboard jam.

5. Create a second level inside a cabinet
A shelf riser can divide a tall cabinet opening into two practical levels. Use it for two short categories, such as small plates below and coffee cups above, while keeping each item easy to remove.
The SONGMICS Cabinet Organizer Shelves come as two differently sized pieces. Check the measurements of each piece and the space beneath it, then follow the supported arrangement instructions. The cabinet shelf must carry the riser plus everything stored on and under it.
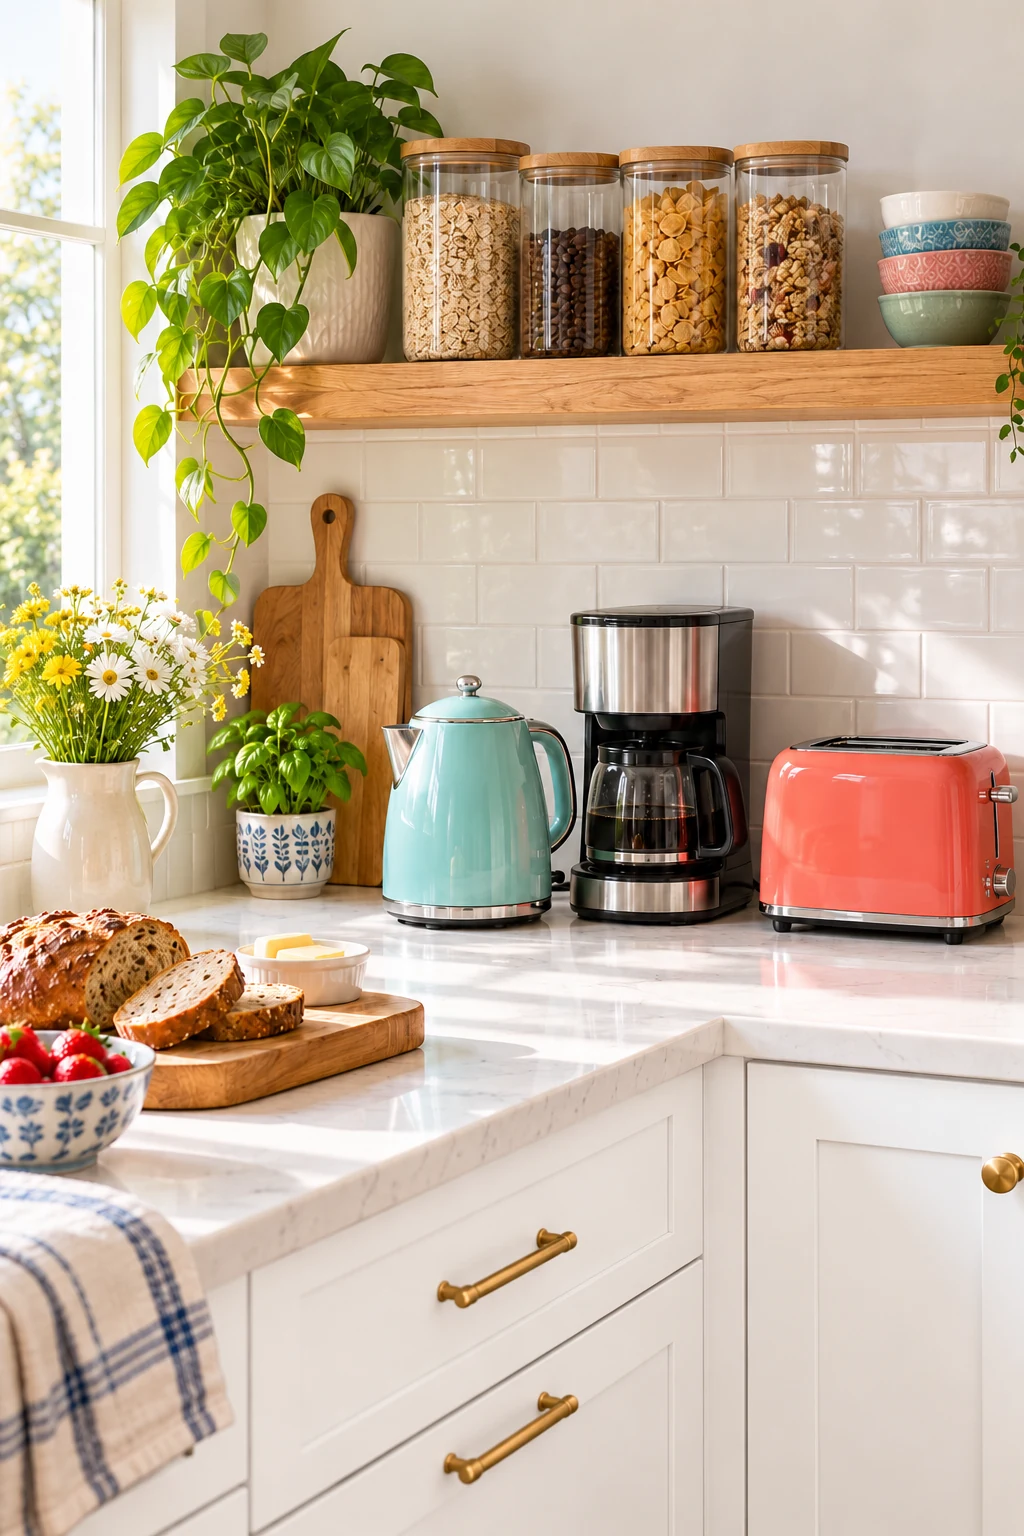
6. Make low tiers for foil and parchment
Low, adjustable shelves can give long kitchen-wrap boxes individual homes inside a cupboard or on a dry utility shelf. With the box ends visible, you can take the roll you need without lifting a stack.
The small YouCopia UpSpace Cabinet Box Organizer provides adjustable levels for this purpose. Include any overhanging box length in the layout and leave the front accessible. Keep the original dispensers intact so cutting edges remain where the packaging is designed to contain them.

7. Keep glassware in a single visible row
Place everyday glasses on a shelf with enough depth to support their bases fully and enough height to lift them without tilting. A single front row is easier to use than short glasses hidden behind tall ones.
Use additional rows only when you can still retrieve them comfortably. Avoid placing fragile glassware above a busy seating area or where a door may strike it. Follow the glassware maker’s guidance on stacking rather than relying on a tidy-looking tower.
8. Use handled bins on deeper shelves
An open shelf can look orderly while still hiding small objects at the back. Pull-forward bins make a deep shelf more useful for breakfast extras, baking tools, or other items that belong together.
The iDesign Pantry Storage Bin with Handles suits a compact category and keeps its contents visible. Leave room above the handle for your hand, not just enough space for the plastic box. Light, manageable bins are especially important on shelves above waist level.
9. Stand baking sheets on a lower shelf
A lower open shelf can hold baking sheets vertically when the shelf is deep, stable, and protected from busy foot traffic. Keep the most-used sheet near the front and give muffin tins a wider lane.
The YouCopia StoreMore Bakeware Rack helps separate different thicknesses. Check the loaded height, not just the rack height, and support each piece so it cannot lean into the walkway. Reserve heavy or fragile baking dishes for storage that lets you lift them safely.
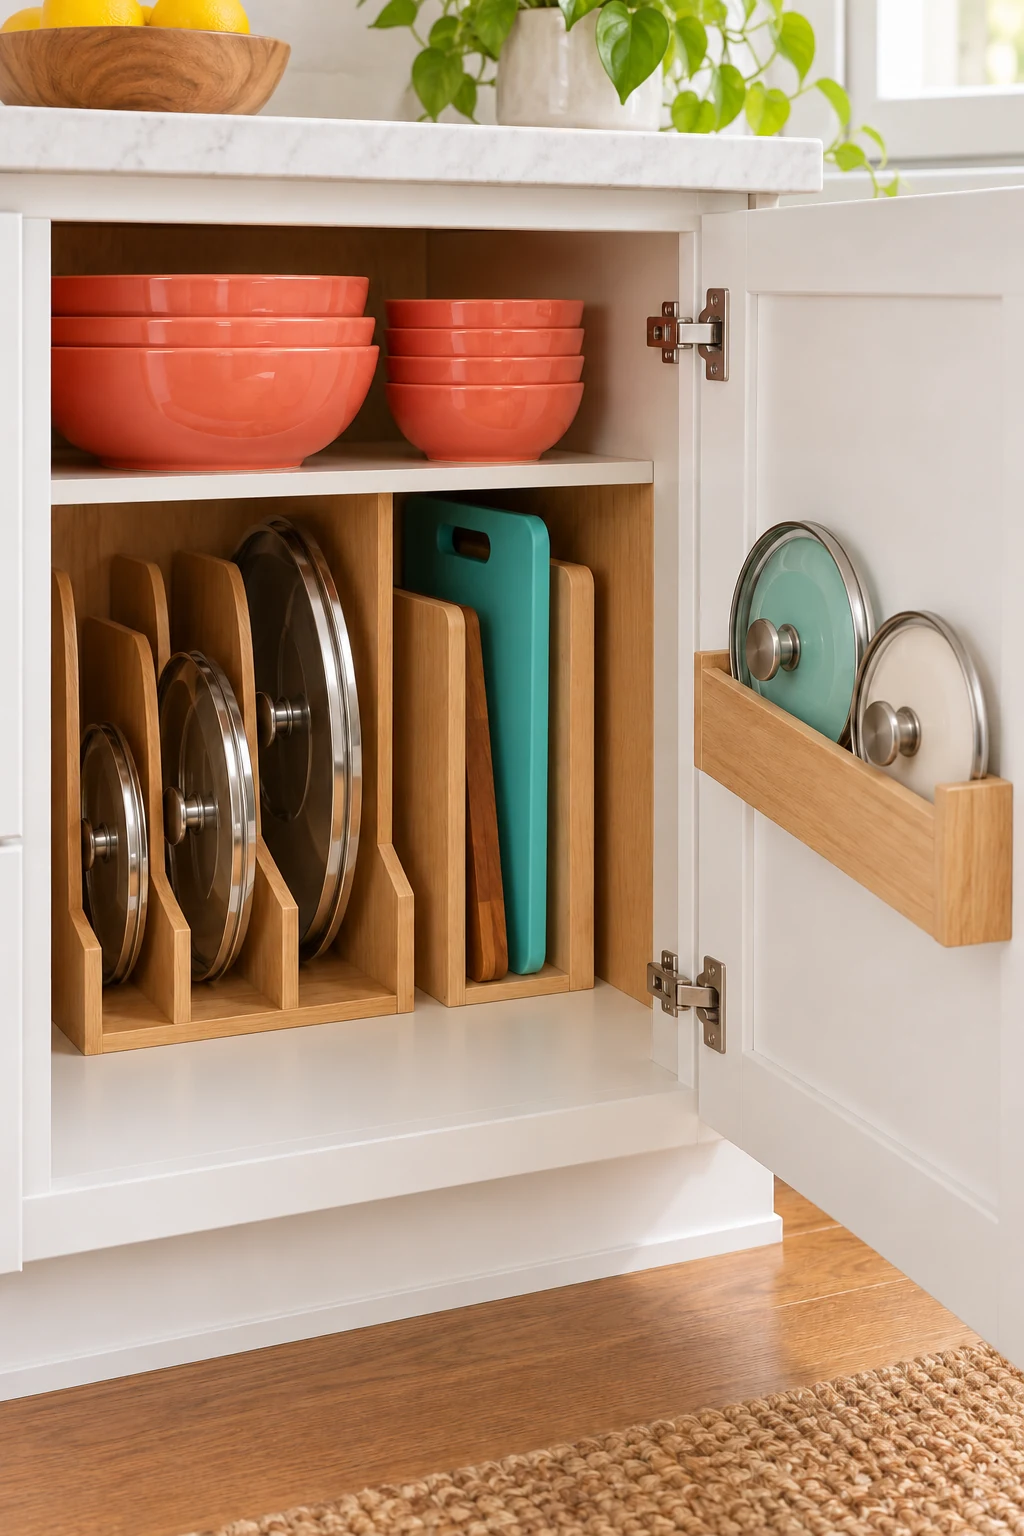
10. Keep pan lids upright beside their cookware
On a solid, reachable shelf, a short upright row can keep pan lids and suitable cookware from becoming a noisy stack. Position handles inward only when they remain easy to grasp and cannot catch another item.
The YouCopia StoreMore Expandable Cookware Rack can adapt its lane spacing to the collection. Keep the loaded rack within the shelf footprint and check support requirements. An open shelf at the end of an island needs extra care so handles do not project into the path.
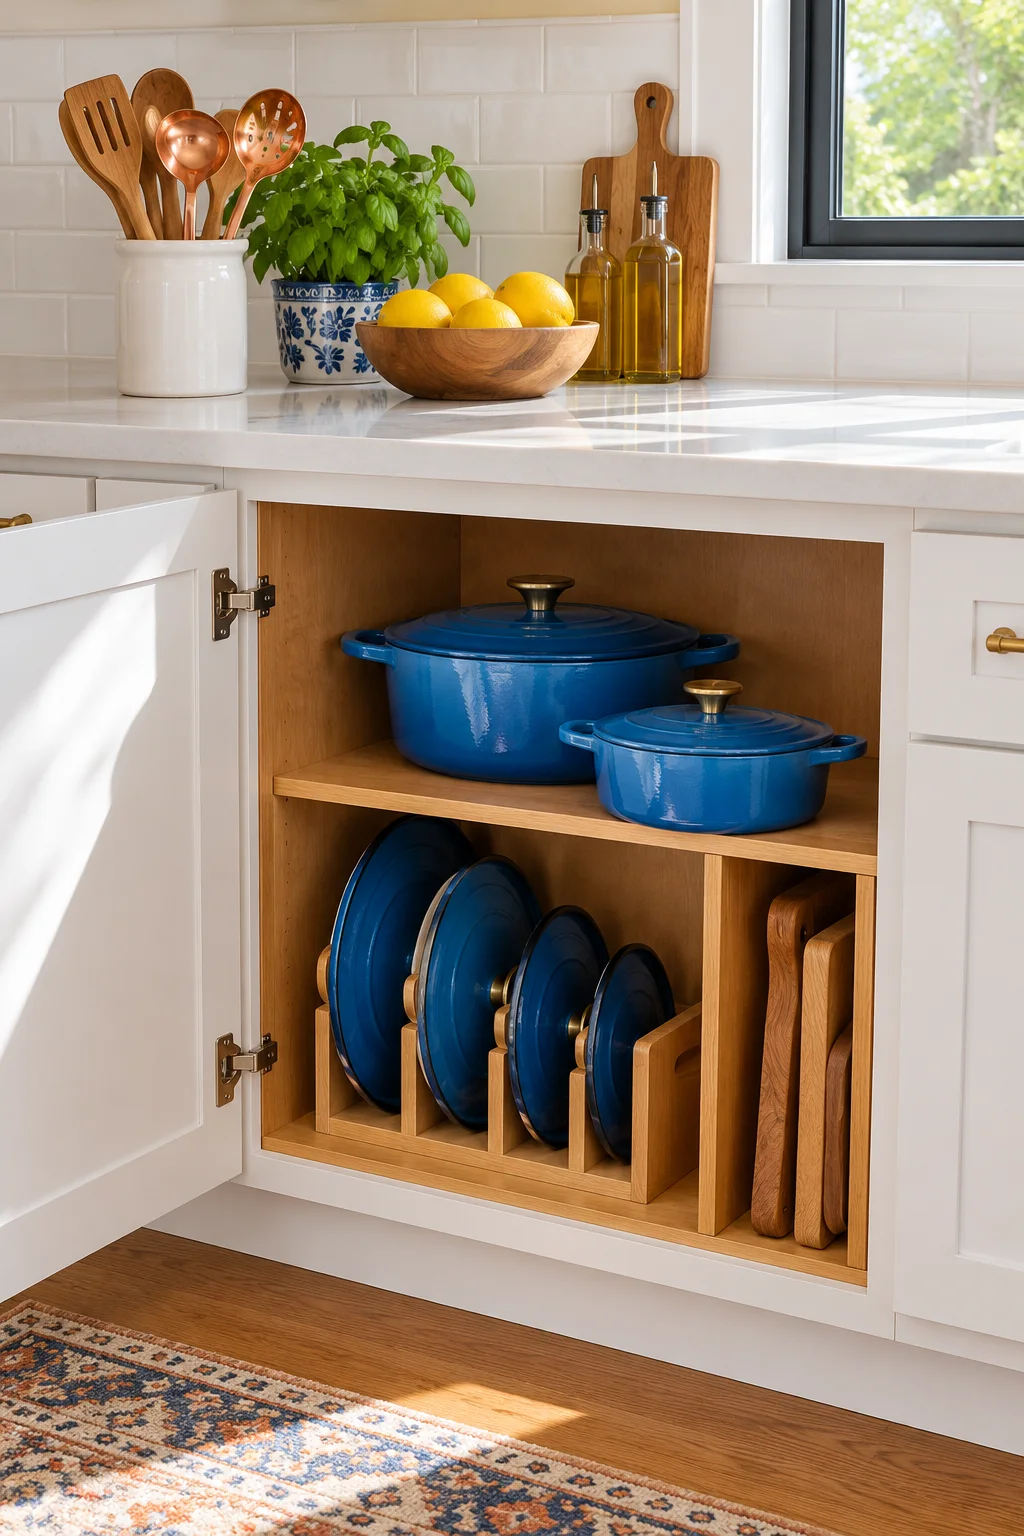
11. Put food-container lids on their own shelf section
Give reusable container lids a visible row rather than letting them spread across an open shelf. Group them by the container family they fit, with the matching bases nested in a nearby section.
The YouCopia StoraLid 24 Container Lid Organizer uses adjustable dividers to hold those groups. Make sure standing lids clear the shelf above and remain easy to grasp. Keep the number of pieces sensible for your shelf rather than treating the model name as a capacity target.
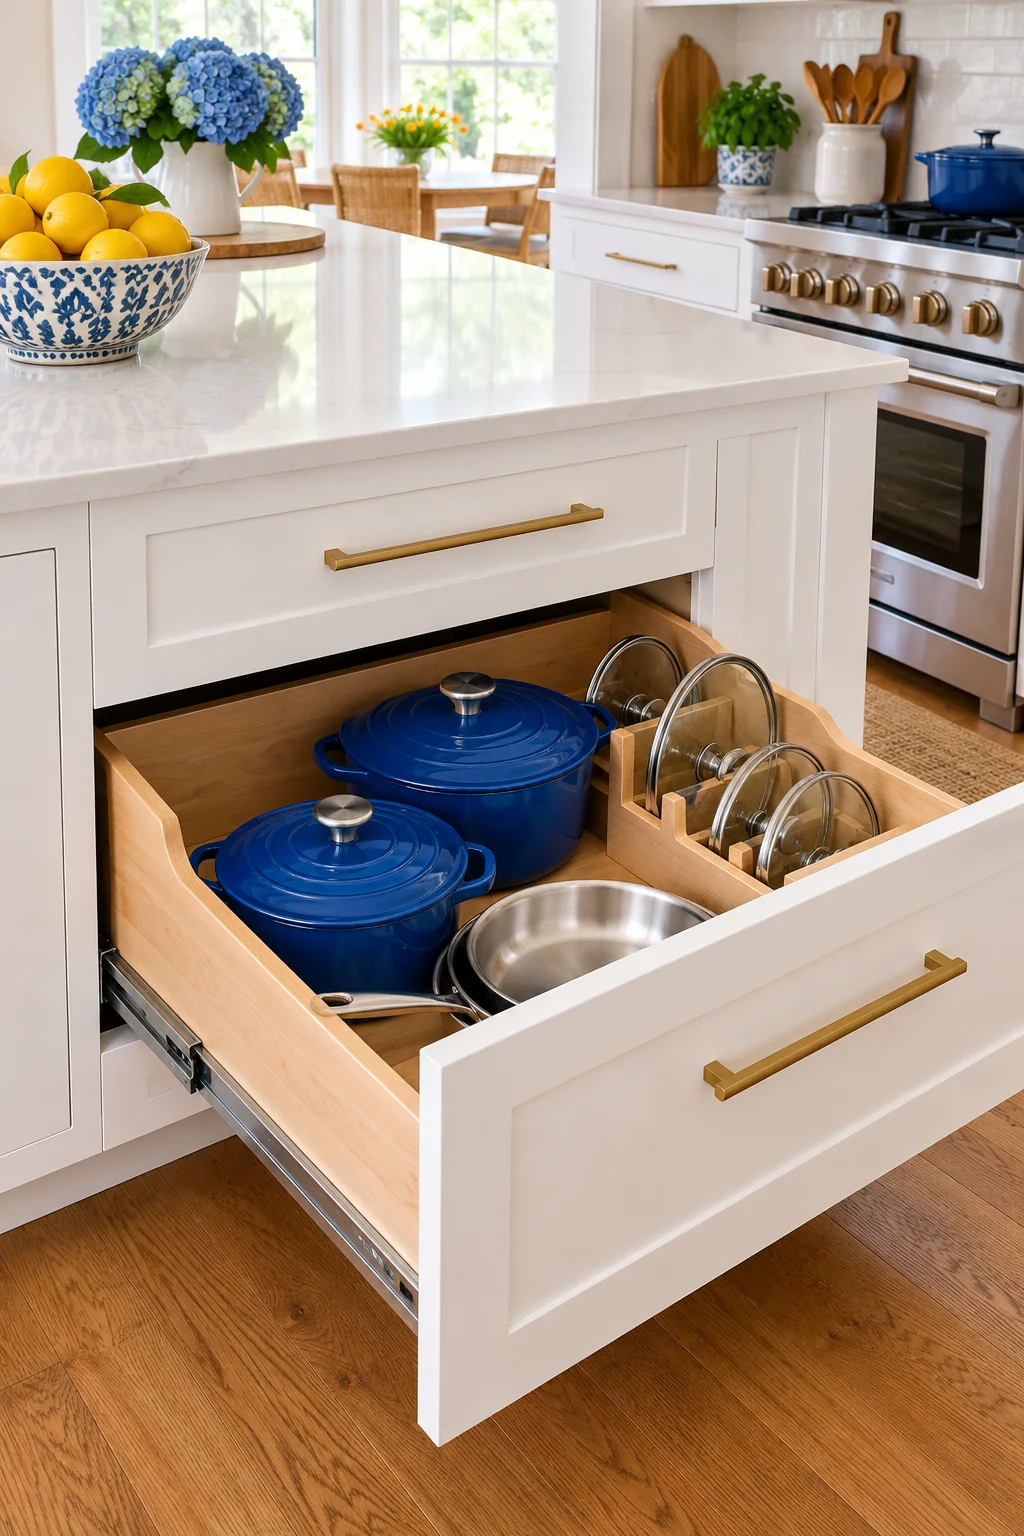
12. Use a turntable in a reachable shelf corner
A small turntable can bring bottles around from a deep corner without changing the whole shelf. Give it a defined purpose, such as a few frequently used condiments that are suitable for cupboard storage.
The Copco 12-inch turntable is one option when the full circle fits. Check the movement of loaded bottles near brackets and neighboring items. Leave a clear border around the tray and follow each food’s storage instructions, including refrigeration directions where required.
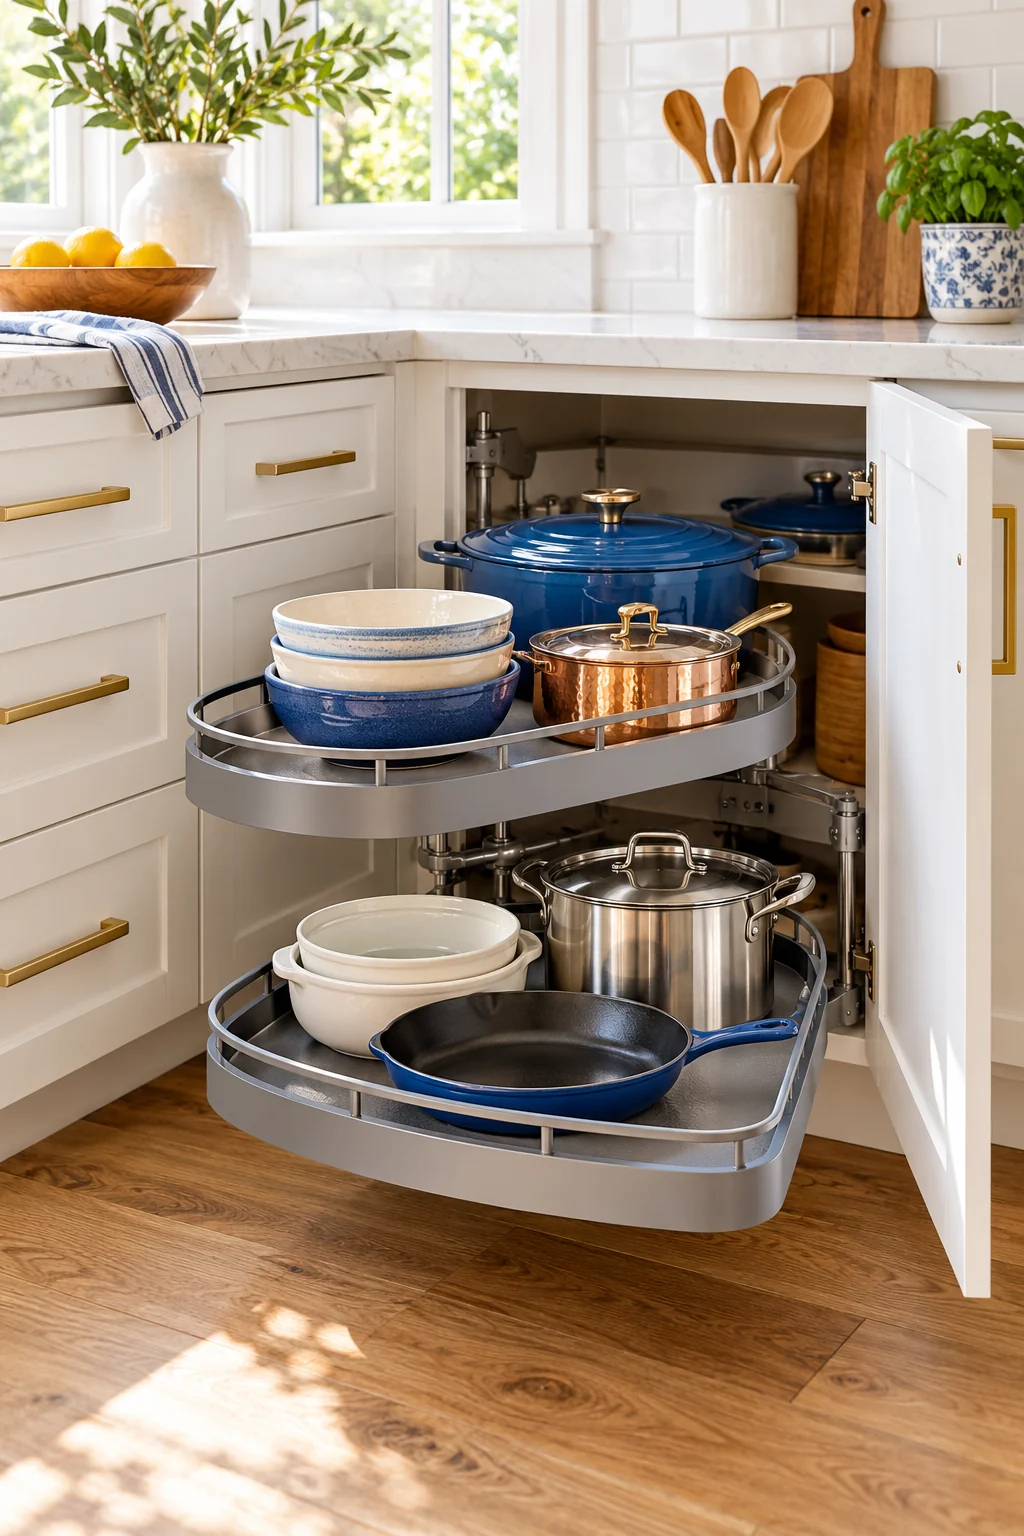
13. Add a shelf above a freestanding sideboard
A wall shelf above a sideboard can hold light everyday serving pieces while the enclosed cabinet stores less attractive extras. Keeping the finishes related makes the two pieces feel considered without needing a fully built-in unit.
Leave enough room to use the sideboard top and to lift objects onto the shelf. Install the shelf independently with appropriate wall fixings, and anchor the furniture according to its instructions. Do not assume the cabinet below supports a shelf mounted above it.
14. Keep coffee cups near the coffee setup
A small mug shelf above or beside a coffee counter can free an enclosed cabinet for dishes. Group the mugs you use regularly and keep a few accessories together in a removable tray below.
Position shelves so they do not interfere with the coffee maker’s lid, water reservoir, steam, or required clearances. Check the appliance manual before deciding on height. Avoid adding an overhead shelf that looks tidy but gets in the way every time you refill the machine.
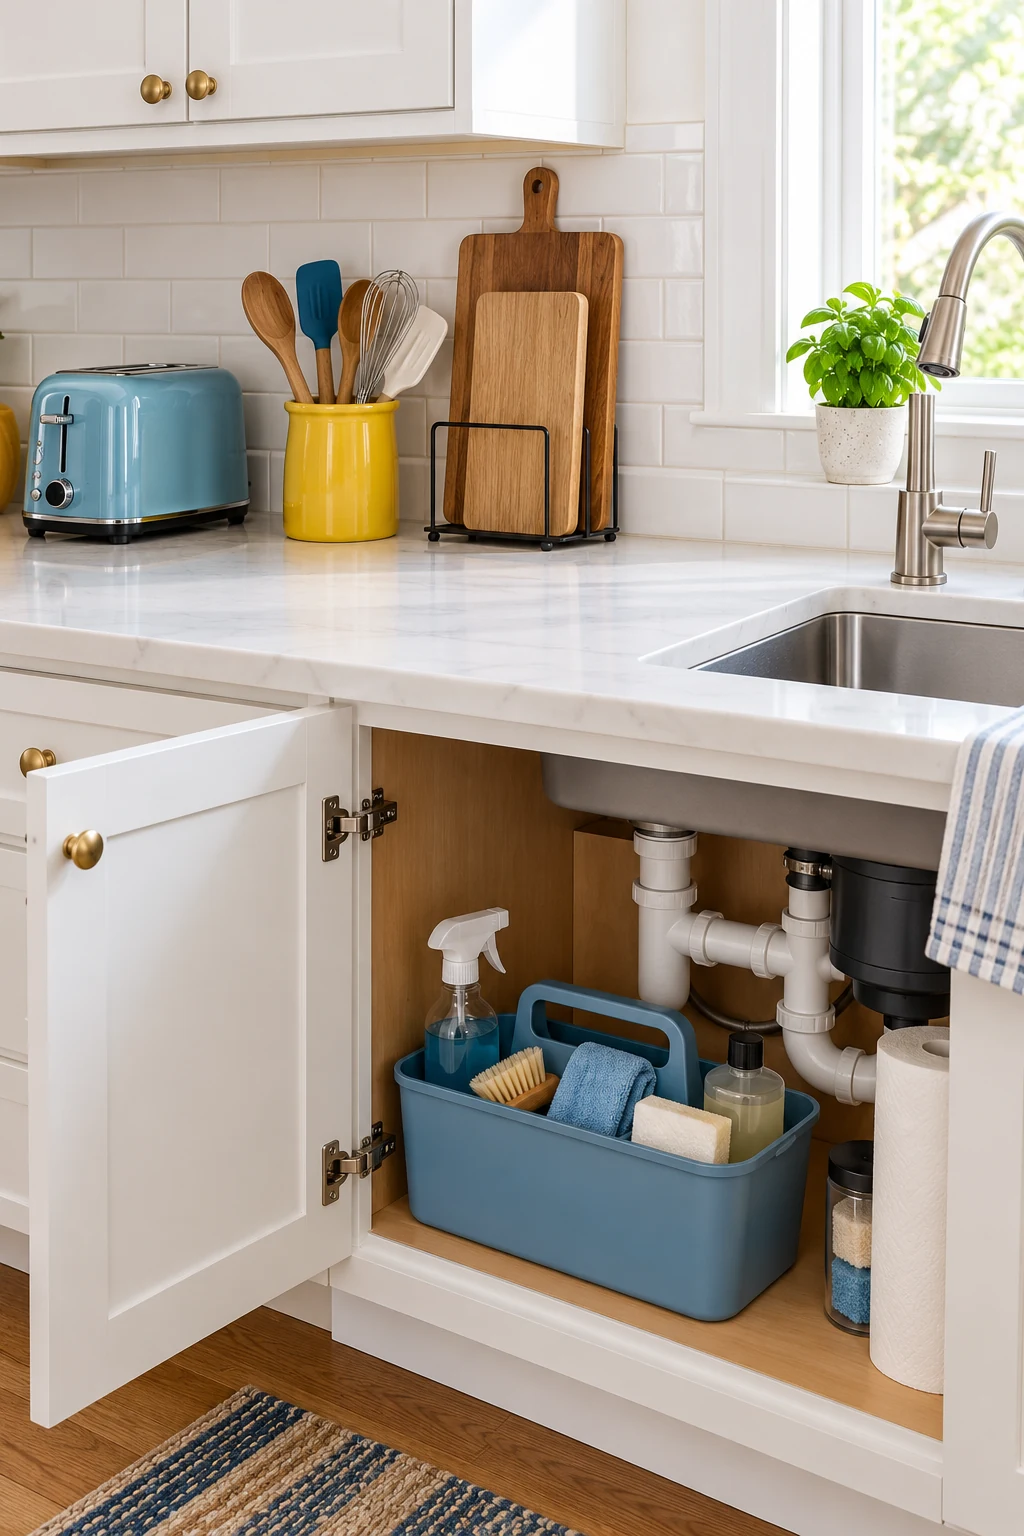
15. Try a rail beneath a suitable shelf
A shelf-and-rail system can place a few mugs or lightweight utensils below the board while keeping the shelf top available. Use hardware designed for the combined arrangement, with hooks that securely suit the items.
Count the hanging load as well as the weight above it. Leave room to lift items off hooks without striking a backsplash or counter. This is not a reason to screw cup hooks into a thin shelf whose construction and load limits are unknown.
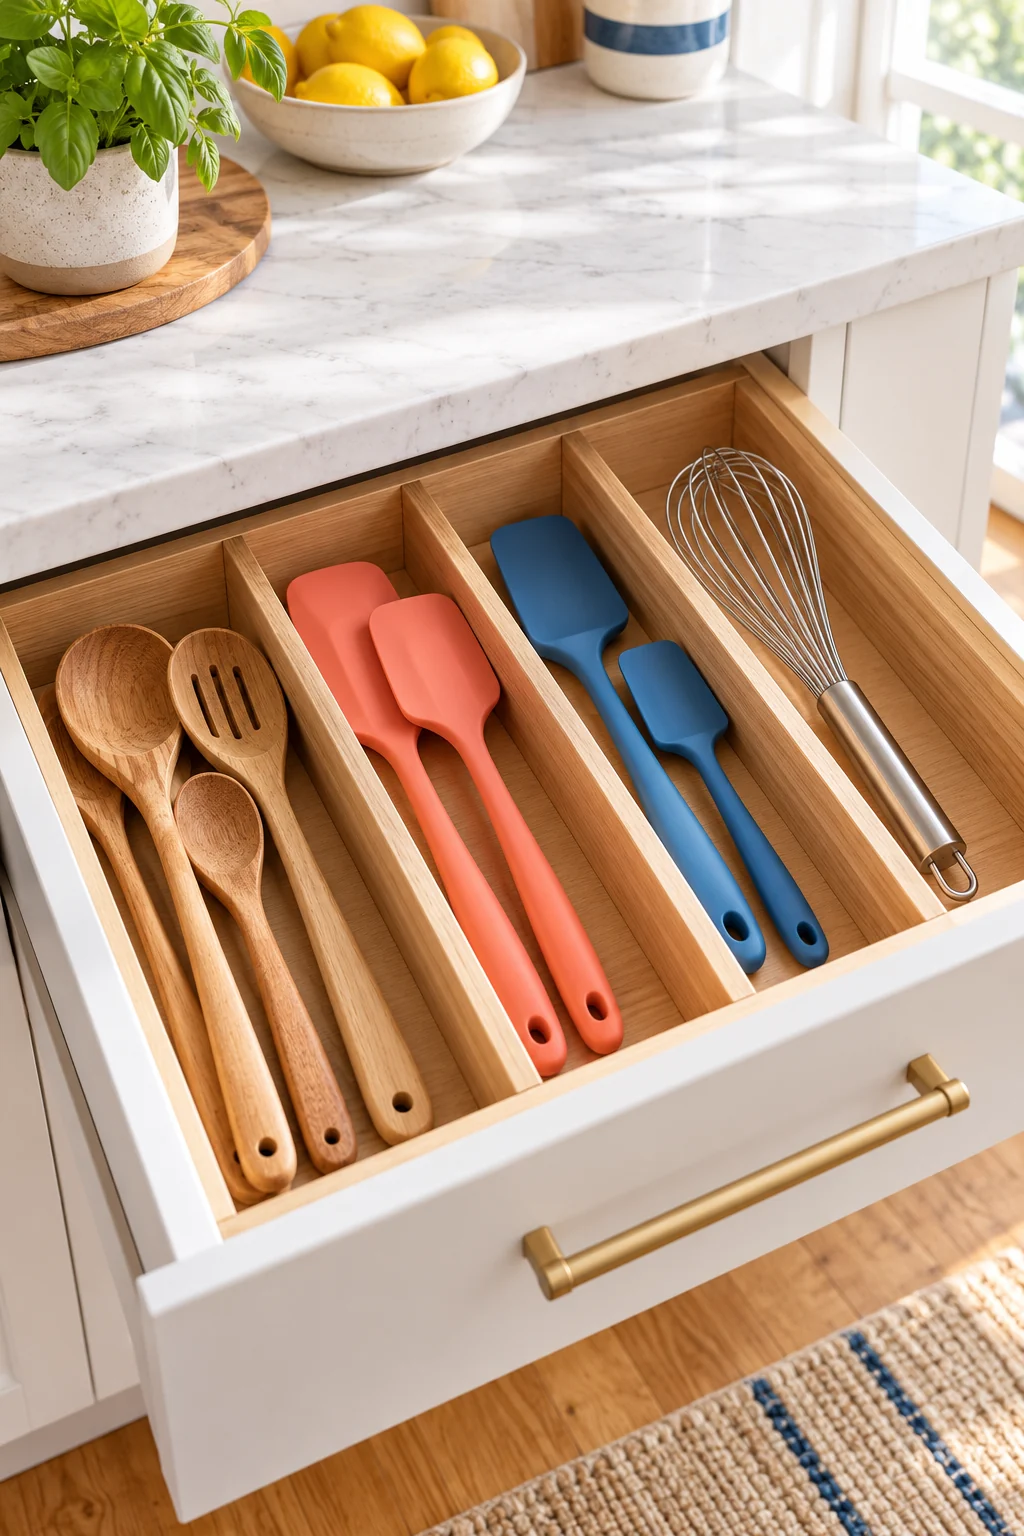
16. Choose shelf depth to preserve the walkway
In a tight kitchen, a shallow side-wall shelf may be more comfortable than a deep bookcase. Tape its footprint on the wall and check it while carrying a bowl, opening nearby doors, and moving between work areas.
Keep projecting corners away from shoulder and head paths. Do not add storage where it obstructs an exit, window operation, or an appliance door. Sometimes the best shelf is shorter or shallower than the available wall space suggests.
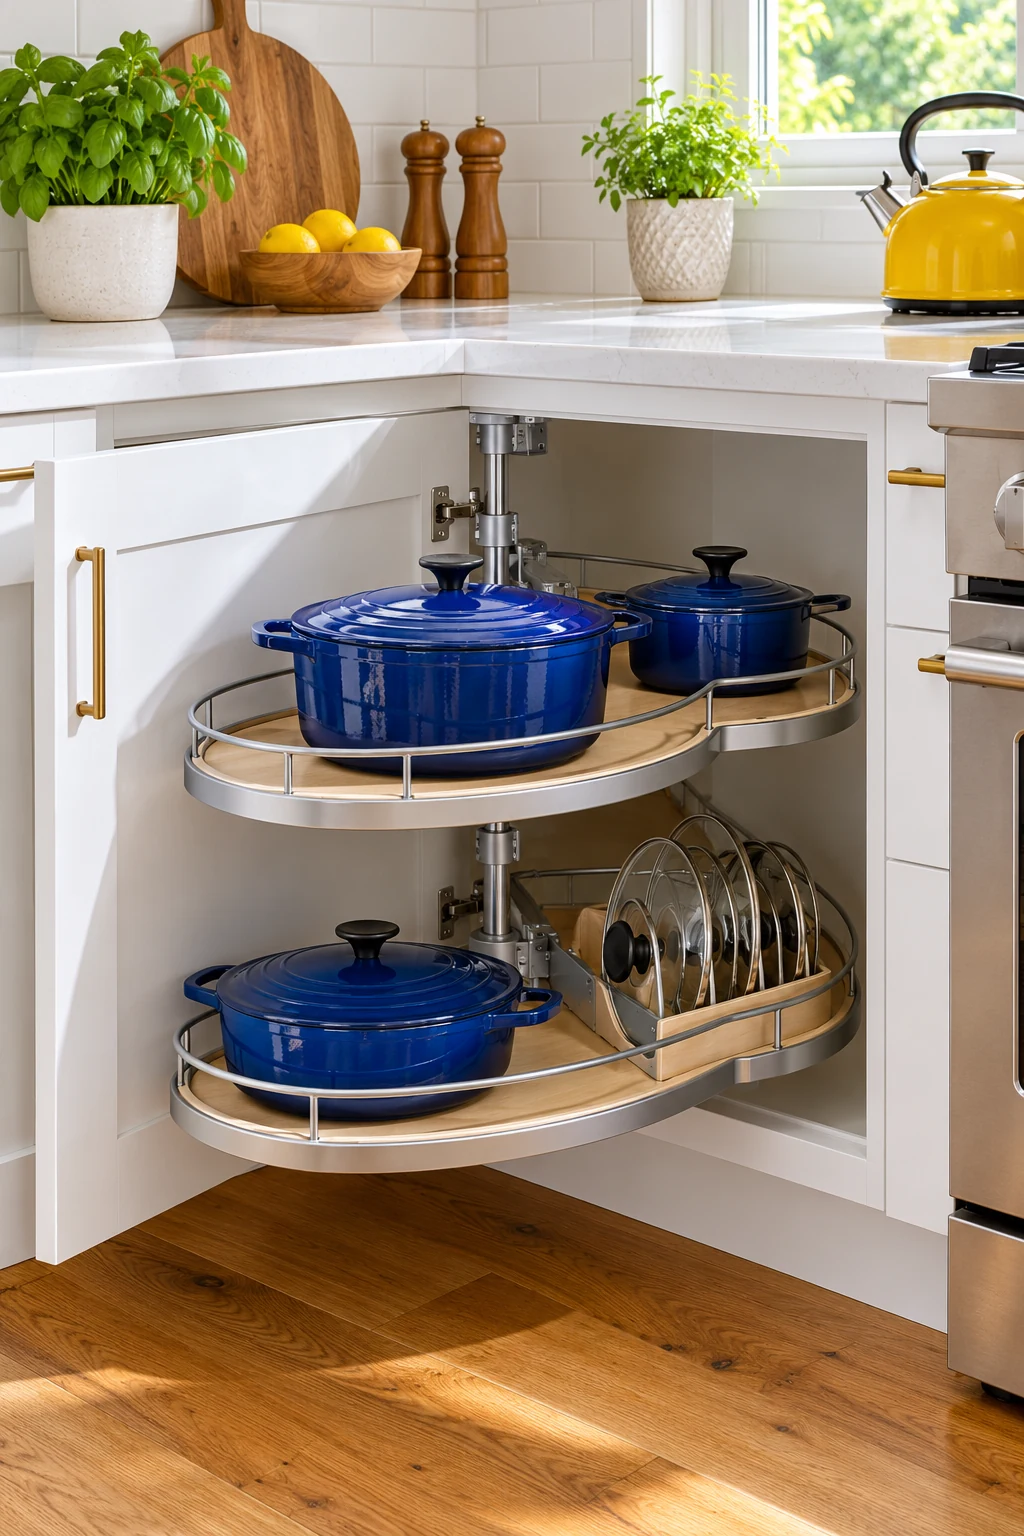
17. Turn an island shelf into table-setting storage
An open island shelf can hold neatly folded napkins and a short stack of everyday placemats on the dining side. Place each category in its own shallow basket or tray so it can travel to the table.
Keep the shelf out of knee and foot space, and make sure baskets pull out without moving stools. Store textiles only when clean and dry. A dining-side shelf works well for light serving essentials while heavier cookware stays on the working side.
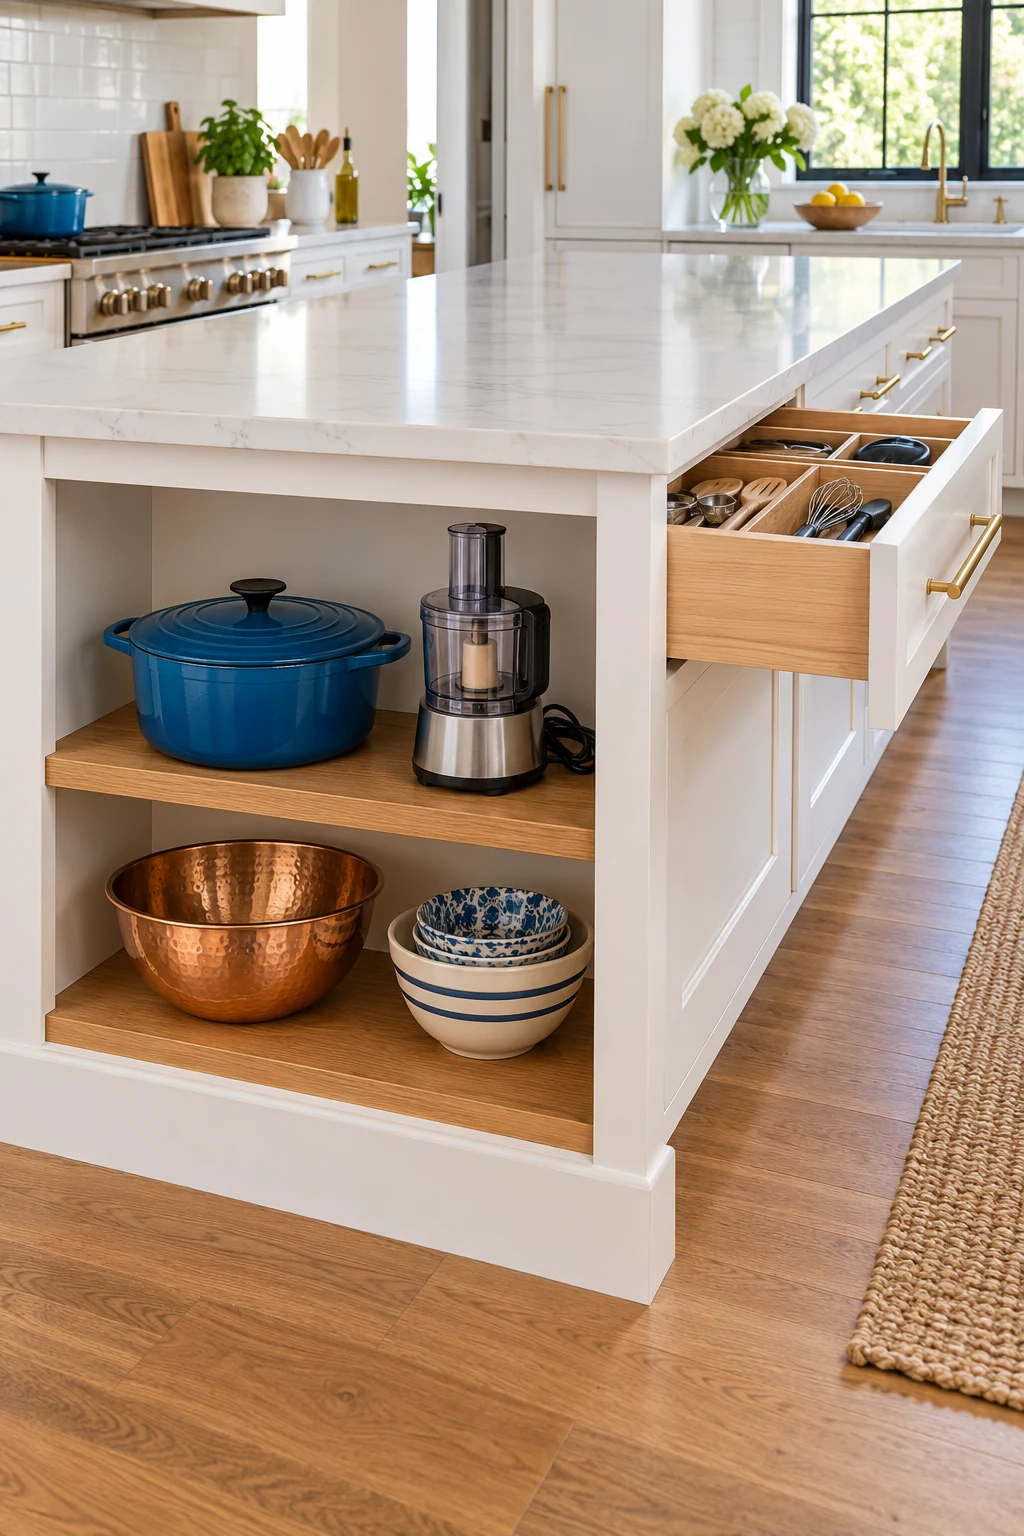
18. Give the lowest shelf the appropriate weight
Use a sturdy lower shelf for permitted heavier objects that would be awkward overhead. Arrange a few larger pieces with clear handholds rather than stacking dense cookware so tightly that everything must move together.
Follow the shelf and furniture load limits and any anchoring instructions. The lowest position is not automatically the most comfortable; keep very heavy daily items where you can lift them without a deep bend. Lighter occasional pieces can use awkward low spaces instead.
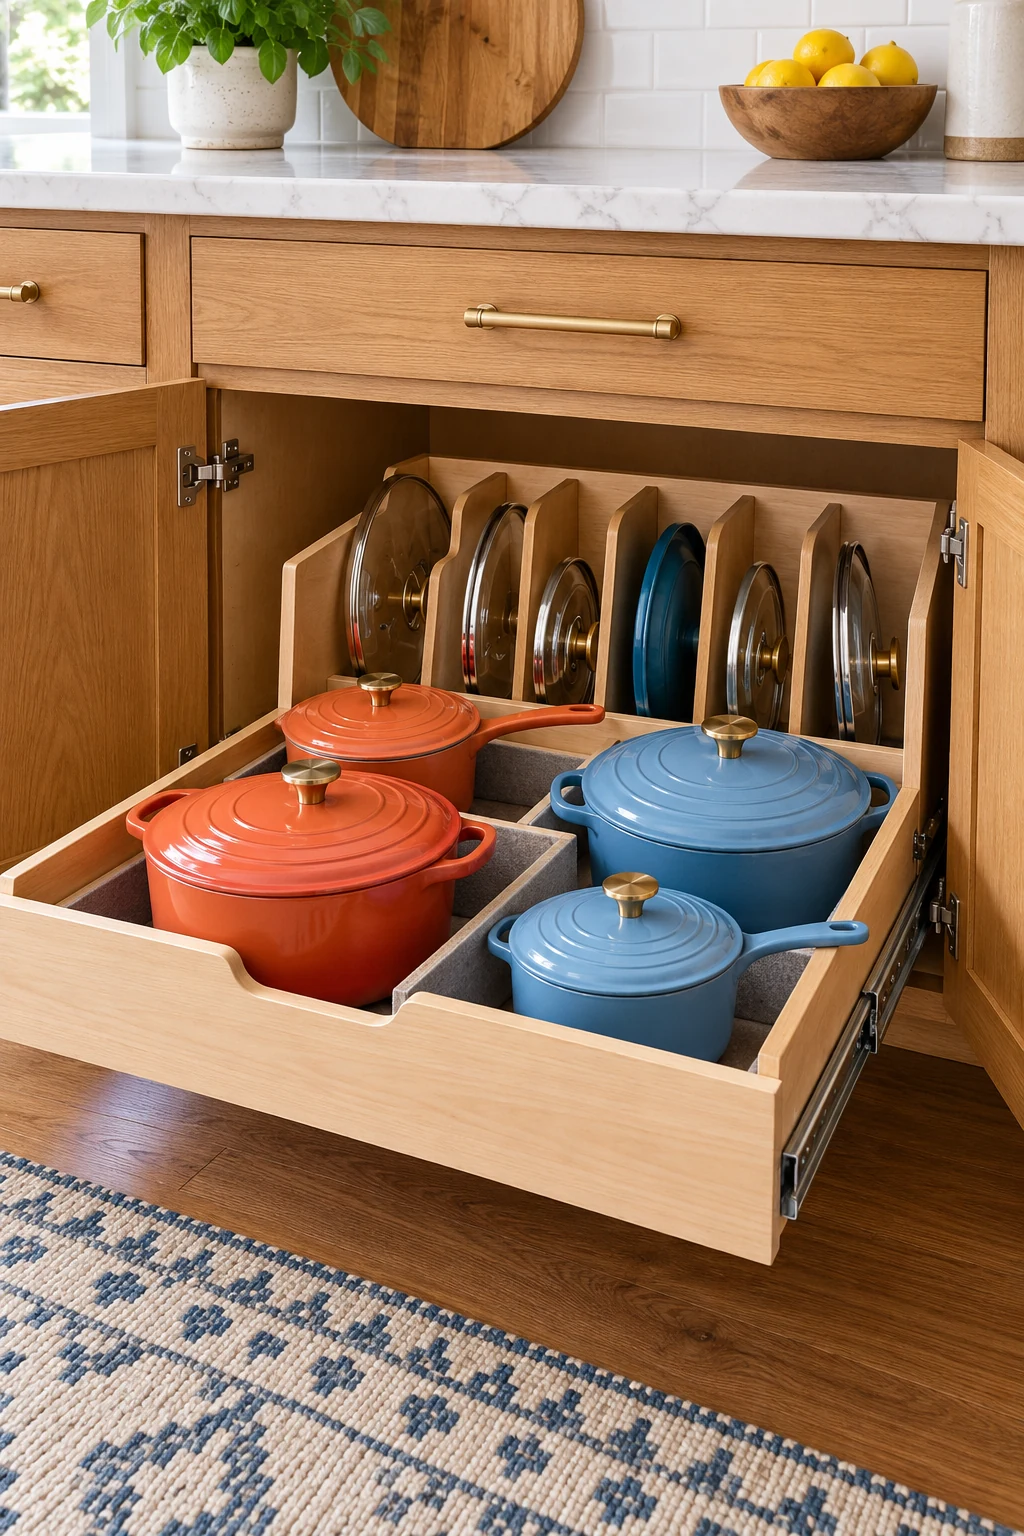
19. Make a short cookbook shelf
Keep a few frequently used cookbooks on a dry shelf near your prep counter. Stand them with visible spines and leave enough space to remove one without pulling the neighboring books forward.
Books are heavier than their decorative appearance suggests, so check the shelf’s load and support. Keep them away from steam, grease, and sink splashes. An open cookbook can move to the counter during cooking and return when the work surface is clean.
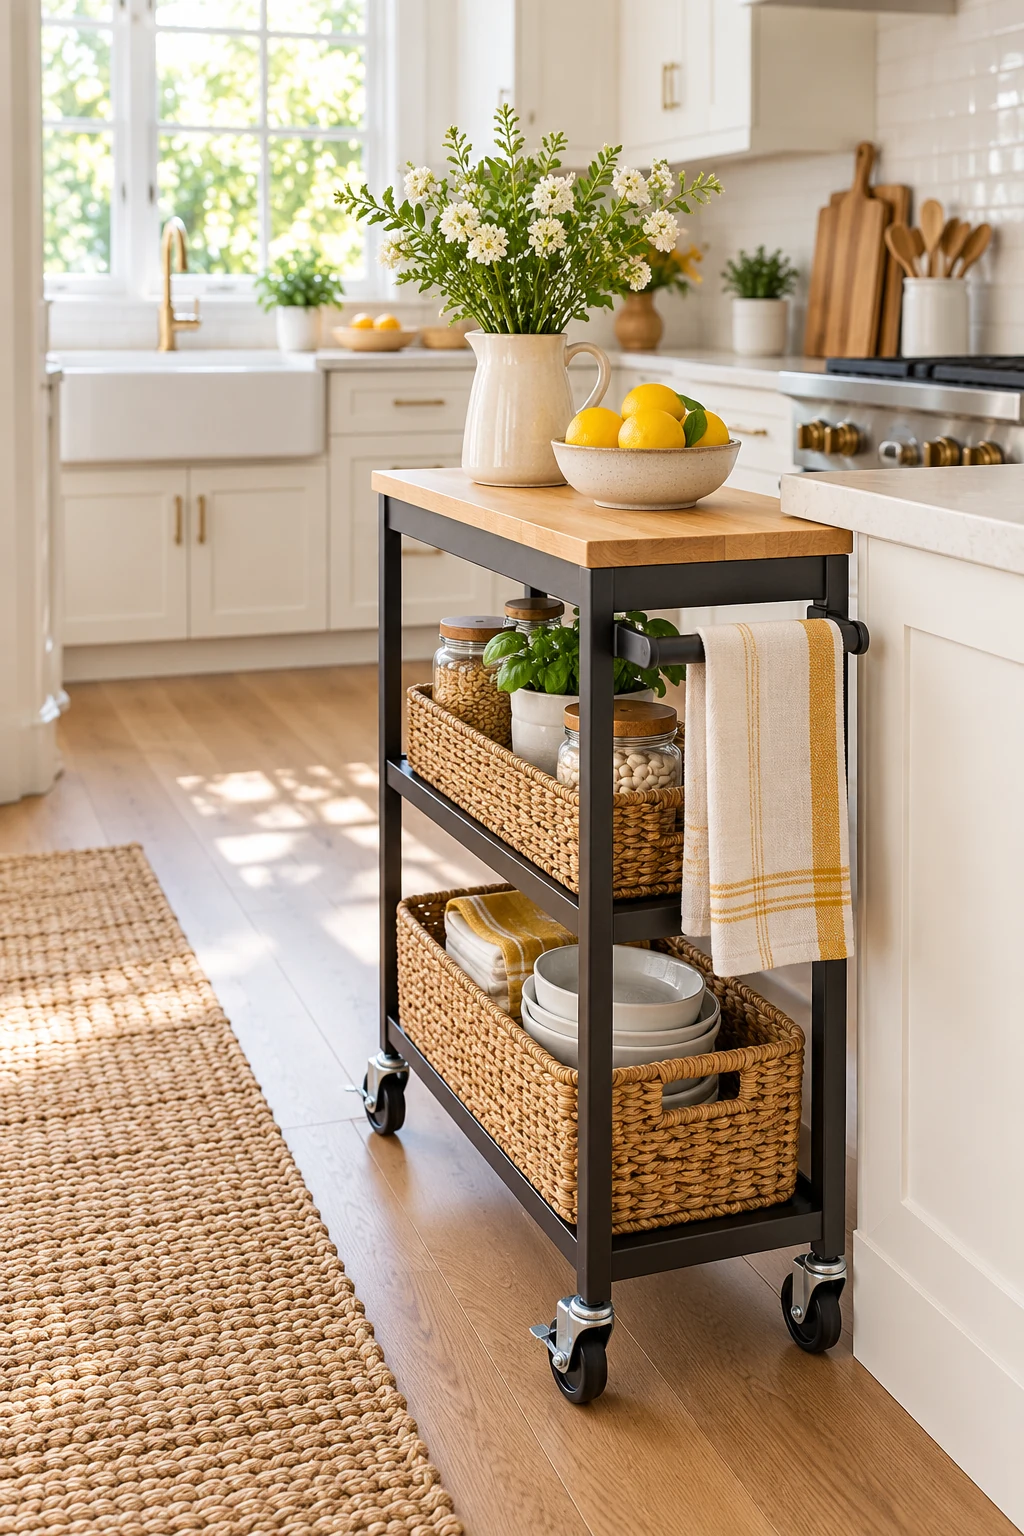
20. Use baskets to calm a mixed open shelf
Open shelves can hold practical items without displaying every package. Pick a few similar baskets for visually busy categories, then leave straightforward objects such as bowls and pitchers visible beside them.
Choose basket depth for the actual shelf and add simple removable labels where contents would otherwise be unclear. Keep frequently used baskets low enough to see into. A row of large opaque baskets is less helpful when each one hides several unrelated jobs.
21. Leave tall items their own opening
A pitcher, tall vase, or stack of mixing bowls may need one uninterrupted section rather than several evenly spaced shelves. Set the spacing around the object you use, leaving room to lift it upright.
Check the shelf supports before moving any adjustable board and keep structural shelves in place. If you are planning new wall shelves, mock up their heights with tape first. A small visual gap matters less than being able to remove the pitcher without scraping it.
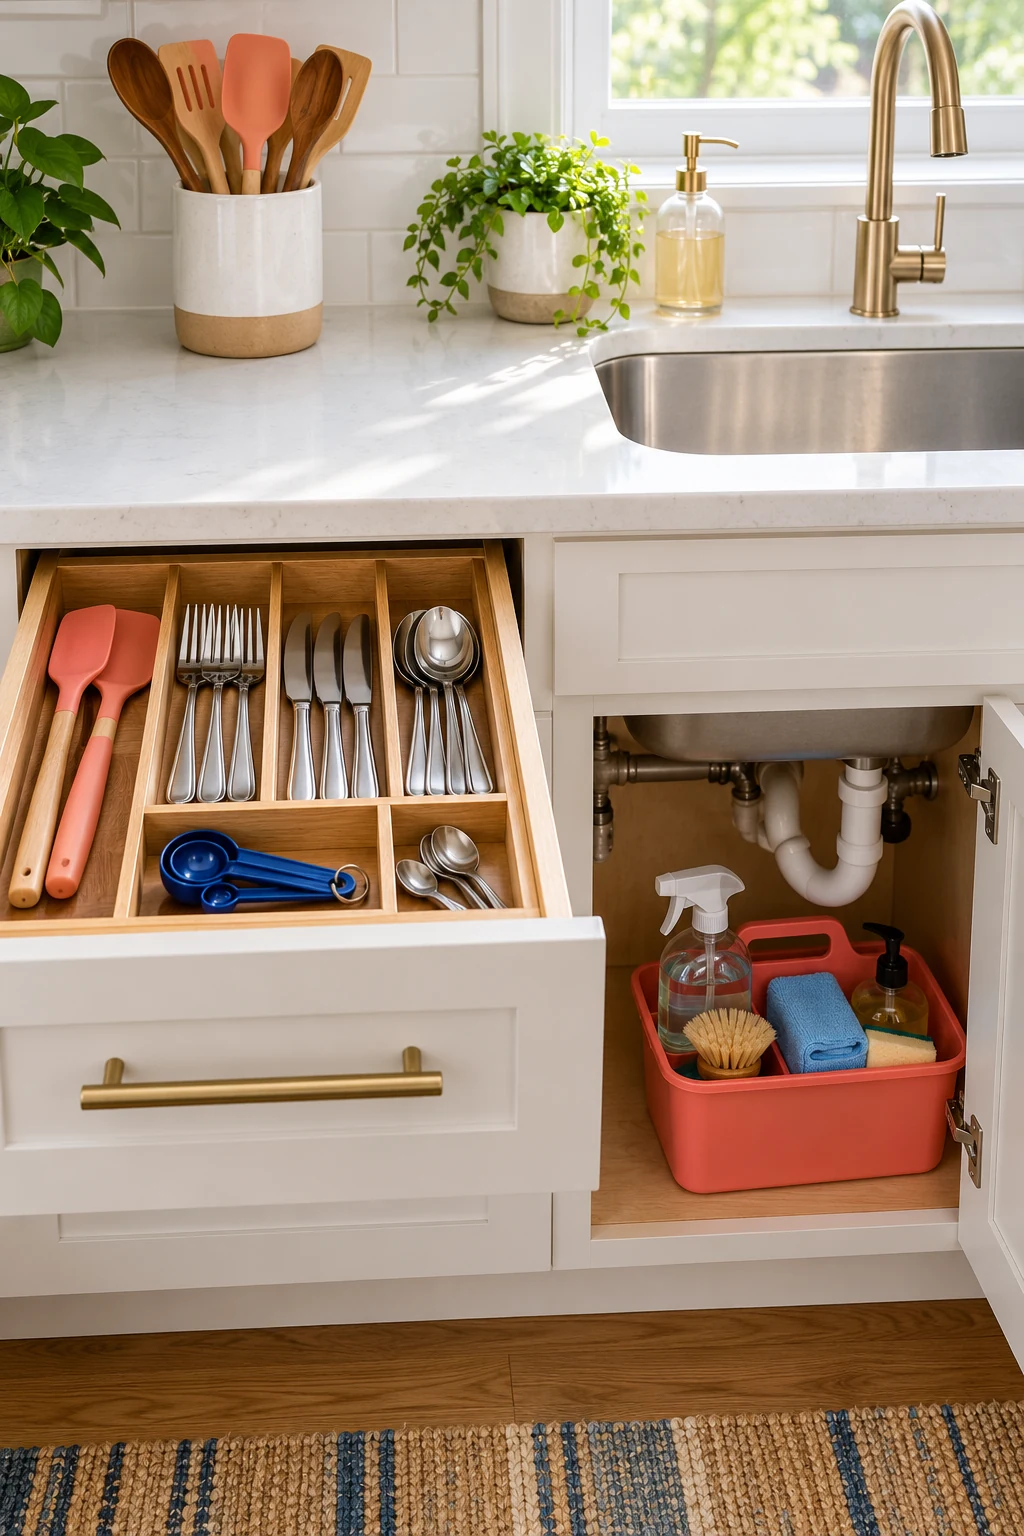
22. Group shelf contents by a useful routine
A shelf looks more coherent when neighboring items serve the same job. Try a breakfast group with bowls and a small packet bin, or a baking group with measuring tools and a few everyday dishes.
Keep food in suitable packaging and retain directions and date information. Avoid adding a decorative object if it blocks the handle of a working bin. The nicest shelf arrangements have enough empty room to look intentional and enough practical purpose to stay useful.
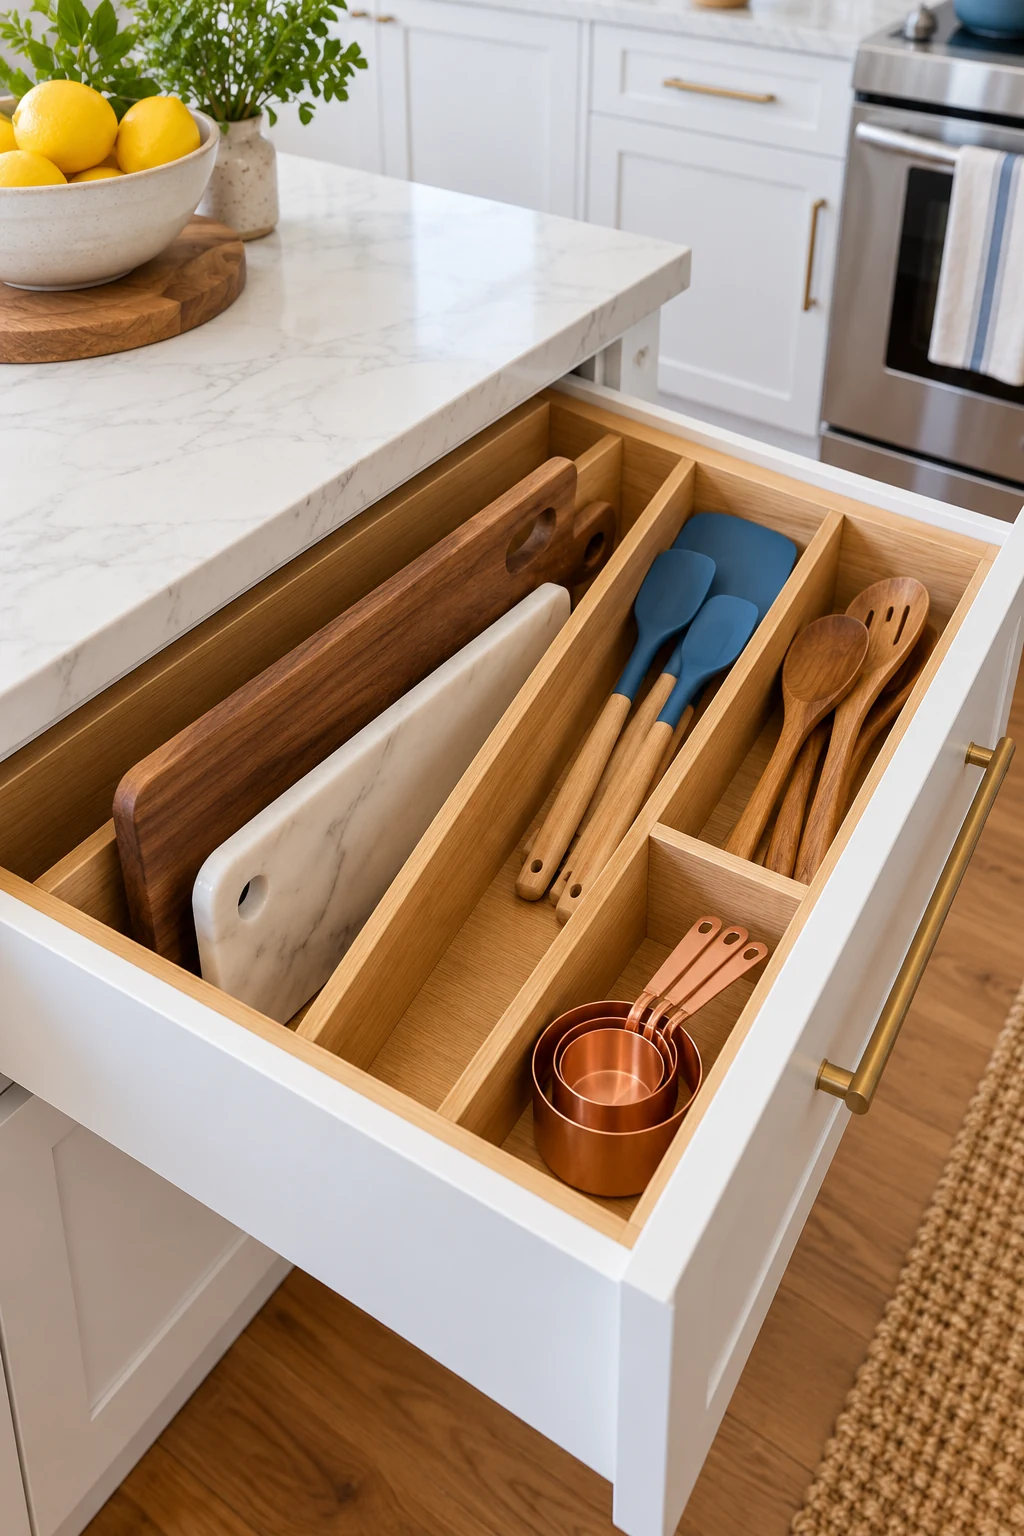
23. Keep seasonal extras on a light upper shelf
An upper shelf can hold lightweight, infrequently used items such as a small serving basket or empty seasonal container. Choose pieces that are manageable to retrieve and do not need to be stacked in a tall tower.
Use a suitable stable step stool as instructed when needed, and keep the route below clear. Do not climb counters or cabinet shelves. Heavy serving platters belong lower even if they only come out a few times a year.
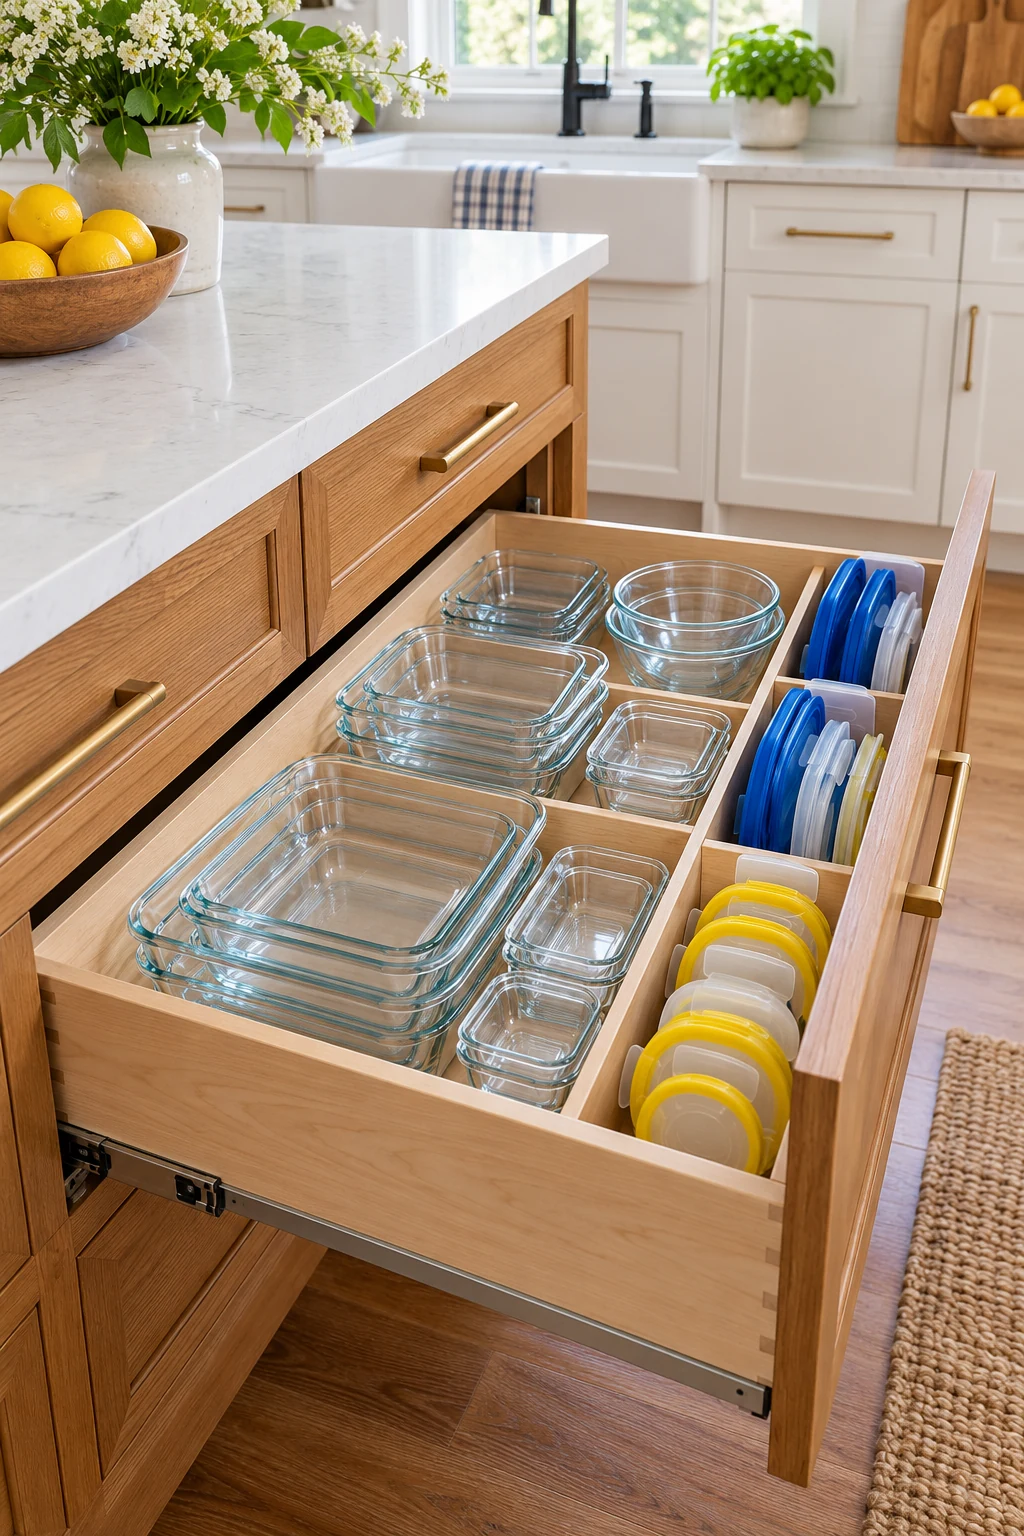
24. Plan a freestanding shelf as real furniture
A freestanding shelving unit can add storage without replacing cabinets, especially along a spare wall. Choose a footprint that leaves doors and circulation clear, then arrange storage by the weight and frequency of use.
Assemble and anchor it according to the manufacturer’s instructions, using fixings suited to the wall. In a rental, obtain the necessary permission rather than skipping required anchoring. Do not convert a decorative shelf into an appliance stand without checking both products’ requirements.
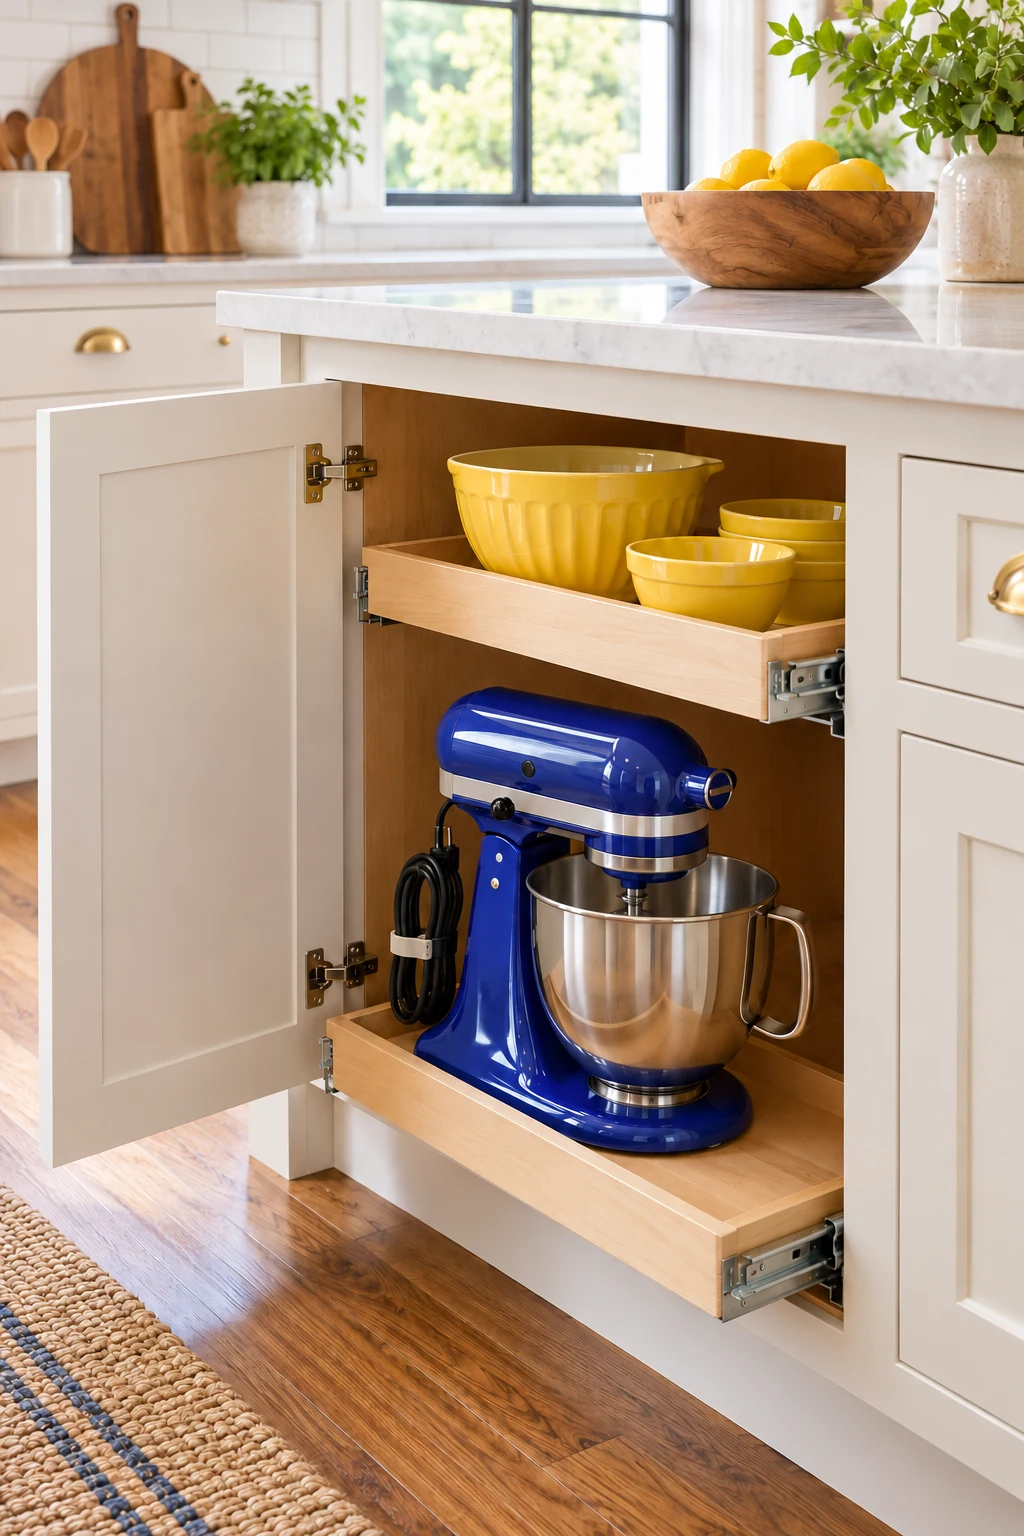
25. Style with the room you need to use
A shelf can feel finished with a small number of coordinated dishes, a basket, and some breathing room. Repeating a few materials or colors creates visual calm without requiring every container to match.
After styling, remove and replace the objects you use daily. If a plant, bowl, or leaning board must move first, simplify that section. Keep a cleaning routine you can manage; open shelves are useful only when reaching and maintaining their contents remains comfortable.
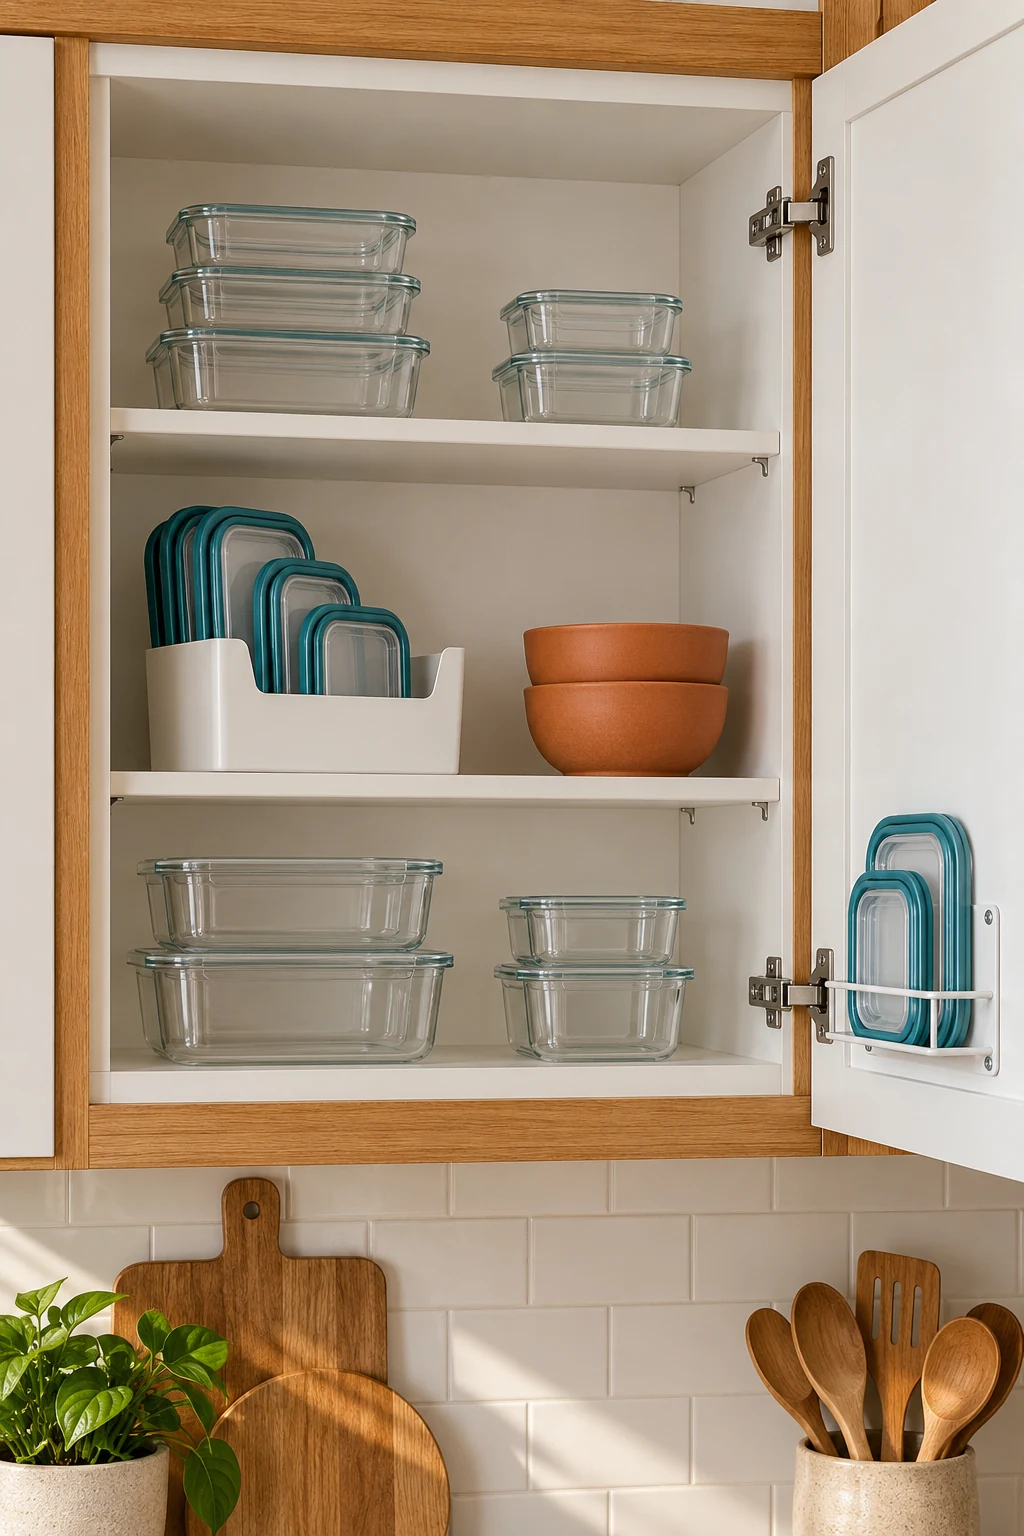
Start with a short list of things you want to reach more easily. Give them one suitable shelf, leave room for your hands, and try the arrangement during an ordinary day. Useful storage has a way of making the whole kitchen feel more settled. Subscribe to the Havelyo email list for more small-space decorating and organization ideas.