
Kitchen Organization
24 Kitchen Island Storage Ideas for Cookware and Everyday Essentials
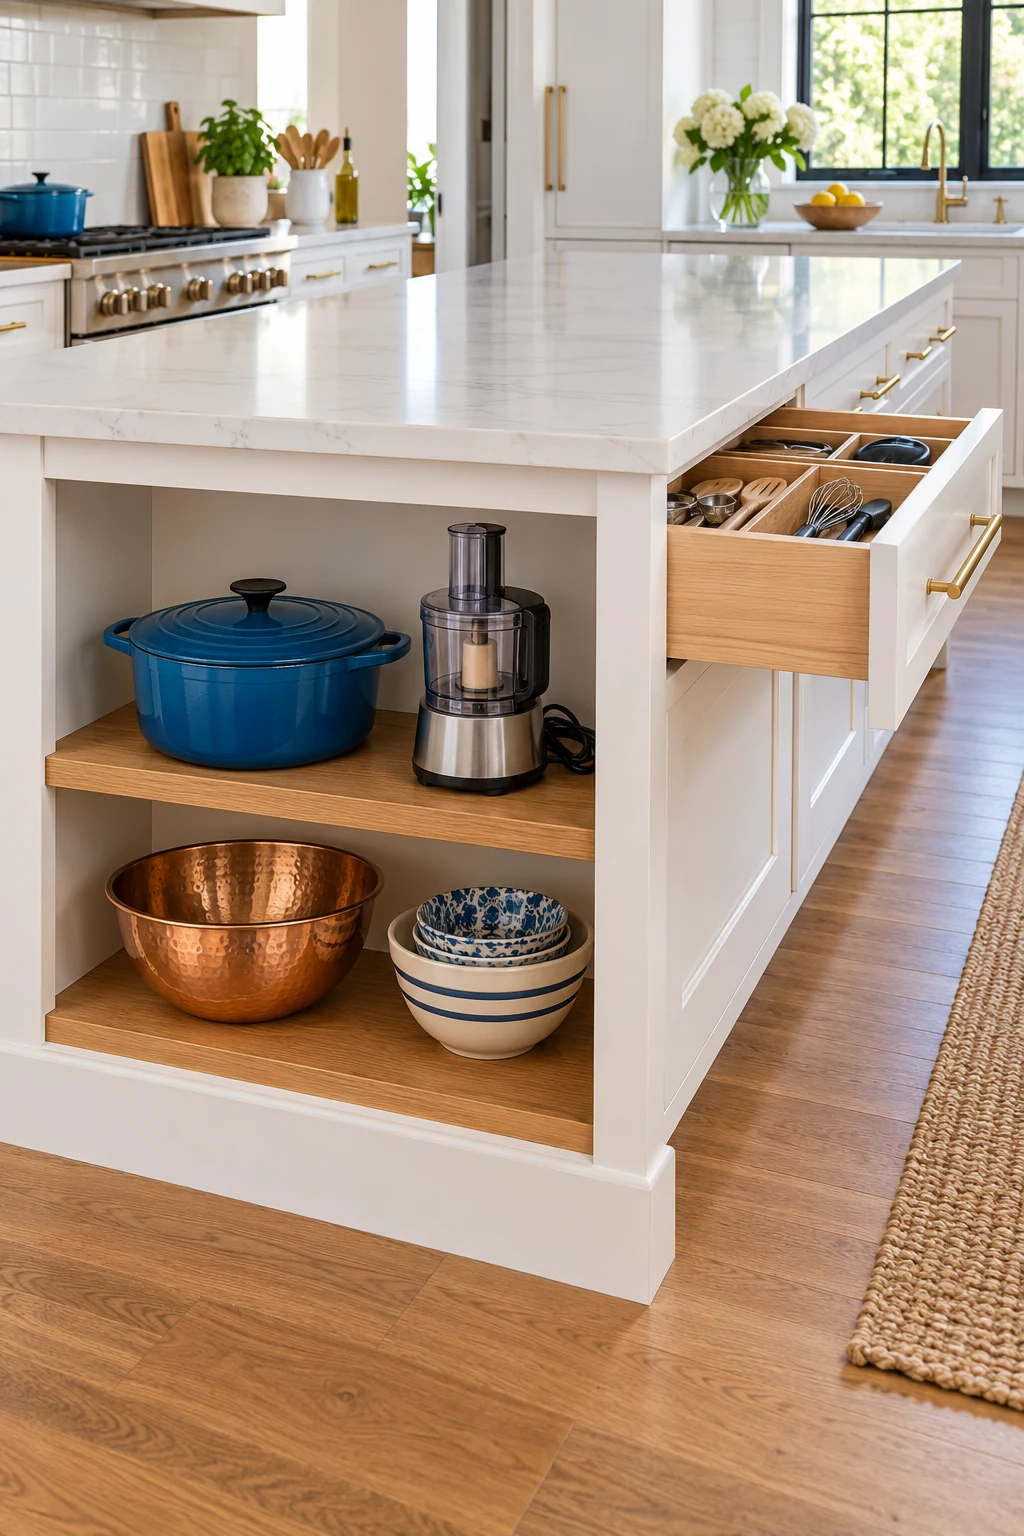
A kitchen island can do several jobs in a small room: prep station, serving spot, landing place, and dinner table. Its storage works best when those jobs have clear homes instead of competing for the same drawer and the same patch of counter.
These 24 kitchen island storage ideas cover built-in islands, open-shelf designs, and modest rolling options. Start with the island you have and the paths around it. Before adding shelves or hardware, check door swings, seating space, structural supports, and any plumbing or electrical services. A few well-placed changes can make an existing island much more useful without filling every available opening.
This article contains affiliate links. If you buy through them, Havelyo may earn a commission. As an Amazon Associate I earn from qualifying purchases.
1. Choose a job for each side
An island often serves cooking on one side and sitting or serving on the other. Put prep tools on the working side and table-setting items on the dining side so two people can use the island without reaching across each other.
Walk around it with cabinet doors open before moving anything. The best storage location should still work while someone is seated or unloading the dishwasher. Keep the central worktop clear enough for the task the island is meant to support.
2. Keep daily pans in a working-side cabinet
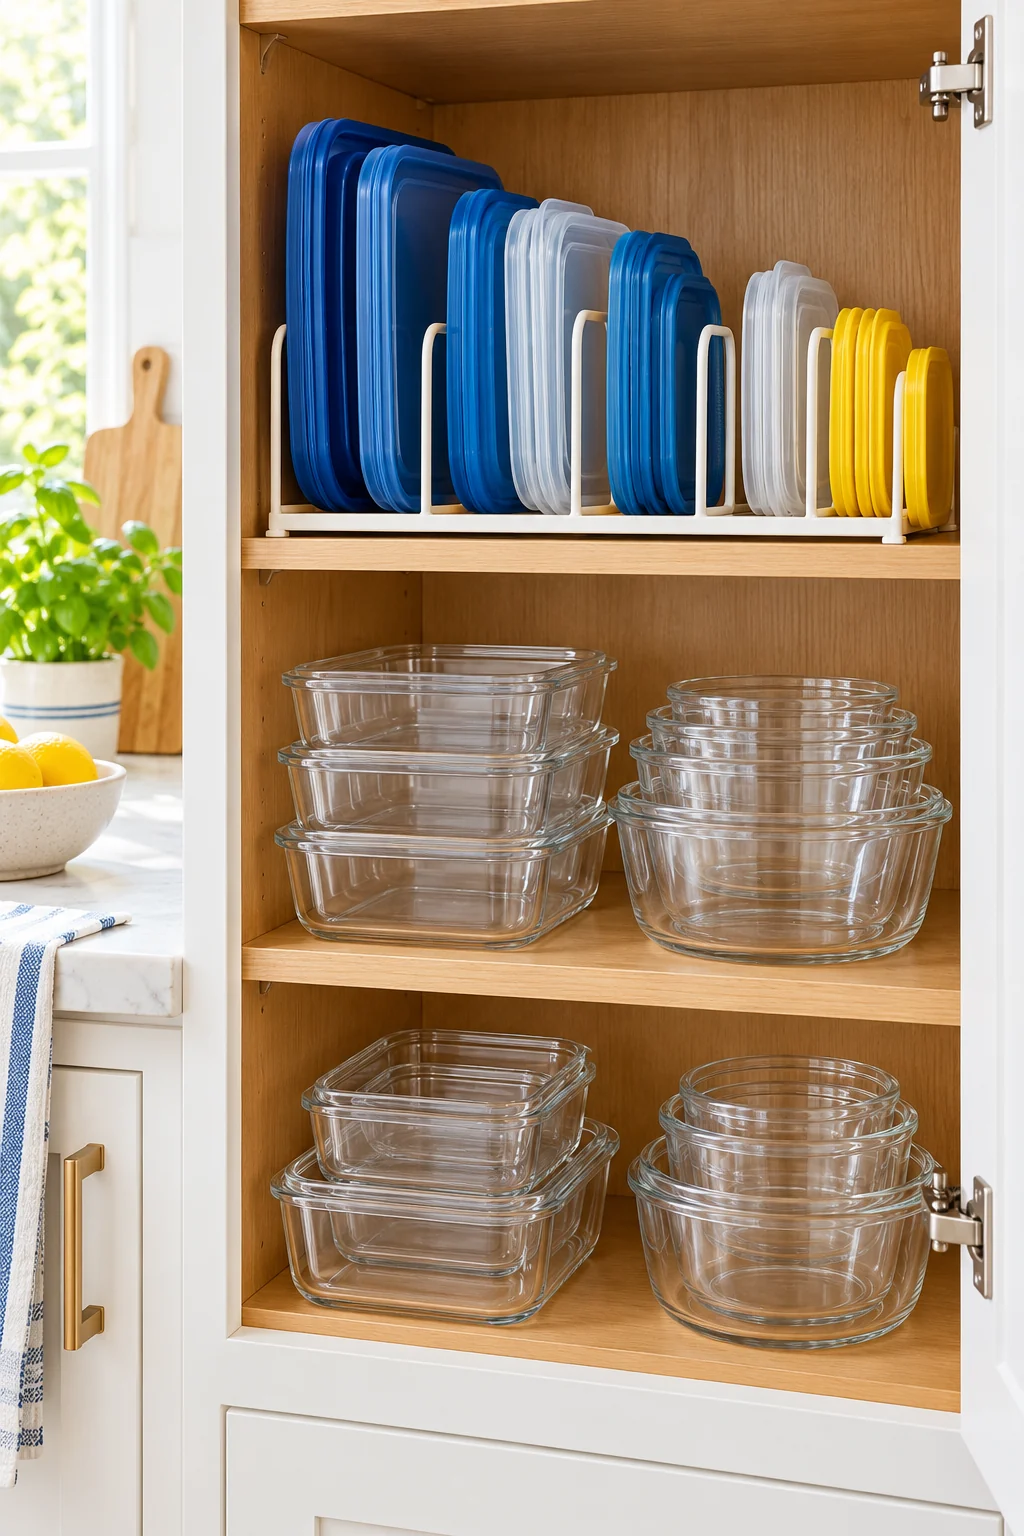
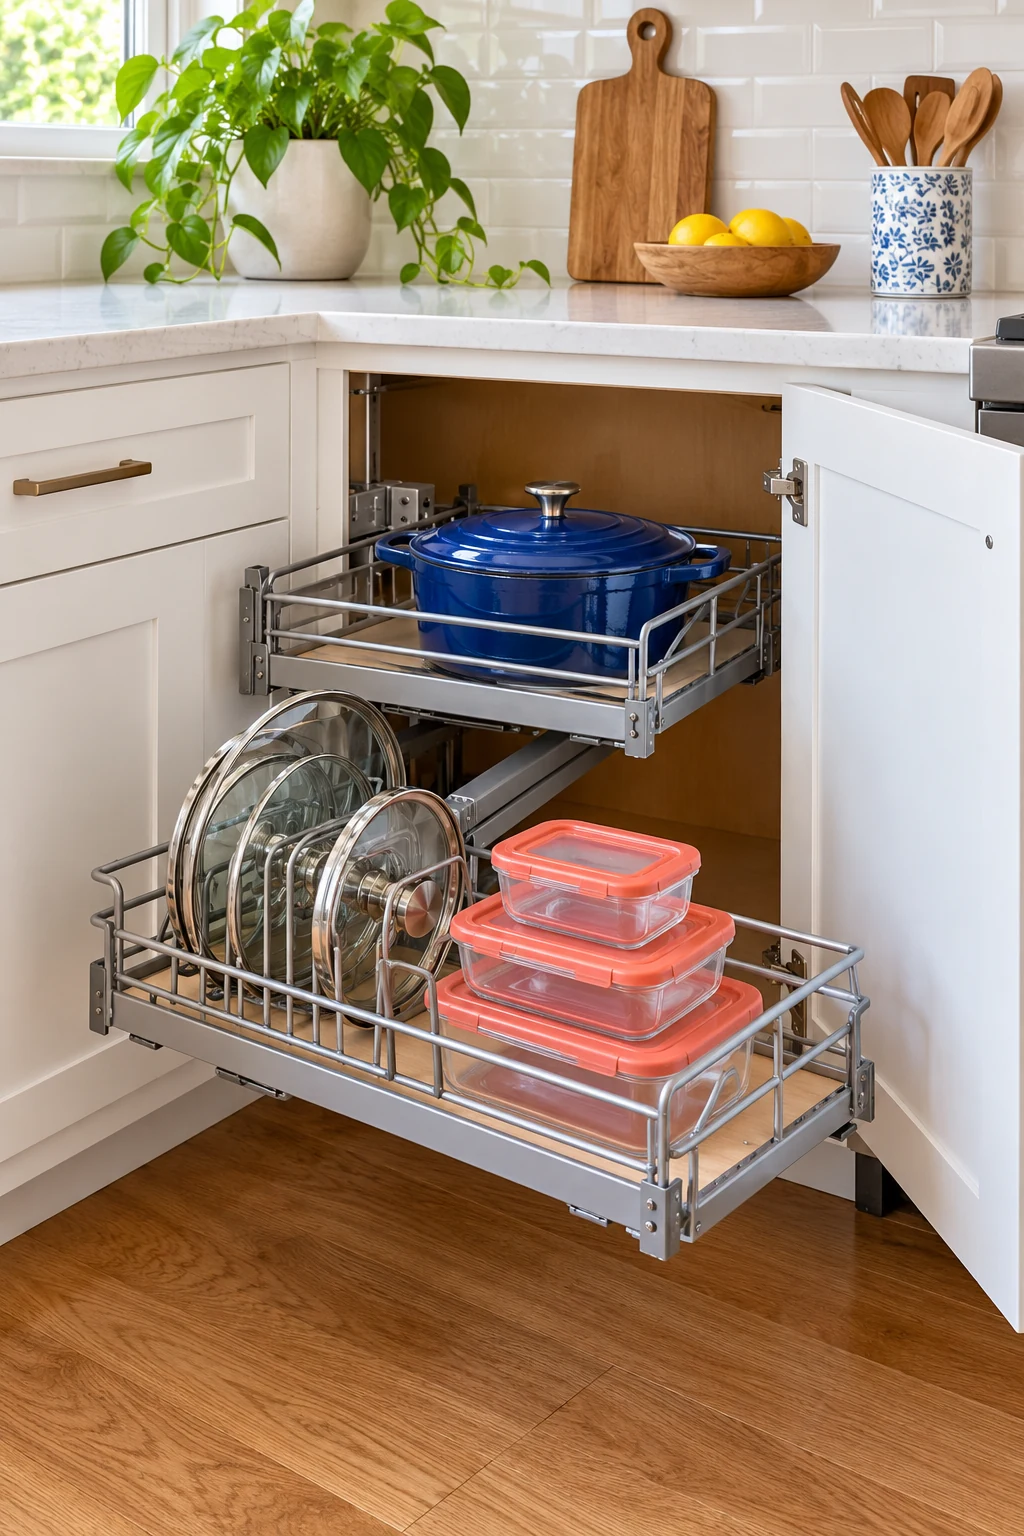
Give the pans you reach for during dinner an accessible island cabinet facing the cooking area. A row of upright pieces can be easier to scan than a nested tower, especially when different handles make stacking awkward.
The YouCopia StoreMore Expandable Cookware Rack is a freestanding option for a compatible opening. Include pan handles in your measurements and check the loaded height. Keep the heaviest cookware where you can lift it comfortably with both hands.
3. File baking sheets beneath the prep surface
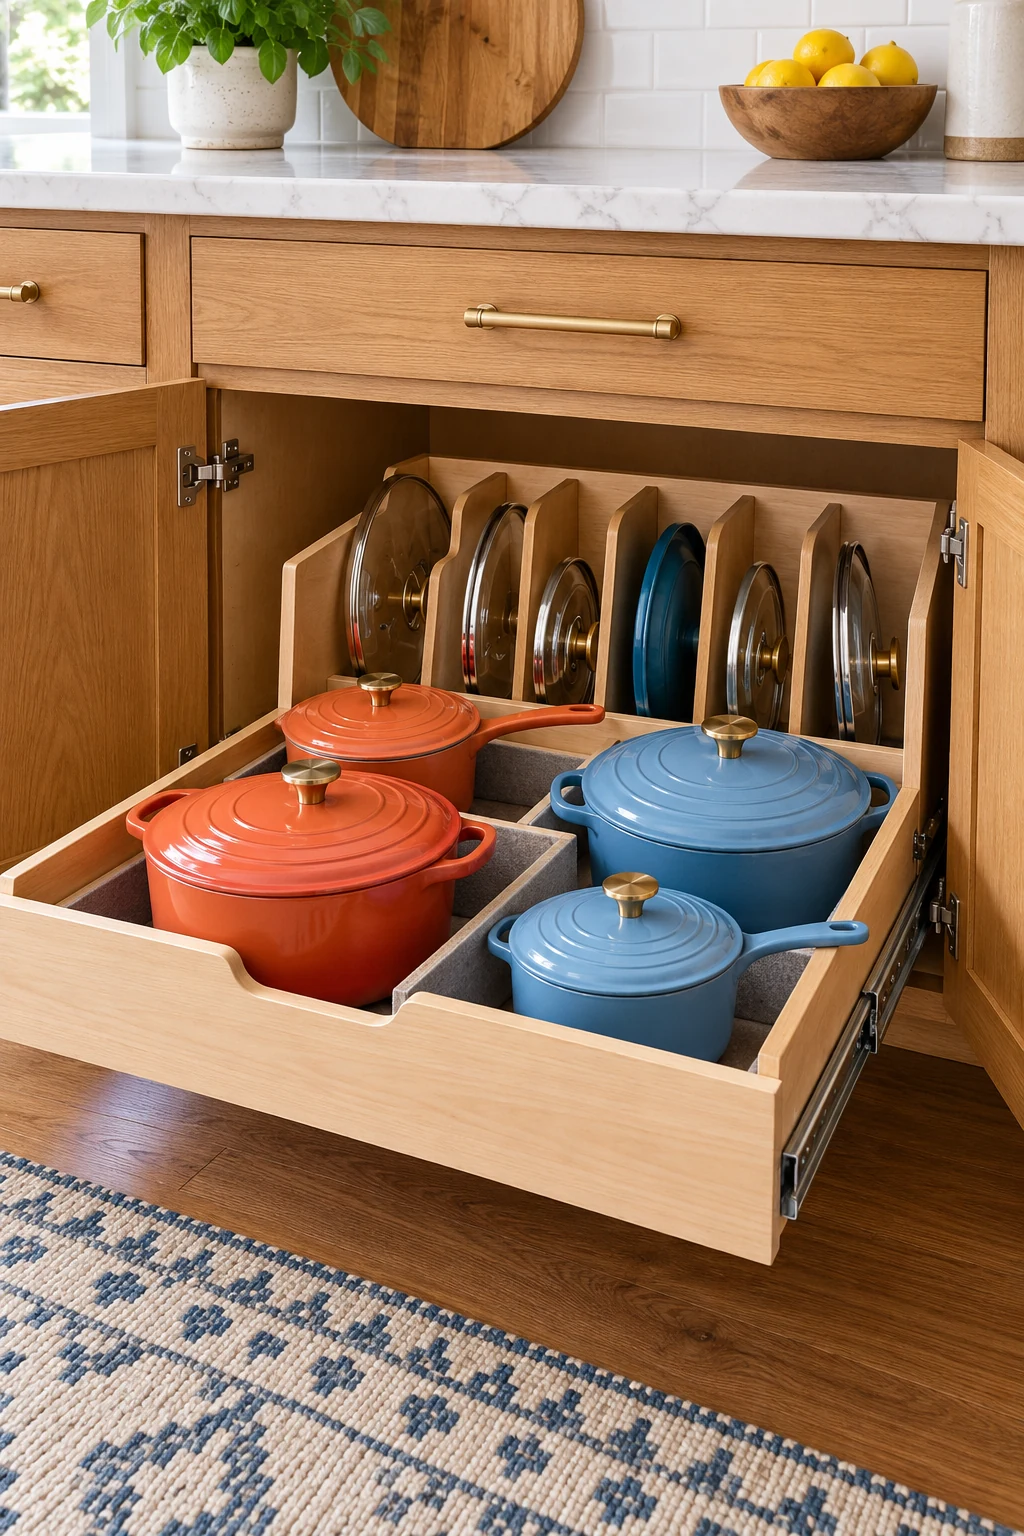
A vertical baking-sheet bay makes sense when the island is where you roll dough or assemble sheet-pan dinners. Store sheets, racks, and thin trays in individual lanes so one can come out without lifting the rest.
The YouCopia StoreMore Bakeware Rack offers adjustable divider spacing. Test your largest sheet through the door first; a generous interior can still have a narrow opening. Keep the bay dry and follow the care instructions for any wooden boards stored alongside it.
4. Build a shallow flatware drawer for serving
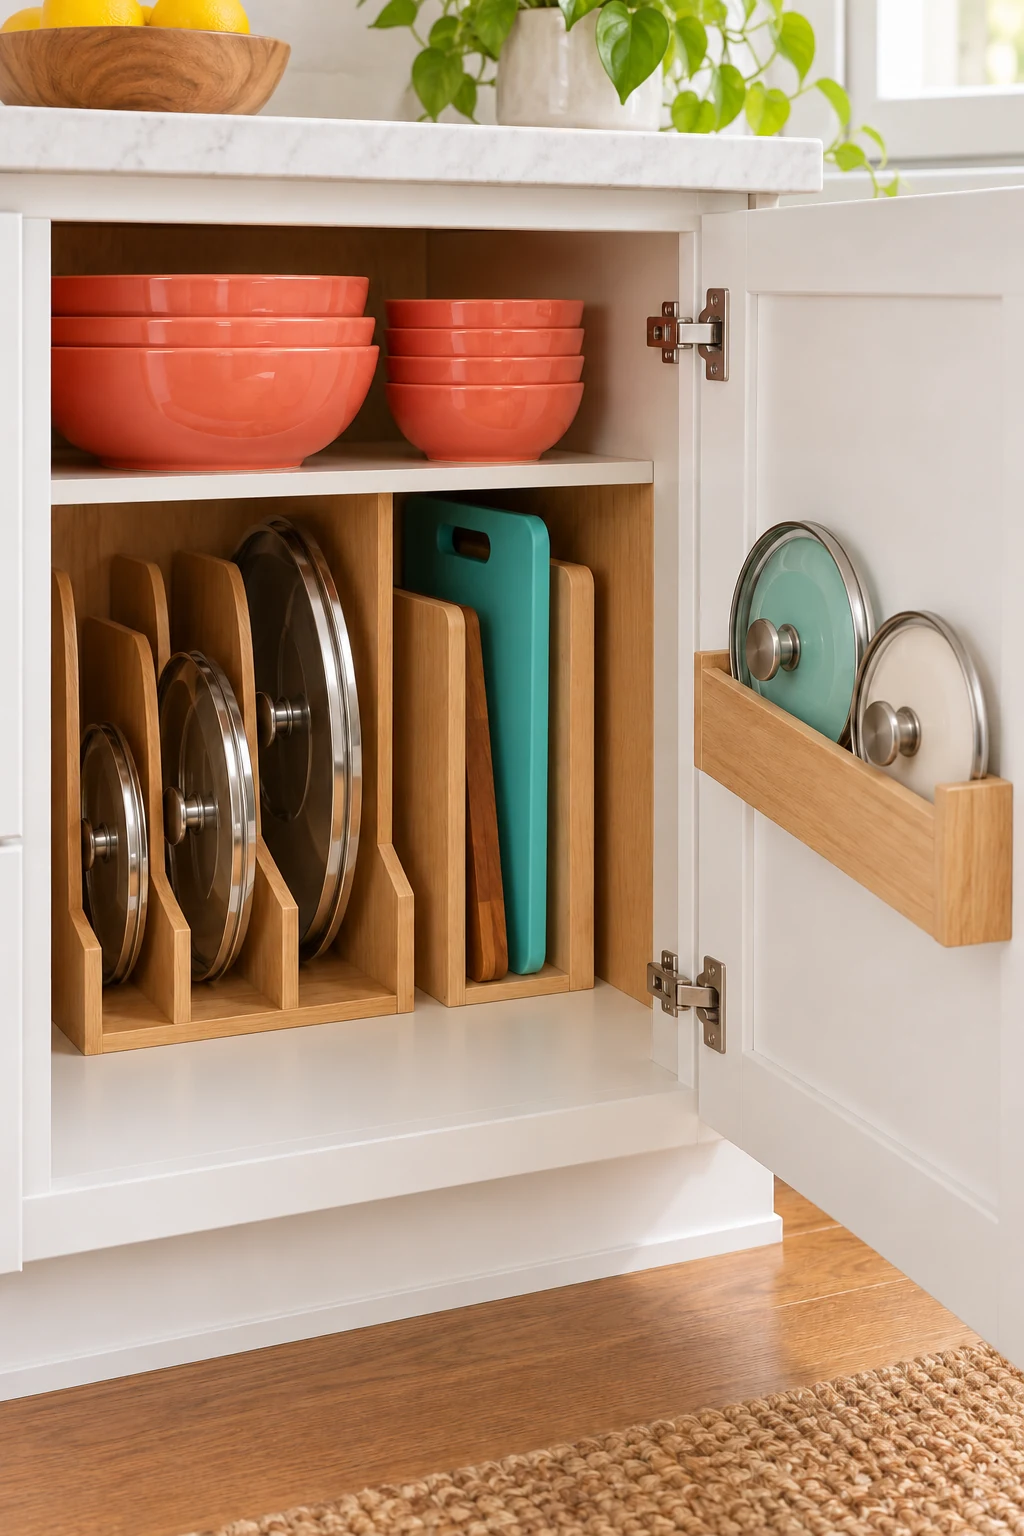
Place everyday forks, spoons, and table knives in a drawer facing the dining table. Someone setting the table can then gather what they need without stepping into the main prep area or reaching over food on the island.
The Joseph Joseph DrawerStore Compact Cutlery Organizer leaves width for another useful category in a suitable drawer. Its listed minimum drawer clearance is 3.25 inches. Try your actual flatware before committing; thick handles can make a compact arrangement feel cramped.
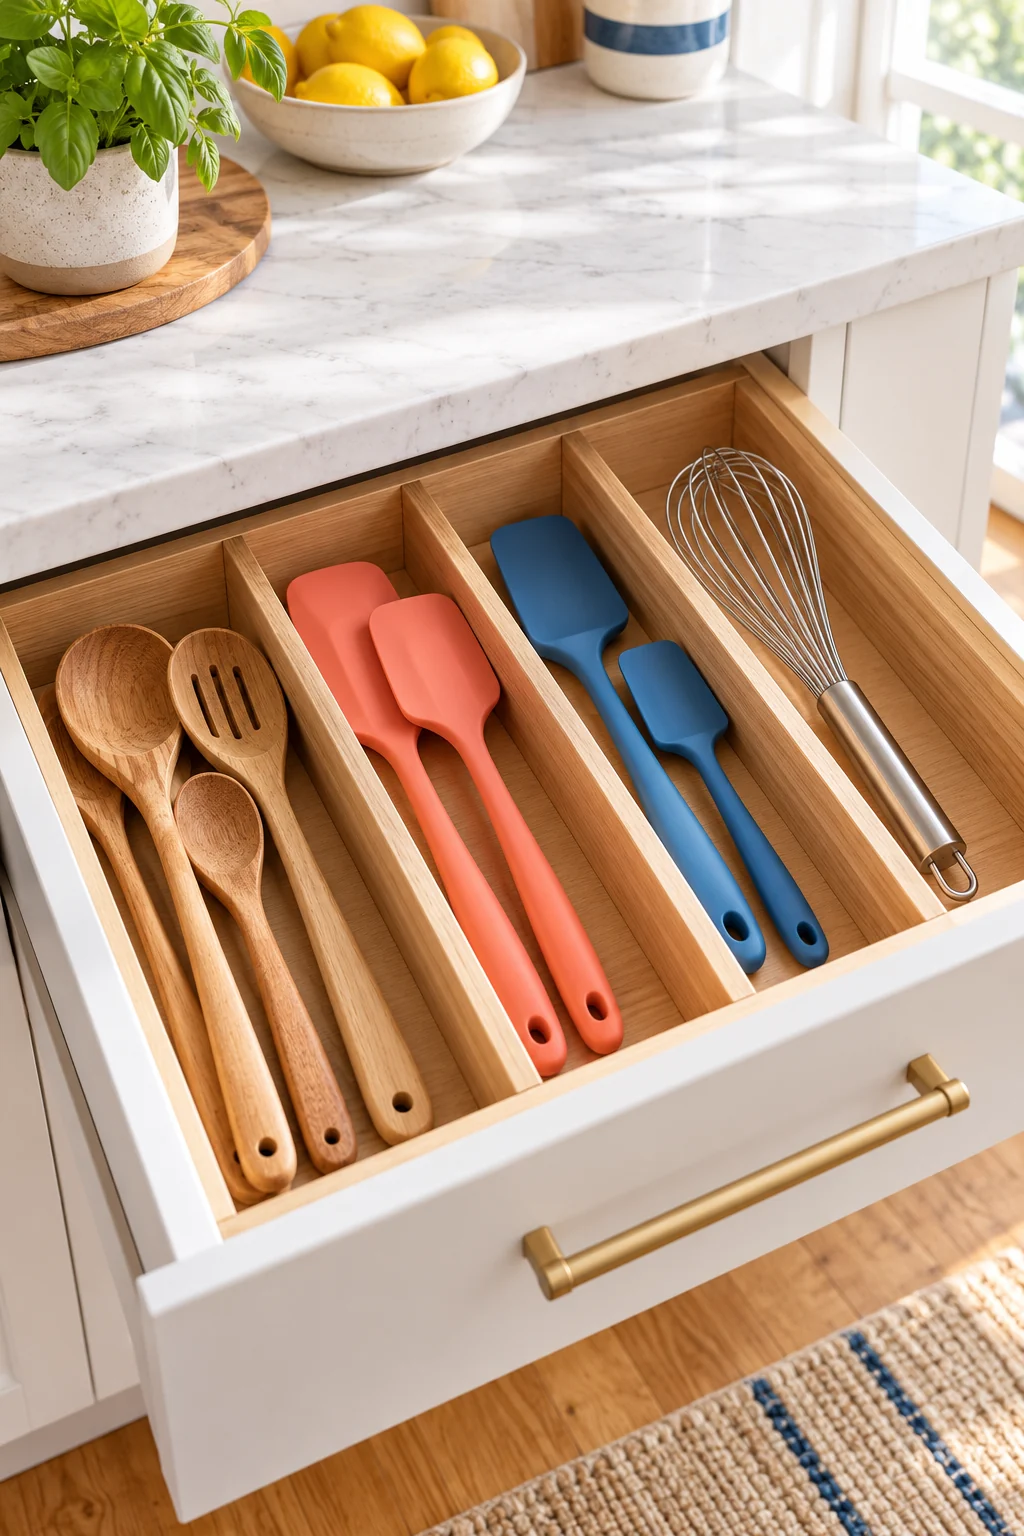
5. Give prep knives protected drawer storage
An island used for chopping benefits from a dedicated knife drawer nearby. Choose an insert that holds the blades in their intended positions, with handles accessible and no loose tools resting on top.
The compact Joseph Joseph DrawerStore Knife Organizer is one option when its footprint and your knives fit. Check handle height as well as blade length, and keep the drawer inaccessible to children. A prep island with seating needs extra thought about who can reach the working-side drawers.
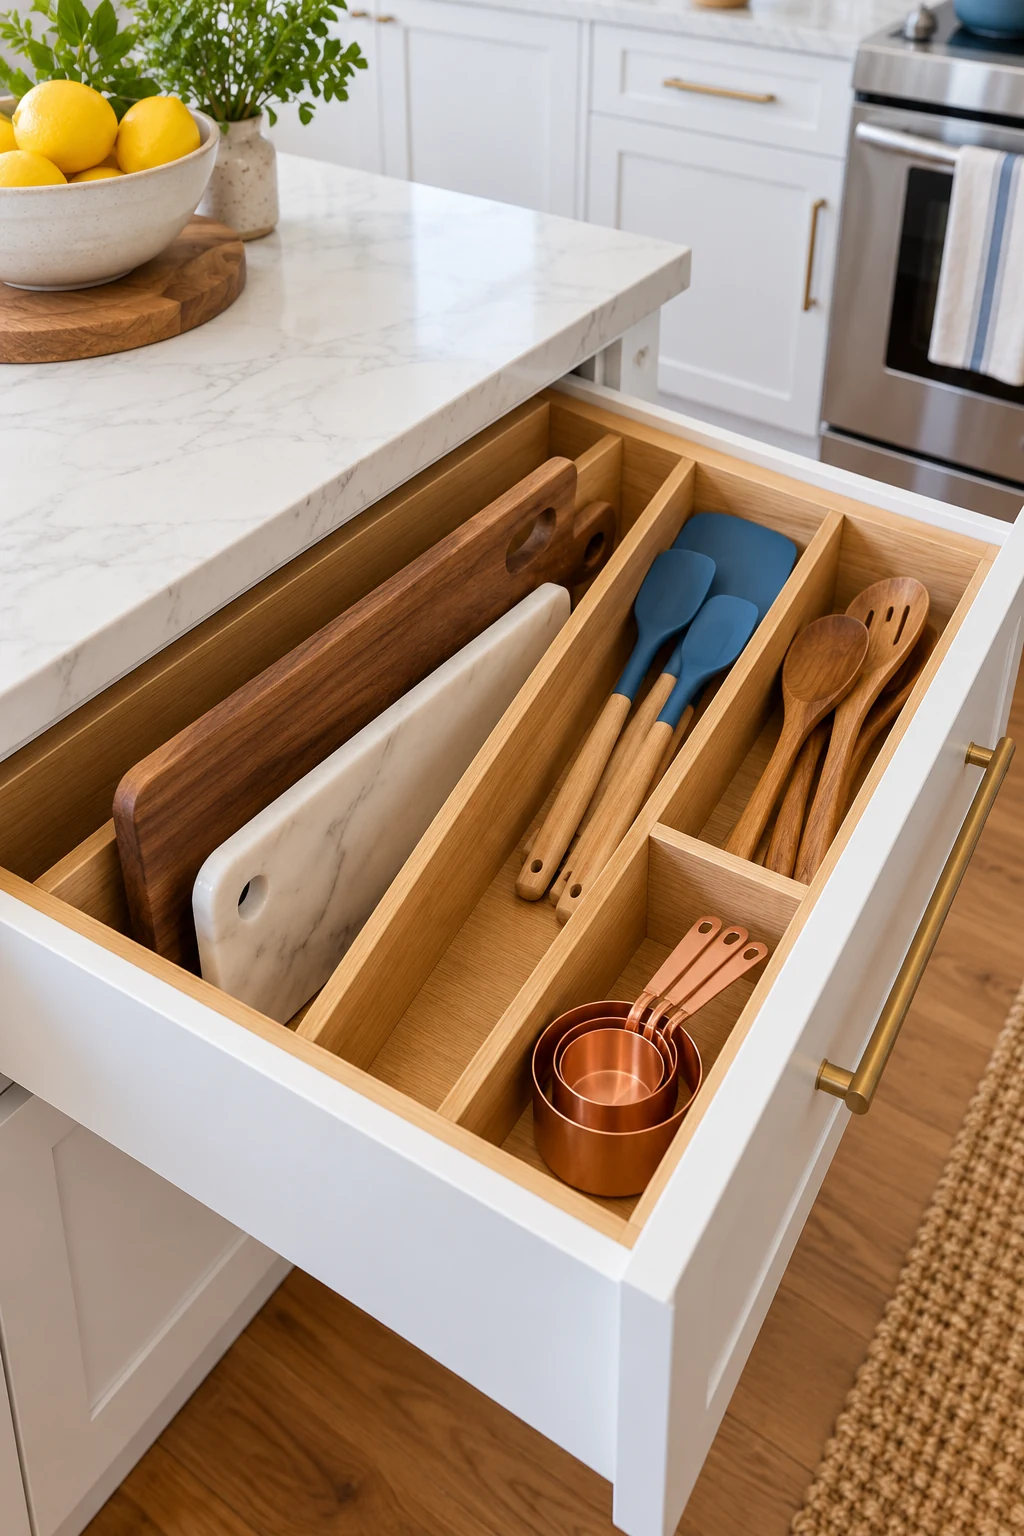
6. Divide a drawer for long utensils
An island drawer can give spatulas and serving spoons enough length to lie flat. Use a few wide lanes rather than many tiny sections, and put the tools needed at the island nearest the drawer front.
The large Utoplike bamboo dividers fit a specified range of sturdy drawers, with the current listing recommending a 17.8-to-20.6-inch interior span. Confirm the fit and pressure requirements before installing. A removable tray may suit thin drawer sides better.
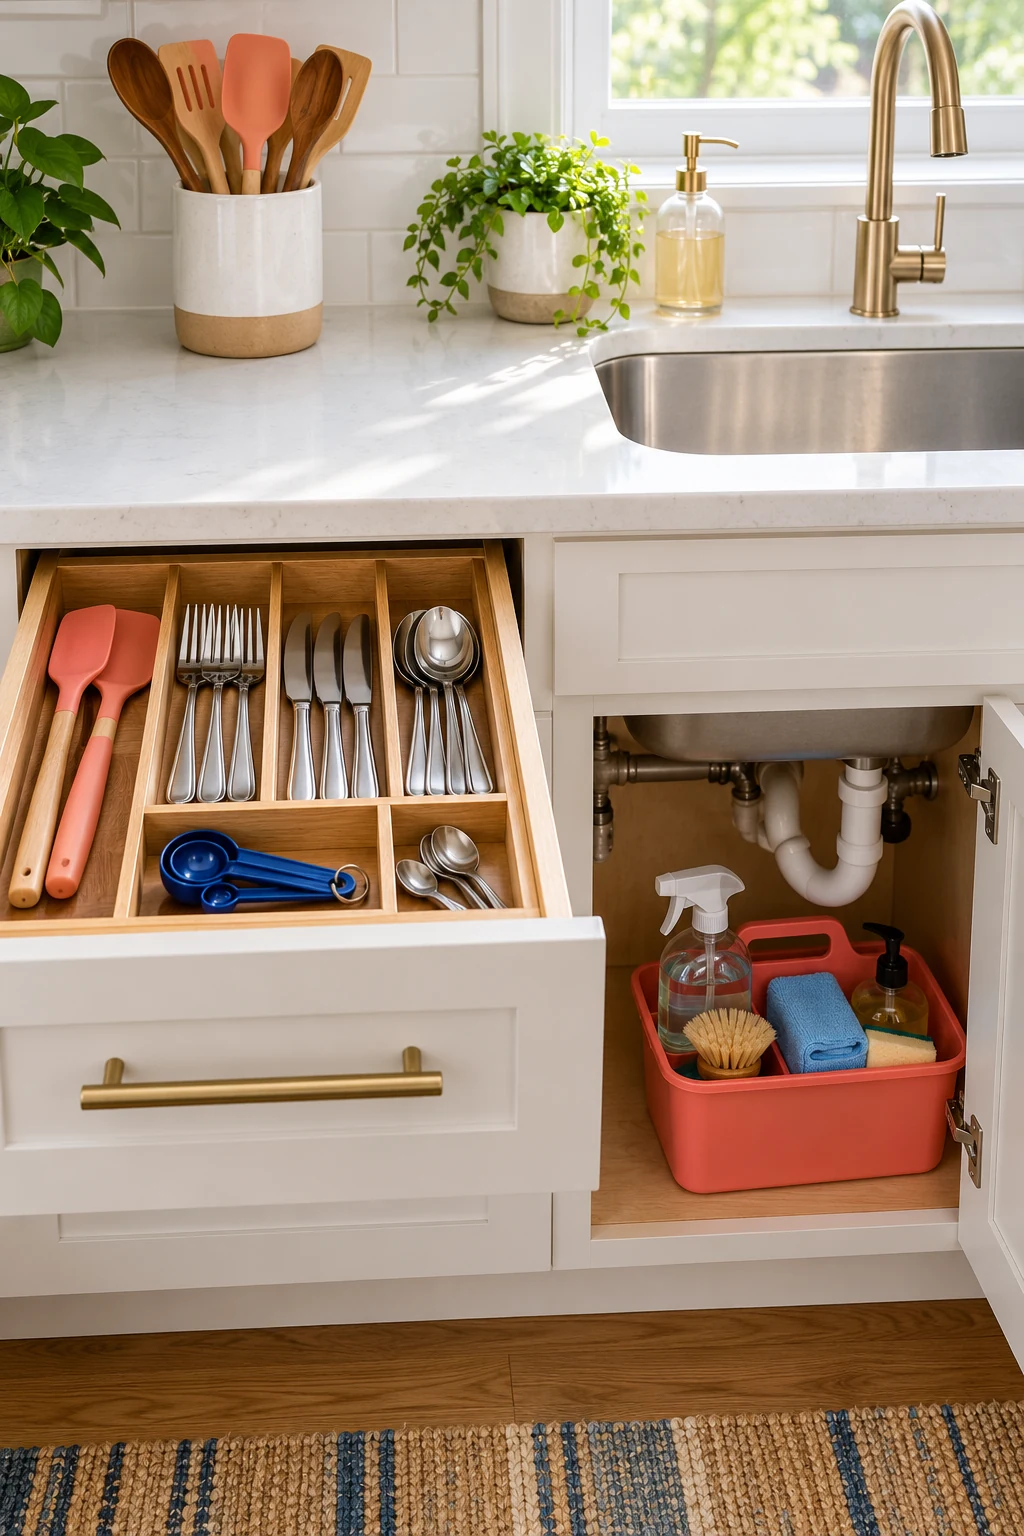
7. Keep containers and lids together for leftovers
If you portion meals at the island, dedicate one nearby drawer or cabinet to food-storage containers. Keep compatible bases nested loosely and position their lids where you can compare shapes without pulling out the entire collection.
The YouCopia StoraLid 24 Container Lid Organizer can divide a mixed lid collection in a sufficiently tall opening. Leave enough clearance to lift lids over its dividers. Store serving bowls elsewhere so the everyday packing station stays easy to use after dinner.
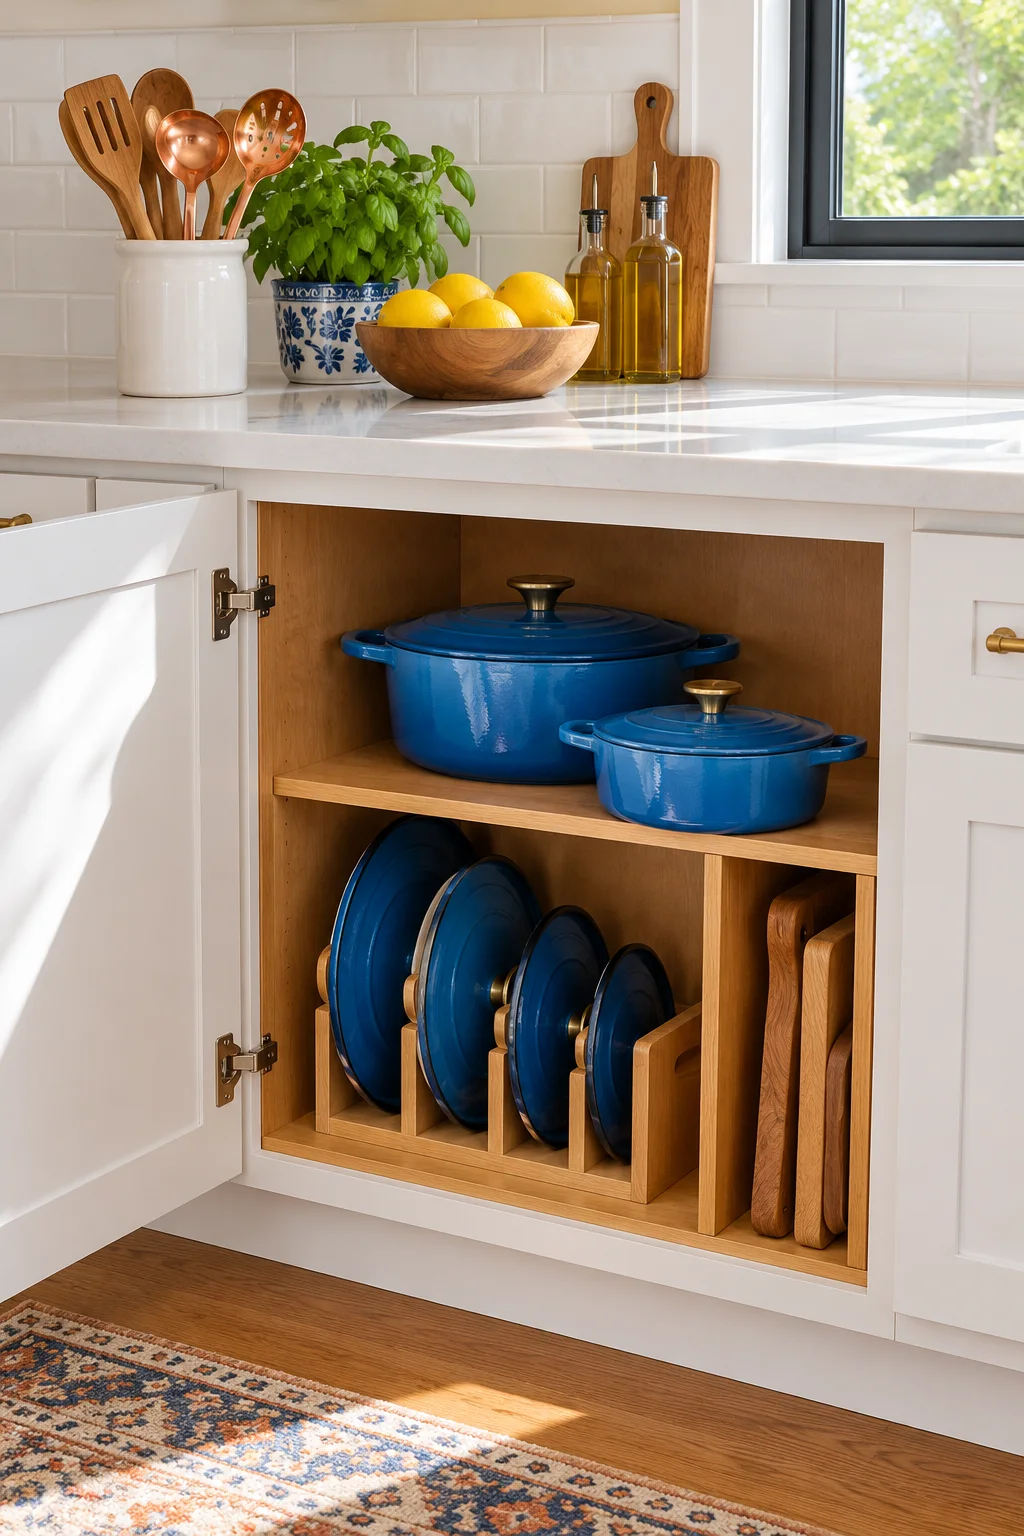
8. Use a handled bin as a portable baking kit
Gather frequently used baking accessories in a removable bin beneath the island. Lift it onto the counter when you need it, then return the collection together rather than making repeated trips for measuring cups and a pastry brush.
The iDesign Pantry Storage Bin with Handles works for a compact kit if its square footprint fits. Keep long tools from projecting into the door path and choose a manageable loaded weight. Sharp decorating tools need their own protective storage within the kit.
9. Create an adjustable shelf for wrap boxes
If the island is where you wrap leftovers, foil and parchment can live beneath that work surface. Short, separate levels let you slide out one box without bringing a stack of other dispensers with it.
The small YouCopia UpSpace Cabinet Box Organizer can add those levels inside a compatible cabinet. Measure the full boxes and the pull-out path, including the door opening. Keep cutting edges contained in their original dispensers and store backup rolls in a quieter spot.
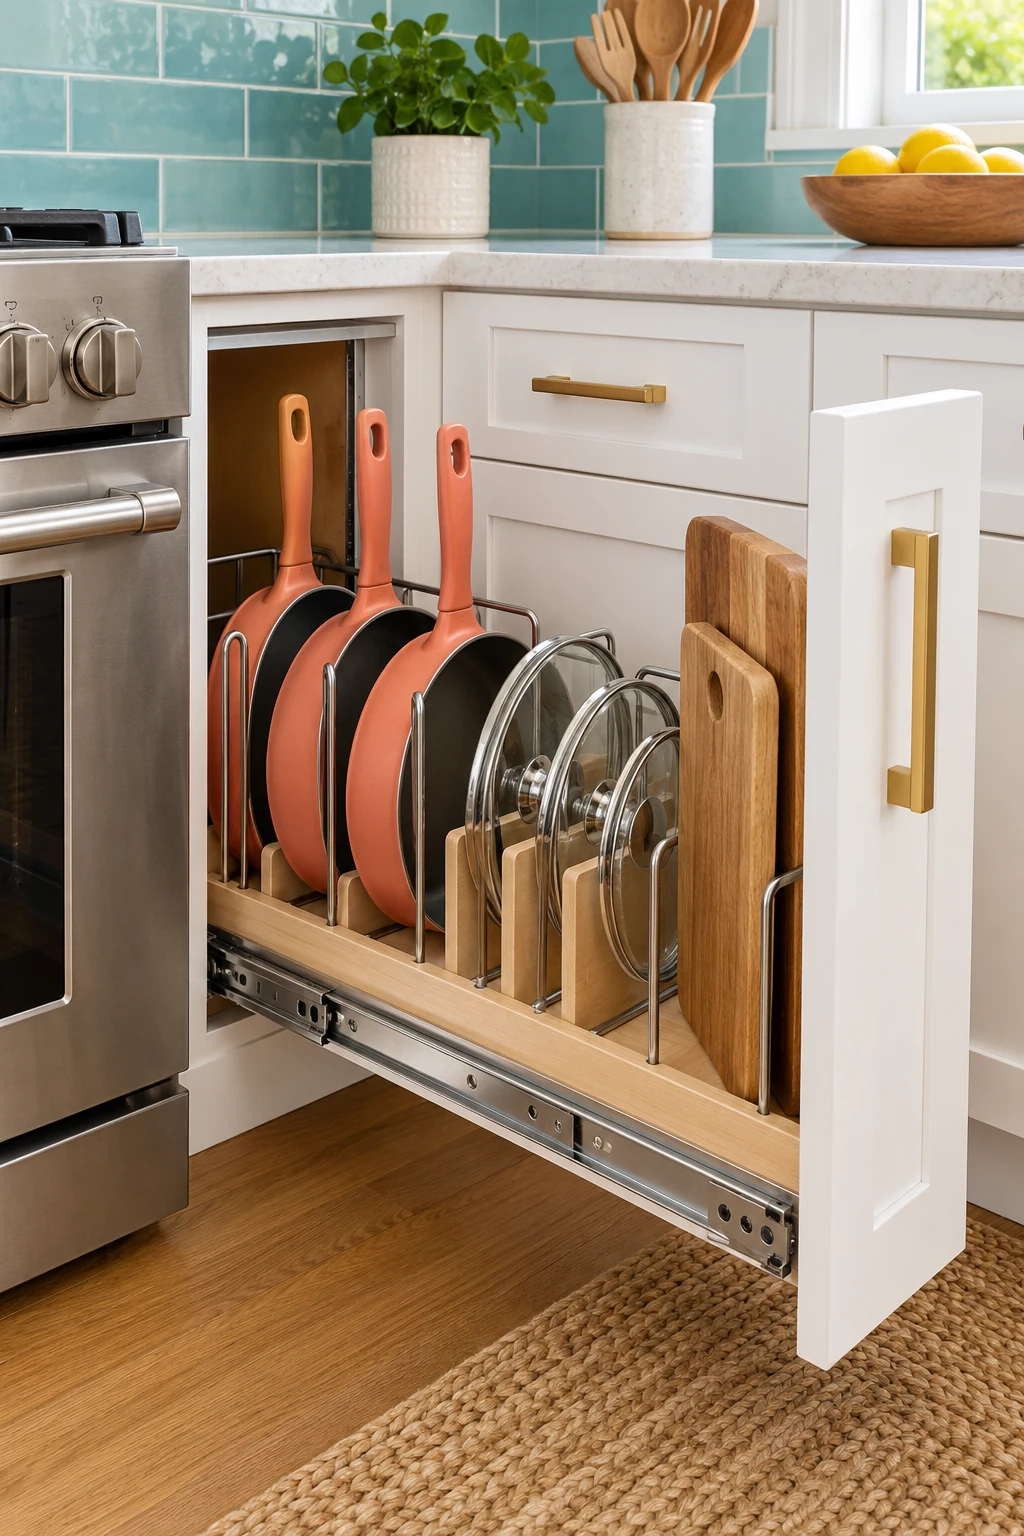
10. Use the end panel for a short towel rail
A towel rail on the island end can keep a drying cloth close without covering a drawer handle. Position it where the towel hangs clear of the floor, nearby heat, and the route around the island.
Check the panel’s construction before adding hardware, and use the mounting method approved for that surface. Avoid drilling into an island with unknown plumbing or wiring. Keep the rail for a few lightweight textiles rather than loading it with pots or grocery bags.
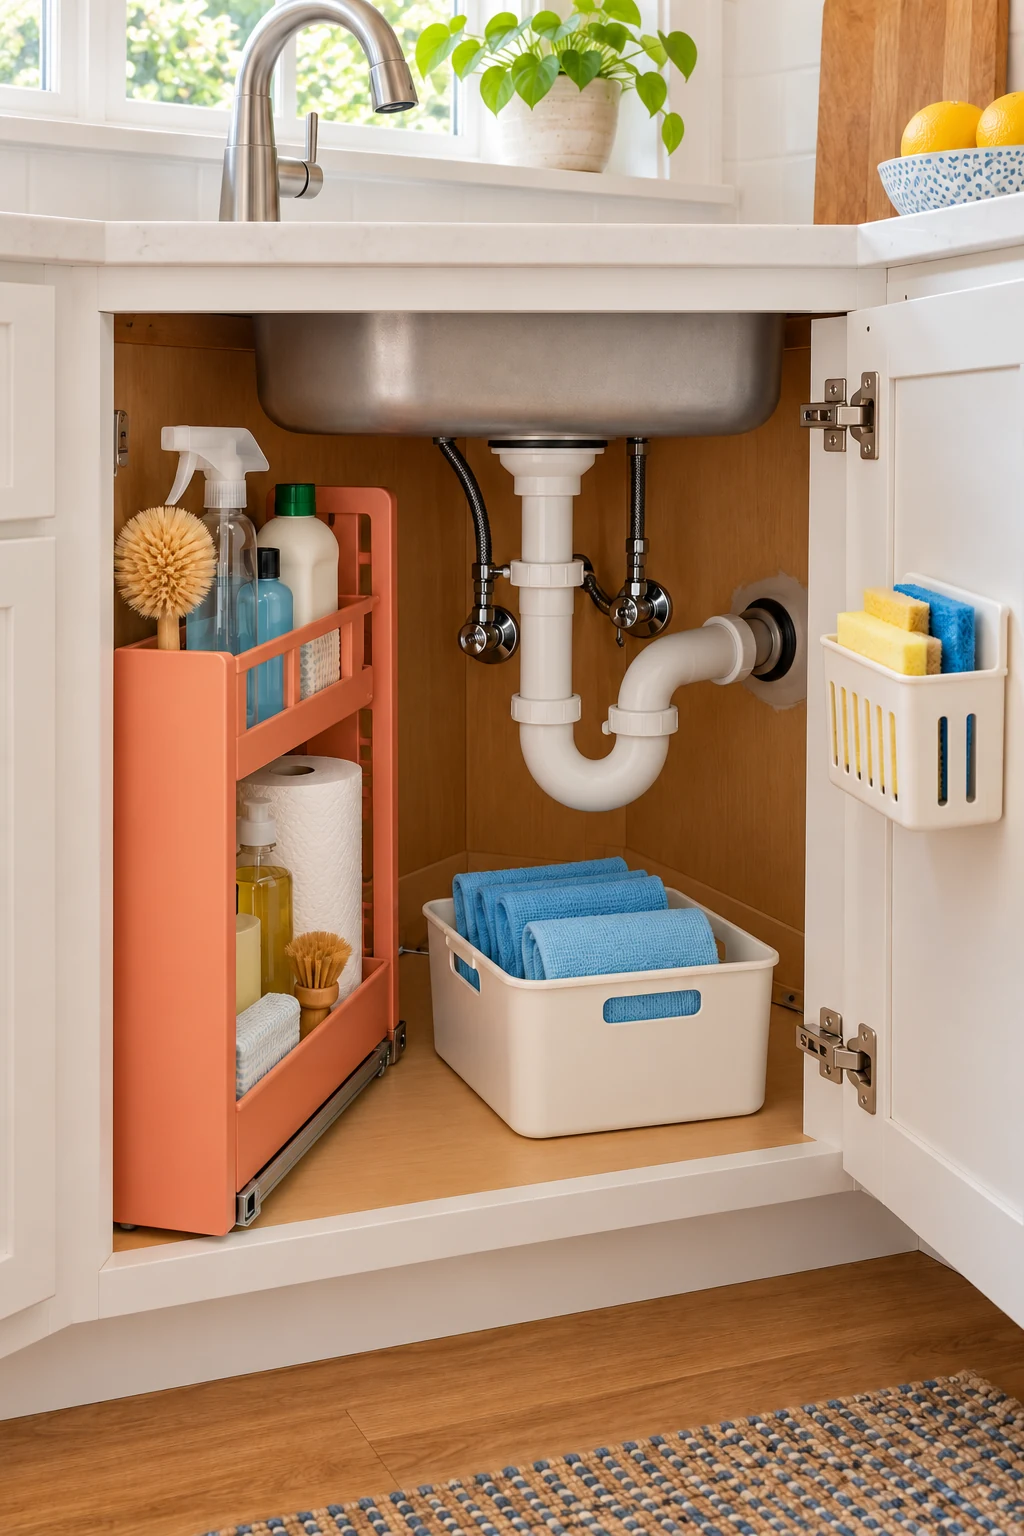
11. Put baskets on an existing open shelf
An open island shelf looks calmer when small items are grouped in a few baskets. Choose shallow baskets with visible handles for table linens, clean reusable bags, or lightweight serving accessories that otherwise scatter across the shelf.
Measure around legs, braces, and shelf lips before choosing the basket width. Leave space to pull each one straight out without moving a neighbor. Avoid tall opaque baskets for daily little items unless you can see their contents comfortably from above.
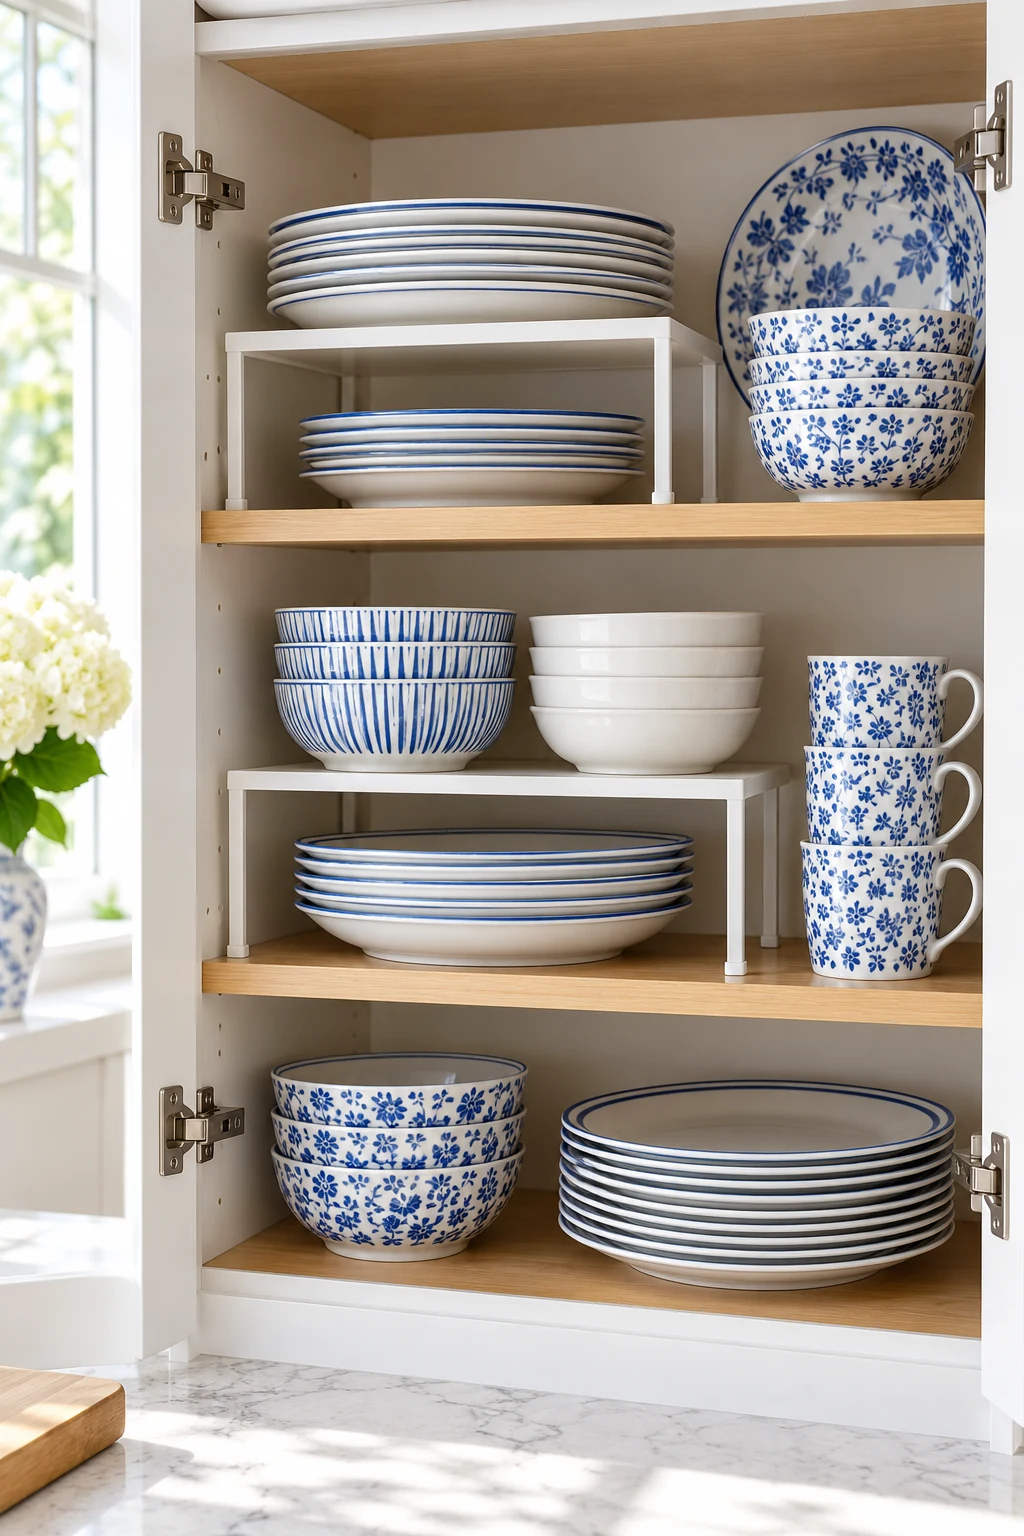
12. Keep a low shelf for short cookware stacks
A sturdy lower shelf can hold a small stack of compatible bowls or pans when drawers are not available. Keep the arrangement simple enough to lift one group safely, and leave the most-used piece near the opening.
Check the island’s shelf rating and loading instructions. Do not assume a decorative shelf can carry a dense collection of cast iron. If the low position is uncomfortable to reach, use it for lighter occasional items and move daily heavy pieces higher.
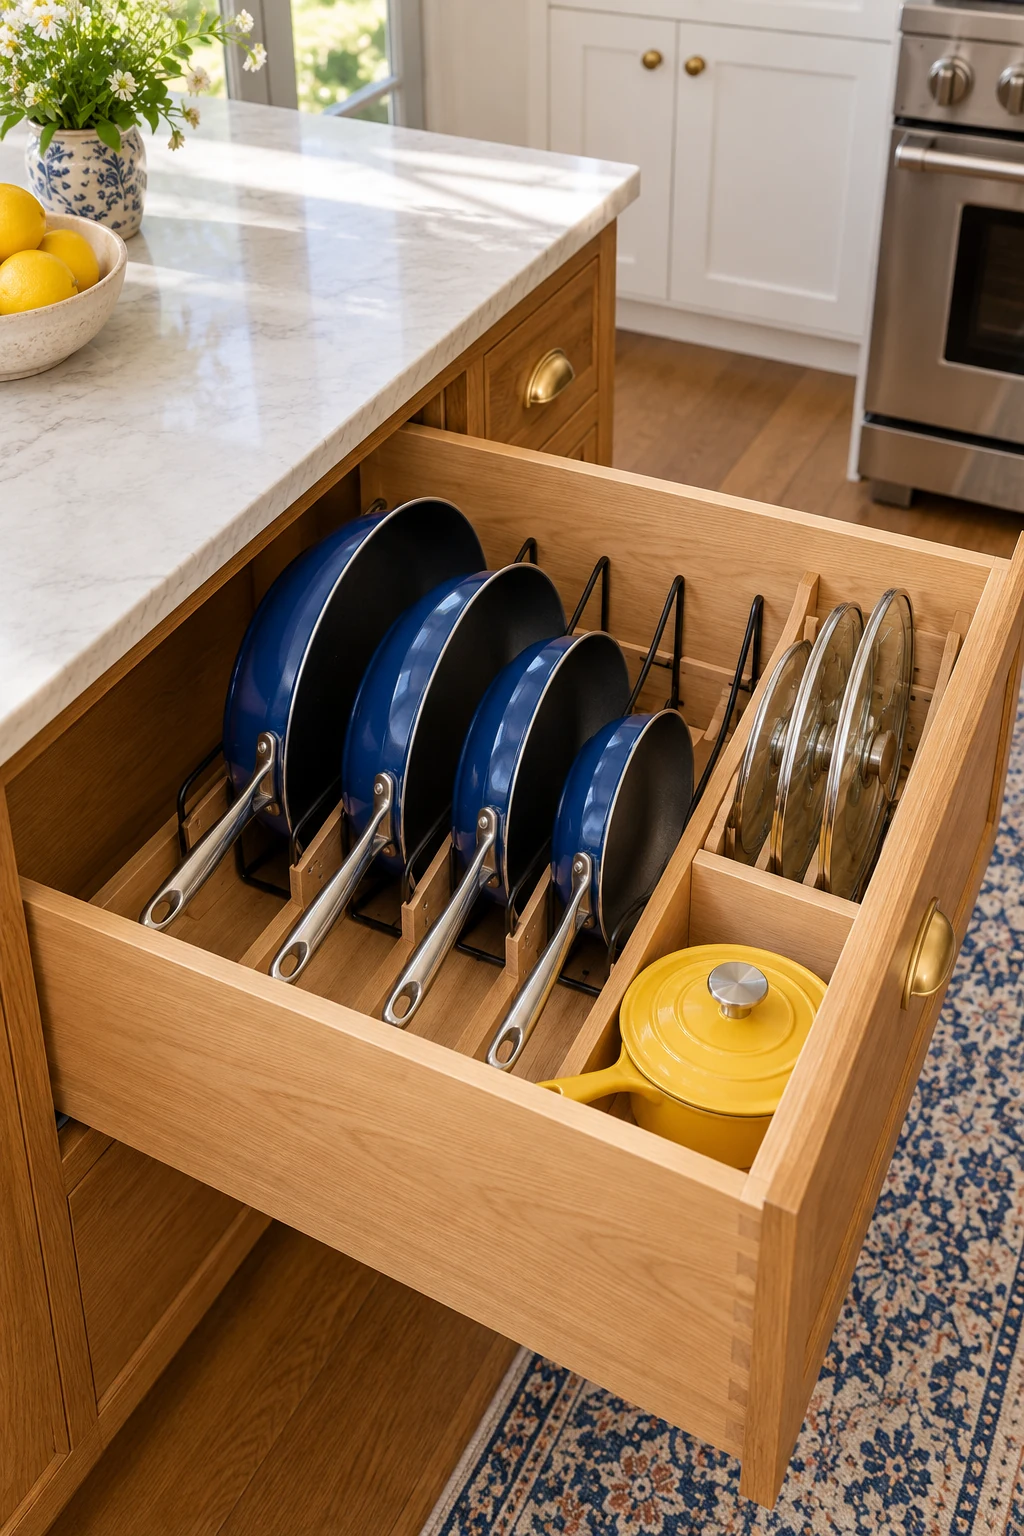
13. Store cookbooks on the dry end
A small shelf at the island’s dry end can hold the cookbooks you actually use. Stand them where their spines are visible and use secure bookends if needed, leaving the main work surface available for an open recipe.
Keep books away from sink splashes, cooktop heat, and greasy exhaust. A shallow end shelf is better for a few favorites than a whole library. Check that projecting book corners do not catch clothing as someone walks around the island.
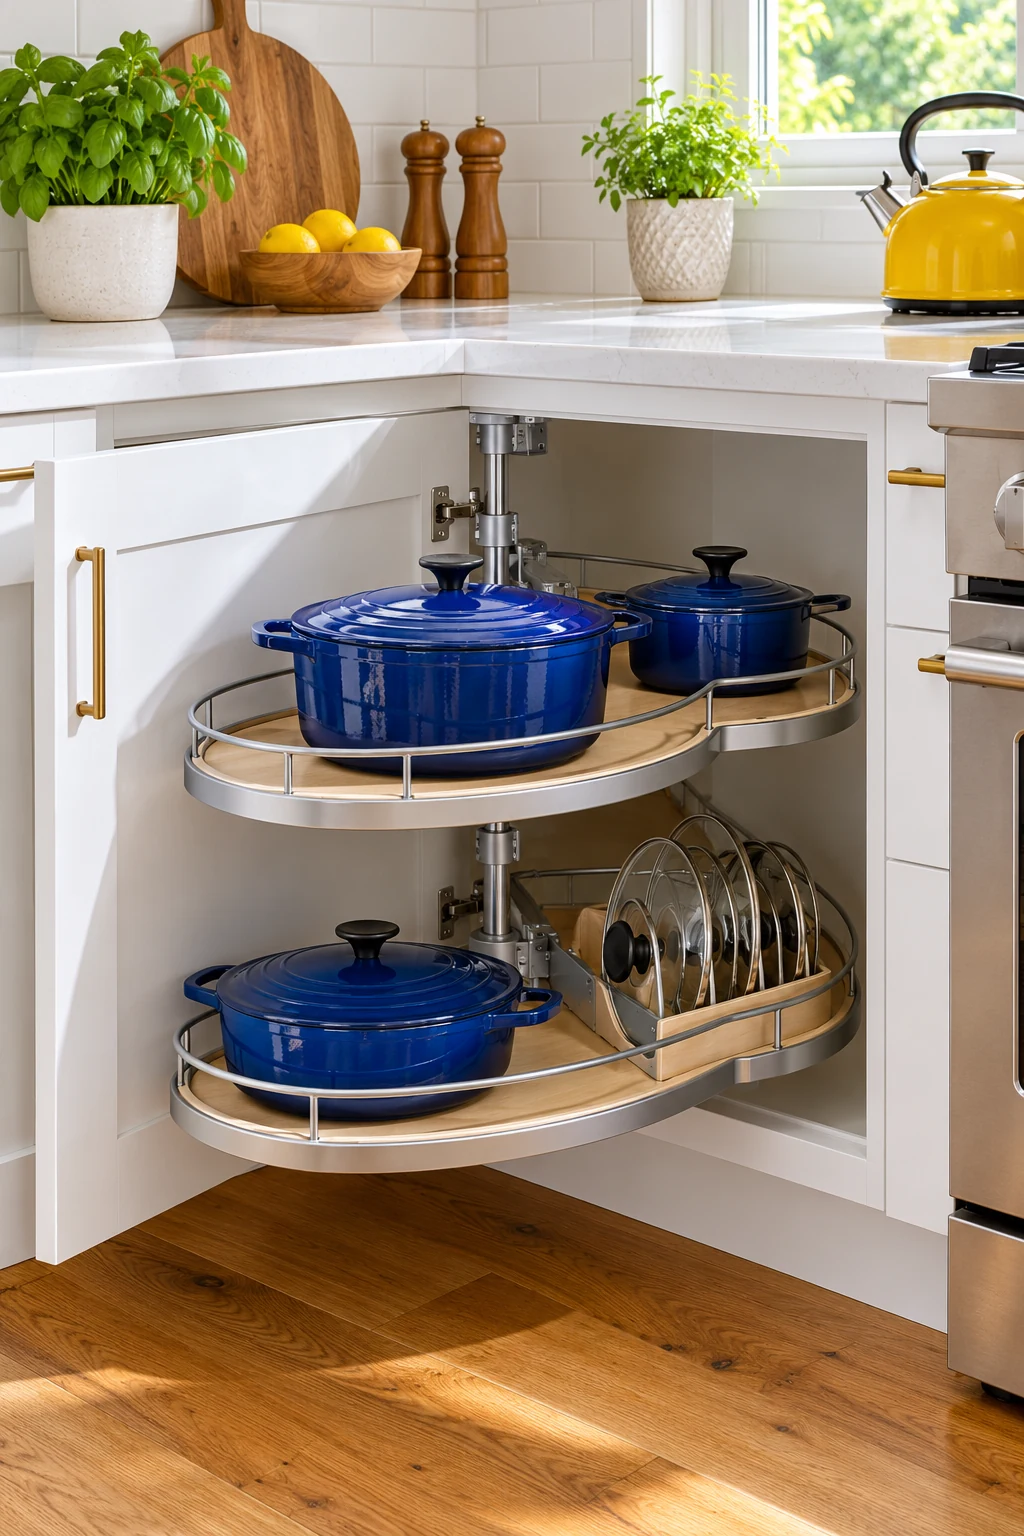
14. Give placemats a flat compartment
Store everyday placemats flat in a wide drawer or shallow shelf on the seating side. This keeps table-setting supplies close to where they are used and avoids bending mats around deeper baskets.
Measure the largest mat before selecting an insert; decorative shapes often need more width than expected. Keep only clean, fully dry pieces in the stack. If mats are flexible enough to roll, follow their material care guidance before changing the storage method.
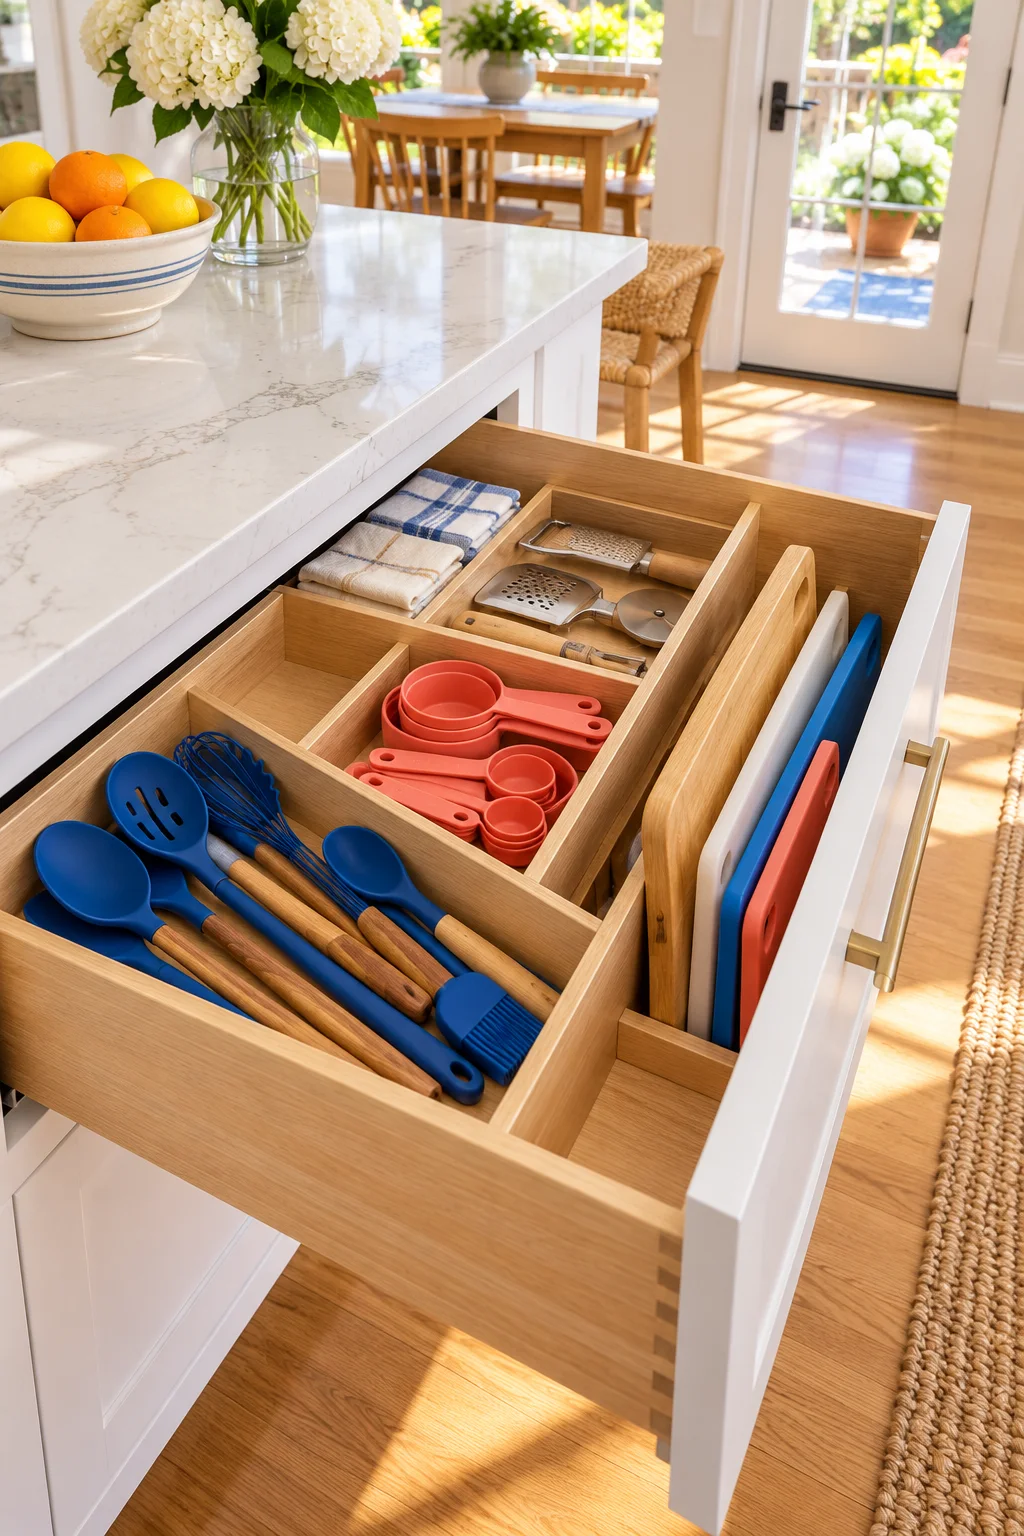
15. File table napkins in a dining-side drawer
Fold cloth napkins to fit the drawer height and arrange them in short rows. Add a separate shallow section for rings or other small table accessories so they do not disappear beneath the fabric.
Leave a little spare space for clean napkins returning from laundry. When the drawer also holds serving tools, divide the categories so pointed edges cannot catch textiles. A simple arrangement makes it easier for someone else to help set the table.
16. Reserve a shelf for serving trays
Keep trays upright in a supported section or flat in a short, reachable stack. An island is a useful home when trays regularly move meals to the patio or gather cups after guests leave.
Choose one position that accommodates the largest handle and leaves a clear route out. Avoid balancing a large tray behind loose baskets where it can slide forward unexpectedly. If you need two hands, leave a nearby landing space clear before taking it out.
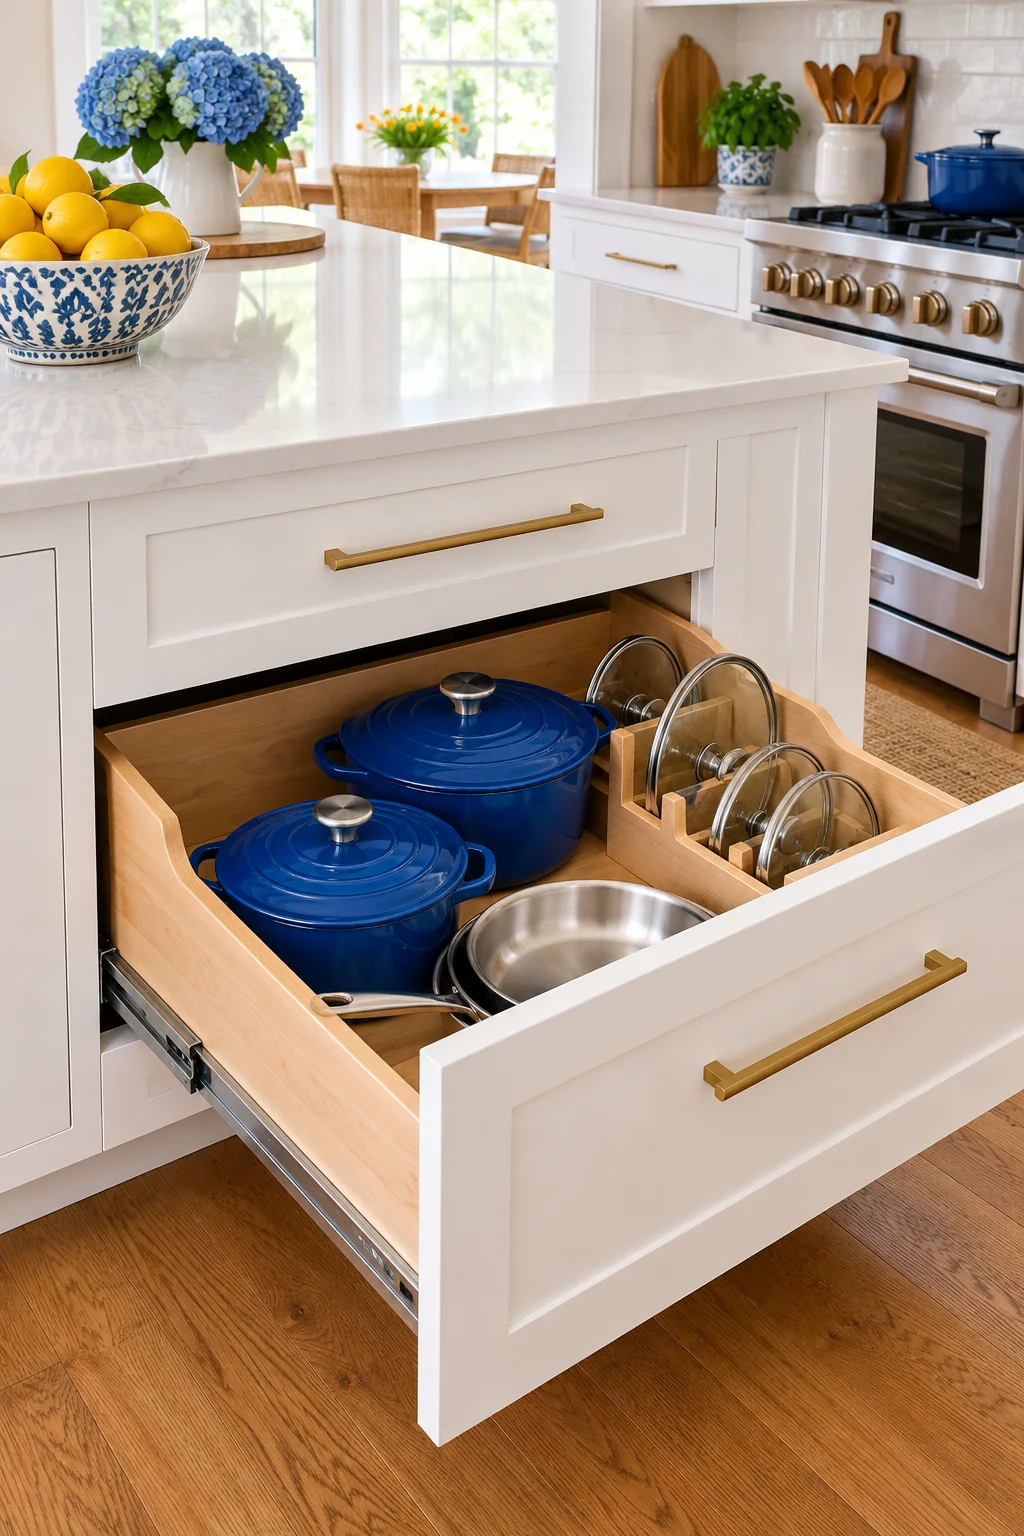
17. Build a lunch-packing lane
Use one small island cabinet for the clean lunch containers, reusable bags, and napkins you gather together each morning. Keep the worktop above it mostly open so you can assemble a lunch without moving permanent decor.
Store supplies by the sizes your household actually uses. Avoid turning this cabinet into general backstock storage; the quick daily routine should stay visible. Put any sharp packing tools in a separate protected location, especially if children also use the seating side.
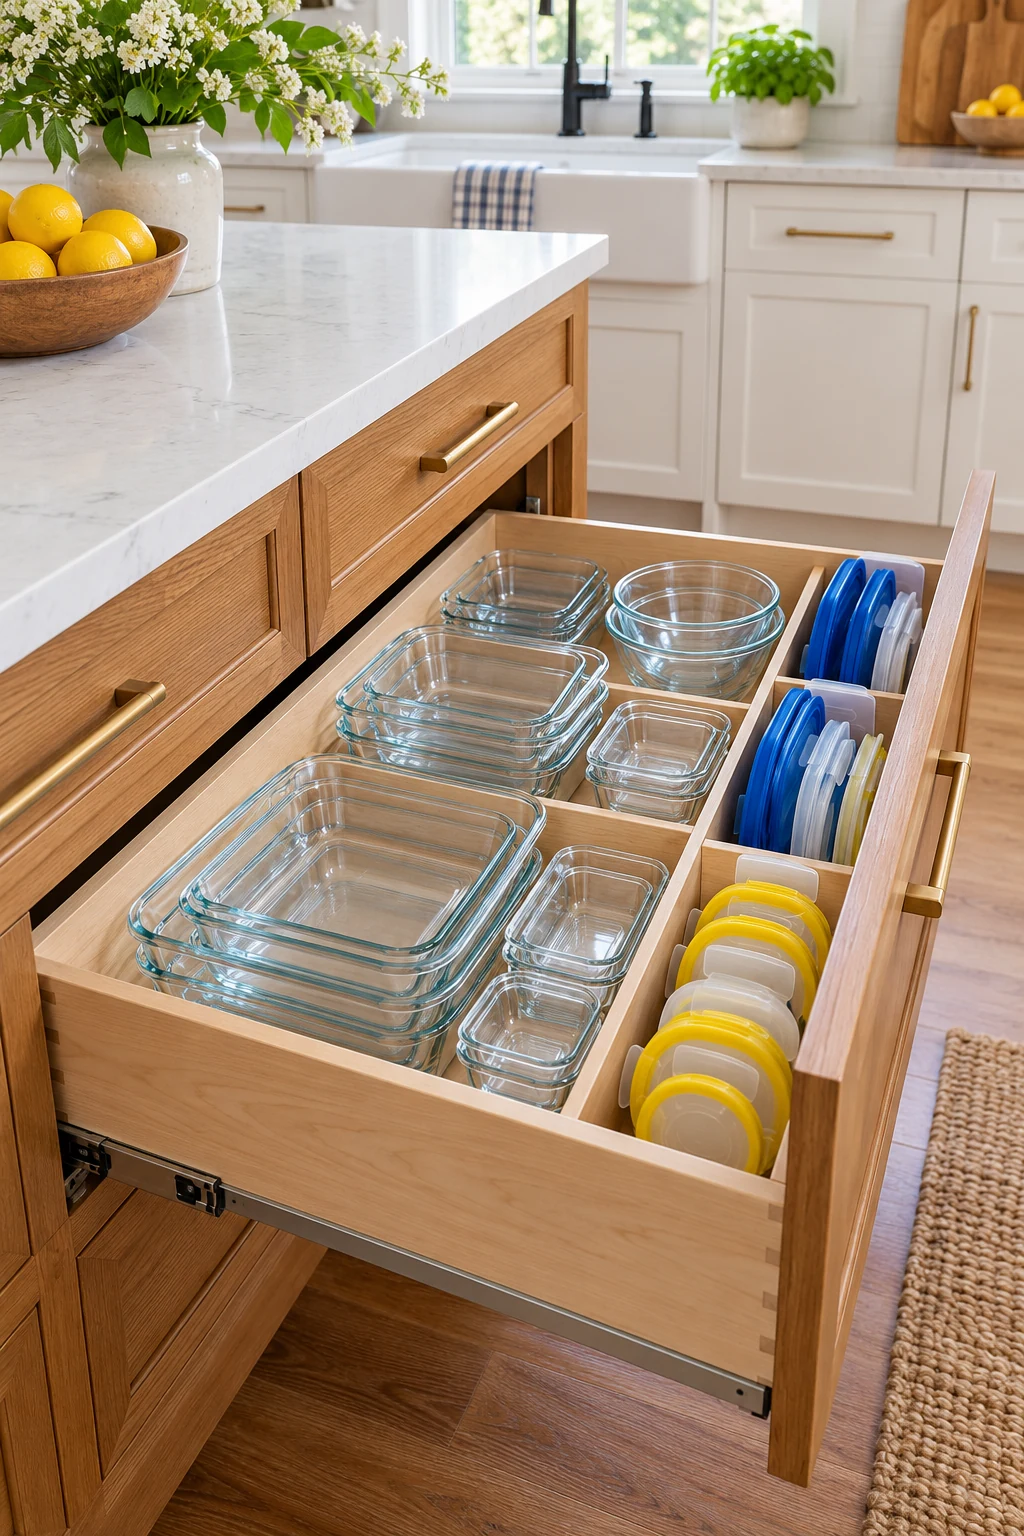
18. Choose a properly fitted pull-out trash system
A concealed trash pull-out can suit an island used for food prep, provided the cabinet is designed for the hardware and the bins remain easy to remove. Include the fully extended drawer in your traffic test.
Follow the cabinet and hardware instructions for mounting, load, and cleaning. Keep plumbing, wiring, and ventilation requirements intact. Avoid squeezing bins into a makeshift enclosure that prevents lids opening or makes routine cleaning difficult; accessibility matters as much as concealment.
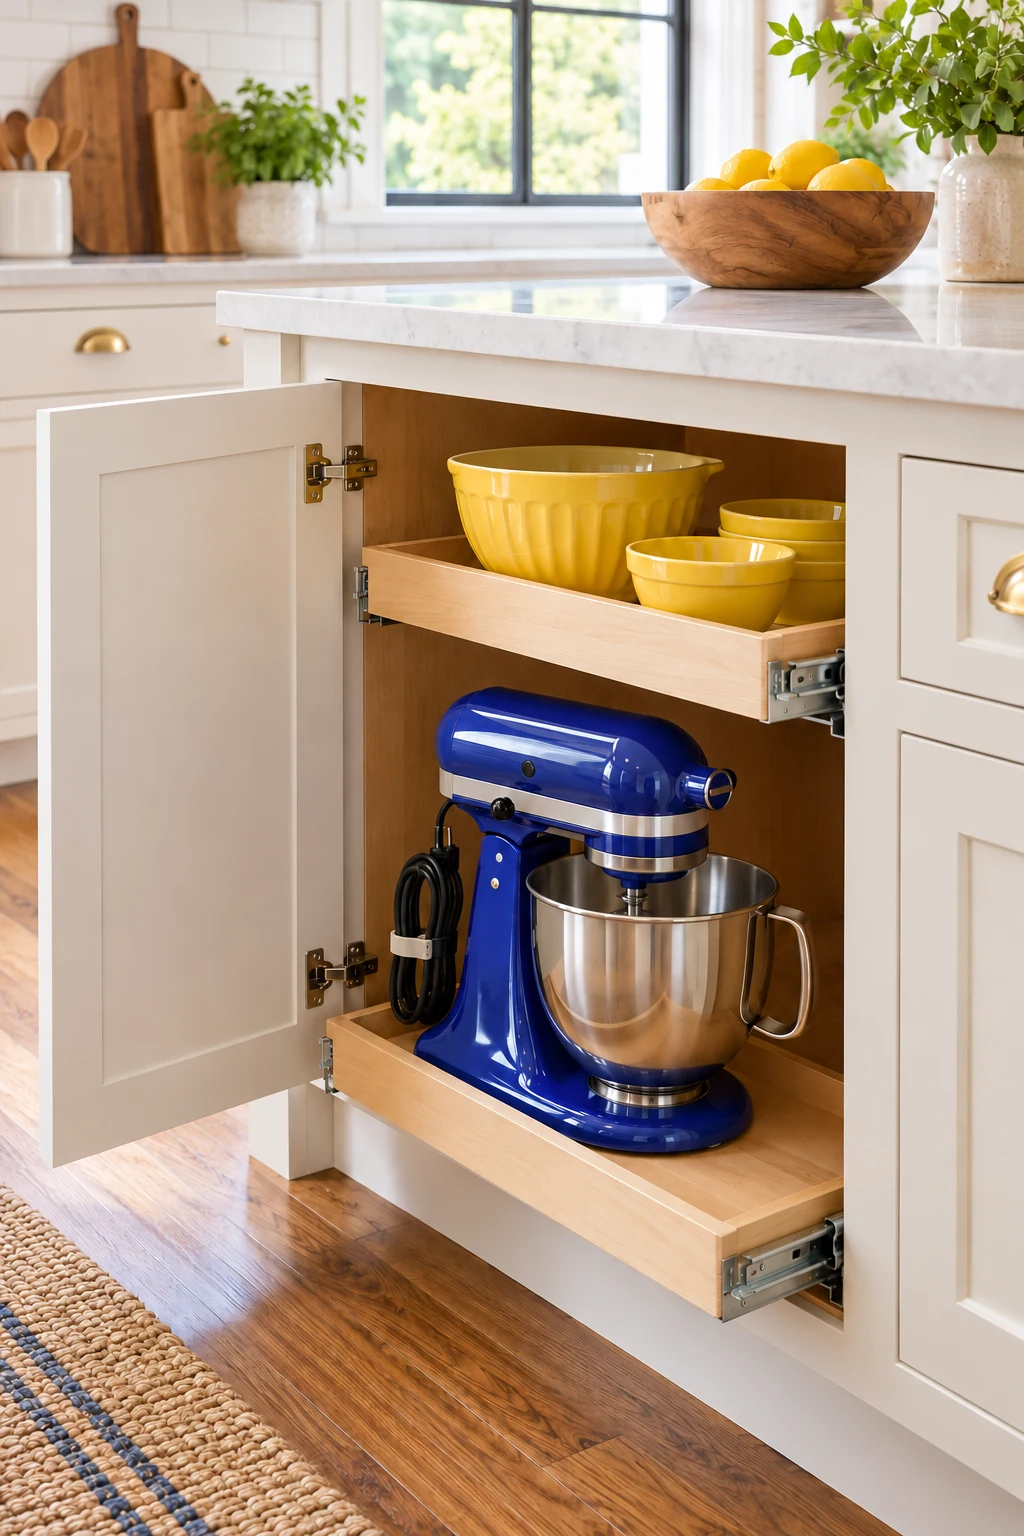
19. Park an appliance without operating it inside
An island cabinet can store a blender or mixer that you use on the worktop above. Keep the appliance and its approved attachments together, with room to lift the main unit safely rather than dragging it past a hinge.
Unplug and cool the appliance before storage. Operate it only in a location its manufacturer permits, with required airflow and heat clearances. A cabinet that fits the appliance is not automatically a safe appliance garage or a place to run it behind closed doors.
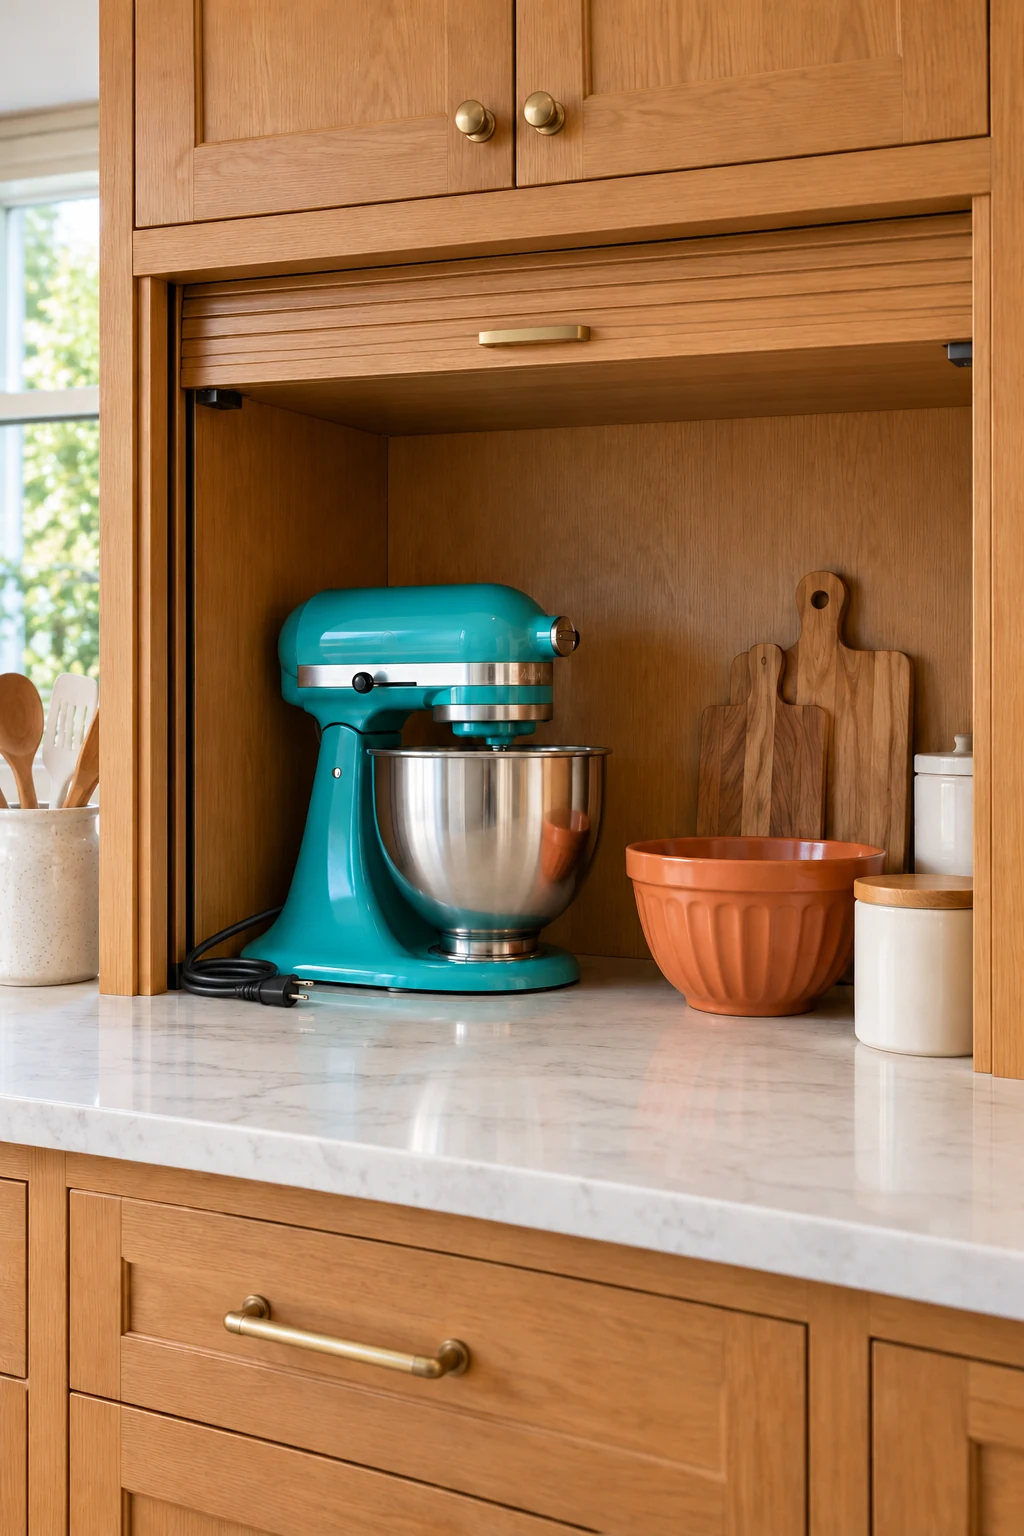
20. Add a shallow end shelf only where traffic allows
A small, properly supported end shelf can hold a few everyday bowls or recipe books. Start by taping out its proposed depth so you can see whether it narrows the path around the island.
Check attachment requirements with the island maker or an installer, especially on decorative end panels. Keep loads modest and edges out of busy routes. Skip the addition when the only possible location would interfere with nearby appliance doors or the comfortable use of seats.
21. Keep knee space clear beneath the overhang
The seating overhang can look like empty storage space, but it has a job. Preserve comfortable knee and foot room rather than filling it with baskets, a stool-sized cabinet, or items that must move whenever someone sits down.
If you want storage on that side, choose shallower purpose-built cabinetry in the original design or consult a qualified installer about a suitable modification. Do not remove countertop supports to create a cupboard. Useful seating and accessible storage both need their own clearances.
22. Use a rolling island’s shelf within its limits
For a small rolling island, keep frequently used light items on the upper shelf and permitted heavier loads lower, following the cart’s manual. Limit loose objects that can shift when the cart moves.
Use the brakes and move the cart only as instructed, with the route clear. Keep cords from trailing between a movable island and a wall outlet. A rolling surface needs a stable working setup; it should not become a crowded cart that is difficult to steer safely.
23. Keep electrical upgrades professionally planned
Charging drawers and powered appliance compartments can look tidy, but they require equipment intended for that use. Discuss outlets, heat, cord routing, and local requirements with a qualified electrician rather than hiding a power strip inside an ordinary drawer.
You can still create a simple nonpowered landing drawer for a closed notebook or household notes. Keep electronics away from wet food-prep zones and follow device instructions. Storage should not depend on pinching a charging cable through a closed cabinet door.
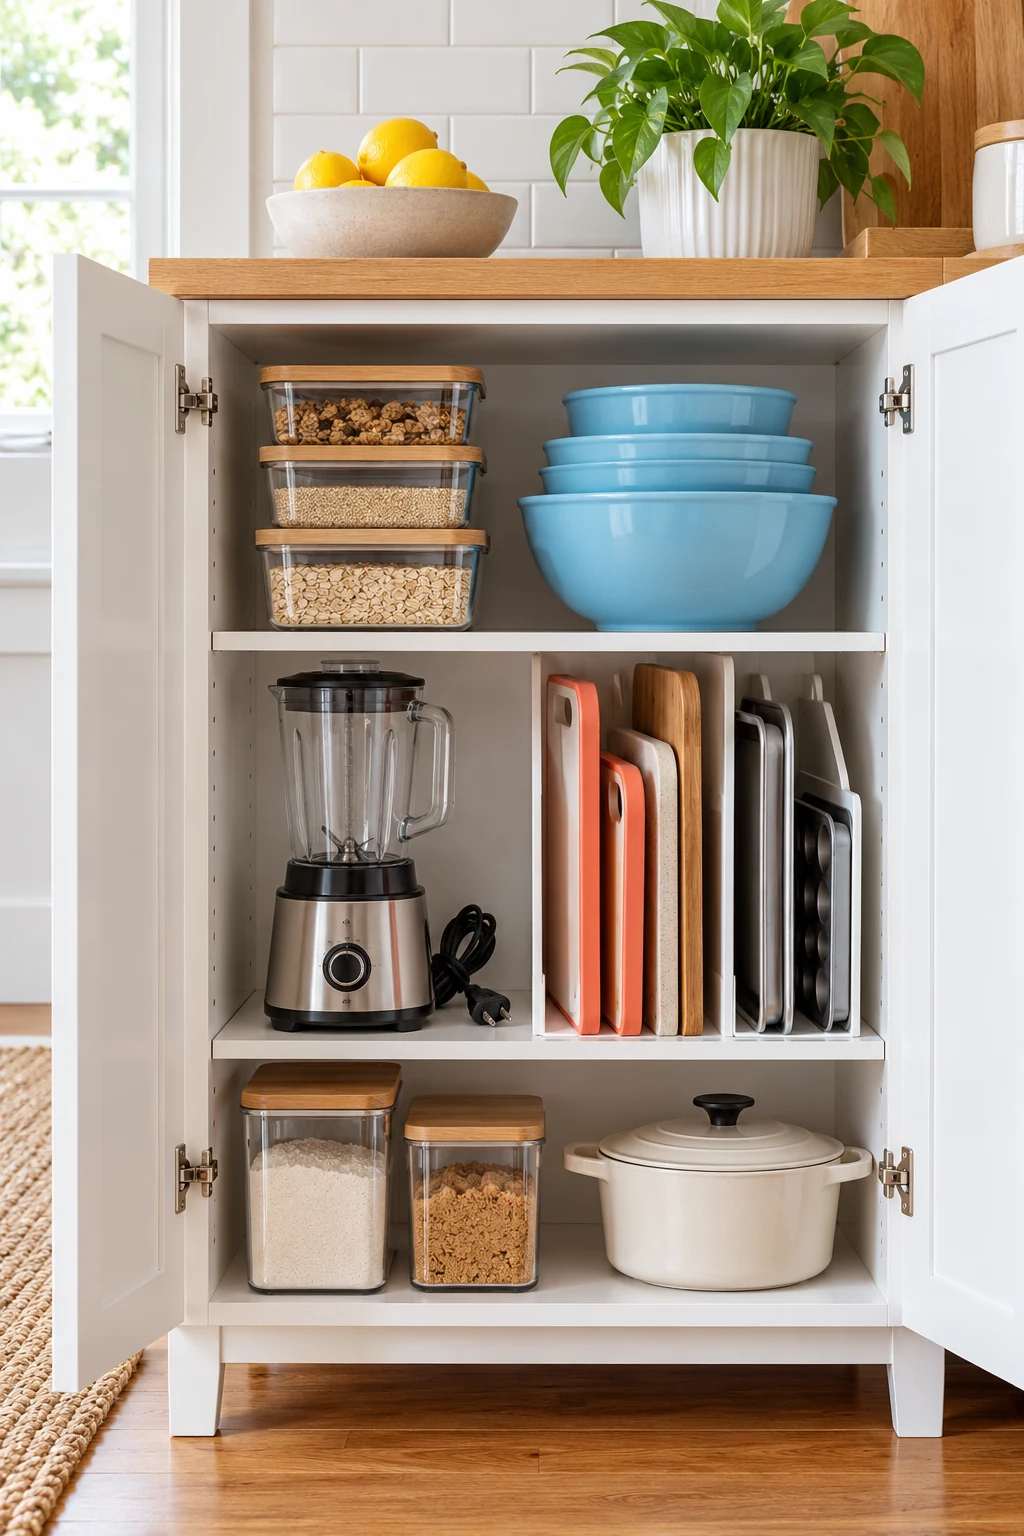
24. Finish with a clear working surface
Once useful storage is below the island, keep the top ready for the job you want it to do. One easily moved tray can hold a small everyday collection, but leave a generous clear area for prep or serving.
Try the island during a normal meal and again while someone is seated. Move the item that interrupts the flow, whether it is a basket, a drawer category, or an unnecessary decoration. The most successful island arrangement makes room for people as well as belongings.
Choose one island task to make easier this week, such as packing lunches or finding a pan. Give its supplies a home below the worktop and test the setup during a real meal. Keep the changes that help the whole kitchen move comfortably. Subscribe to the Havelyo email list for more small-space decorating and organization ideas.