
Kitchen Organization
25 Kitchen Drawer Organizer Ideas to Give Everything a Place
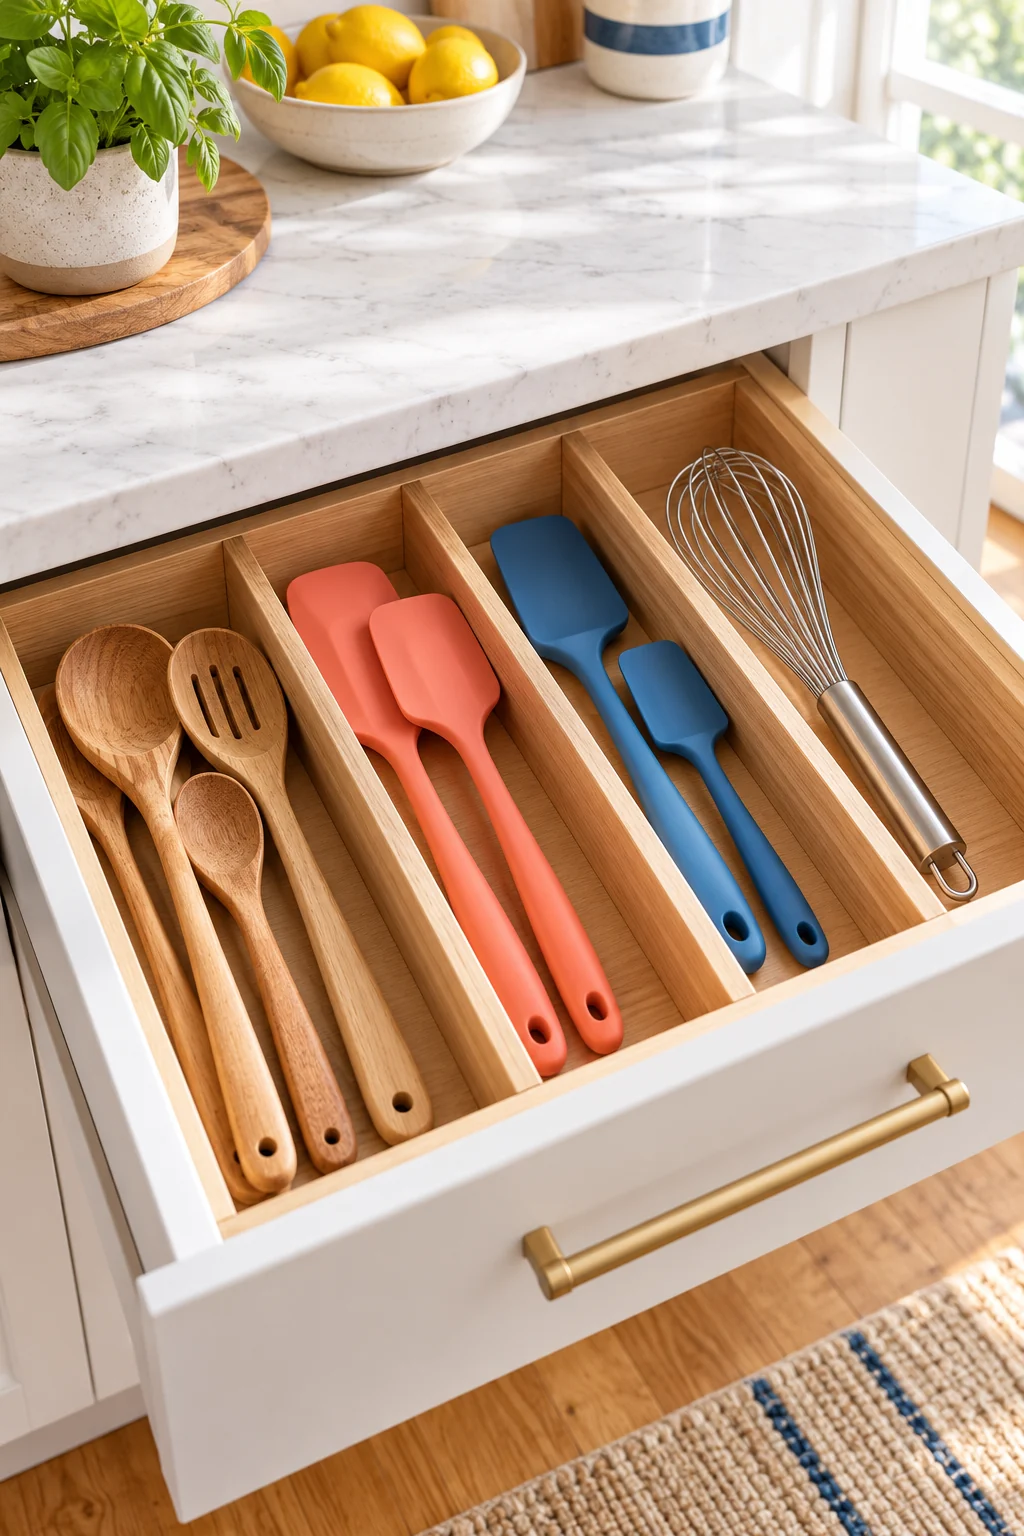
Opening a kitchen drawer should help you start cooking, not send you digging for the peeler. The usual trouble is a mix of shapes and jobs: long spoons beside tiny clips, sharp tools under napkins, and a tray that slides every time the drawer moves.
These 25 kitchen drawer organizer ideas help you build a layout around the things you actually use. Start with one drawer and measure it while empty, then test your plan with the contents back inside. Choose a few useful compartments and leave enough room to return clean tools easily. You can reuse small boxes before deciding which fitted inserts are worth adding.
This article contains affiliate links. If you buy through them, Havelyo may earn a commission. As an Amazon Associate I earn from qualifying purchases.
1. Map the drawer with its contents out
Empty one drawer onto a towel and group items by the way you use them. Put duplicates and tools used elsewhere aside. You may find that a crowded prep drawer is also storing three years of takeout cutlery.
Measure the inside base and the usable height when the drawer closes. Check for screws, sloped sides, and a rear section that never fully clears the counter. Make a simple paper layout before choosing trays.
2. Give everyday flatware a narrow footprint
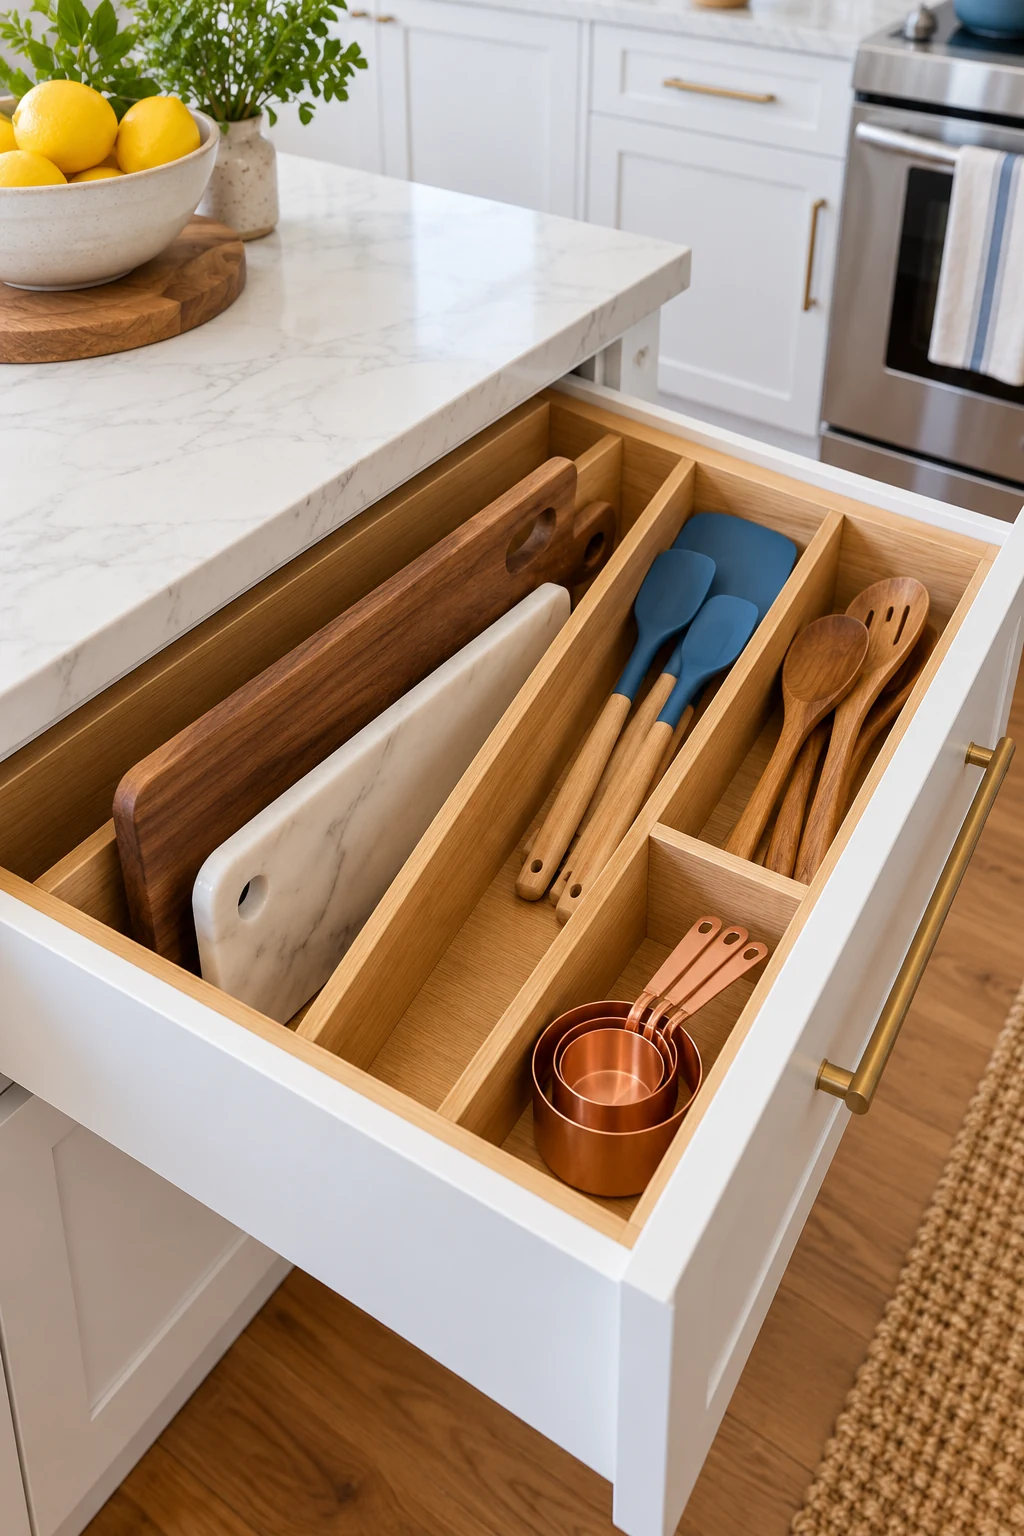
In a small drawer, flatware can occupy far more width than it needs. An angled organizer stacks similar pieces in overlapping compartments, leaving a useful neighboring strip for a serving spoon or another frequently used tool.
The Joseph Joseph DrawerStore Compact Cutlery Organizer is intended for drawers with at least 3.25 inches of usable height. Check your actual forks and handles, too. If stacked compartments make pieces hard to identify, a traditional shallow tray may suit your household better.
3. Create long lanes for cooking tools
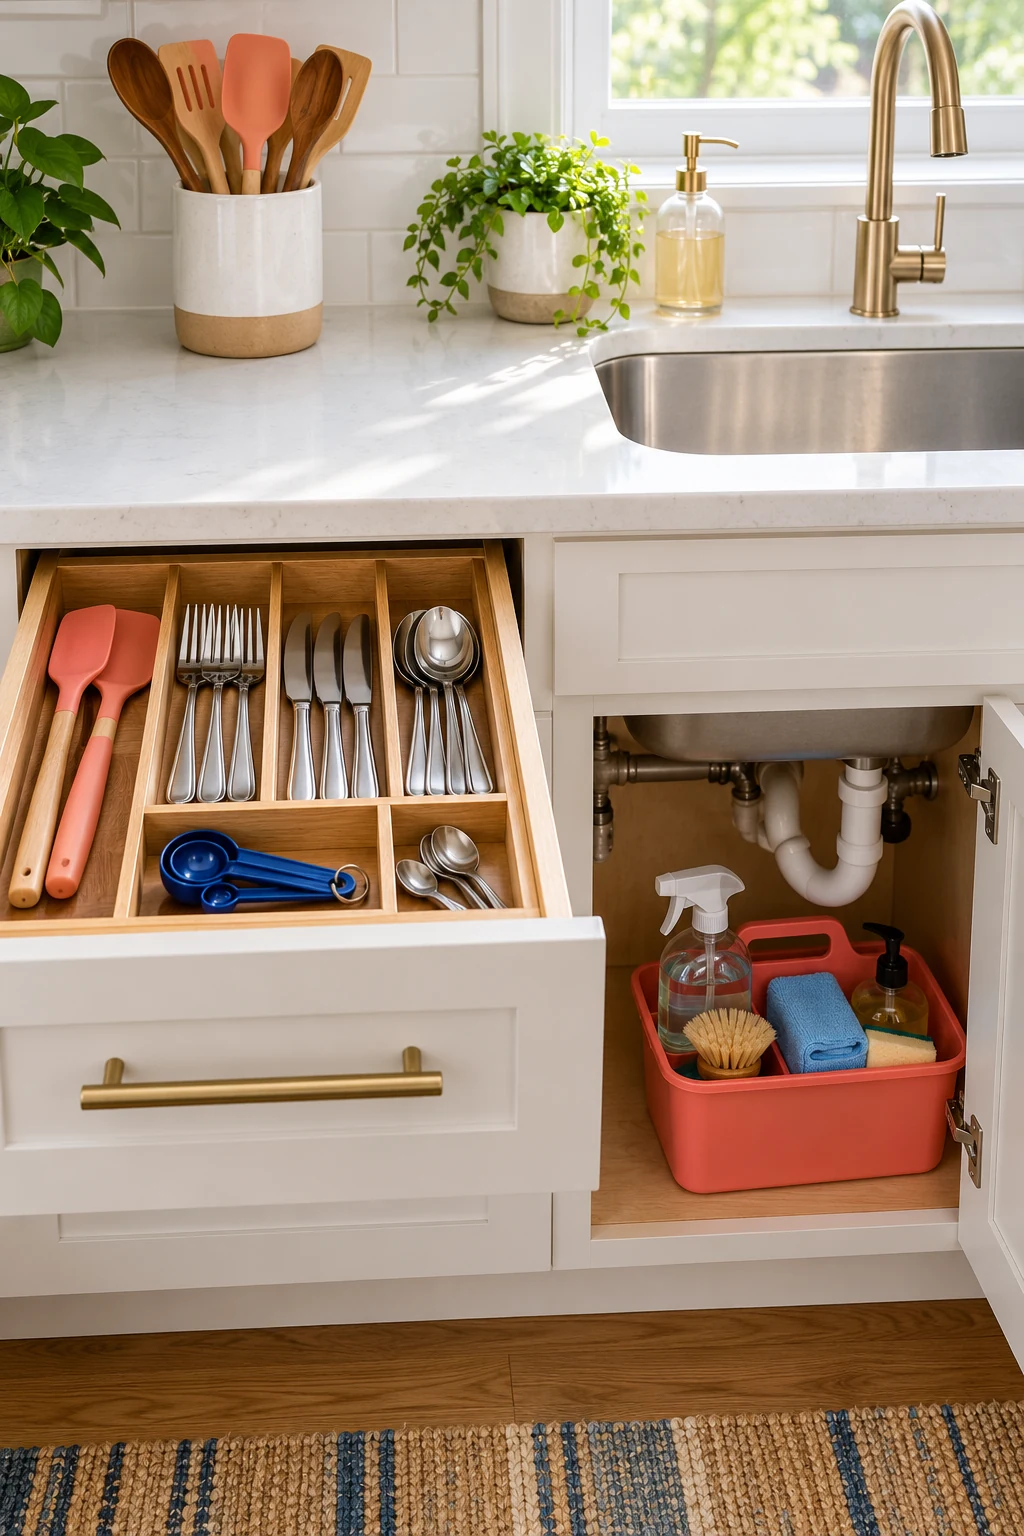
Arrange spatulas, wooden spoons, and tongs lengthwise in separate lanes. Give broad heads enough room to lie flat, and keep the handles visible so you can identify a tool without moving everything around it.
The large Utoplike bamboo dividers are recommended for sturdy drawer spans of 17.8 to 20.6 inches in the current listing. Measure that span carefully and follow the installation guidance. Spring-loaded dividers are a poor choice for flimsy sides that bow under pressure.
4. Store knives in a dedicated insert
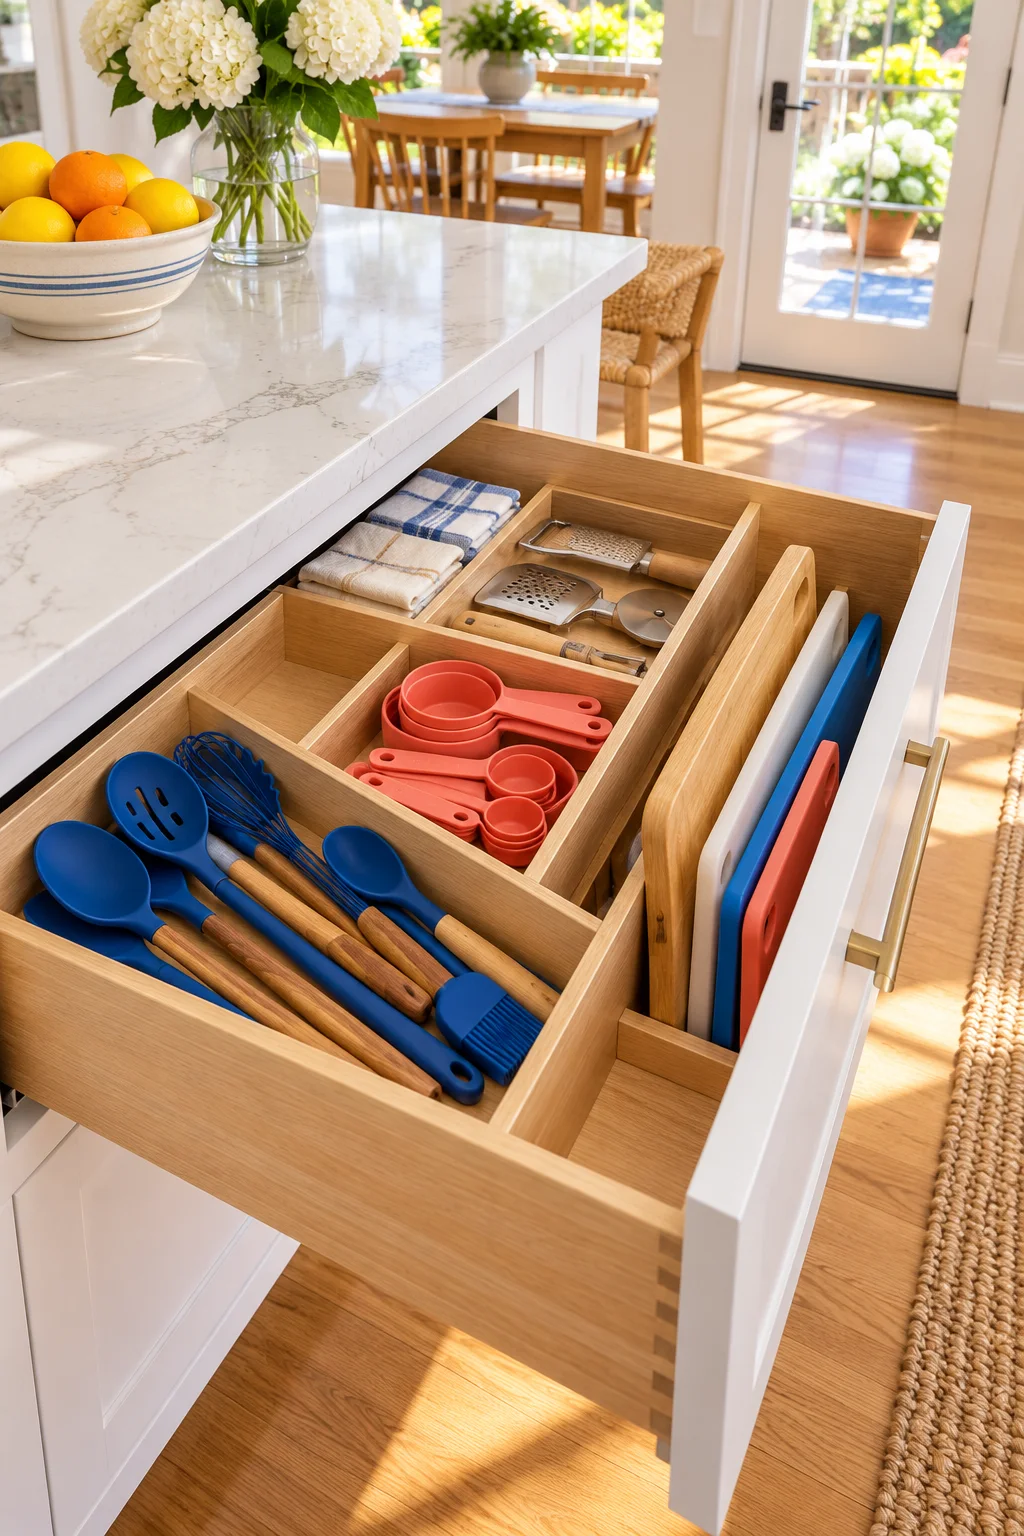
Give knives their own protected slots instead of mixing them with peelers and can openers. Put the insert in a stable drawer near your prep area, with handles easy to grasp and blades stored as the organizer directs.
The compact Joseph Joseph DrawerStore Knife Organizer uses two levels and is listed for blades up to 9 inches. Test your own knives and closing clearance. Keep this drawer inaccessible to children, and never reach blindly beneath a loose pile for a sharp blade.
5. Put the prep trio together
Place the peeler, can opener, and kitchen scissors in neighboring compartments if they regularly start your meal prep. This small grouping can work beside flatware or in a dedicated shallow drawer near your cutting board.
Choose open compartments wide enough for chunky handles and protect sharp edges appropriately. Resist adding every gadget that fits. A clearly visible daily group is more useful than a tightly packed tray that needs rearranging whenever one tool returns from the dishwasher.
6. Keep measuring cups in a shallow nest
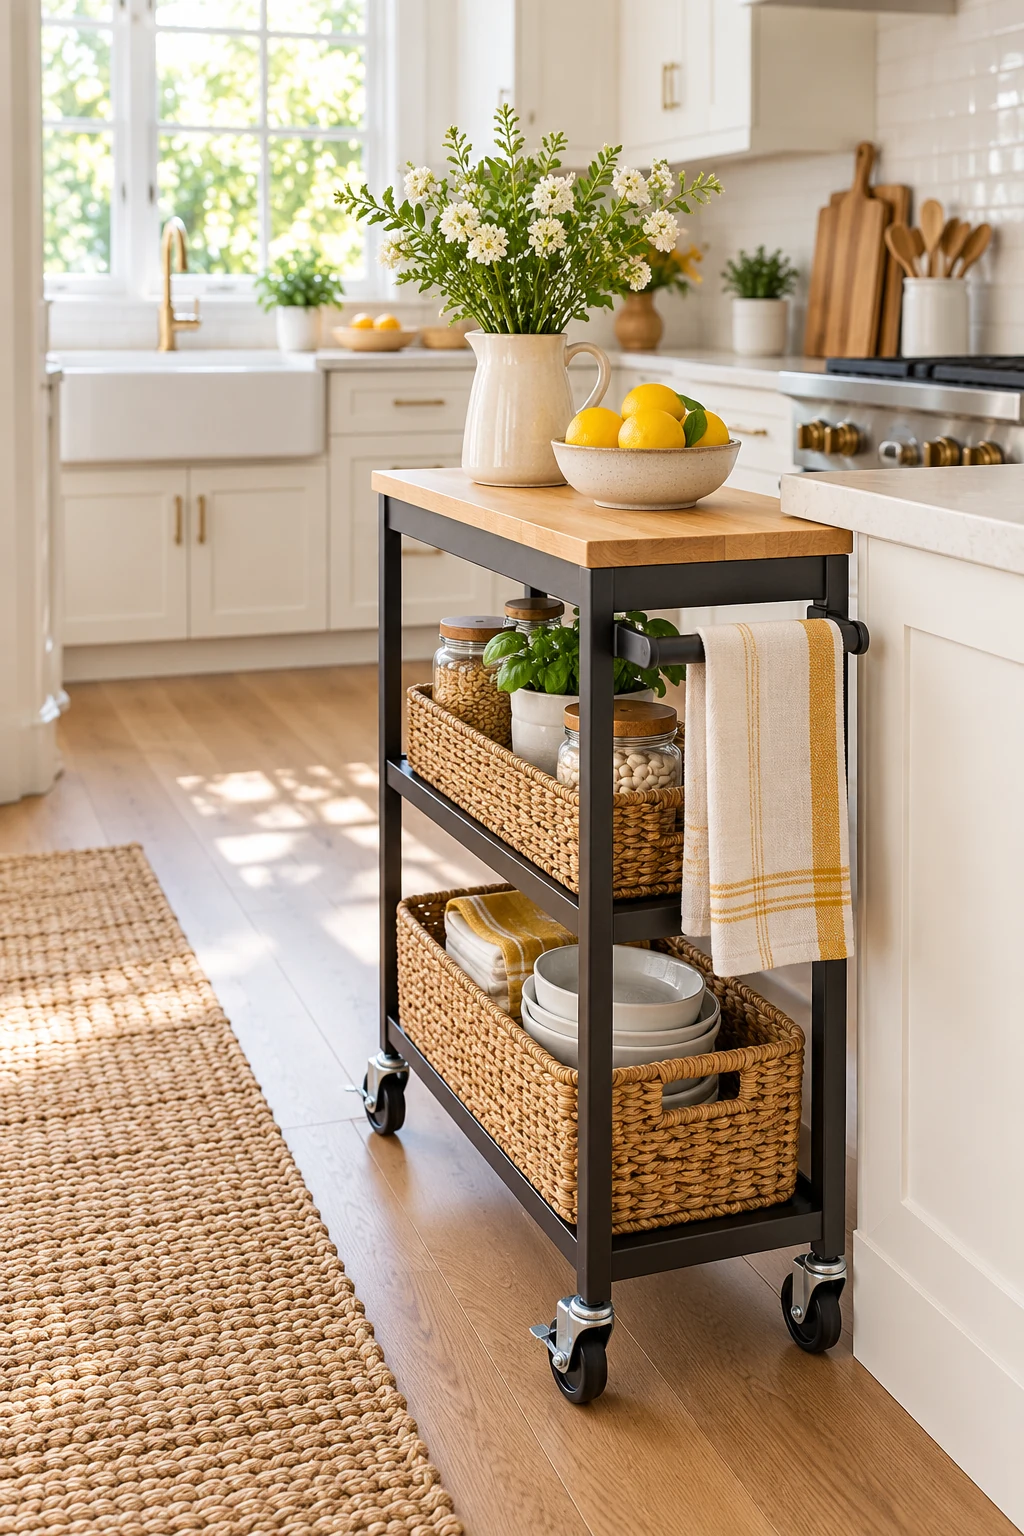
Nest measuring cups in one wide compartment with their handles aligned. Set spoons beside them where the smallest size stays visible. A low-sided box you already own can make a perfectly useful test divider.
Keep only compatible pieces nested together, and confirm that the top handle clears the drawer frame. If a detachable ring makes the whole set awkward to use, follow the product’s intended setup rather than forcing it into a cramped compartment.
7. Lay spices flat when drawer height is tight
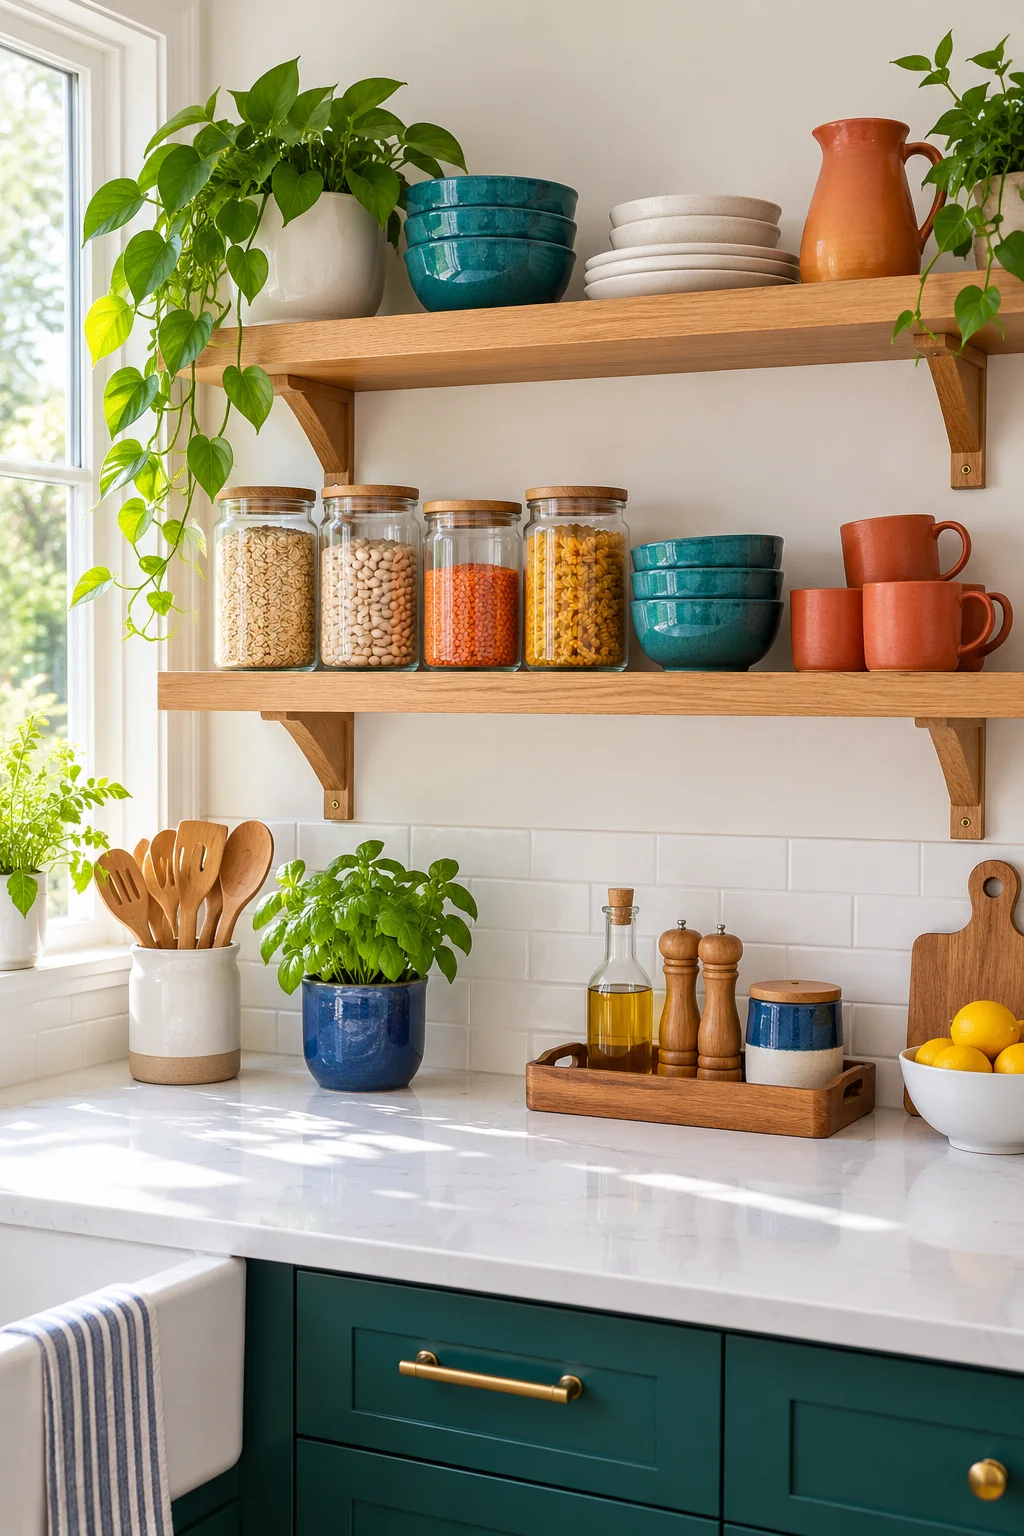
A shallow drawer can hold jars on their sides with their labels facing up. Arrange them in short rows that you can scan from above, placing frequently used seasonings near the front rather than insisting on a system nobody remembers.
YouCopia SpiceLiner is a cut-to-fit foam roll that supports flat bottle rows. Test your largest jar on the liner before cutting every strip. The jar, lid, and liner together must clear the drawer, including any low section beneath the countertop.
8. Give food-storage bags a refillable home
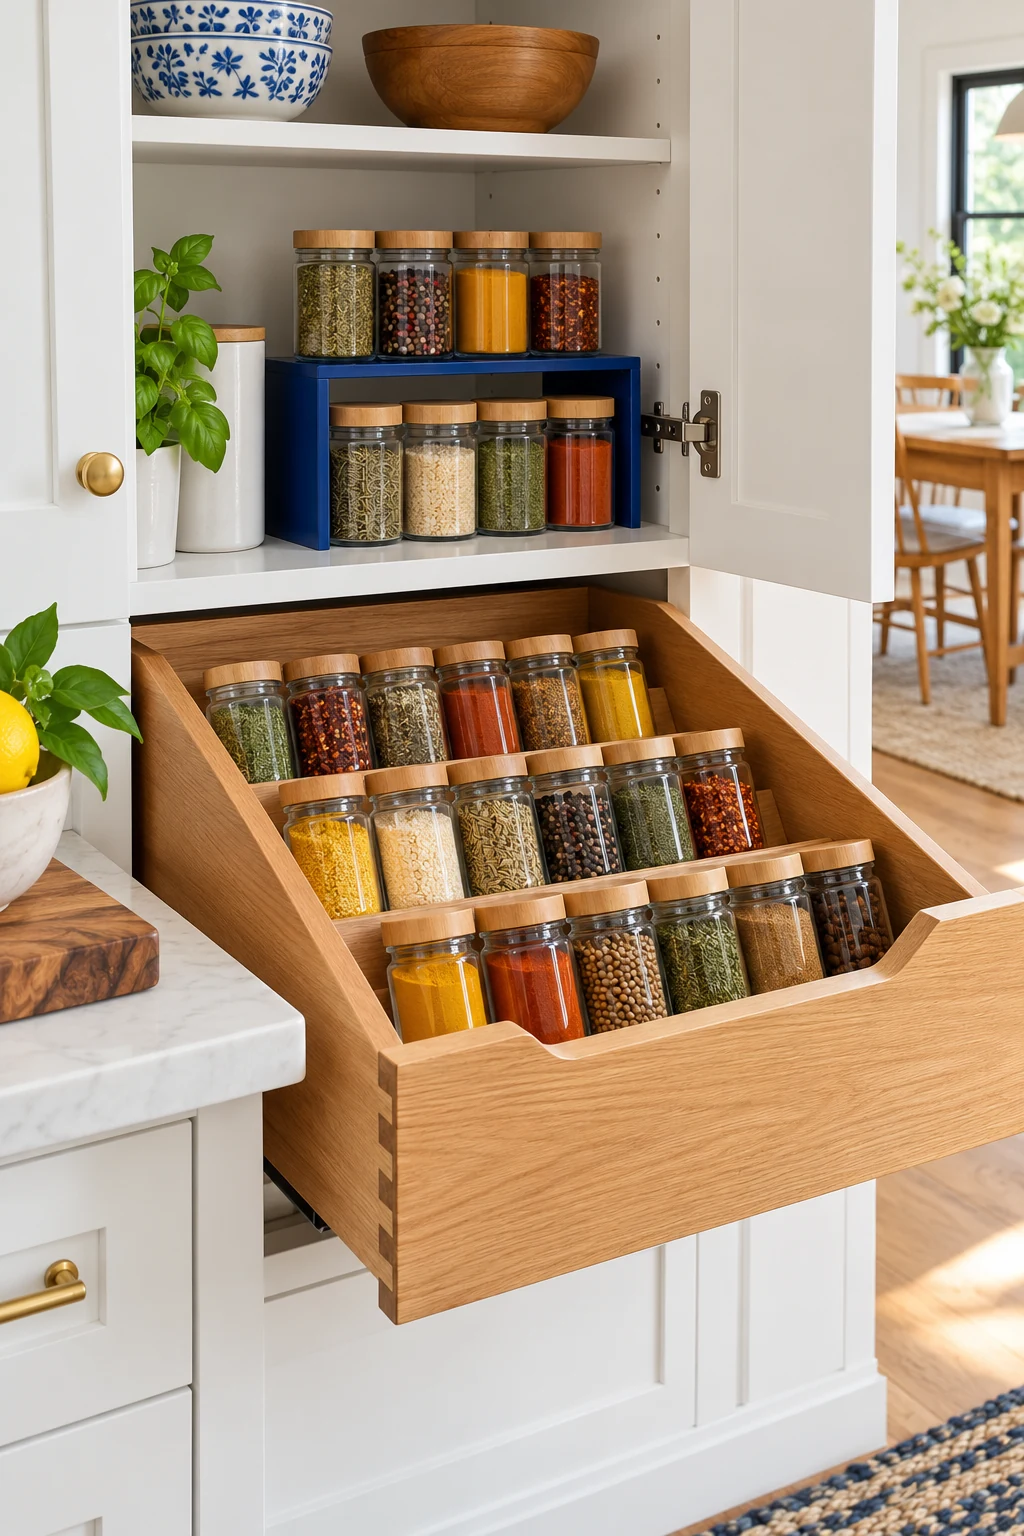
If torn bag boxes keep catching the drawer, a fitted dispenser can hold the sizes you use most. Position the slots so you can remove one bag without lifting the whole organizer or scraping your hand against the drawer above.
The four-slot SpaceAid bamboo organizer is listed at 12.5 by 12 by 3 inches. Measure the drawer and check the particular bag styles you buy. Keeping the original boxes is simpler when you rarely use bags or have an unusually shallow drawer.
9. Separate wrap boxes from their cutting edges
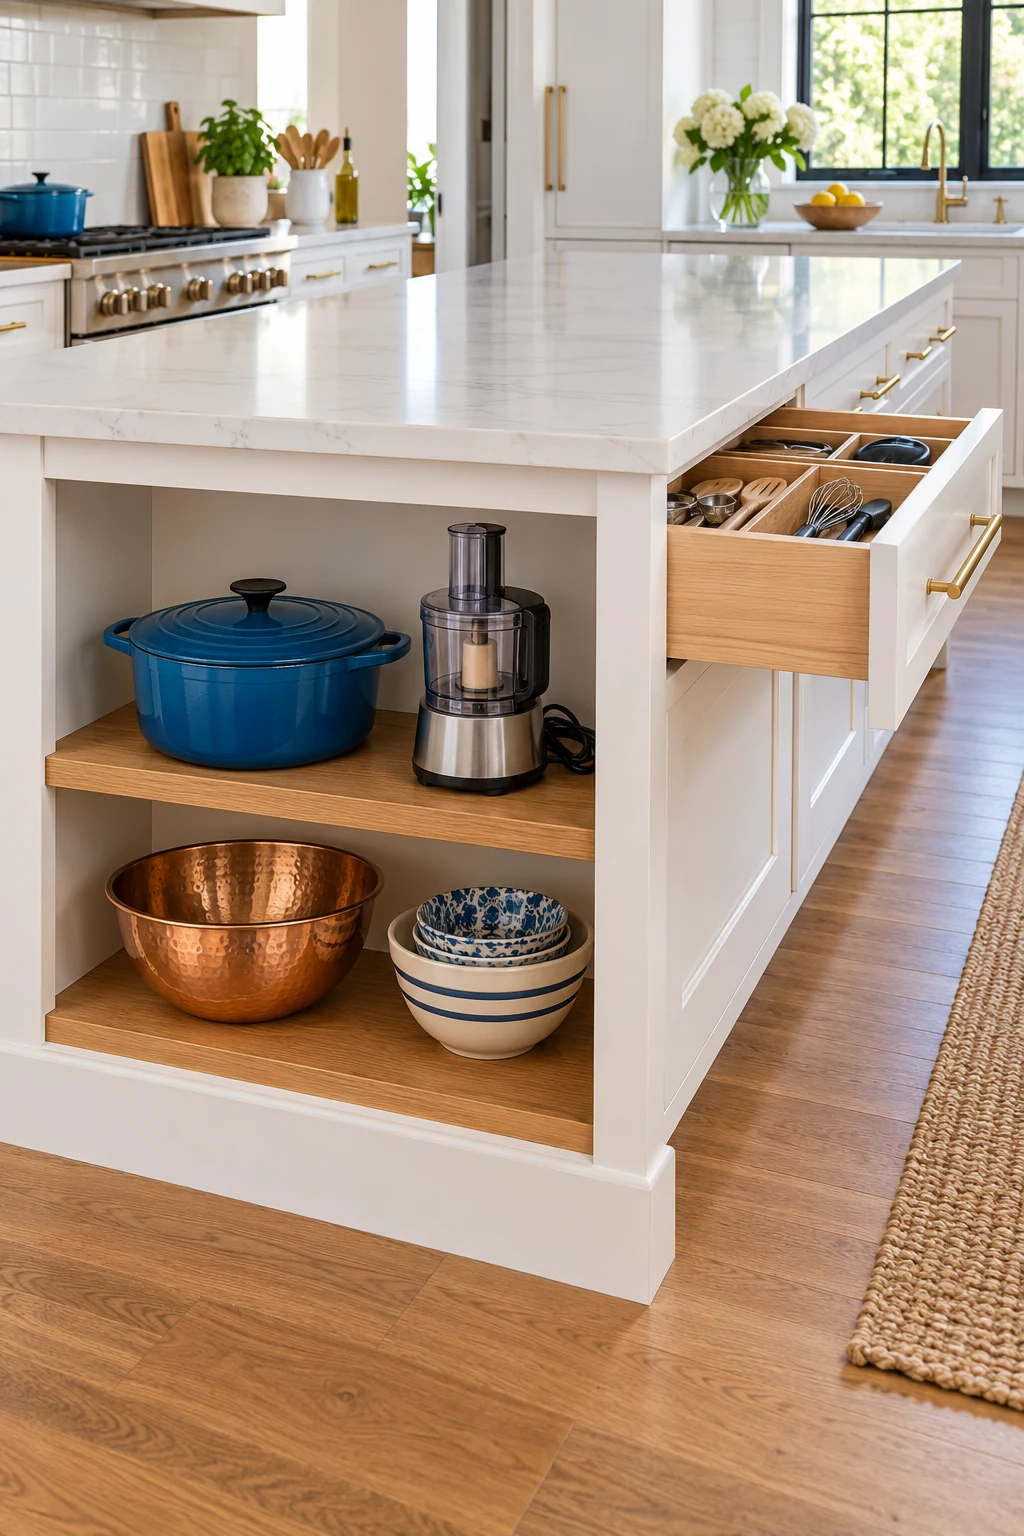
Lay foil, parchment, and plastic-wrap boxes in parallel lanes with their labels visible. Keep them in their original dispensers when those work well, and leave enough space to lift a box without brushing against a neighboring serrated edge.
Store extra rolls elsewhere instead of stacking boxes until the drawer jams. A long adjustable divider can hold the active boxes in place, but it should not bow their cardboard sides. Replace a damaged dispenser according to its instructions rather than adding exposed blades.
10. Stand container lids in a deep drawer
Arrange food-container lids upright so you can compare shapes at a glance. Keep matching container bases in a nearby section, and start by checking that each lid still has a usable partner.
The YouCopia StoraLid 24 Container Lid Organizer offers adjustable dividers for separate groups. Measure the full height of the lids once they are standing inside it. This works only in a sufficiently deep drawer; forcing lids sideways can undo the visibility you wanted.
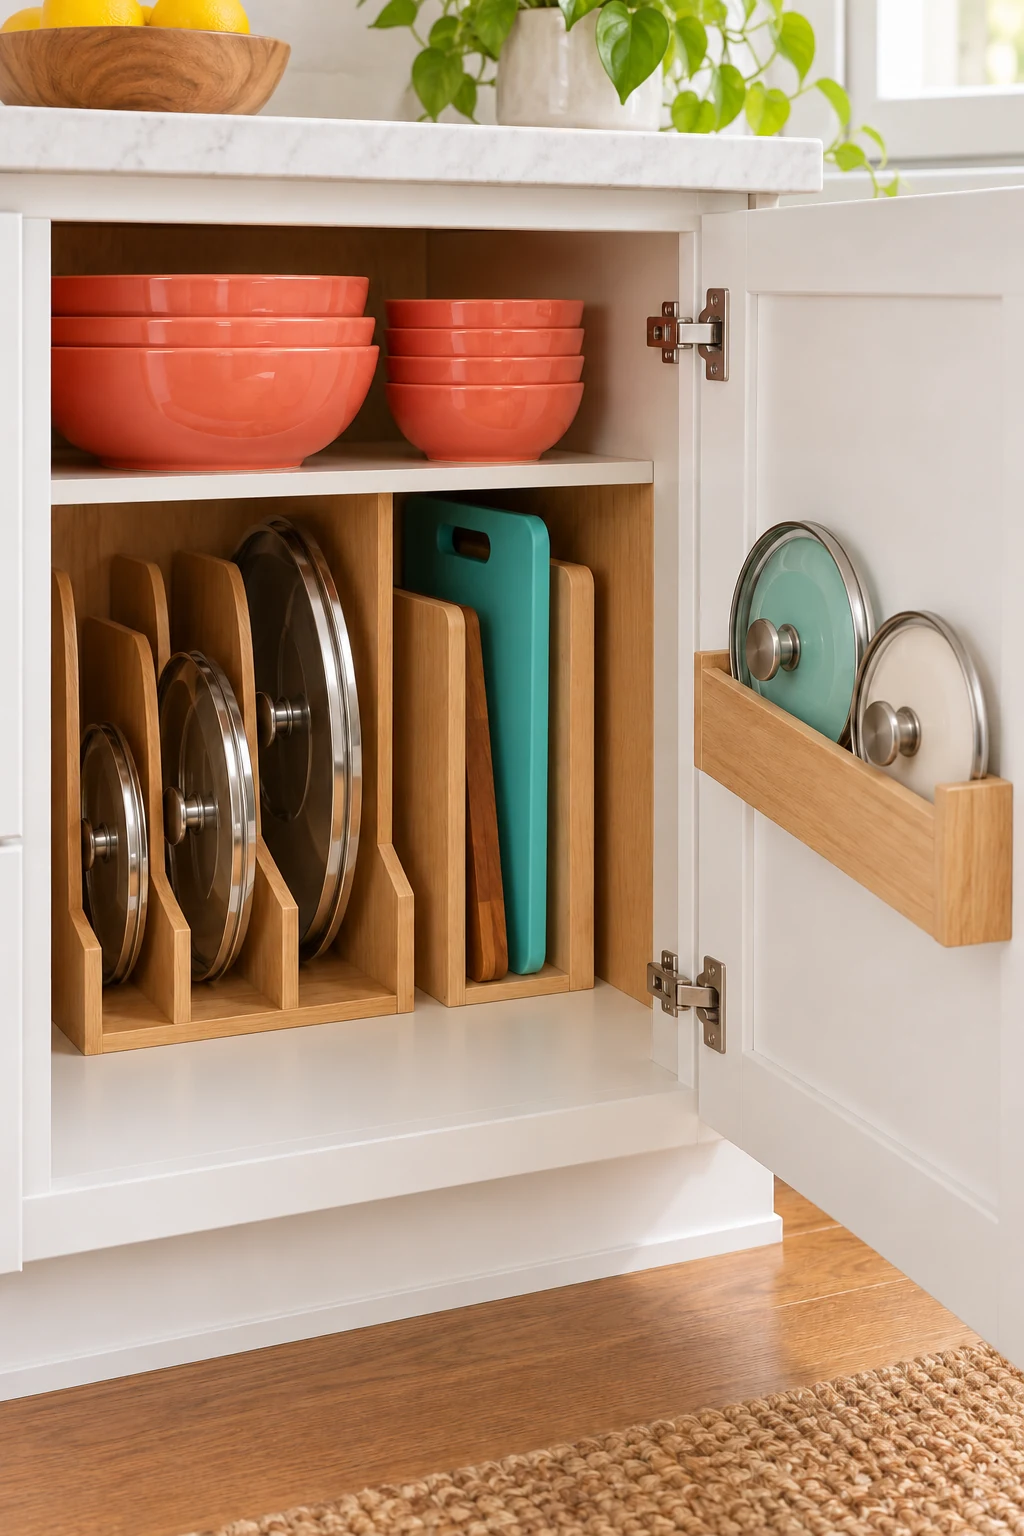
11. Use a square bin for bulky little accessories
A deep drawer can swallow small funnels, reusable bottle caps, and other awkward accessories. A handled bin groups these pieces so they remain visible and can be lifted onto the counter while you work.
The iDesign Pantry Storage Bin with Handles is a clear, 8-by-8-by-6-inch option for a drawer with enough depth and clearance. Keep bottle parts grouped with their matching items. A smaller tray is preferable when this much height would hide the contents.
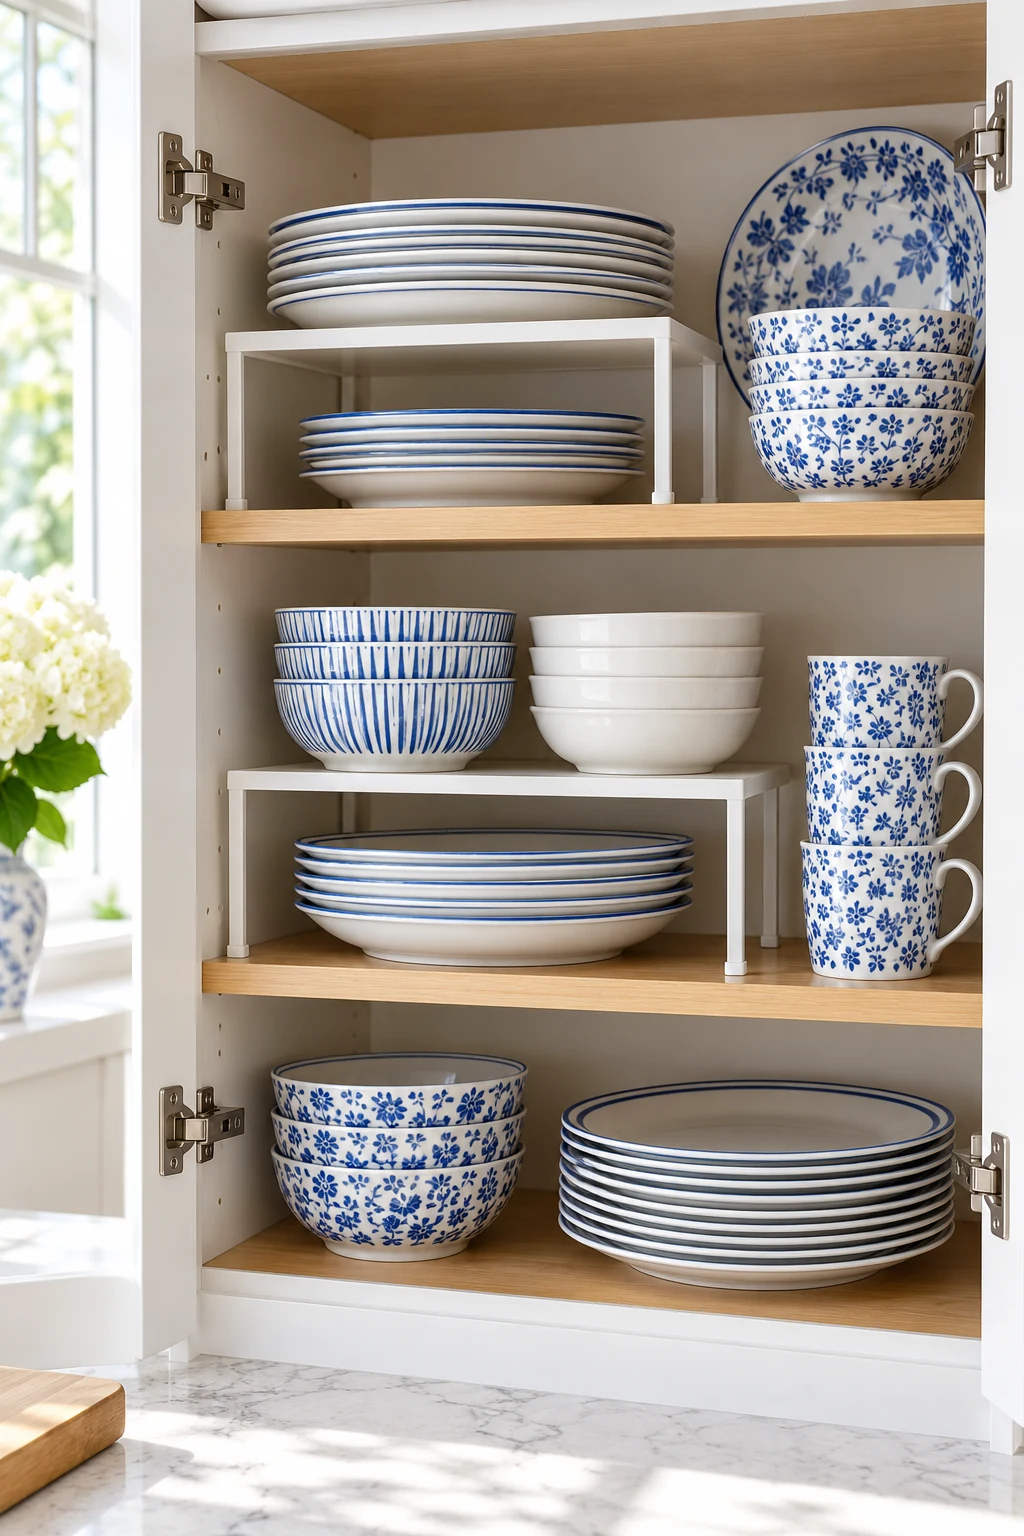
12. File clean kitchen towels upright
Fold towels to the height of the drawer and arrange them in a loose row. Visible folded edges make it easy to pick one and return fresh laundry without repeatedly disturbing a tall stack.
Test the fold with two towels before committing to the whole drawer. Keep only fully dry textiles here, and leave a little room for your fingers between rows. Bulky towels may need a separate compartment rather than being compressed into tiny dividers.
13. Keep potholders near the oven
Give clean, dry potholders and oven mitts an easy-to-open drawer near the cooking area. Lay them where their loops and fingers will not catch, and keep their compartment free of utensils that could damage the fabric.
Check that you can reach the drawer without leaning across a hot surface. Follow the mitts’ care and heat-use instructions, and replace damaged pieces as directed. This practical location matters more than matching them to the towel drawer across the room.
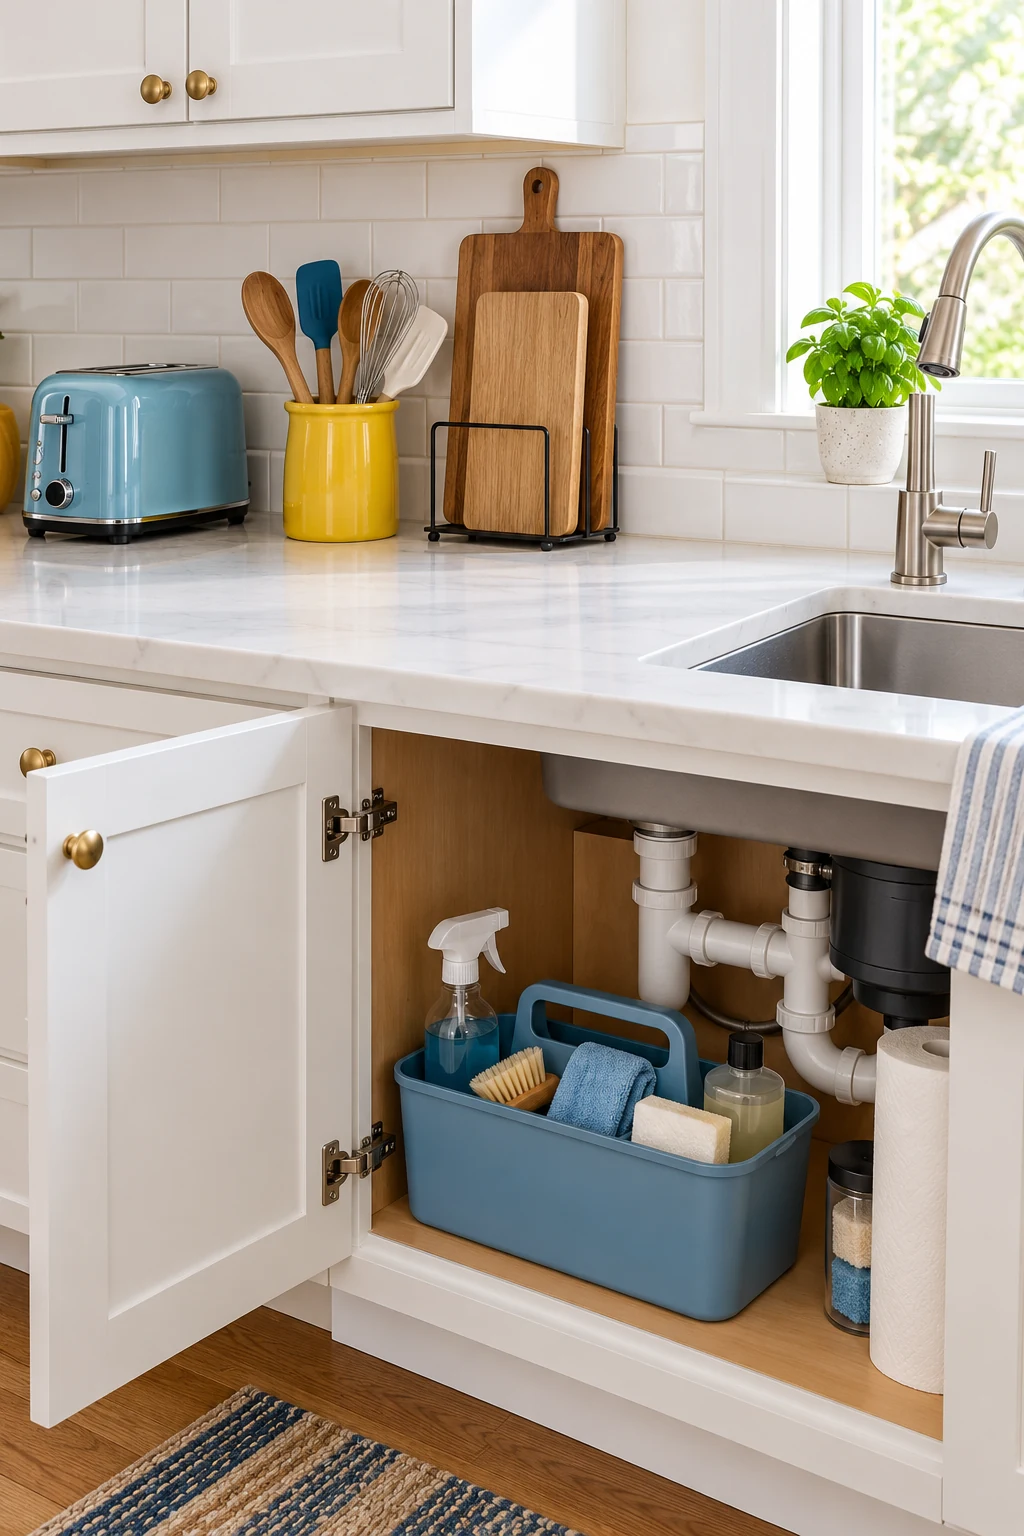
14. Turn one drawer into a baking toolkit
Group your pastry brush, dough scraper, decorating tips, and measuring tools according to what you actually bake. Separate tiny accessories in a removable shallow box so they do not migrate beneath larger tools.
Keep occasional cake-decorating equipment together at the back if it remains accessible. Everyday measuring cups deserve the front. Protect pointed accessories and check that the tallest tool does not lift the tray or obstruct closure when the drawer moves.
15. Give reusable straws a complete set
Store clean, fully dry reusable straws with their matching cleaning brushes in a long, narrow compartment. Keeping the pieces together makes the drawer useful when packing a drink and when returning everything after washing.
Follow each straw’s cleaning and replacement guidance, including any restrictions for children. Avoid burying brushes under a stack of napkins. If the set is used only occasionally, a labeled pouch may be simpler than a permanent section in your busiest drawer.
16. Keep tea accessories beside the mugs
A shallow drawer near the mug cabinet can hold tea infusers, measuring spoons, and the small accessories used with your preferred drinks. Use washable trays where needed and return tools only after they are clean and dry.
Give individually packaged items a separate compartment and retain any useful package directions. Avoid placing delicate packets where a scoop handle crushes them. The drawer should support your routine, so leave out equipment you always use at another counter.
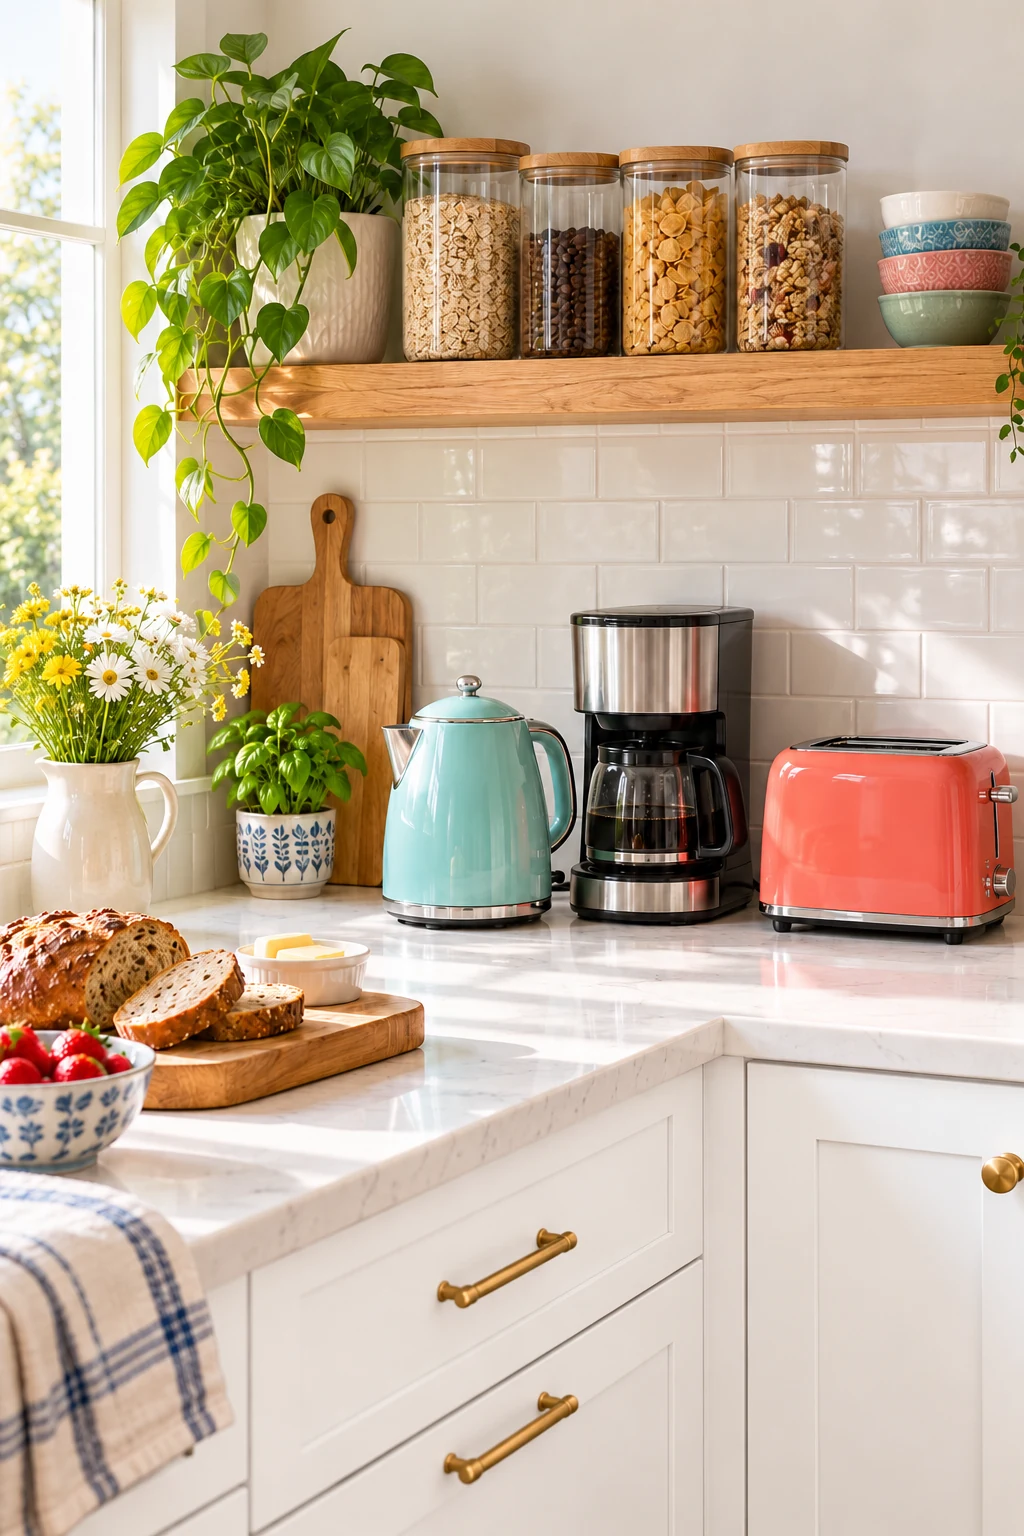
17. Create a compact lunch-packing drawer
Put reusable bags, napkins, and lunch accessories together near your packing surface. Divide by useful size or function, so grabbing a small container accessory does not require sorting through the entire collection.
Keep this drawer separate from loose tools with sharp edges. Let washable lunch pieces dry completely according to their instructions before folding them into storage. If the collection grows beyond the drawer, review unused pieces before expanding into another everyday zone.
18. Store serving utensils away from cooking tools
Give the salad servers, cake server, and special serving spoons a wider drawer section near the dining area. Their broader heads often fit better here than in the narrow lanes designed for everyday spatulas.
Keep the pieces flat or in a small, easily lifted layer. If a long platter utensil fits only diagonally, reserve that diagonal instead of burying it under other tools. Occasional entertaining pieces can live farther from the stove without slowing daily meals.
19. Corral bag clips in one visible cup
Small clips can slip under trays and become difficult to find. Put them in one open cup or small box at the front of the drawer, with enough room to lift out the largest clip easily.
Reuse a sturdy food container that you no longer need for food, provided it fits and has no sharp edges. Keep twist ties and rubber bands separate if they tangle. Skip a lidded box if opening it every day would make you stop using the system.

20. Protect the awkward tools with their own space
A potato masher, funnel, and bulky citrus press rarely behave in narrow flatware compartments. Give the few awkward tools you regularly use an open section so their handles cannot hook under a divider or lift the whole tray.
Arrange the tallest head beneath the drawer’s deepest clear area and close slowly to test it. If you have to press the drawer shut, the tool needs another home. A cupboard hook or lower shelf may be more practical than a drawer that jams.
21. Keep small appliance parts by model
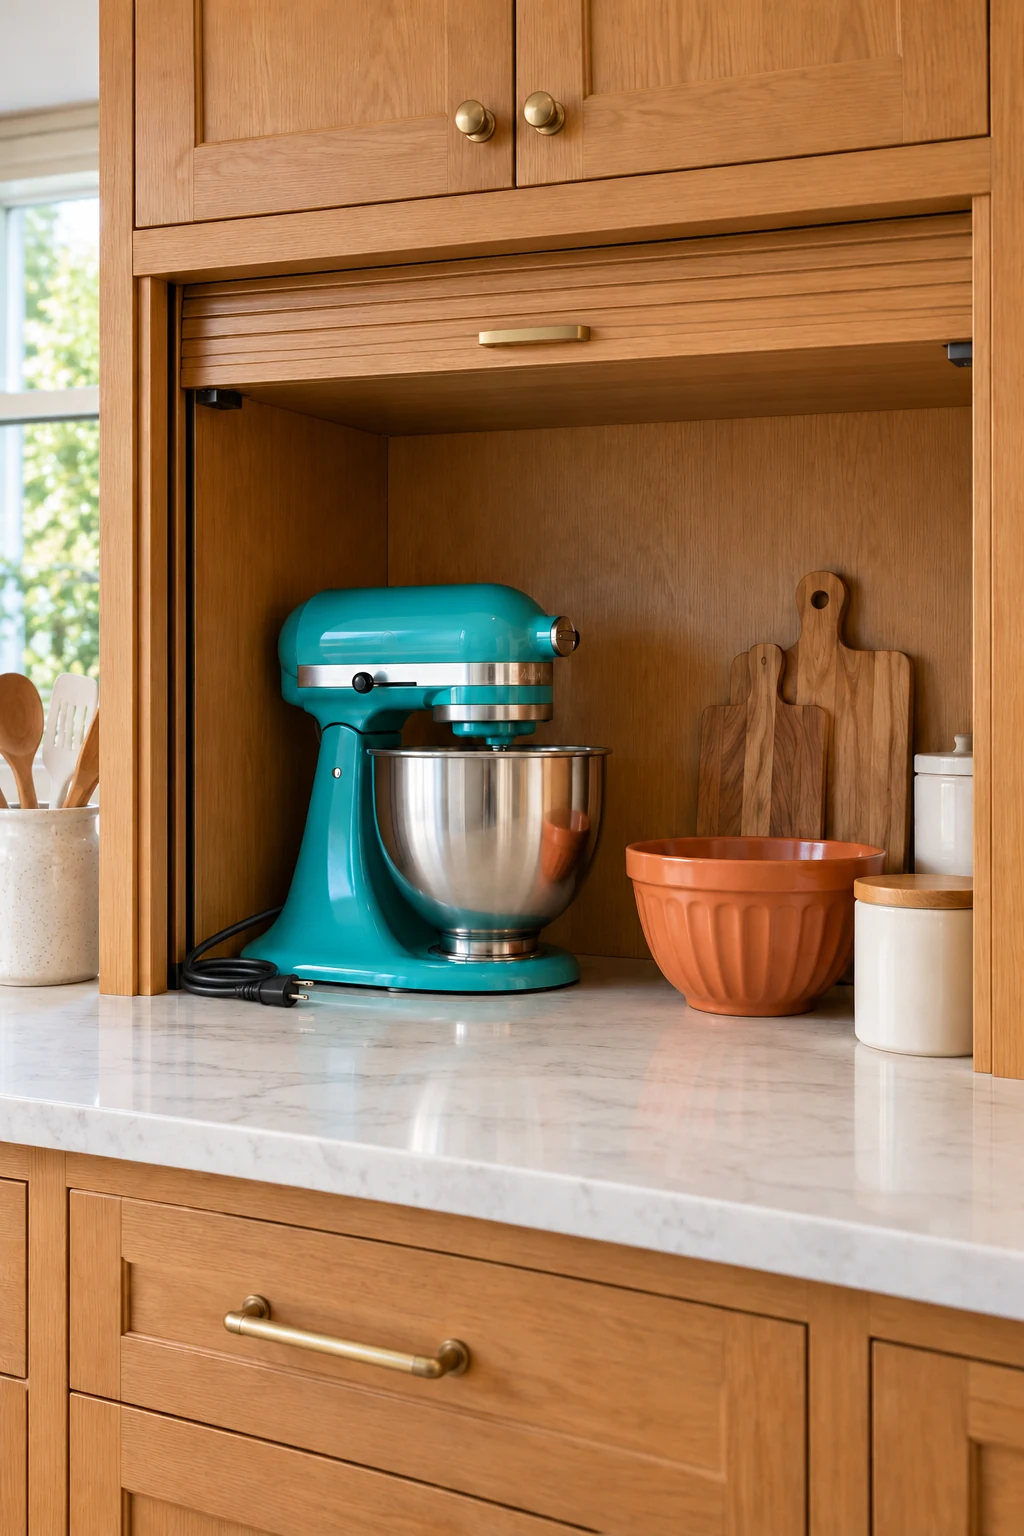
Use separate removable trays for mixer beaters, blender accessories, and food-processor parts. Each tray should hold one appliance’s compatible pieces so similar-looking attachments do not become a guessing game.
Use the manufacturer’s guards or holders for sharp components and keep them out of children’s reach. Do not place loose blades in a general accessory bin. Check that the appliance instructions permit the arrangement, especially for delicate seals and attachments that need ventilation while drying.
22. Make a practical household drawer
If the kitchen is where you open packages and write grocery notes, give those jobs a limited drawer. Keep a pen, notepad, tape, and suitable scissors in separate sections, with a clear boundary from food-preparation utensils.
Send spare chargers, expired papers, and miscellaneous hardware back to their proper homes. Loose batteries and sharp items need appropriate storage rather than an open catchall. This drawer works best when it has a small, intentional job instead of becoming the house’s waiting room.
23. Leave clearance above every tray
The drawer’s usable height can change from front to back, especially beneath a sink or cooktop. Load an organizer with the actual utensils, then slide the drawer in slowly and check for protruding handles.
Keep all manufacturer-required space around plumbing, cooktop components, wiring, and ventilation. Do not remove a protective panel to gain storage. A low tray with fewer items is better than a tall organizer that scrapes or interferes with the appliance above.
24. Stop trays from drifting
A tray that slides with each opening eventually creates a gap full of stray utensils. Choose a stable layout and use the organizer’s intended feet or a removable liner compatible with the drawer finish.
Clean beneath the insert occasionally so crumbs do not accumulate unseen. Avoid permanent adhesive unless the drawer maker permits it and you want that commitment. Leave enough space to lift the organizer out for cleaning without prying against the surrounding wood.
25. Test the drawer when you unload dishes
Put clean tools away after a normal meal and notice which ones need extra rearranging. A section that looks neat but resists a quick return is usually too full, too narrow, or assigned to the wrong items.
Change that one section before buying more inserts. Keep a little open room for a tool that is still being washed, and let the layout evolve with your cooking habits. Easy put-away is the detail that keeps an organized drawer organized.
Start with the drawer you open most often. Give its daily tools clear homes, test the closure, and use the arrangement for a few meals. Keep the parts that make both cooking and cleanup feel simpler. Subscribe to the Havelyo email list for more small-space decorating and organization ideas.