
Kitchen Organization
25 Kitchen Counter Organization Ideas for More Prep Space
When every countertop object has its own little patch, the space left for cooking can shrink to almost nothing. You may have a tidy display and still need to move three things before setting down a cutting board.
These 25 kitchen counter organization ideas focus on usable prep space. Choose one clear work area first, then give the surrounding items homes that match how often you use them. A daily appliance can stay when it genuinely helps your routine. Keep its required operating space and move the less useful clutter instead.
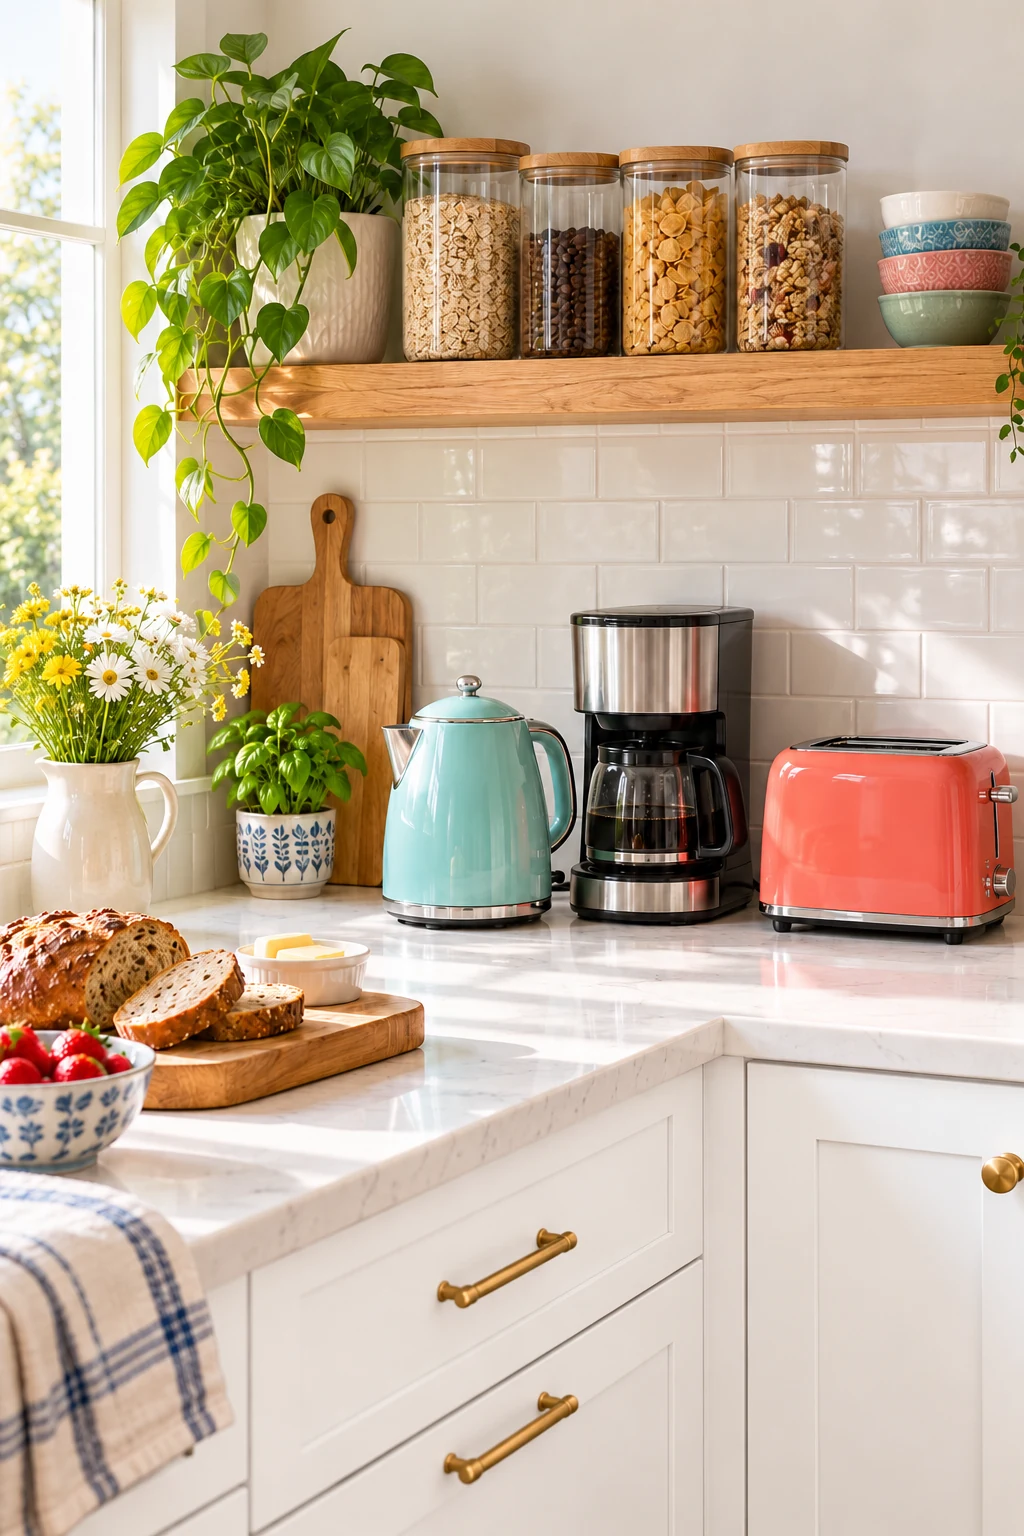
This article contains affiliate links. If you buy through them, Havelyo may earn a commission. As an Amazon Associate I earn from qualifying purchases.
1. Protect one uninterrupted prep area
Choose the most useful stretch of counter for chopping, mixing, and assembling meals. Clear it completely, then test the space with your usual cutting board and a bowl. A continuous work area is often more useful than several tiny gaps between objects.
Treat that space as an active work surface when deciding what can stay out. If an item must be moved before every meal, it probably needs a different home. Keep the area comfortably accessible without standing in front of an open dishwasher or reaching across the cooktop.
2. Keep only the daily appliances on display
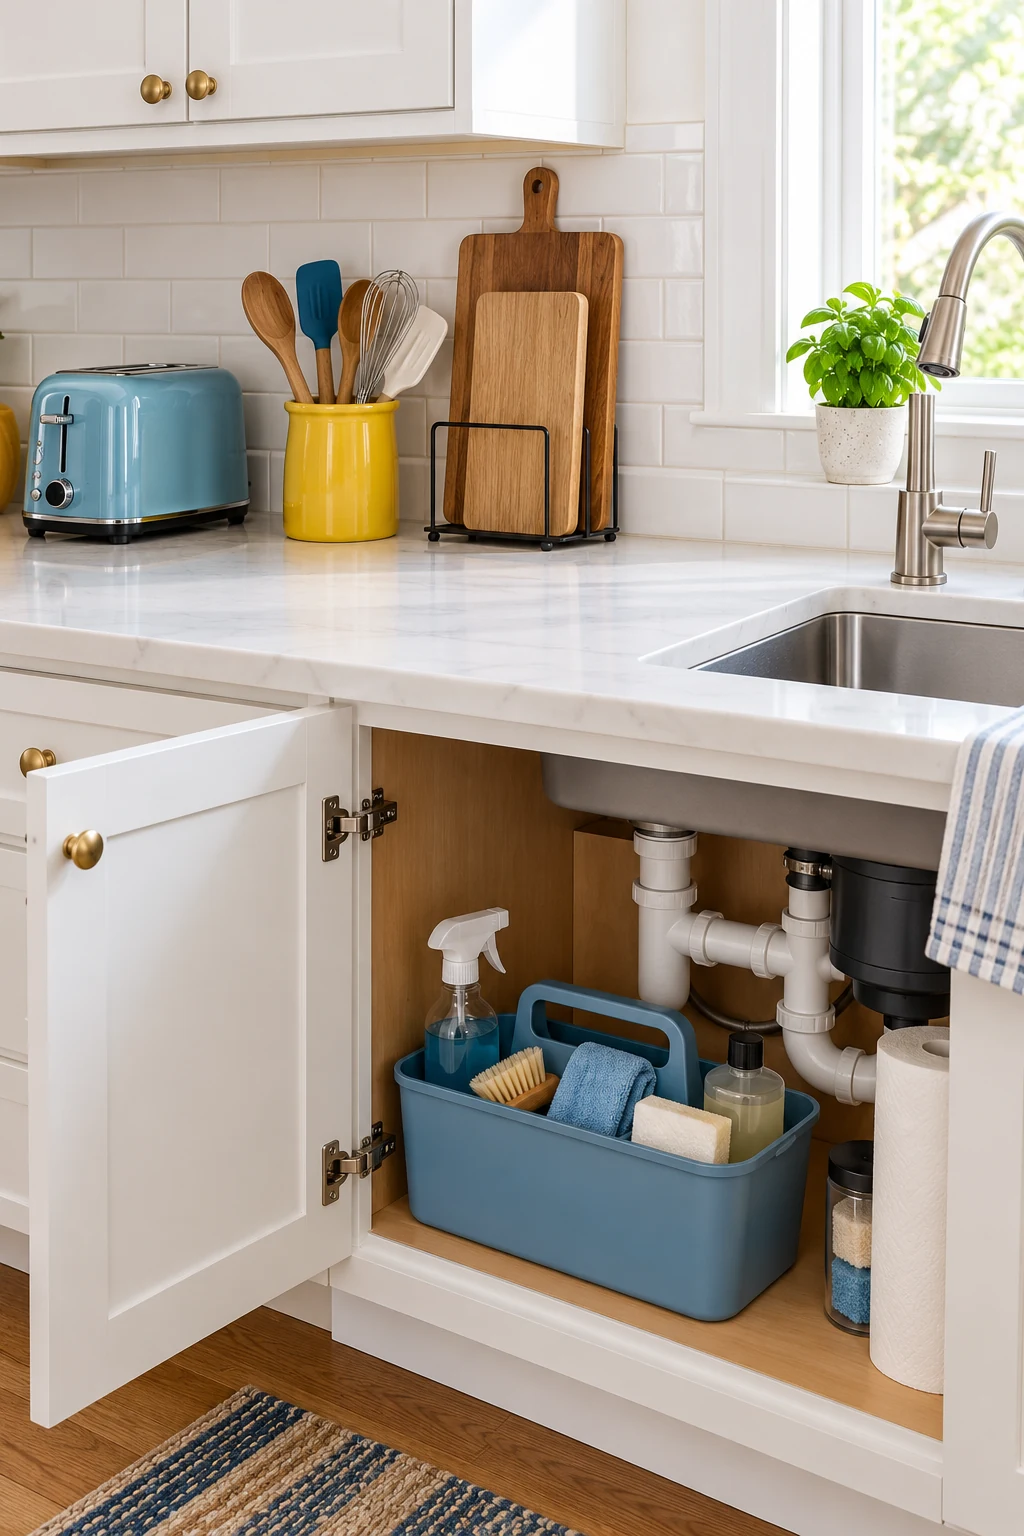
Consider how often you actually use each appliance and how difficult it is to lift. A daily coffee maker may earn a counter position, while an occasional waffle maker can live on a supportive nearby shelf.
Do not move a heavy daily appliance merely to create an empty-looking counter. Instead, give it a measured working area and remove the less useful objects around it. Follow its operating clearances, ventilation, steam, and surface requirements rather than pushing it tight against a wall.
3. Give grocery unloading a temporary landing spot
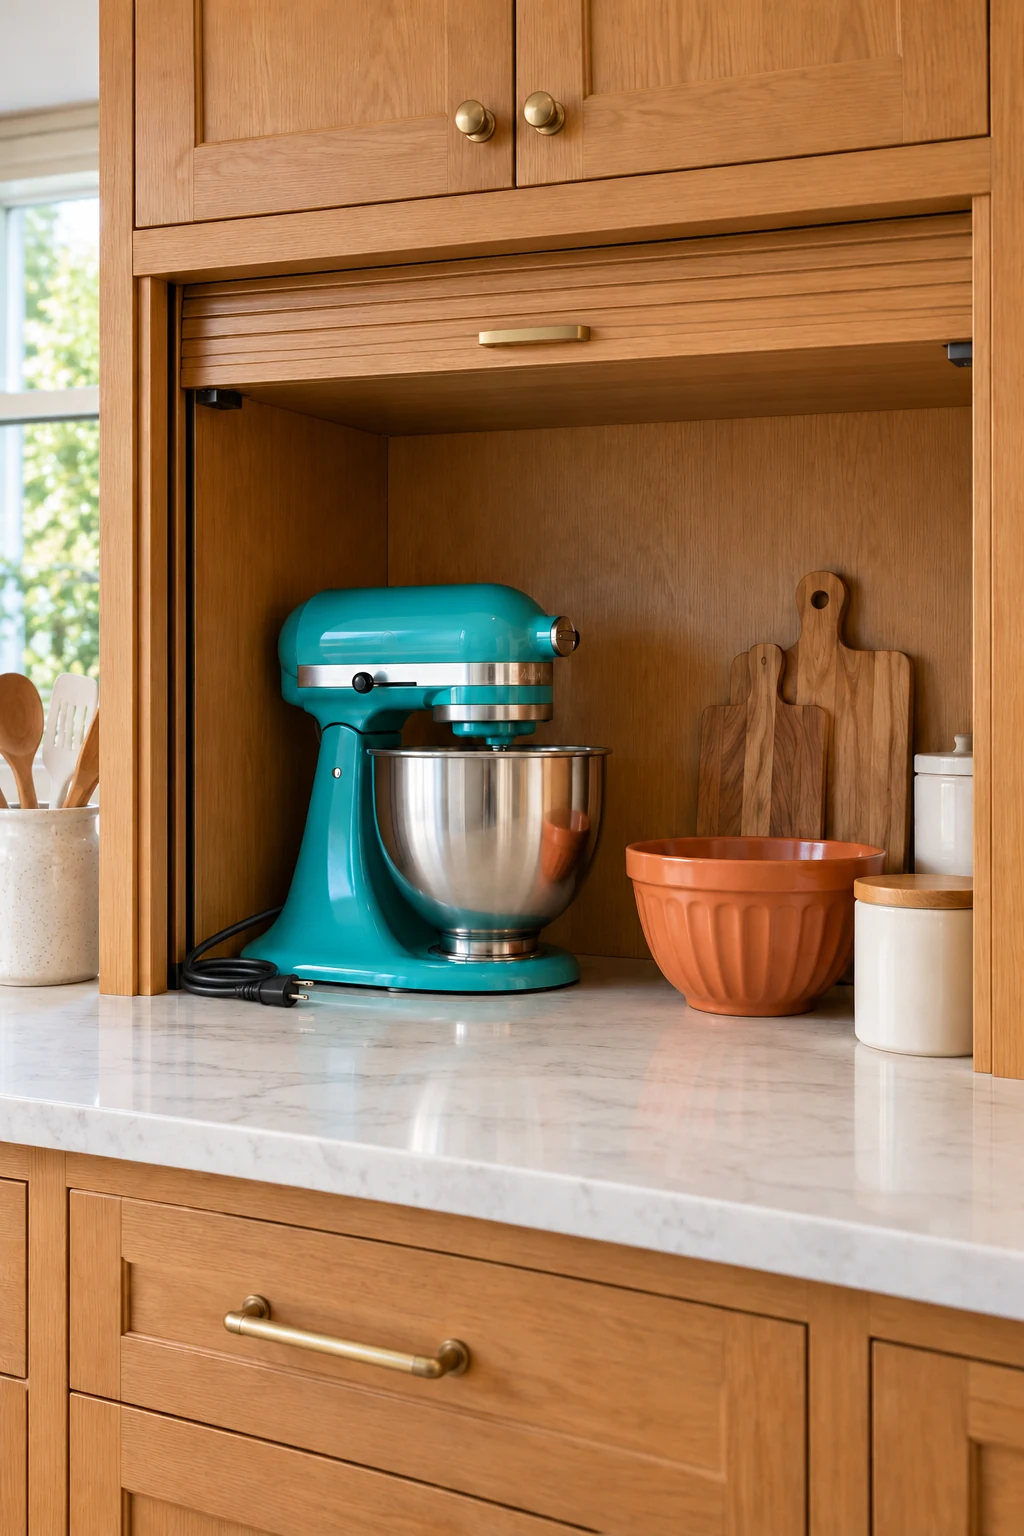
Choose a counter section where groceries can be set down briefly without occupying the main chopping area. Put away refrigerated and frozen foods promptly according to safe-handling guidance, then sort the remaining groceries into their storage zones.
Keep this landing area empty between shopping trips. A permanent basket filled with unrelated items removes the flexibility you wanted. If your kitchen is very small, use the dining table for sorting shelf-stable packages while preserving a clear path through the room.
4. Contain sink supplies on a washable tray
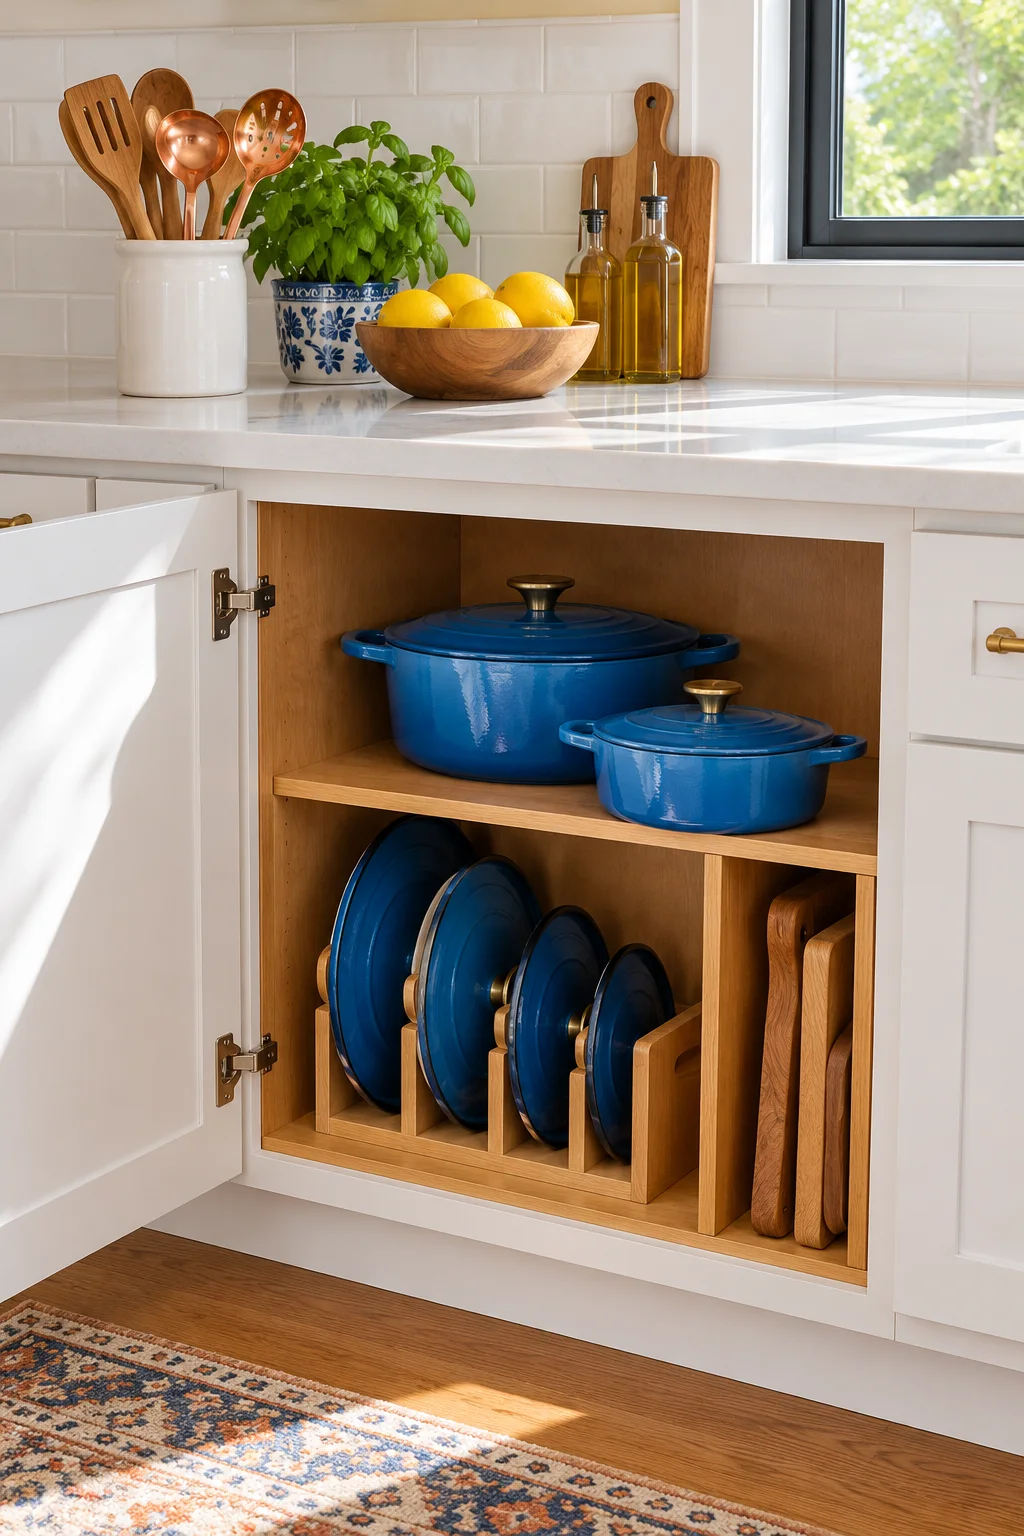
Gather the soap and cleaning tools you use at the sink into a small washable caddy or tray. Choose a design appropriate for wet items, with drainage or a cleaning routine that prevents standing water from collecting.
Keep the caddy outside your main prep space and leave faucet controls accessible. Store backup bottles in a secure appropriate cabinet rather than along the backsplash. Measure the whole footprint before buying a large sink organizer that could take more room than the loose supplies.
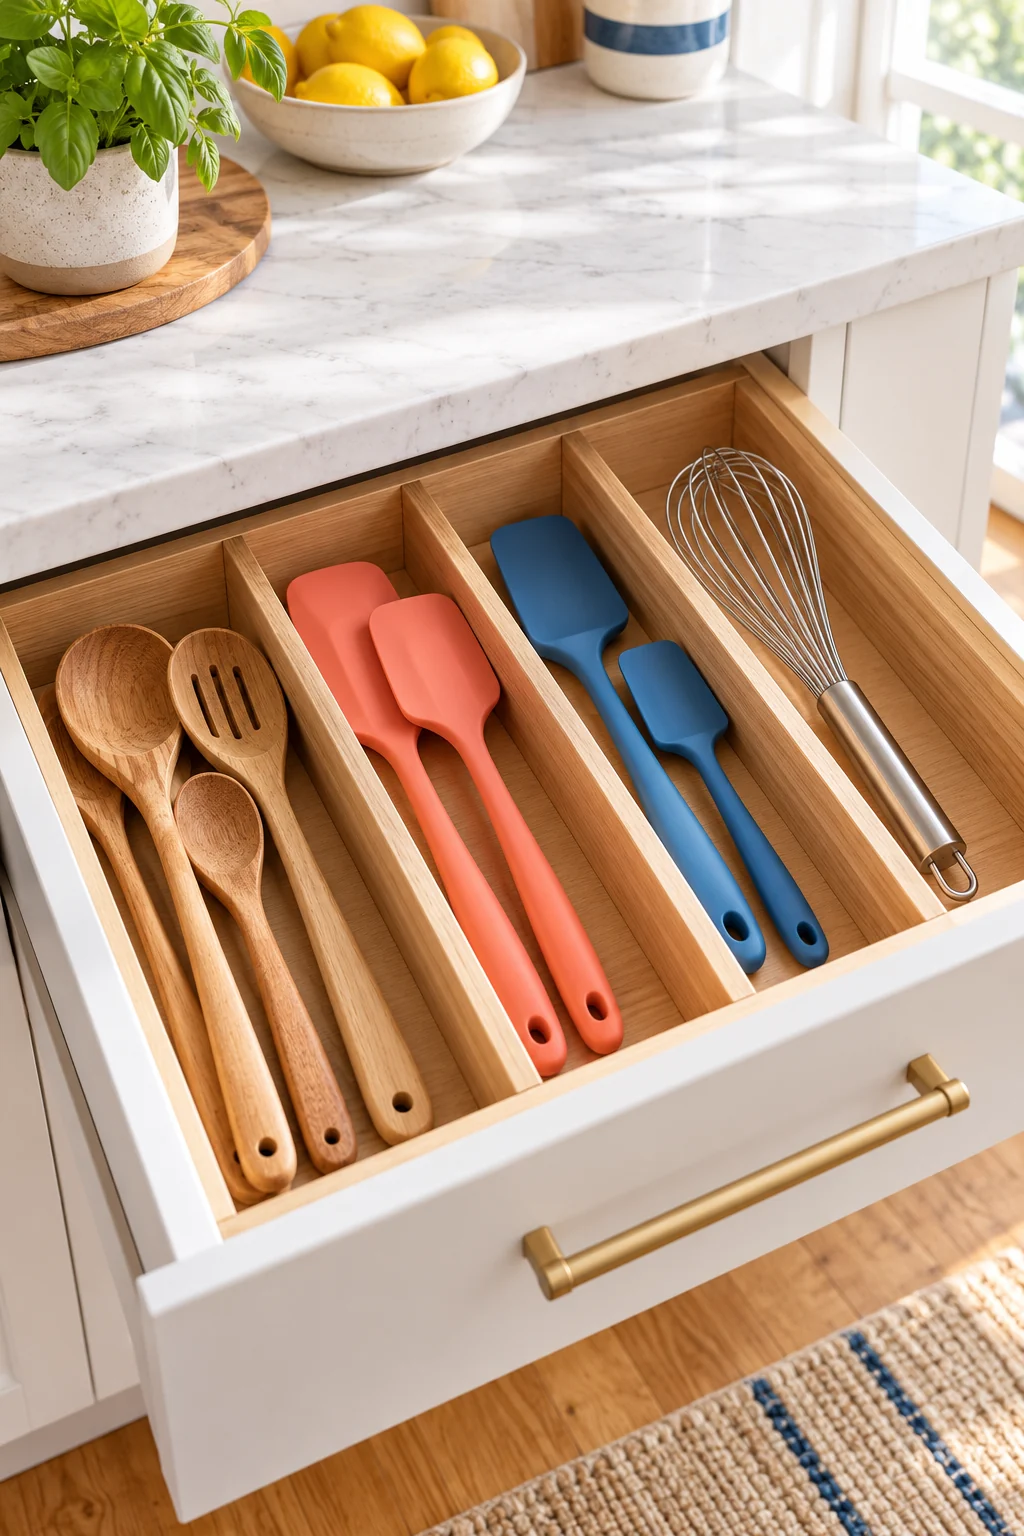
5. Choose dish drying that can shrink between loads
If the dish rack dominates the counter, compare its size with a typical load of hand-washed items. A smaller rack or suitable foldaway design may provide enough capacity while leaving more room for food preparation.
Allow dishes and the rack to dry as directed before storing them. Do not replace the rack with a permanently damp mat beneath stacked dishes. An over-sink rack also needs the right support and must not interfere with faucet use or safe access to the basin.
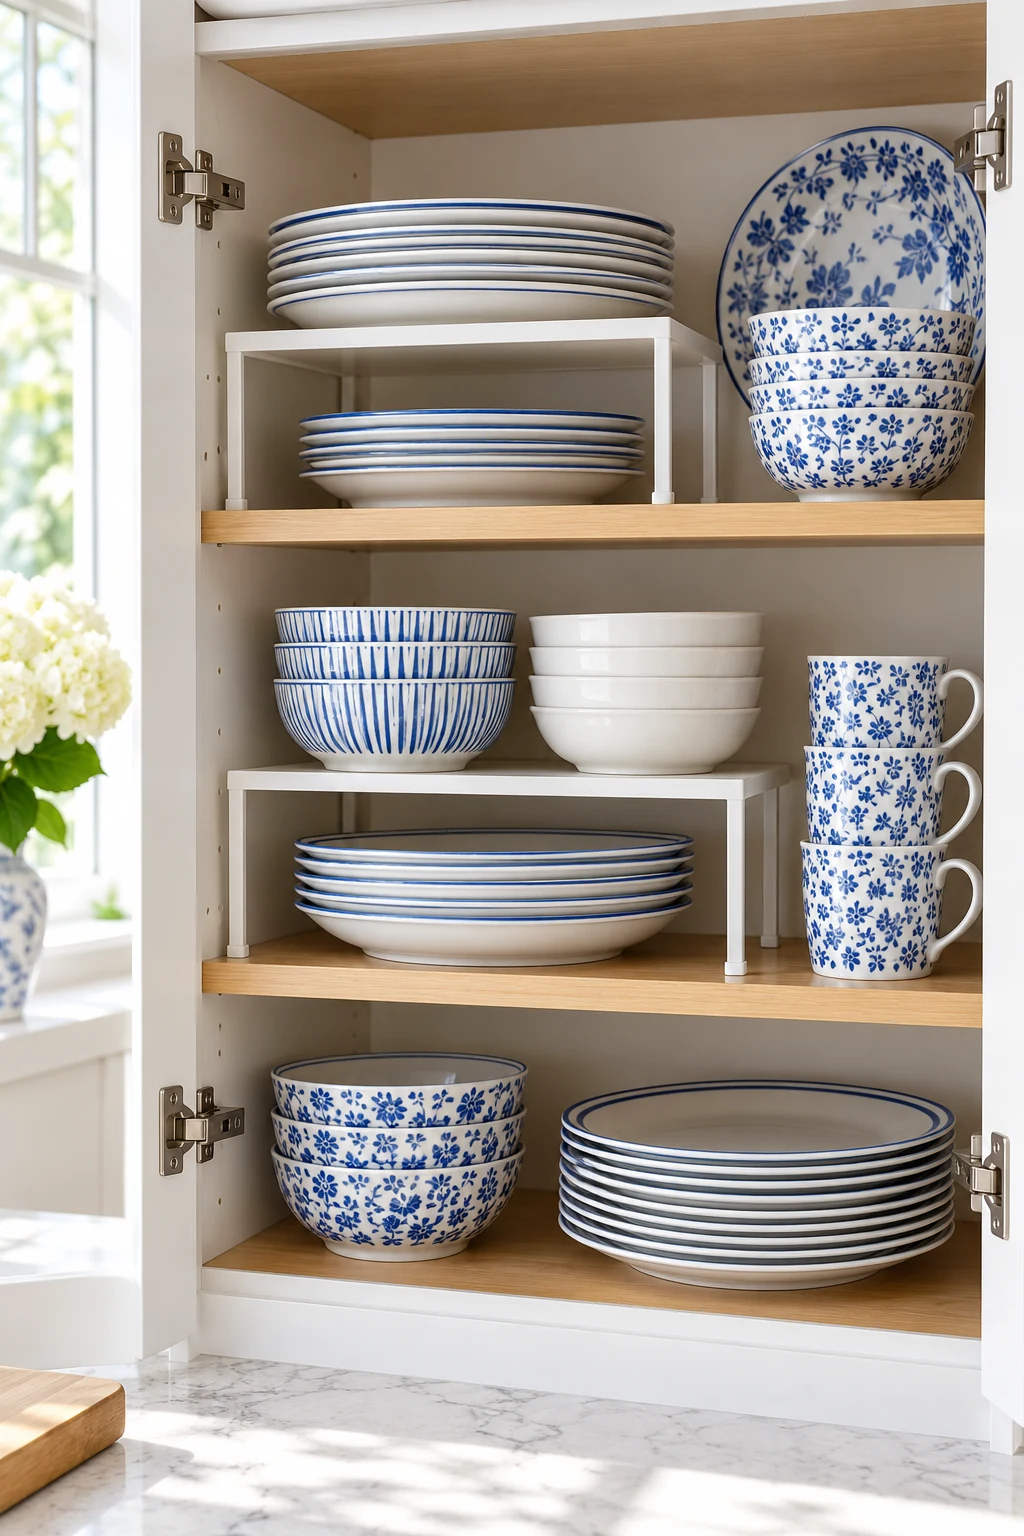
6. Move spare cutting boards into a vertical slot
Keep the board currently in use on the prep surface and give the others a dry, supported cabinet position. Filing boards upright makes their edges visible and keeps a collection from leaning across the backsplash.
YouCopia StoreMore Bakeware Rack’s Organizing Hero edition has seven adjustable dividers that can also separate suitable cutting boards. Measure each board’s height and weight along with the rack footprint. Put boards away clean and fully dry, following their care guidance. View on Amazon.
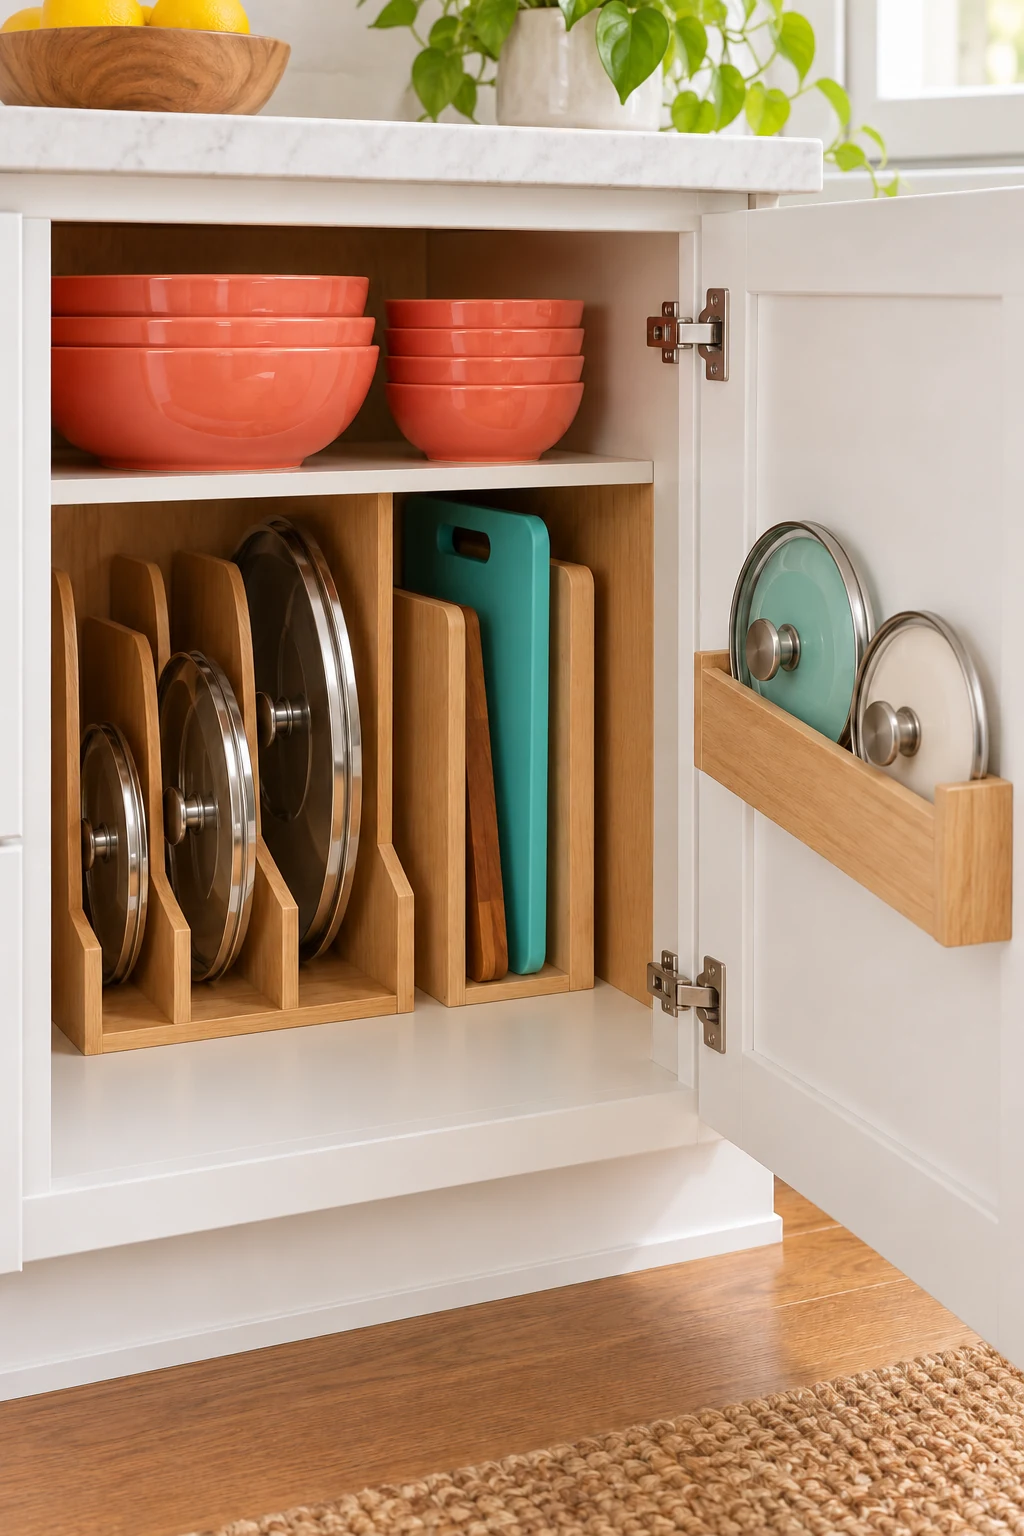
7. Recover the footprint of a bulky knife block
A dedicated knife drawer insert can move protected blades off the counter if your kitchen has a suitable secure drawer. Choose a location close to preparation work and keep the handles clearly visible.
Joseph Joseph DrawerStore Compact Knife Organizer uses two tiers and is listed for blades up to 9 inches. Check the full knife length, handle bulk, and loaded drawer clearance before making the switch. Keep sharp tools inaccessible to children and never store them loose among utensils. View on Amazon.
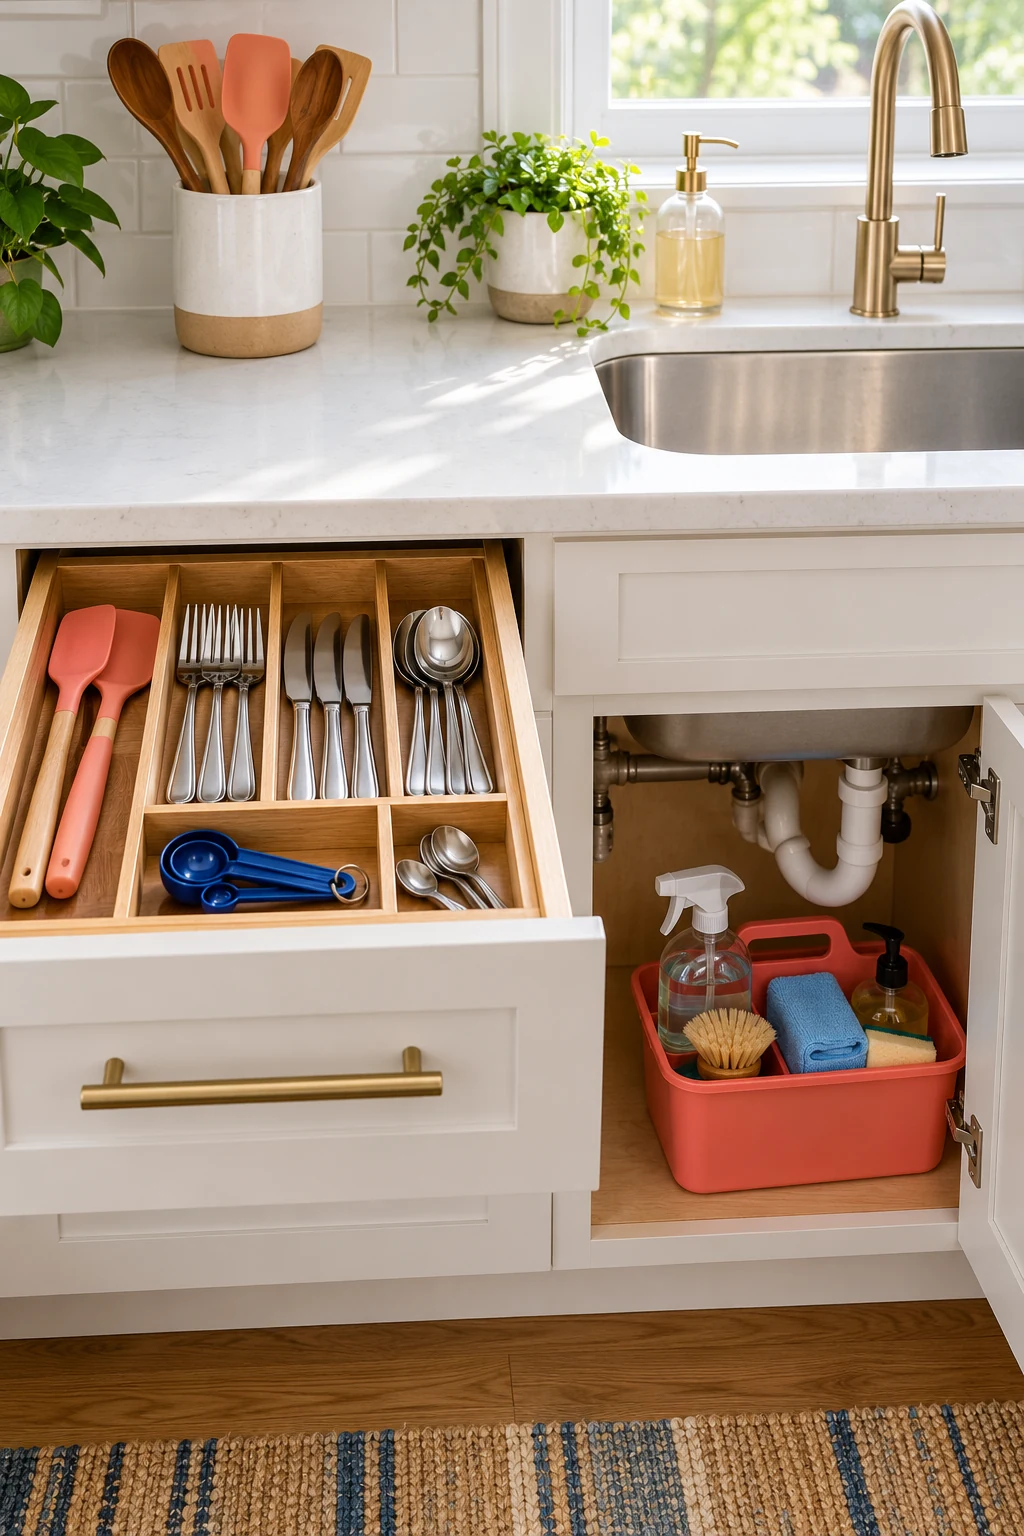
8. Limit the utensil crock to the tools you reach for
If you like a countertop crock, give it only the spoons, spatulas, or tongs used often. Let the handles sit loosely enough that removing one tool does not lift several others. Keep bulky occasional utensils elsewhere.
Place the crock where tools are easy to reach without leaning over heat. A large collection beside the stove can gather grease and take useful work space. Clean the container regularly and remove duplicates that make it hard to see what is inside.
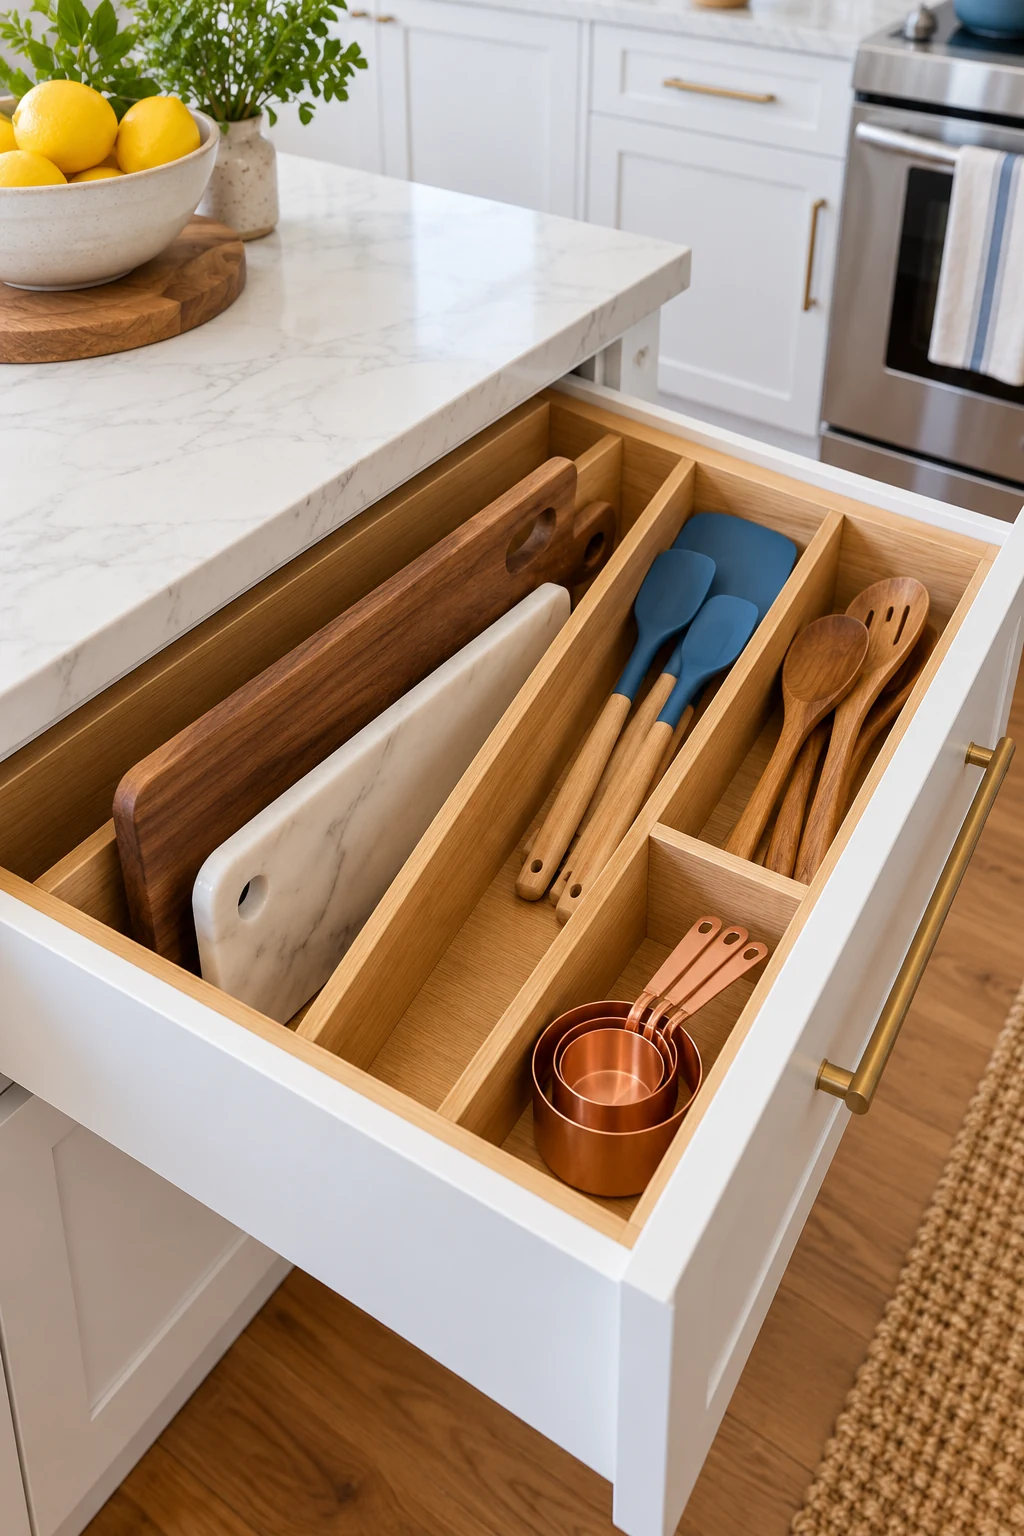
9. Make a drawer useful enough to replace a second crock
A crowded utensil drawer often sends more tools onto the counter. Sort the drawer first, then give flatware a defined section so longer cooking tools can use the remaining space. Better access below can reduce the need for storage above.
The narrow standard Joseph Joseph DrawerStore Compact Cutlery Organizer can leave a lane beside it. It needs at least 3.25 inches of usable drawer height with the utensils loaded. Check that your flatware fits comfortably before expecting the arrangement to free meaningful space. View on Amazon.
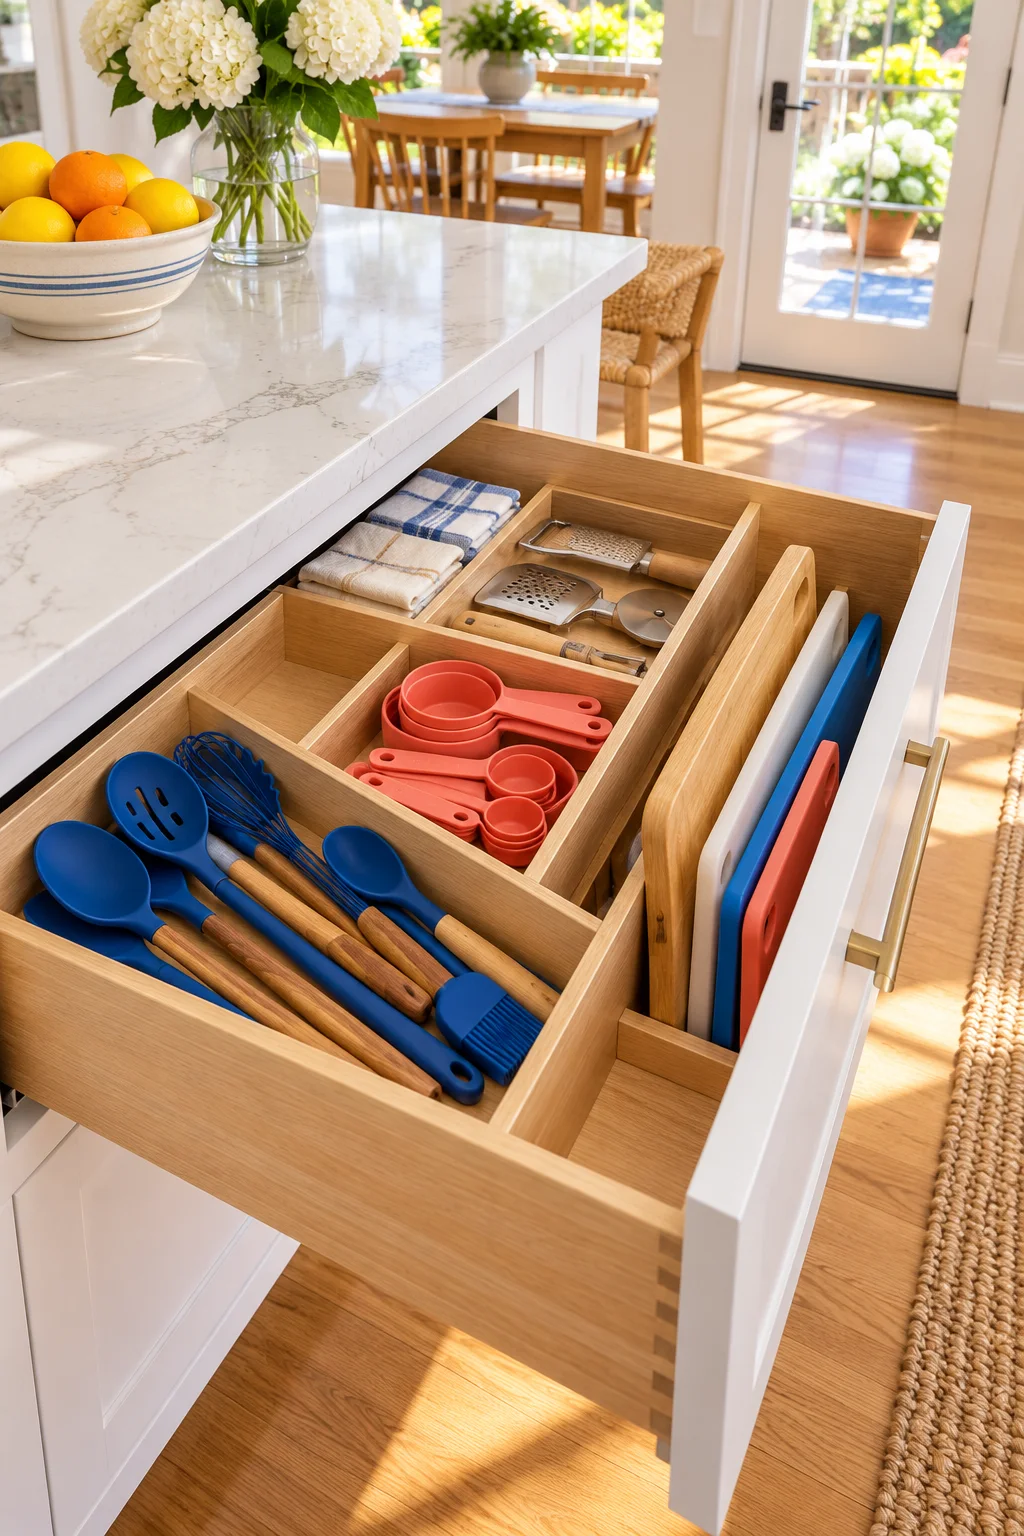
10. Keep cooking bottles in a small movable group
Group only the shelf-stable bottles you regularly use on a tray in a cool suitable location. Keep anything requiring refrigeration in the refrigerator. A contained group is easier to move for wiping than bottles spread along the whole backsplash.
A 12-inch Copco Nonskid Lazy Susan can bring short bottles forward when a corner is otherwise hard to reach. Compare its round footprint with a small rectangular tray before choosing. Keep bottles stable and follow their storage directions; convenient placement should not expose them to stove heat. View on Amazon.

11. Move the spice collection into a cool drawer
A large countertop spice rack uses valuable depth and can leave ingredients close to heat. A nearby drawer may make the labels easier to scan while returning that counter area to meal preparation.
YouCopia SpiceLiner is a cut-to-fit foam liner for jars stored lying down. Check the combined height of the jars and liner and keep the drawer cool and dry. The organizer helps arrangement; the spices’ original storage guidance still determines their location and care. View on Amazon.
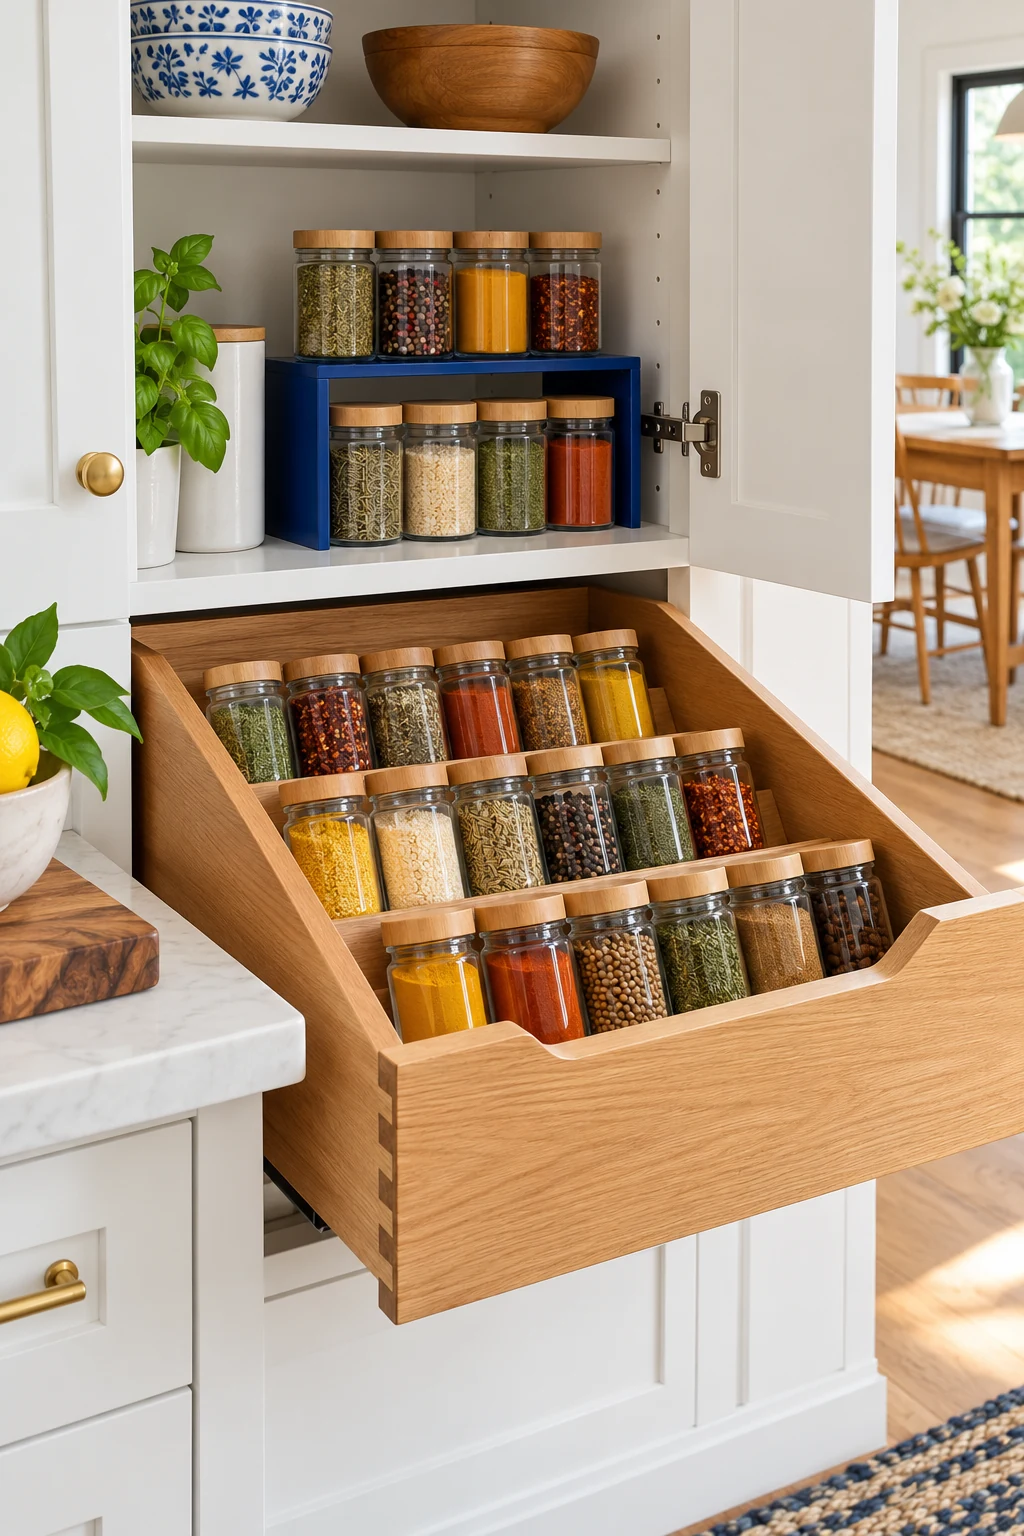
12. Create a small coffee-supply shelf
A modest freestanding shelf can separate mugs from the supplies beside a coffee maker. Keep it to one measured beverage corner so cups and packets do not gradually spread into the prep area.
Simple Houseware’s White Metal Top Counter Shelf Organizer includes two differently sized perforated steel shelves. Use a stable configuration that fits your space and the instructions. Store cups and lightweight supplies on it; do not place it where it blocks an appliance’s steam path, vents, or required clearances. View on Amazon.
13. File drink packets instead of spreading them in bowls
Tea envelopes and drink packets can quickly fill several small dishes around a beverage station. Keep a modest working selection in one organized row or stepped container, with refills elsewhere.
YouCopia ShelfBin Packet Organizer has four stepped compartments and a built-in handle. Its listed 10.7-by-6.5-inch footprint needs real counter room, so a cabinet may be the better location in a tiny kitchen. Preserve each packet’s packaging and leave enough room to remove the organizer. View on Amazon.
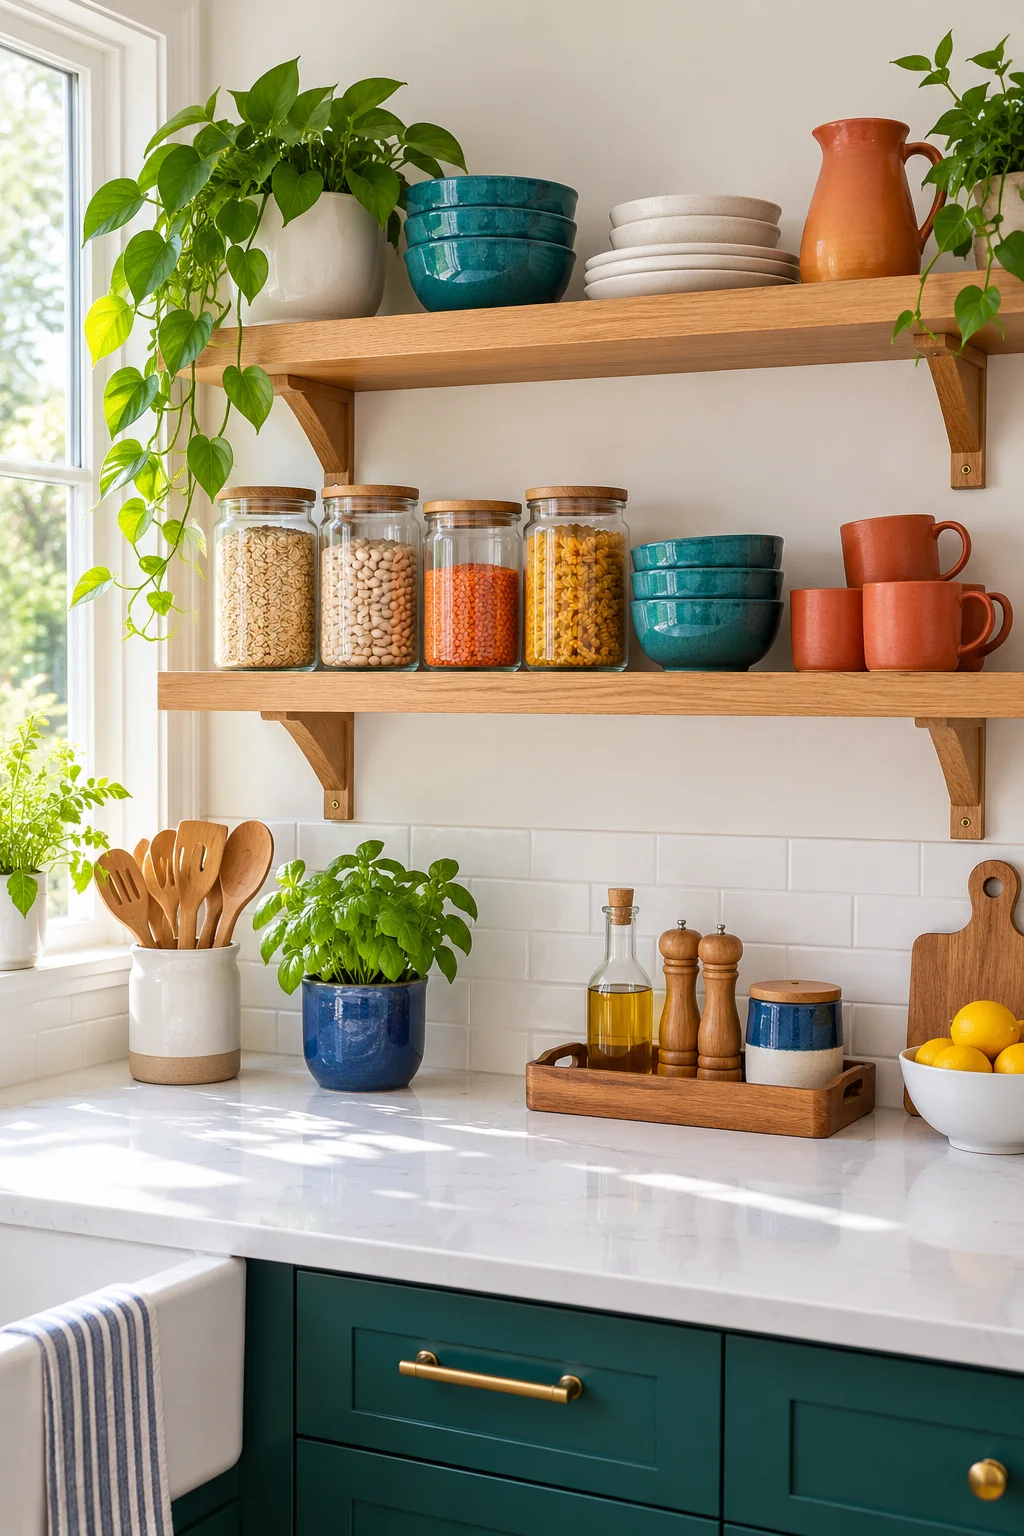
14. Choose canisters by use rather than as a complete set
Keep a counter canister only when you reach for its contents often enough to justify the footprint. A frequently used baking ingredient may belong near the mixer, while occasional ingredients can stay in the pantry.
The 4.4-quart OXO Good Grips POP Big Square Medium Container has a wide opening useful for measuring dry staples. Compare its footprint and filled weight with your available space before buying. Keep ingredient and date information, follow cleaning directions, and avoid purchasing extra canisters just to make a matching row. View on Amazon.
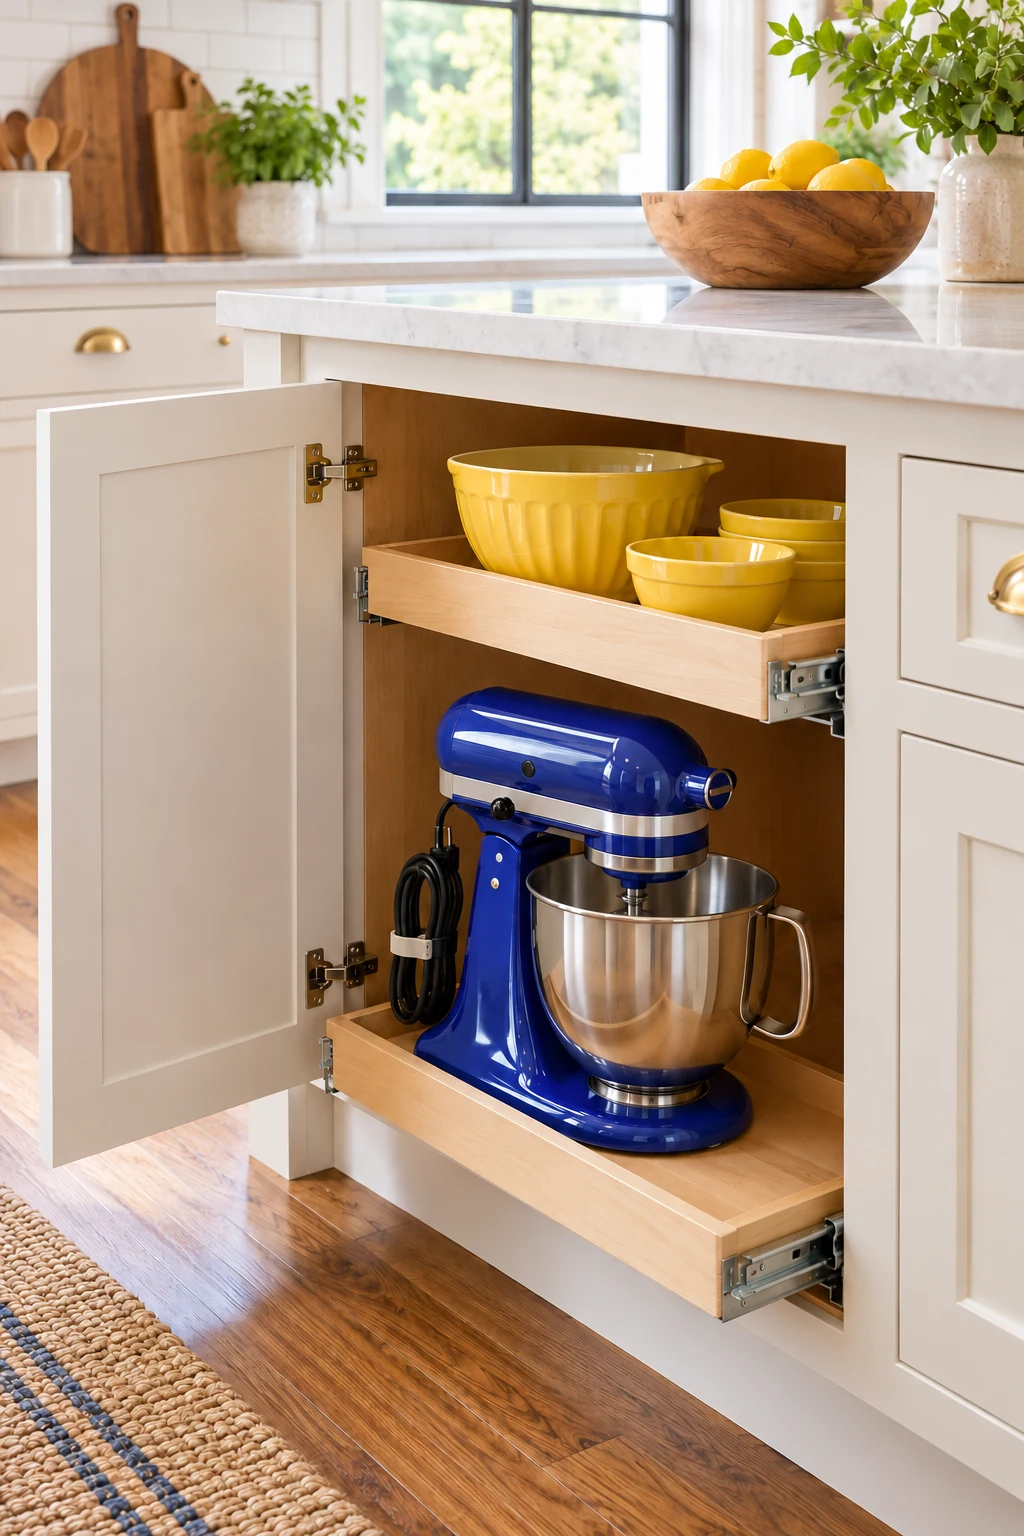
15. Keep the fruit bowl in proportion to your routine
Choose a produce container for the amount your household normally uses, then place it away from the main chopping area. Follow food-specific storage guidance when deciding what belongs in the bowl and what needs another location.
A tall tiered stand can occupy less apparent floor space while still projecting far into the work area. Check access around its base and upper basket before adding one. Review produce regularly rather than letting a generous container encourage an oversized supply.
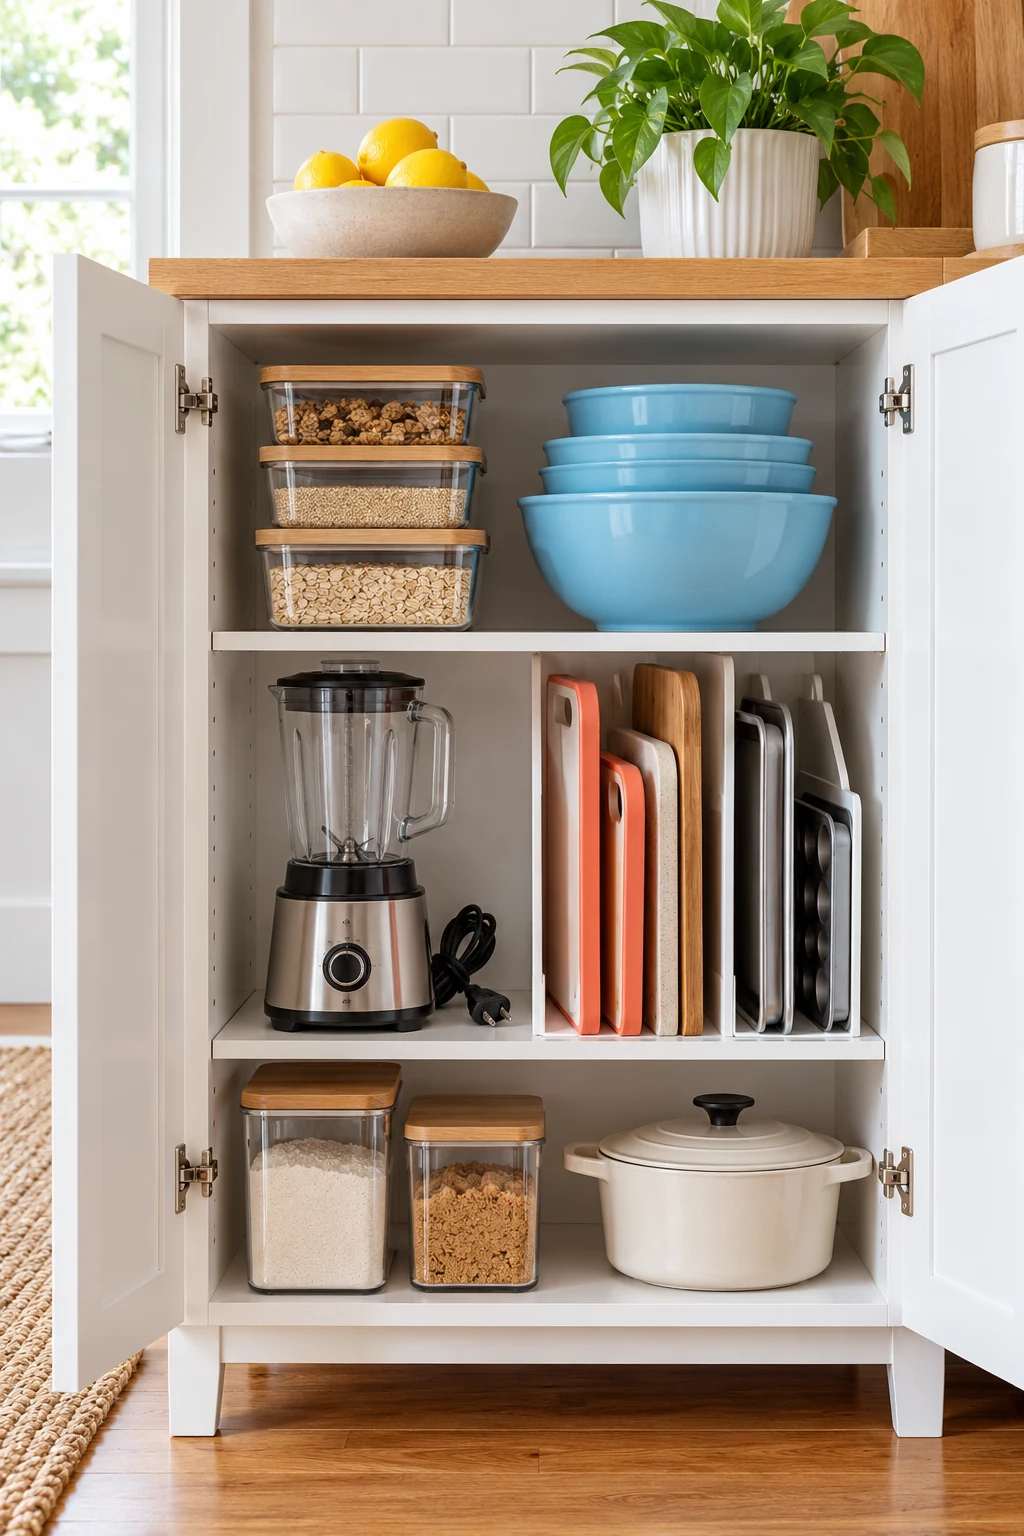
16. Give bread a shelf when counter space is scarce
Bread does not always need a countertop box. A suitable cabinet or pantry shelf can hold it according to the package’s storage directions, leaving the counter free for making sandwiches. Keep the location easy to reach at breakfast or lunch.
If you prefer a bread box, measure its opening path as well as the closed footprint. A lid that needs a large forward swing can reduce the working area. Clean the box regularly and avoid treating it as a guarantee that bread stays fresh longer.
17. Put the in-use towel on a suitable bar
A dedicated towel bar can keep a towel off the counter while letting it dry appropriately. Choose a location where the fabric hangs clear of burners, electrical equipment, and appliance openings.
Check that the towel does not block a cabinet handle or drag on the floor. Over-door bars need a compatible door and enough top clearance to close. Keep clean spare towels in a drawer rather than stacking them around the sink.
18. Mount paper towels only where refilling stays easy
A suitable wall or under-cabinet holder can free the base area used by a freestanding paper-towel stand. Test the roll size and the space required to slide a replacement roll onto the holder before mounting.
Use the correct fixings and check the cabinet or wall construction before drilling. Adhesive options need compatible surfaces and their specified installation process. Keep paper well away from heat sources and avoid a location where splashes routinely wet the roll.

19. Leave breathing room around the sink
Keep the sink edge and the counter immediately around it easy to wipe. Remove decorative pieces that must be shifted whenever water splashes or a large pan needs washing. A clear perimeter also gives wet dishes a controlled route to the drying area.
Keep electrical appliances and cords away from water according to their instructions. Do not cover every gap with an organizer simply because it fits. Empty space near the sink is useful working room, especially in a kitchen with a single small basin.
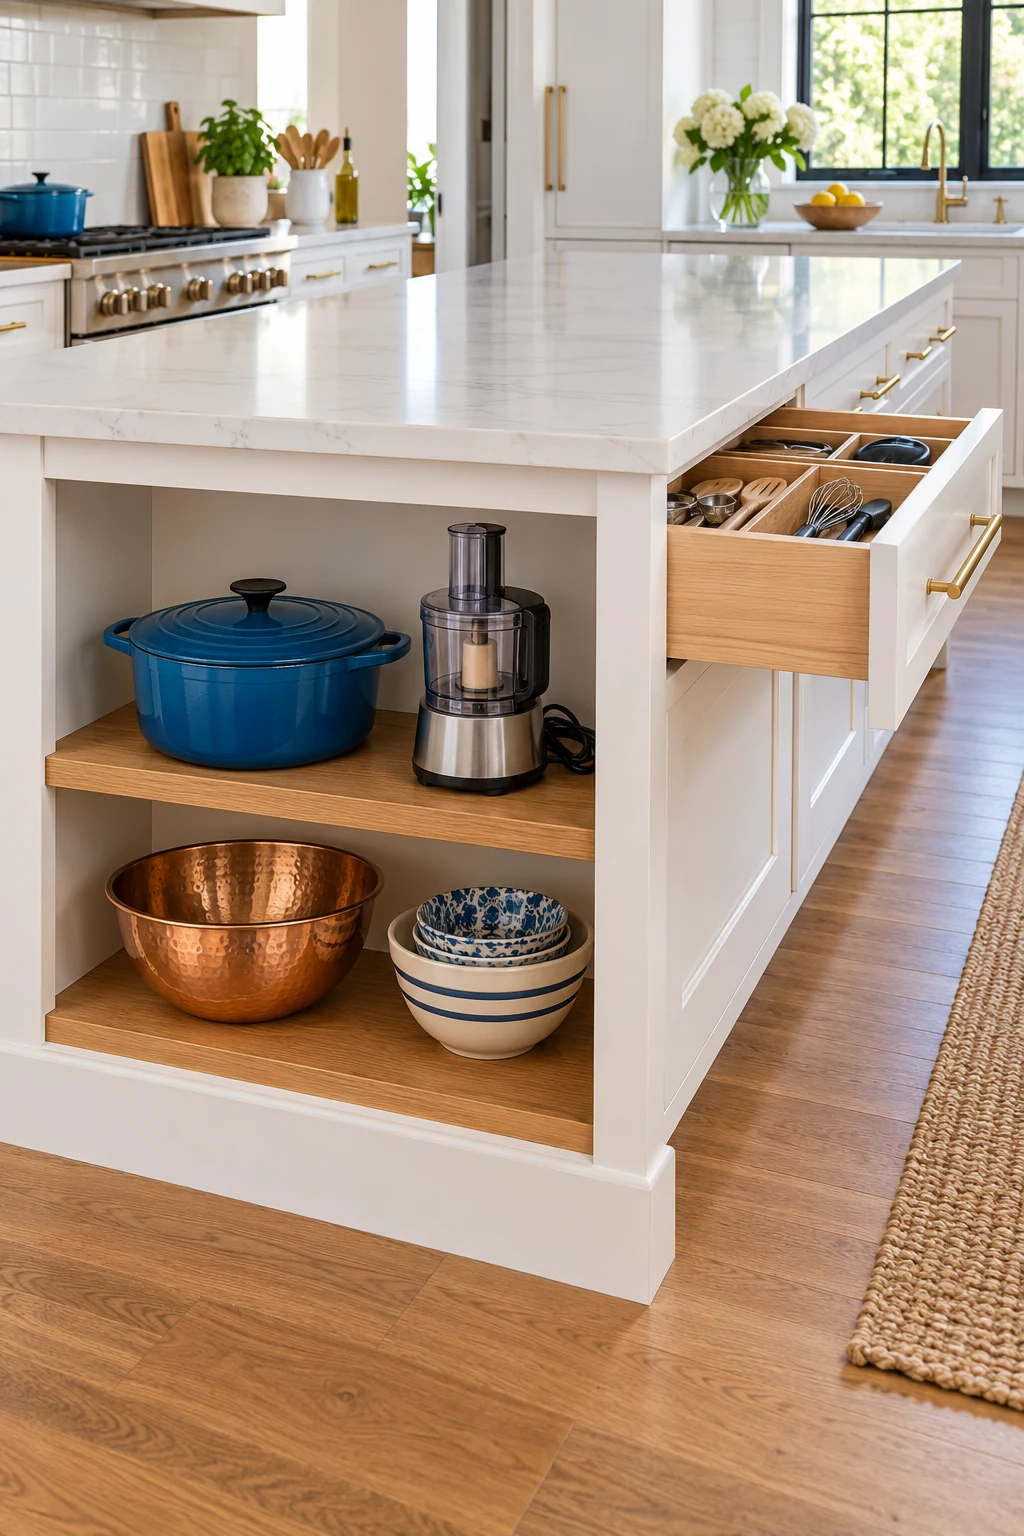
20. Move incoming paper to a separate landing place
Mail, receipts, and school notes often claim the same counter needed for chopping. Give paper a small file, tray, or drawer outside the food-prep area, preferably where it naturally enters the house.
Set a simple habit for clearing that spot so clutter does not merely change rooms. Keep sensitive documents in appropriate secure storage and remove obsolete papers. A kitchen command area can be useful, but it should have its own boundary away from cooking and splashes.
21. Keep device charging out of the working zone
Phones and chargers can bring loose cables across the counter edge. Choose a dry charging location away from food preparation, water, and heat, following the device and charger instructions. Give the unplugged accessories a separate storage home.
Do not run cords through closing cabinet doors or improvise a closed-drawer charging station. Keep cords out of walking routes and away from children who could pull them. Moving charging elsewhere often clears both the countertop and the visual tangle above it.
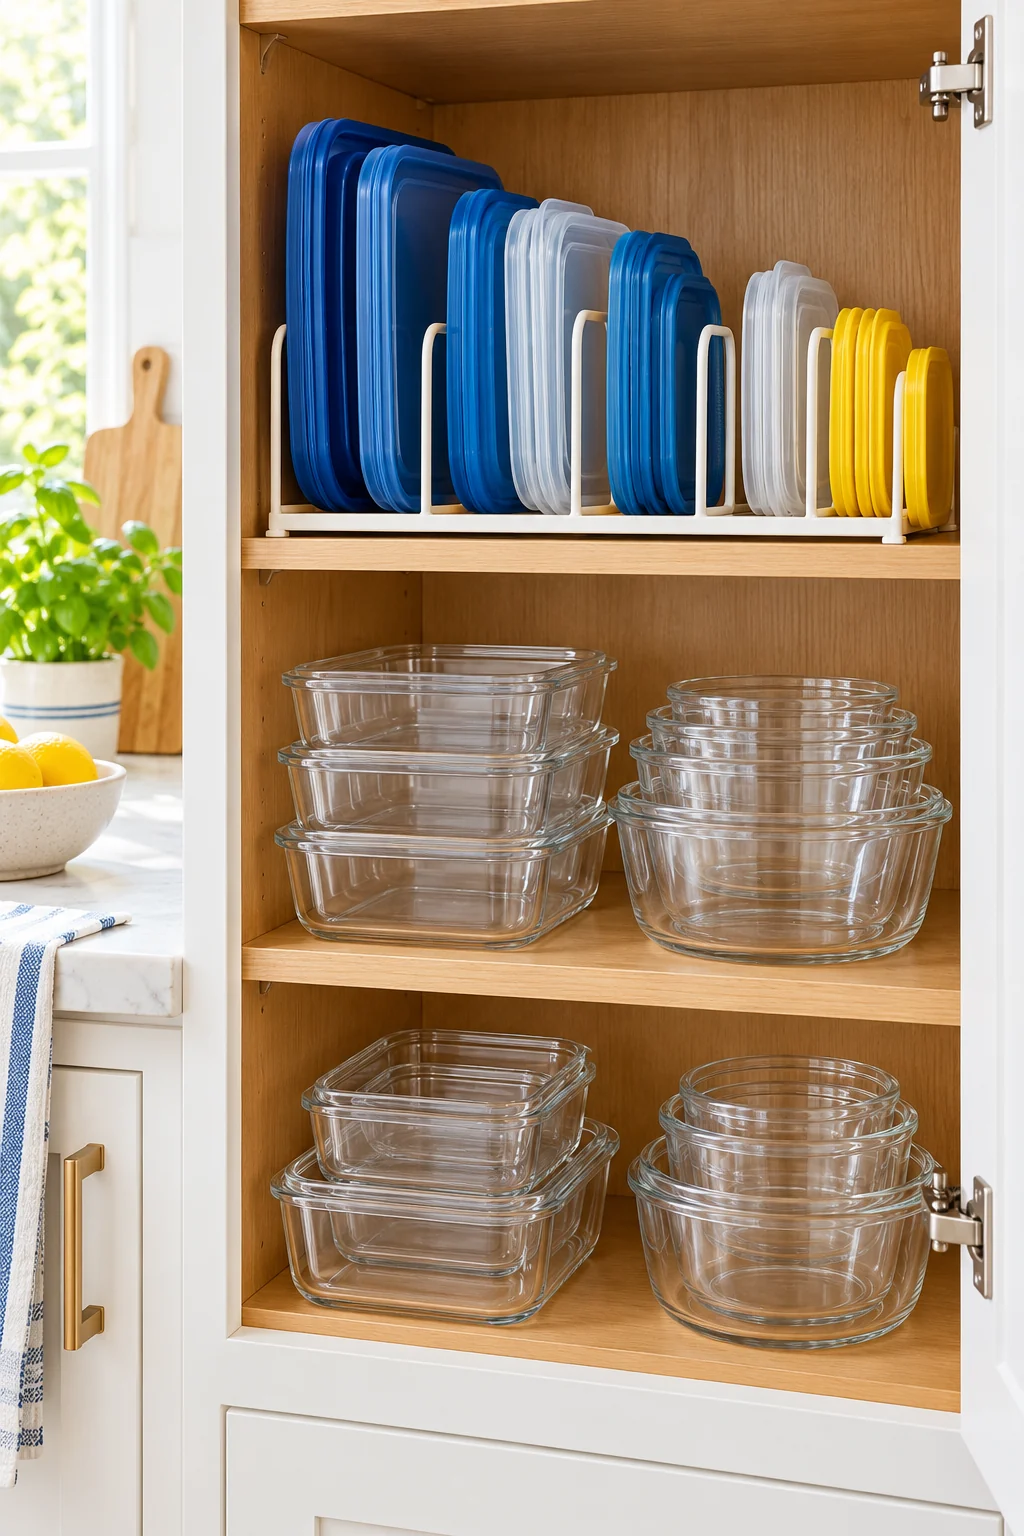
22. Use a wall shelf for light supplies when the wall allows it
A properly installed shelf can move a few frequently used cups or small supplies above a secondary counter area. Measure the reach and the headroom so the shelf remains useful without making the work surface feel cramped.
Follow the shelf’s load, anchor, and wall-type requirements, and check rental restrictions where relevant. Keep shelves and their contents outside appliance clearances and steam paths. Do not hang heavy storage above a busy prep spot merely to recover a few inches below.
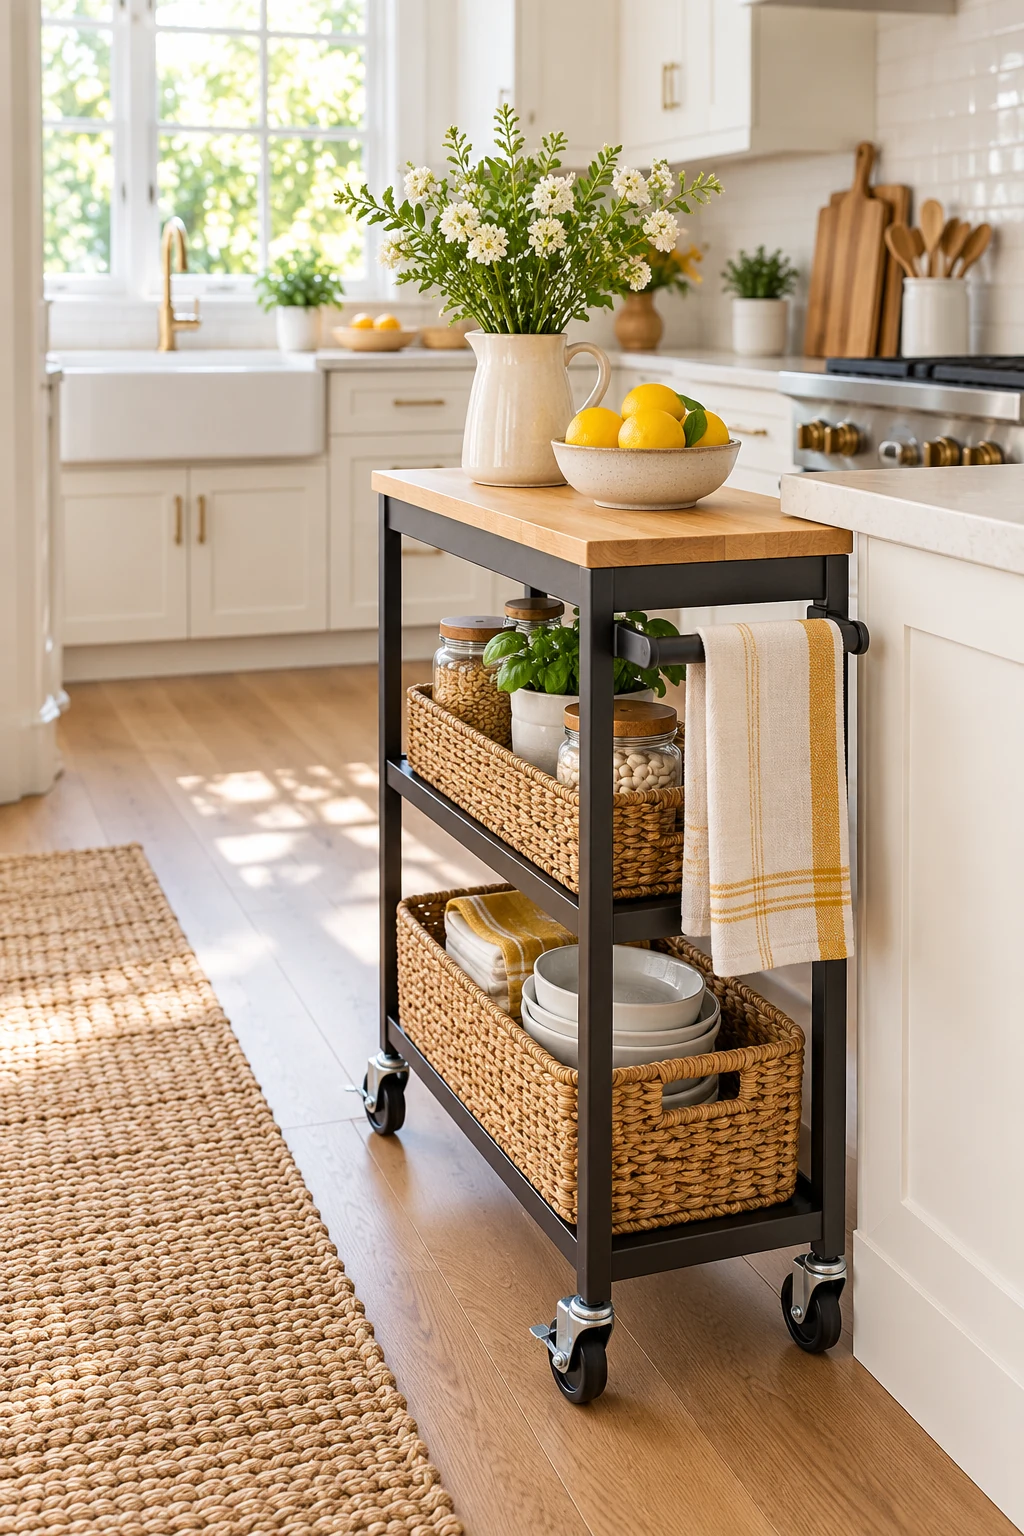
23. Give a cart its own parking area
A small cart can carry serving supplies or occasional prep tools when a kitchen has floor space but little counter storage. Pick its parking spot before buying it and measure the working aisle with the cart in place.
Follow caster, load, and stability instructions, keeping heavy items low. Do not assume the top is approved for operating hot appliances or direct food preparation. The cart should reduce counter clutter without creating a new obstacle between the sink, refrigerator, and cooking area.
24. Leave a flexible spot for serving
A small cleared area at the edge of the kitchen can become a serving station when guests visit. Store serving trays and extra utensils nearby, then bring them out only when needed.
Avoid keeping a permanent entertaining display in a kitchen that struggles with everyday prep space. When the meal is over, return the supplies to their storage homes. A counter that changes roles can be more useful than one permanently assigned to a rarely used activity.
25. Finish the day with a simple counter reset
Return loose tools, put away dry dishes, and clear the main prep area at the end of cleanup. Wipe the surfaces using care appropriate to their materials, moving small trays as needed.
Notice the objects that repeatedly have no home. Fix one of those storage problems rather than simply pushing the pile to a different corner. An easy reset is a sign the layout fits your routine and gives tomorrow’s first meal a cleaner starting point.
Clear one uninterrupted prep area and see which surrounding items actually help you work. Give the rest a useful home and make the evening reset easy. Subscribe to the Havelyo email list for more small-space decorating and organization ideas.