
Kitchen Organization
24 Kitchen Appliance Storage Ideas to Clear Your Counters
Small appliances can be worth their counter space, but a collection of occasional machines can leave little room to cook. The useful question is which ones need to stay within daily reach and which can move to supportive, accessible storage.
These 24 kitchen appliance storage ideas focus on that balance. Measure each appliance with its handles and attachments, check shelf loads, and follow the exact manual for cooling, cleaning, cord care, and storage. Storage space and operating space have different requirements. Move heat-producing appliances out of enclosures and onto approved surfaces with all required ventilation and clearances before using them.
This article contains affiliate links. If you buy through them, Havelyo may earn a commission. As an Amazon Associate I earn from qualifying purchases.
1. Sort appliances by how often you use them
List your small appliances and mark the ones used daily, weekly, seasonally, or hardly at all. Consider the whole routine, including lifting, assembling, washing, and returning each machine. An appliance used every morning may deserve a different home from a holiday waffle maker.
Keep the daily group small but realistic. Do not make breakfast harder simply to create an empty counter, and do not give unused machines the most accessible shelf. Decide what still serves your household before buying storage around the entire collection.
2. Keep a heavy daily machine at a comfortable height
A heavy stand mixer used frequently may be easiest to keep on a suitable counter. Clear nearby decorative or occasional items first so the mixer can have a defined working zone without taking over the entire surface.
Choose a stable location with the appliance’s required clearances and safe access to controls and attachments. Avoid arranging storage so you must regularly lift a heavy machine overhead or from an awkward floor-level corner. Comfortable handling is part of a useful storage plan.
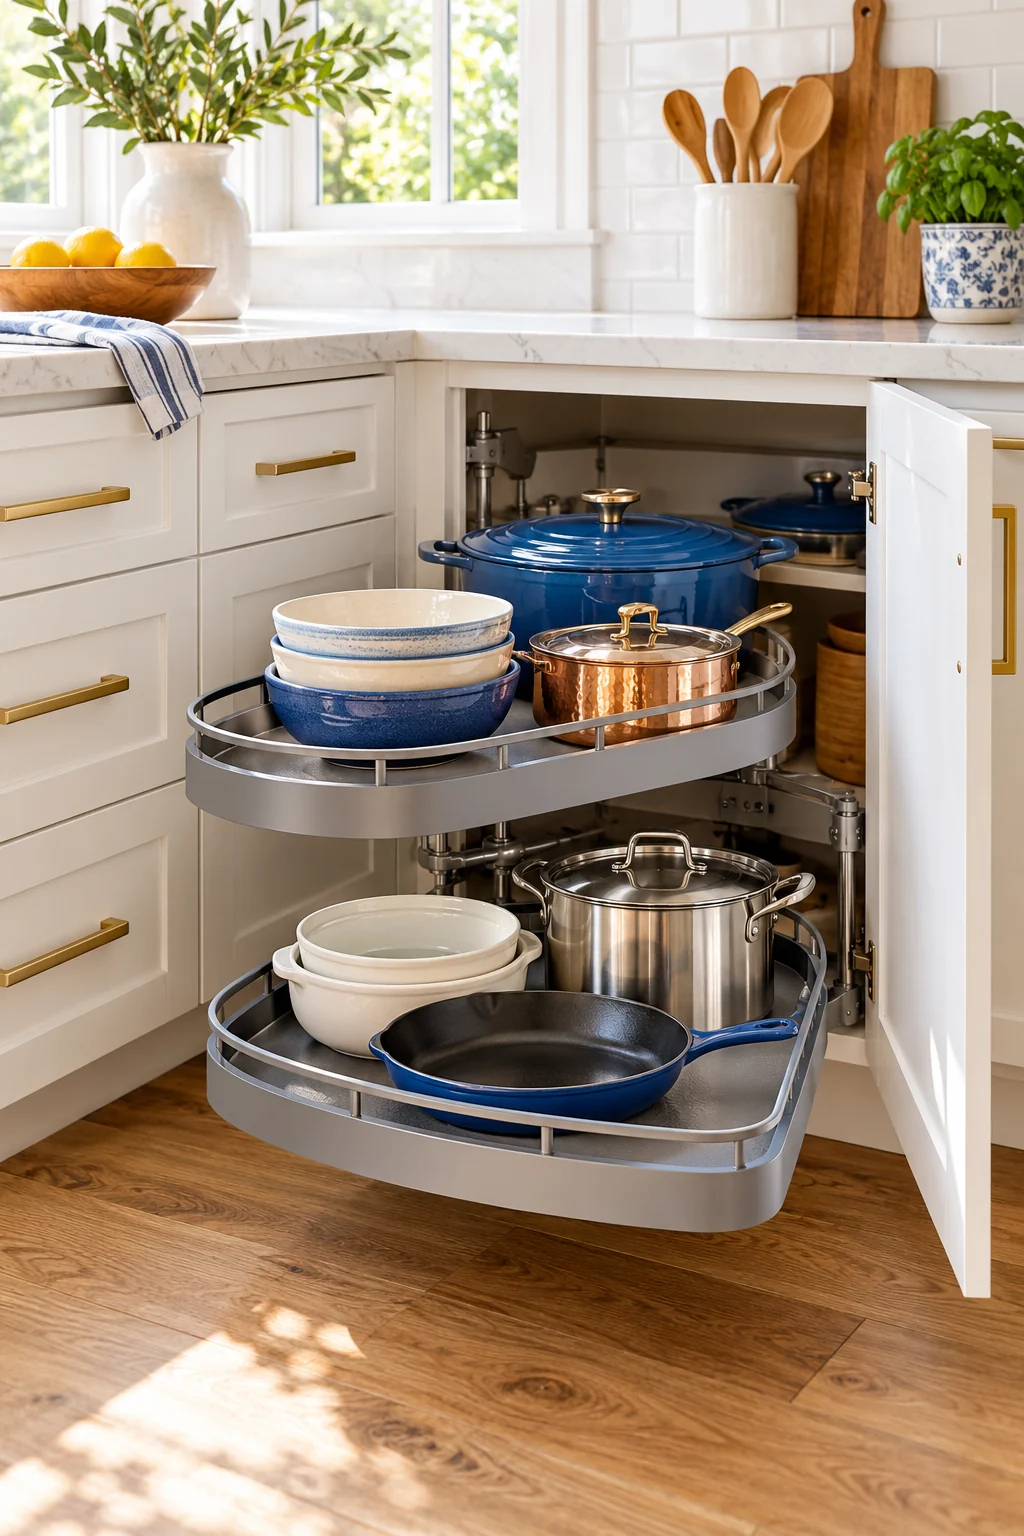
3. Give a weekly appliance an easy-to-reach lower shelf
Choose a supportive shelf close to the counter where the appliance will be used. Keep it near the front so you can lift it with control, without reaching behind bottles or cookware. Measure the shelf and cabinet opening with handles included.
Check the appliance’s weight against the shelf and cabinet rating. Low shelves work only when retrieving the appliance is manageable for the person using it. If lifting is difficult, choose a better-height location or an approved lifting solution.
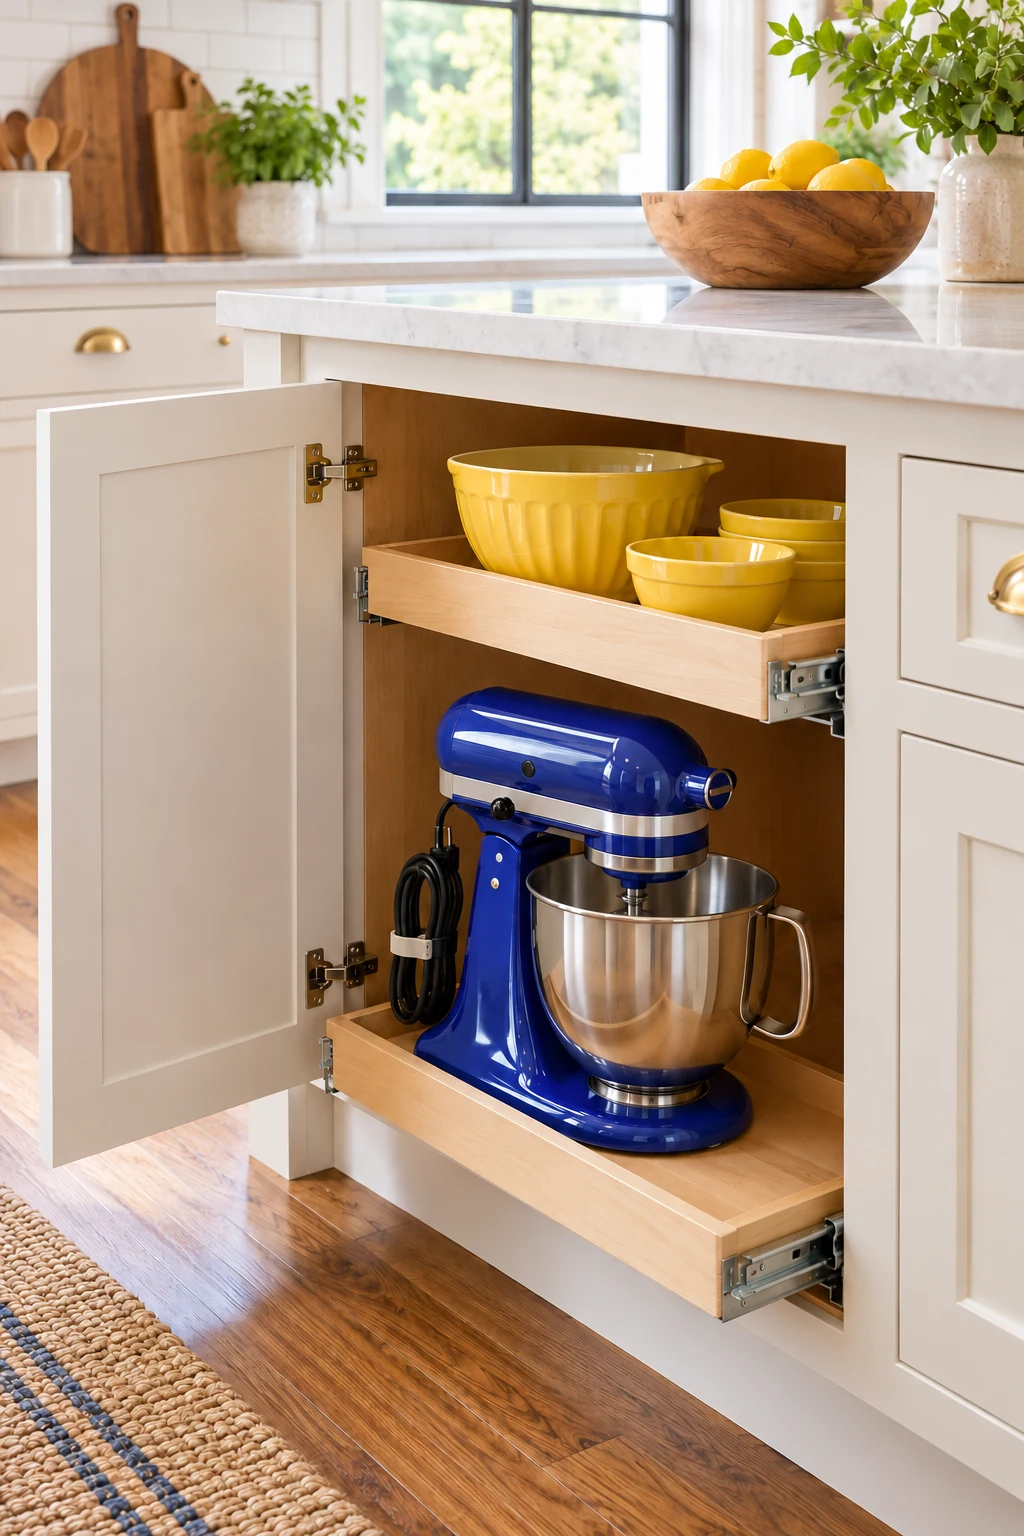
4. Consider a purpose-built lift for a compatible stand mixer
A cabinet lift can reduce repeated lifting of a heavy mixer when the kitchen has the right full-height base cabinet. This is a hardware and cabinet-support project, so inspect the cabinet construction and the complete movement path before buying.
Rev-A-Shelf RAS-ML-HDCR is a spring-loaded mechanism sold without a shelf. Have a qualified installer confirm cabinet dimensions, reinforcement, custom shelf, loaded weight, and operating clearances using the current manual. Treat it as retrieval storage unless both the lift and appliance instructions permit operation in its correctly secured raised position. View on Amazon.
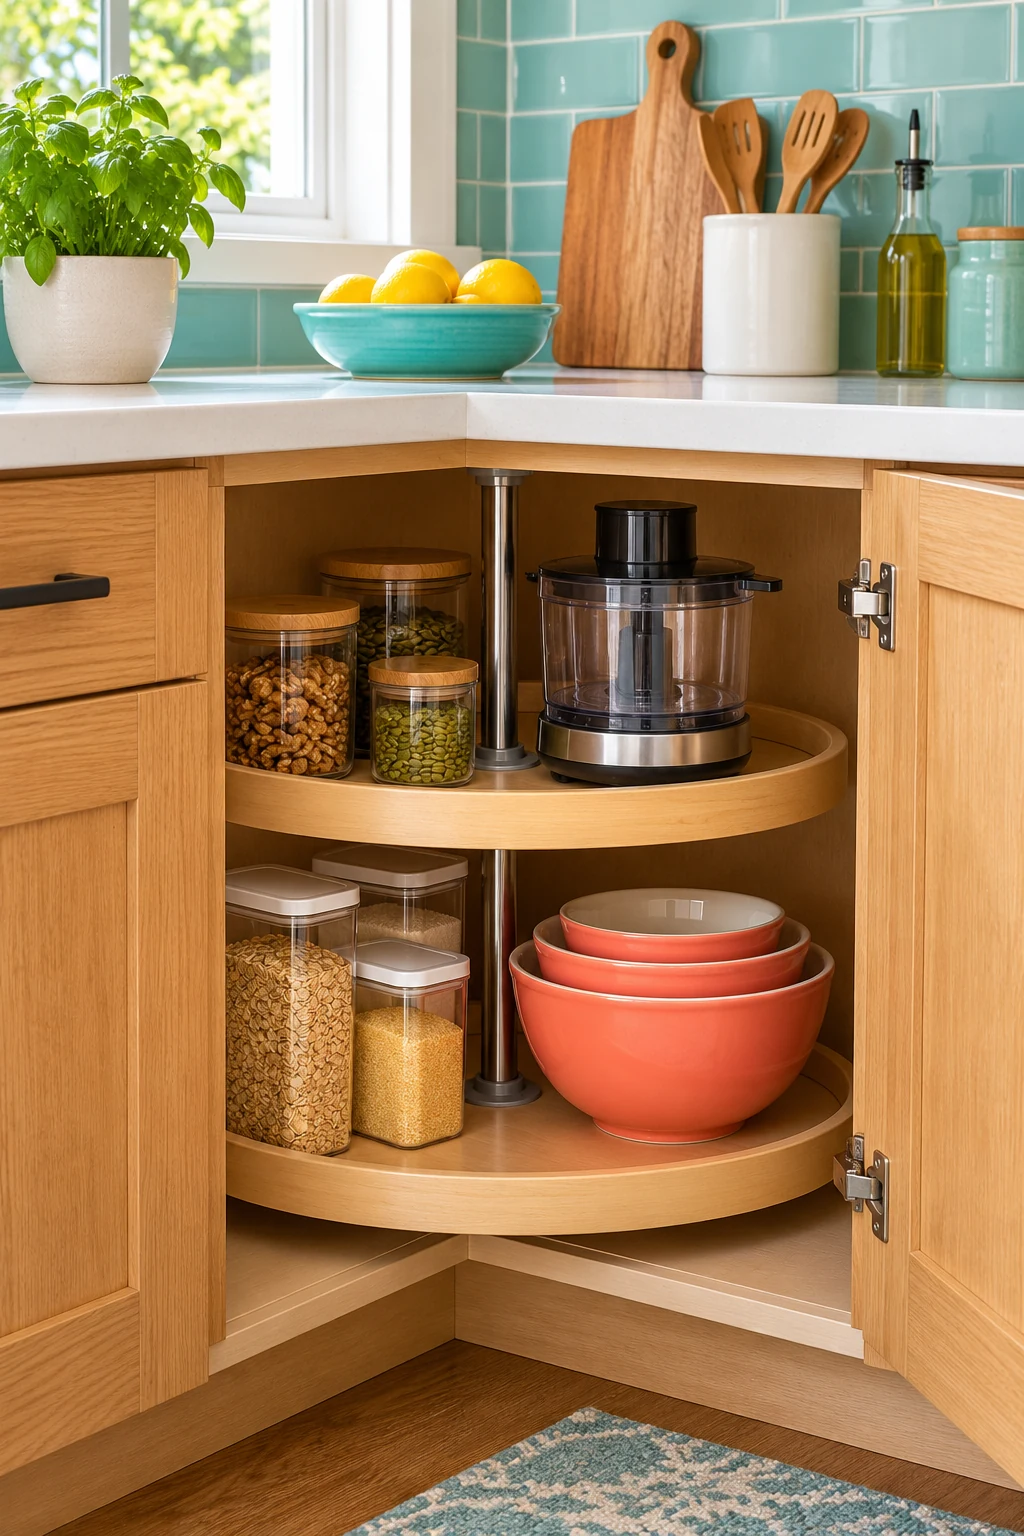
5. Use a pullout for retrieval rather than as a default work surface
A correctly specified pullout can bring an unplugged stored appliance toward the cabinet opening. Match the slide and shelf system to the total load, cabinet construction, and the appliance’s footprint. Full extension needs clear space in front of the cabinet.
Move the appliance to its approved operating surface before use unless both manufacturers explicitly allow operation on that exact system. A weight rating alone does not establish stability under mixing, heat, or vibration. Keep cords out of the slide mechanism and never operate a hot appliance inside the cabinet.
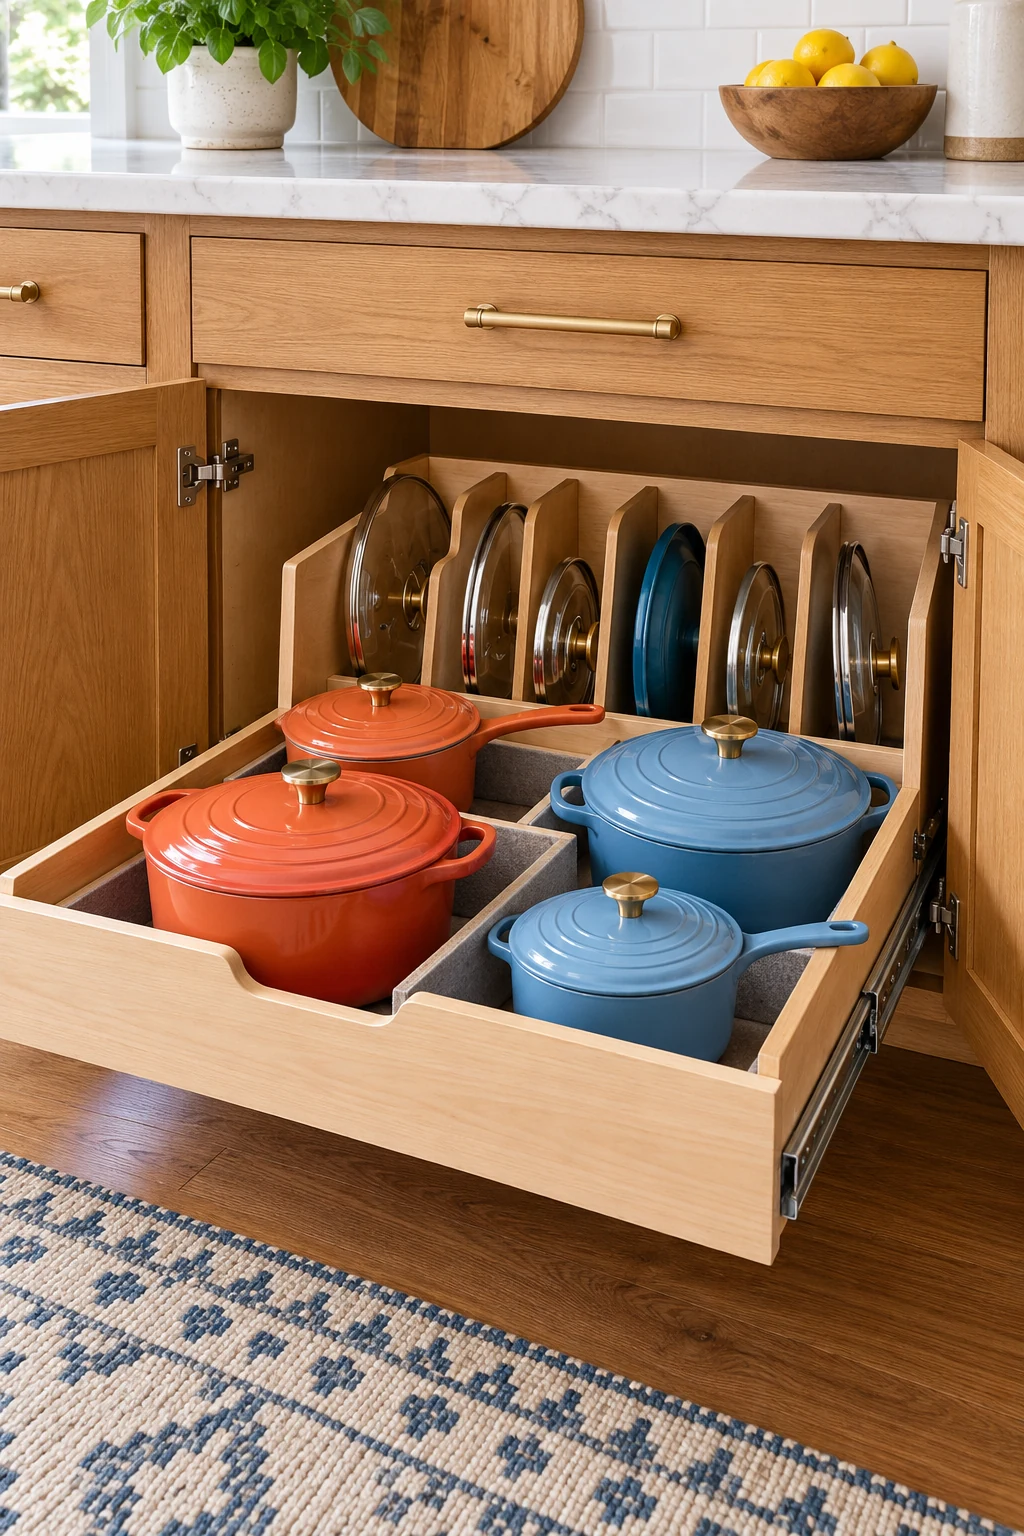
6. Separate a blender jar only when its manual allows it
Some blenders fit a shelf better when the removable jar is stored beside the motor base. Check the manufacturer’s storage guidance and choose stable positions for both parts. Keep the jar’s opening and handle easy to reach.
Clean and dry all removable parts as directed before putting them away. Keep blades protected with the supplied storage arrangement and away from casual reach. Do not leave a loose sharp blade assembly in an open accessory bin just to reduce the appliance’s height.
7. Keep one appliance’s accessories in a handled bin
A small handled bin can collect nonsharp accessories such as a mixer splash guard, measuring cup, or removable feeding tube. Label the bin with the appliance name and keep it on the same shelf or immediately nearby.
The clear iDesign Pantry Storage Bin with Handles is listed at 8 by 8 by 6 inches and needs hand washing. Check that the accessories fit without pressure on delicate parts. Leave room to lift the bin, and use manufacturer-supplied cases for sharp attachments rather than placing them loose inside. View on Amazon.
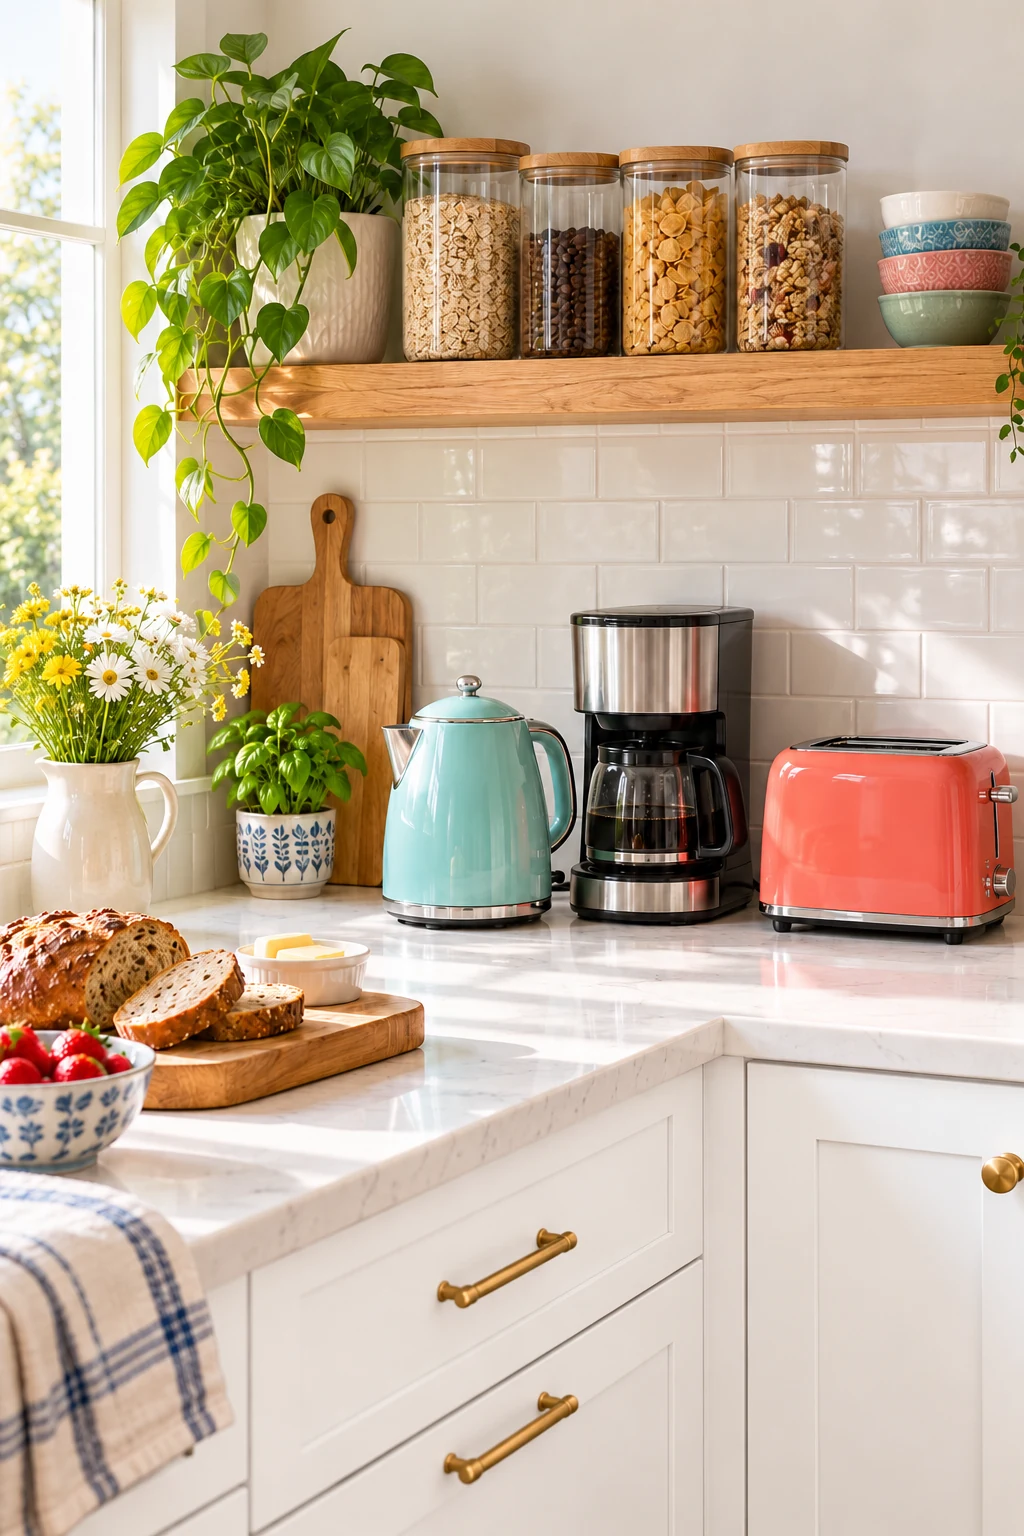
8. Store food-processor blades in their proper case
Sharp blades and slicing discs need protected storage that clearly separates them from ordinary attachments. Use the appliance’s supplied case or a manufacturer-approved holder, and put it where children and other vulnerable household members cannot access it.
Keep the case with the food processor so setup does not require searching through drawers. Follow cleaning and drying instructions before closing it. A general utensil tray may look organized but is not a substitute for protection designed around the blade edges.
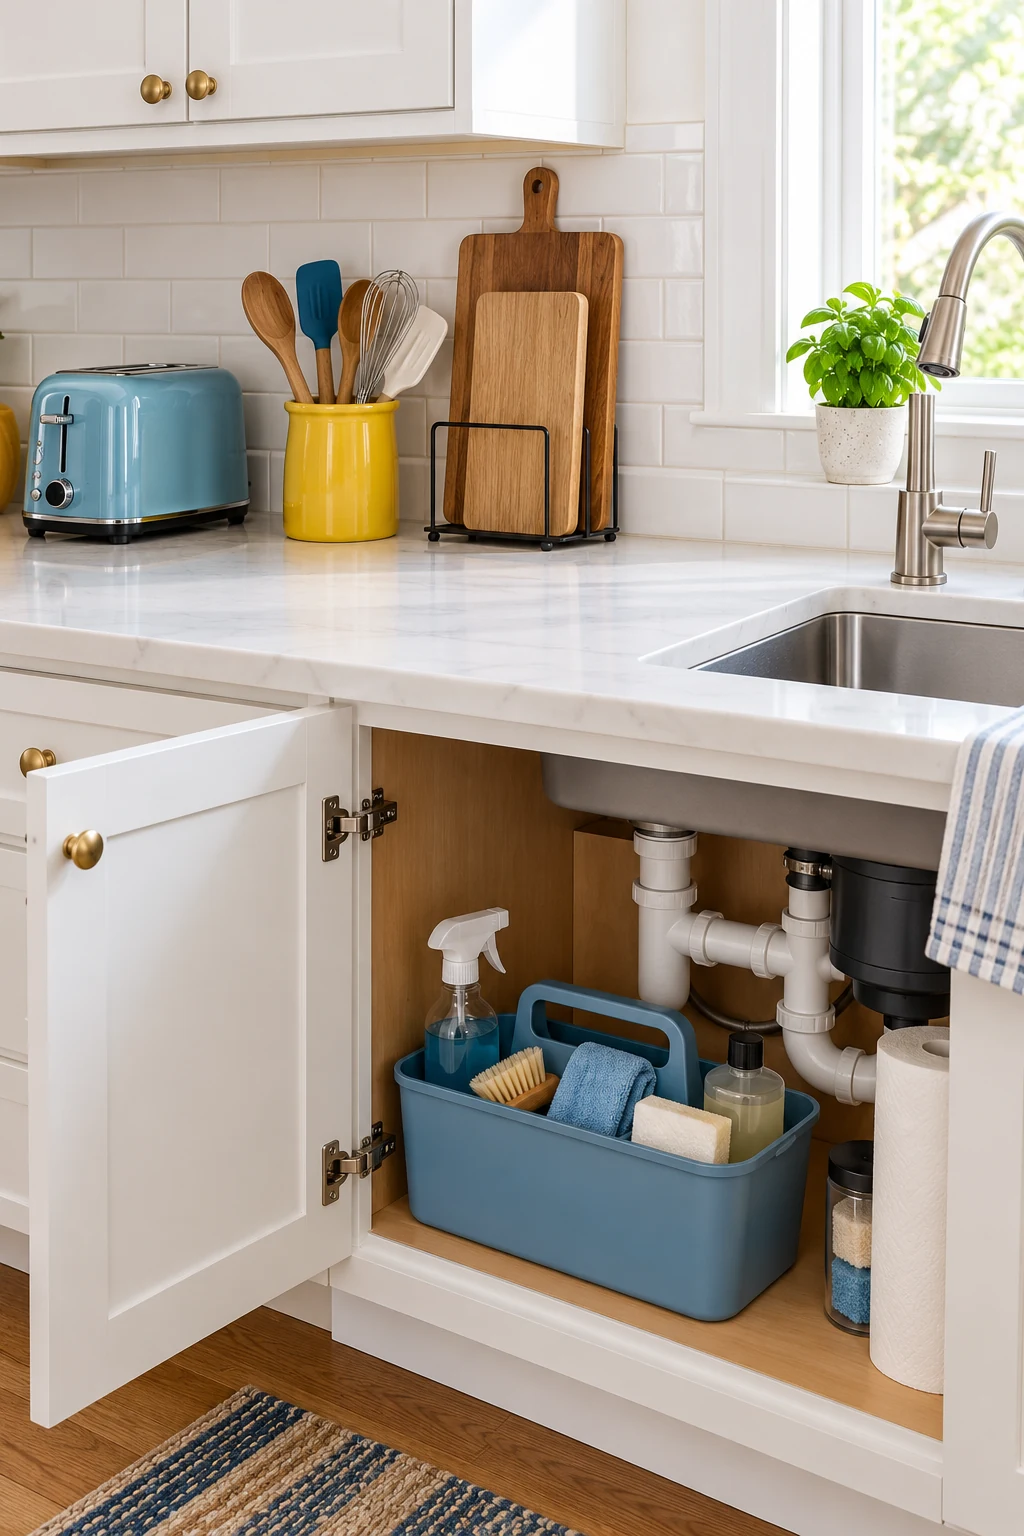
9. Use small trays for the nonsharp pieces that disappear
A shallow drawer near the appliance shelf can hold spare seals, caps, measuring spoons, or other nonsharp removable parts. Give each appliance its own section so compatible pieces do not become mixed.
Joseph Joseph Blox Modular Drawer Organizer has individual trays that clip together in different arrangements. Choose only the trays that fit your drawer and parts. Keep original identification and care information, and follow the appliance manual for how seals should be stored without distortion. View on Amazon.
10. Loosely contain cords after unplugging
A loose cord can catch on a cabinet hinge or fall behind a shelf. After unplugging and cooling the appliance, arrange the cord according to its manual, using any built-in storage channel when provided. Avoid tight bends at the plug or appliance connection.
VELCRO Brand ONE-WRAP Cable Ties are reusable self-fastening straps that can contain a loose storage coil. Remove the tie before use and do not cinch it tightly enough to deform the cable. These ties are storage accessories, not electrical protection or a repair for damaged insulation. View on Amazon.
11. File removable trays beside the appliance they serve
Toaster-oven pans, cooling racks, and removable flat cooking plates can take up surprising room when left on the counter. Store appropriate clean, dry pieces upright in a supported cabinet rack near their appliance.
YouCopia StoreMore Bakeware Rack’s Organizing Hero edition offers seven adjustable dividers. Confirm the thickness, height, and weight of the accessories before using it, and follow each appliance’s storage instructions. Do not store sharp discs in this open rack or use it as a landing place for hot trays. View on Amazon.
12. Keep a hand mixer with its matching beaters
A compact hand mixer often fits in a drawer or small shelf section with the beaters stored beside it. Use the supplied case if there is one, and keep the cord and attachments from pressing against switches.
Confirm that the drawer closes without catching the beaters or plug. Put everything away clean, dry, and unplugged. A clearly assigned section can replace a bulky box while preserving the appliance’s instructions and the accessories you need to use it.
13. Store a waffle maker upright only if approved
Some compact appliances are designed for vertical storage, while others are not. Check the exact model’s instructions for an upright position and any locking feature before changing how it sits on a shelf.
Keep the unit fully cooled and unplugged, with its weight stable on the intended support points. Do not balance it on a hinge, cord, or handle. If the manufacturer does not permit upright storage, give it the horizontal footprint it needs.
14. Give a slow cooker a supportive shelf of its own
A slow cooker can be awkward because the base, heavy insert, and lid move differently. Store the parts in the arrangement the manufacturer recommends, on a shelf you can reach without stretching or balancing the cooker at an angle.
Allow everything to cool, clean it as directed, and dry it before storage. Check that any lid will remain secure while you lift the cooker out. Run it only on an approved stable surface with the required clearances, never inside the storage cabinet.
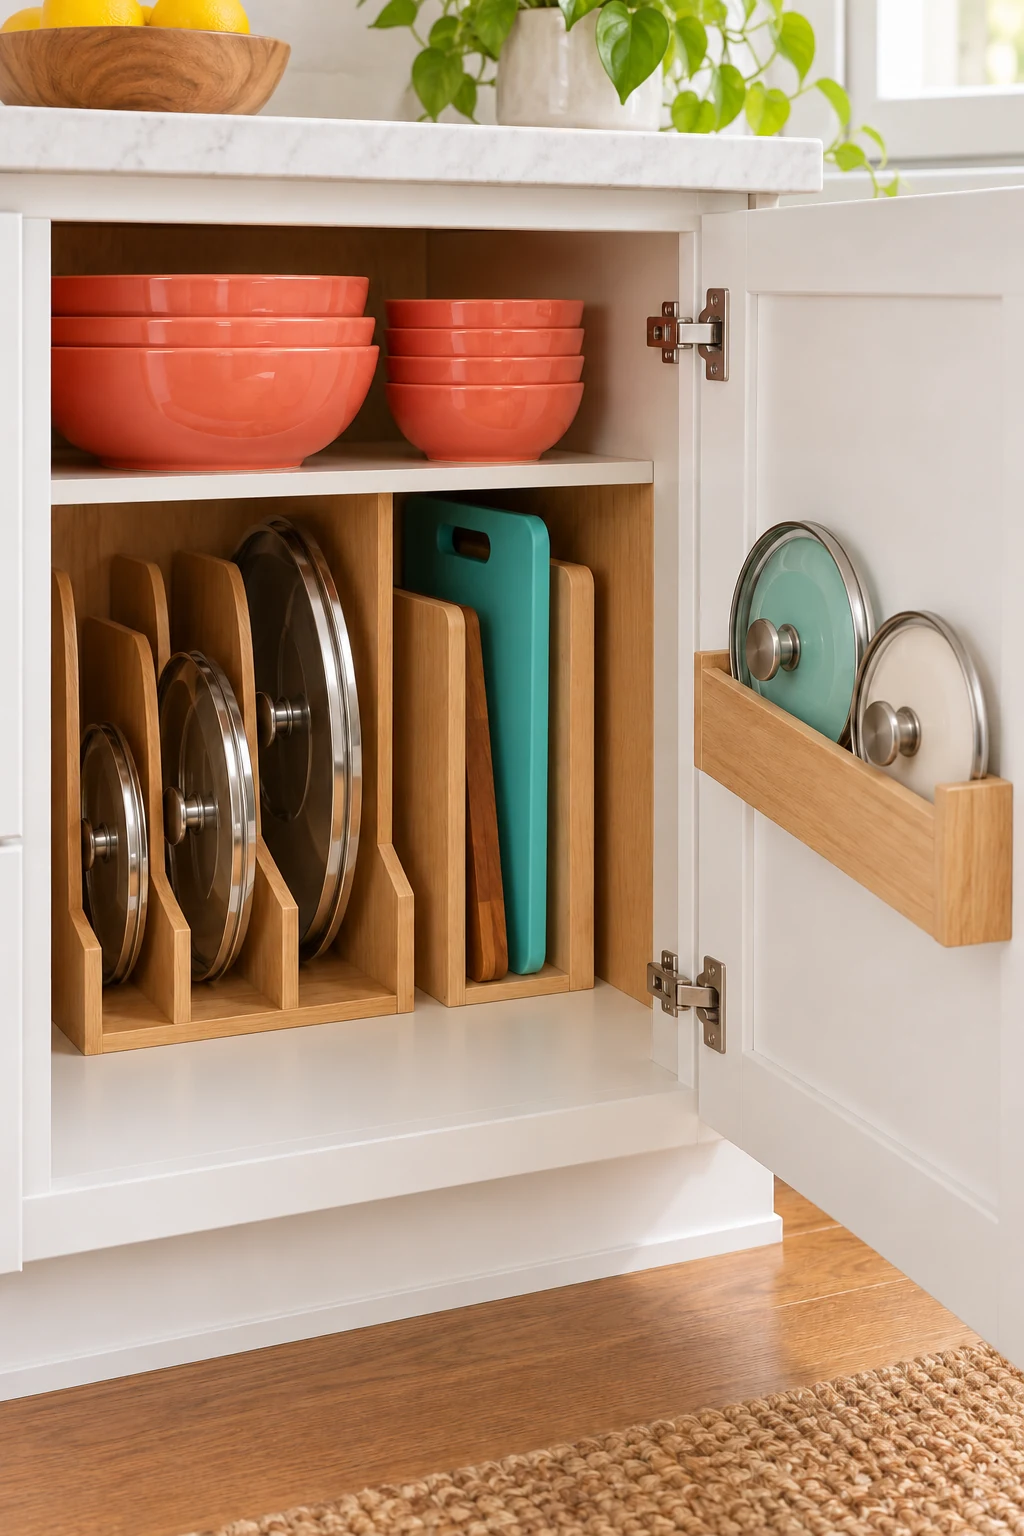
15. Plan steam-producing appliances around their operating space
An electric kettle, rice cooker, or pressure cooker may fit neatly under a cabinet while stored, yet need a different position when operating. Review where steam exits and what the manual requires above and around the appliance.
Keep the storage spot close enough for controlled movement to the approved work surface. Do not suggest that an open cabinet door alone provides adequate clearance. A storage plan should preserve safe use, including access to controls and the appliance’s required opening space.
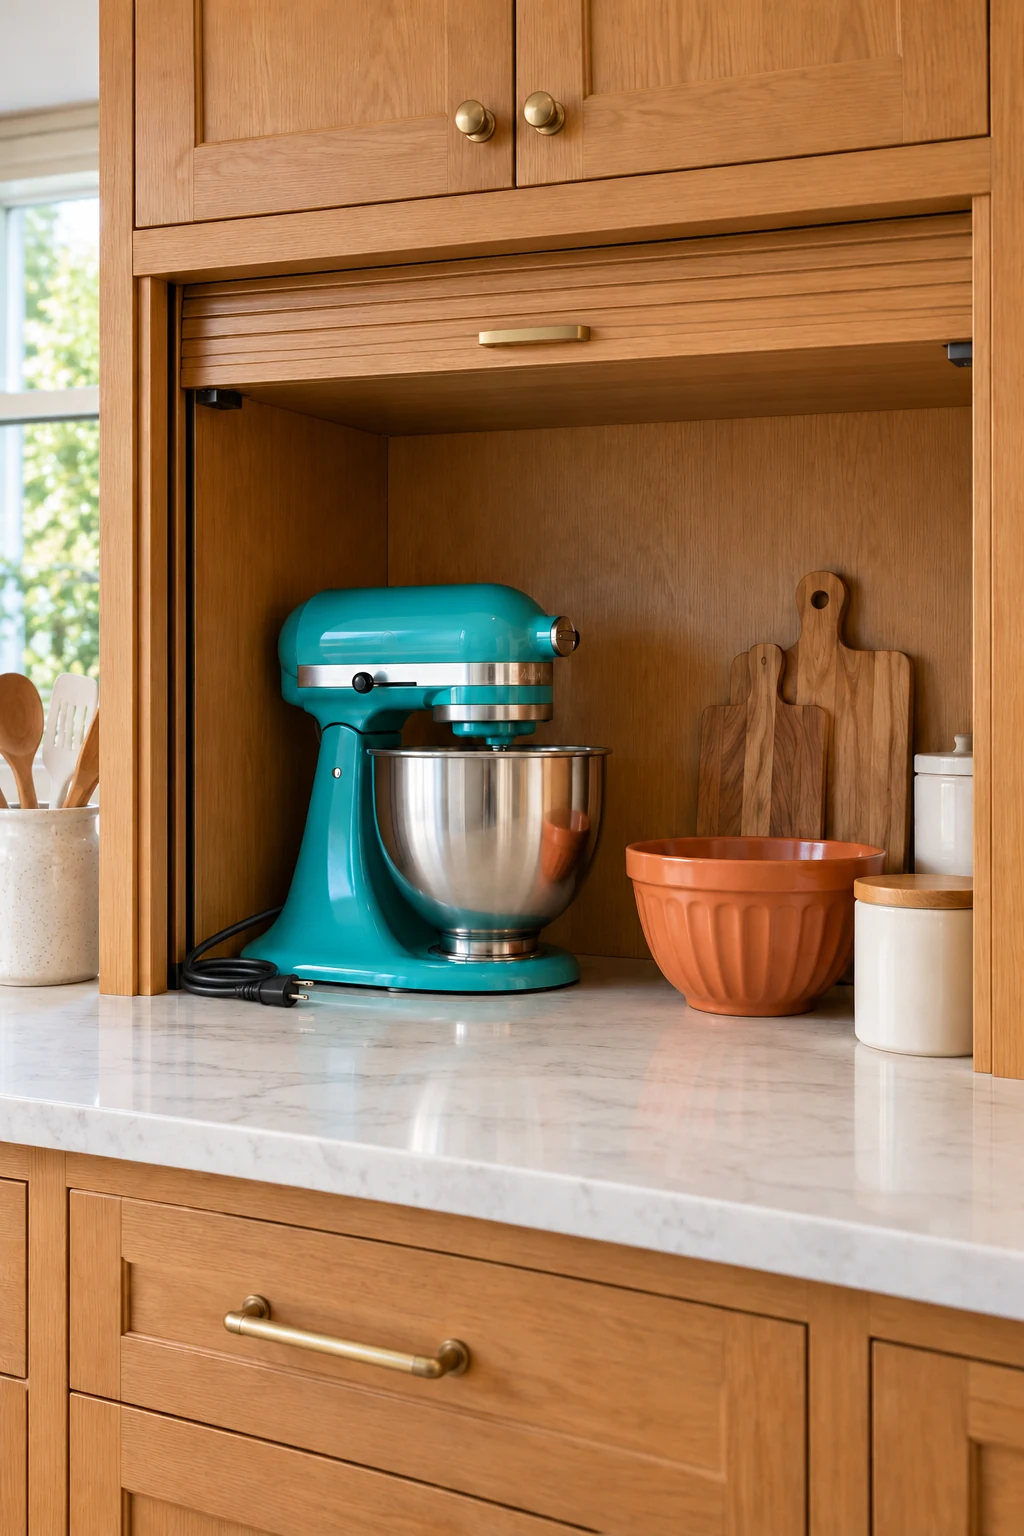
16. Make an appliance garage a storage enclosure
A roll-up or hinged appliance garage can hide an unplugged, cooled machine between uses. Measure the opening and the door’s movement, and make sure the appliance can be removed without catching its controls, handle, or cord.
For heat-producing appliances, move them completely to a manufacturer-approved operating surface and location before use. Do not run them enclosed or assume ventilation holes make the garage suitable. Any electrical work or dedicated built-in appliance installation belongs with qualified professionals and the relevant instructions.
17. Add open shelving when a suitable cabinet is missing
A freestanding rack can provide appliance storage in a kitchen with limited built-in cabinetry. Measure the floor space, walking clearance, and each appliance’s shelf footprint, including feet and handles. Keep heavier equipment on the lower appropriate shelves.
Amazon Basics’ Wood/Chrome Baker’s Rack has adjustable wire shelves and a removable wood top. Confirm the current manual’s assembly, stability, anchoring, and per-shelf load requirements before storing appliances. Use it here as storage; its appearance as a kitchen rack does not establish approval for operating hot or vibrating machines. View on Amazon.
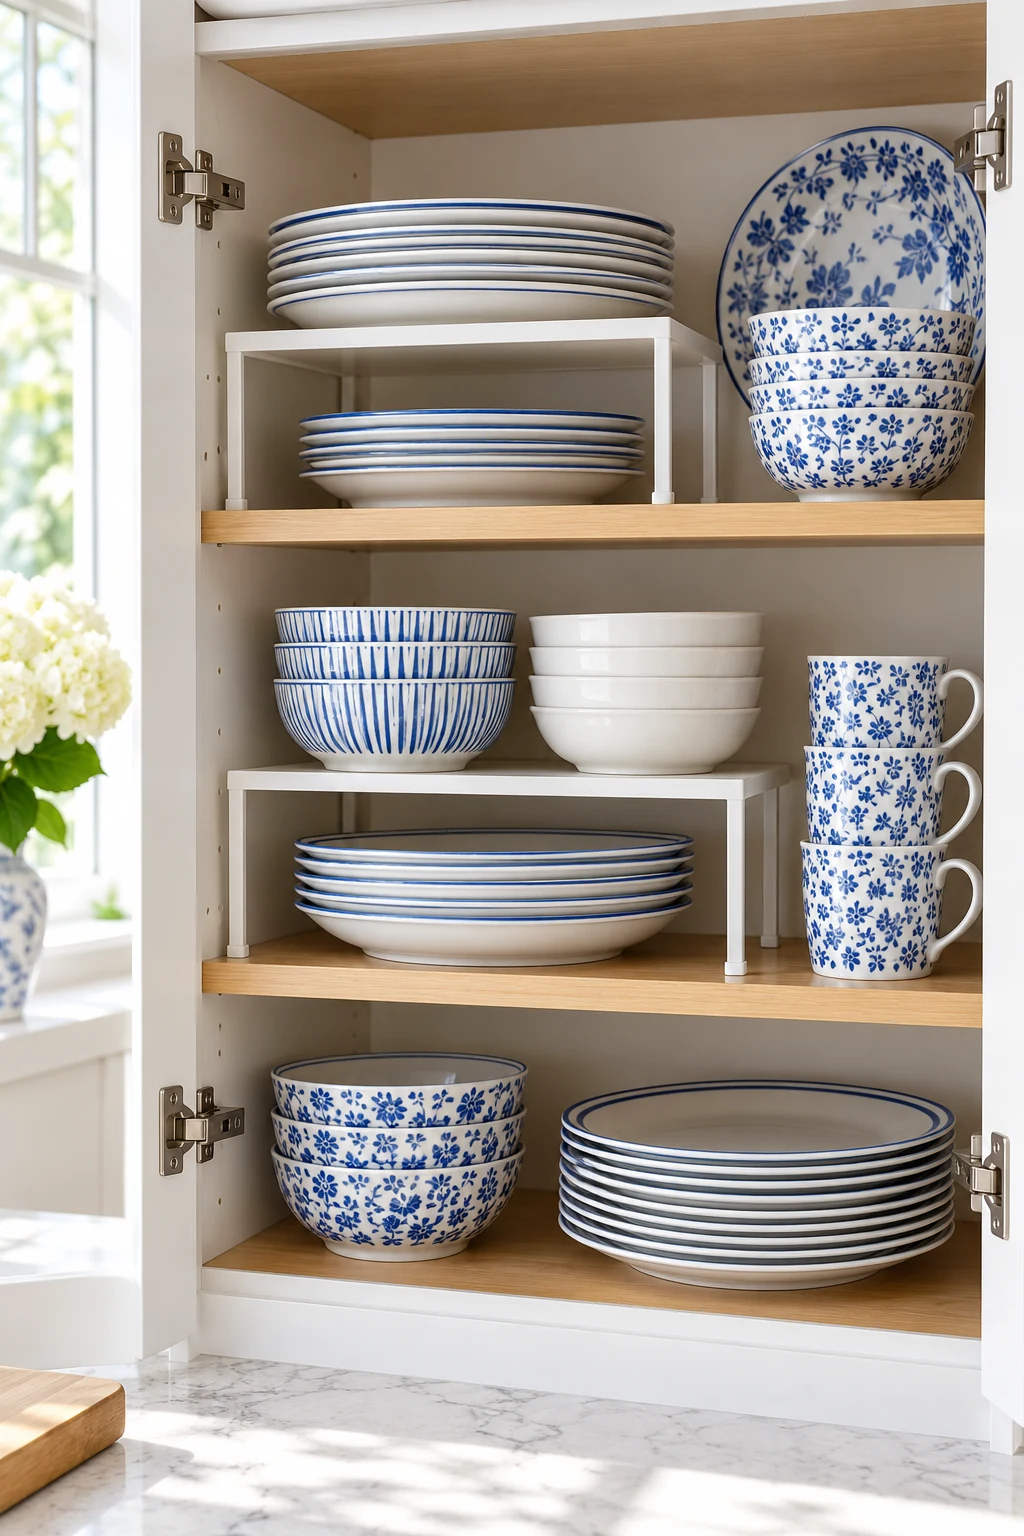
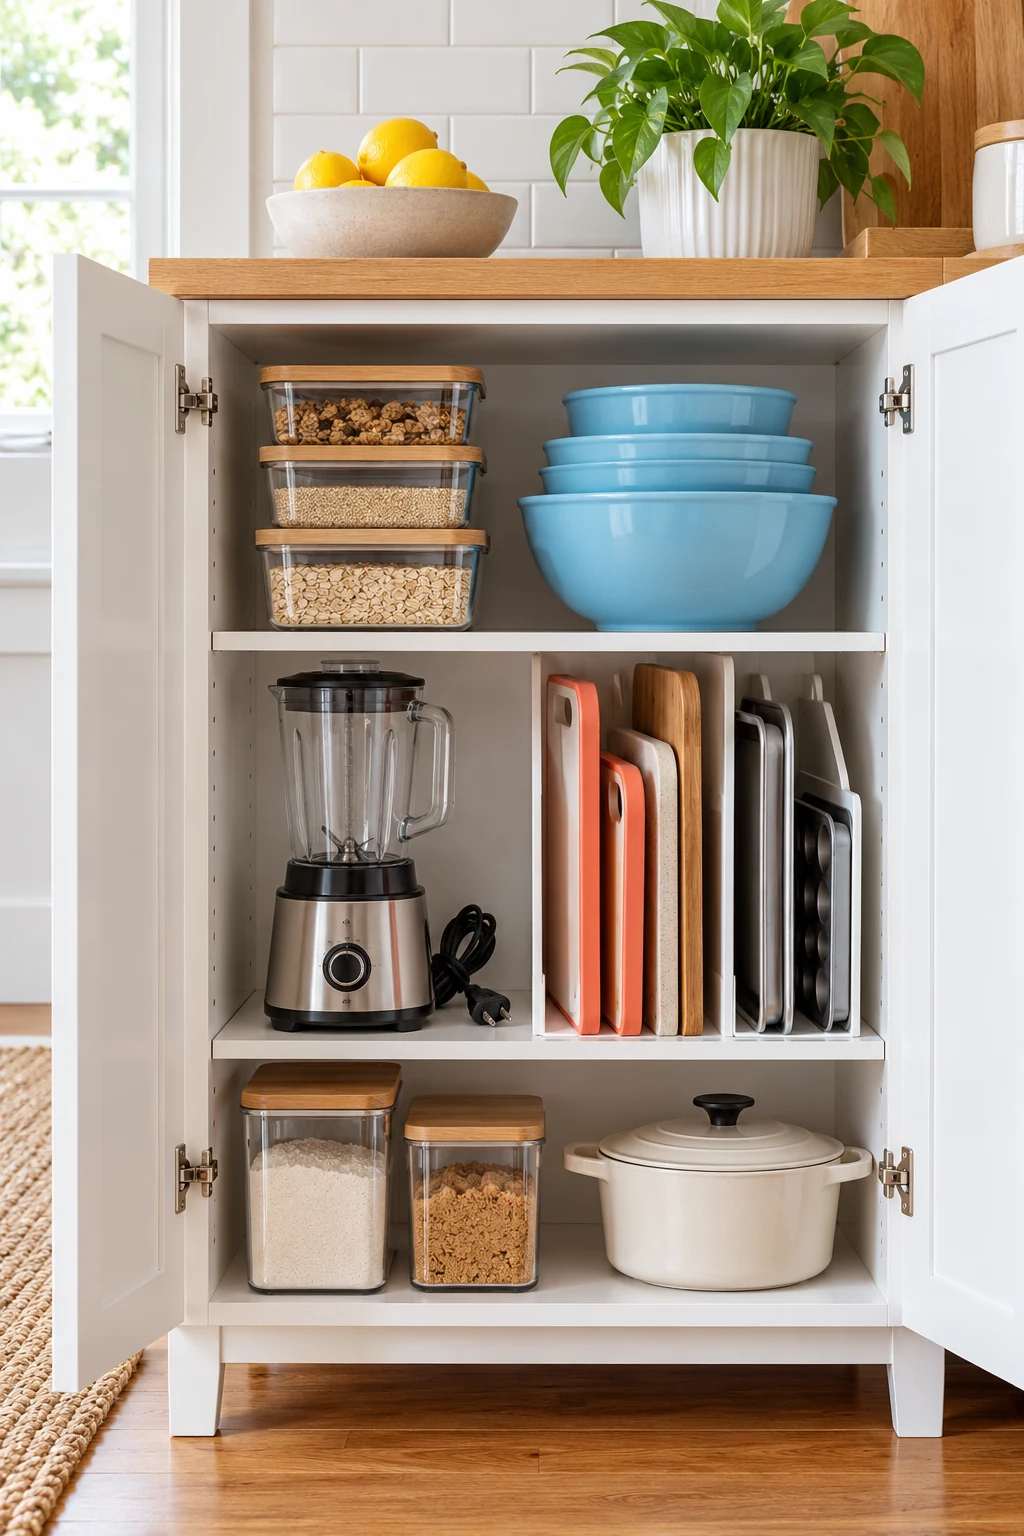
18. Use an enclosed overflow cabinet for occasional equipment
A dedicated cabinet outside the main prep run can hold clean occasional appliances if its interior dimensions and shelves support them. Keep a clear route between the cabinet and the kitchen so retrieval stays manageable.
The Sauder HomePlus Soft White cabinet, model 422427, has adjustable shelves and swing-door storage. Verify the current interior dimensions, shelf limits, full door swing, and required anchoring before choosing it. Levelers do not replace anchoring, and the cabinet is not an appliance operating enclosure. View on Amazon.
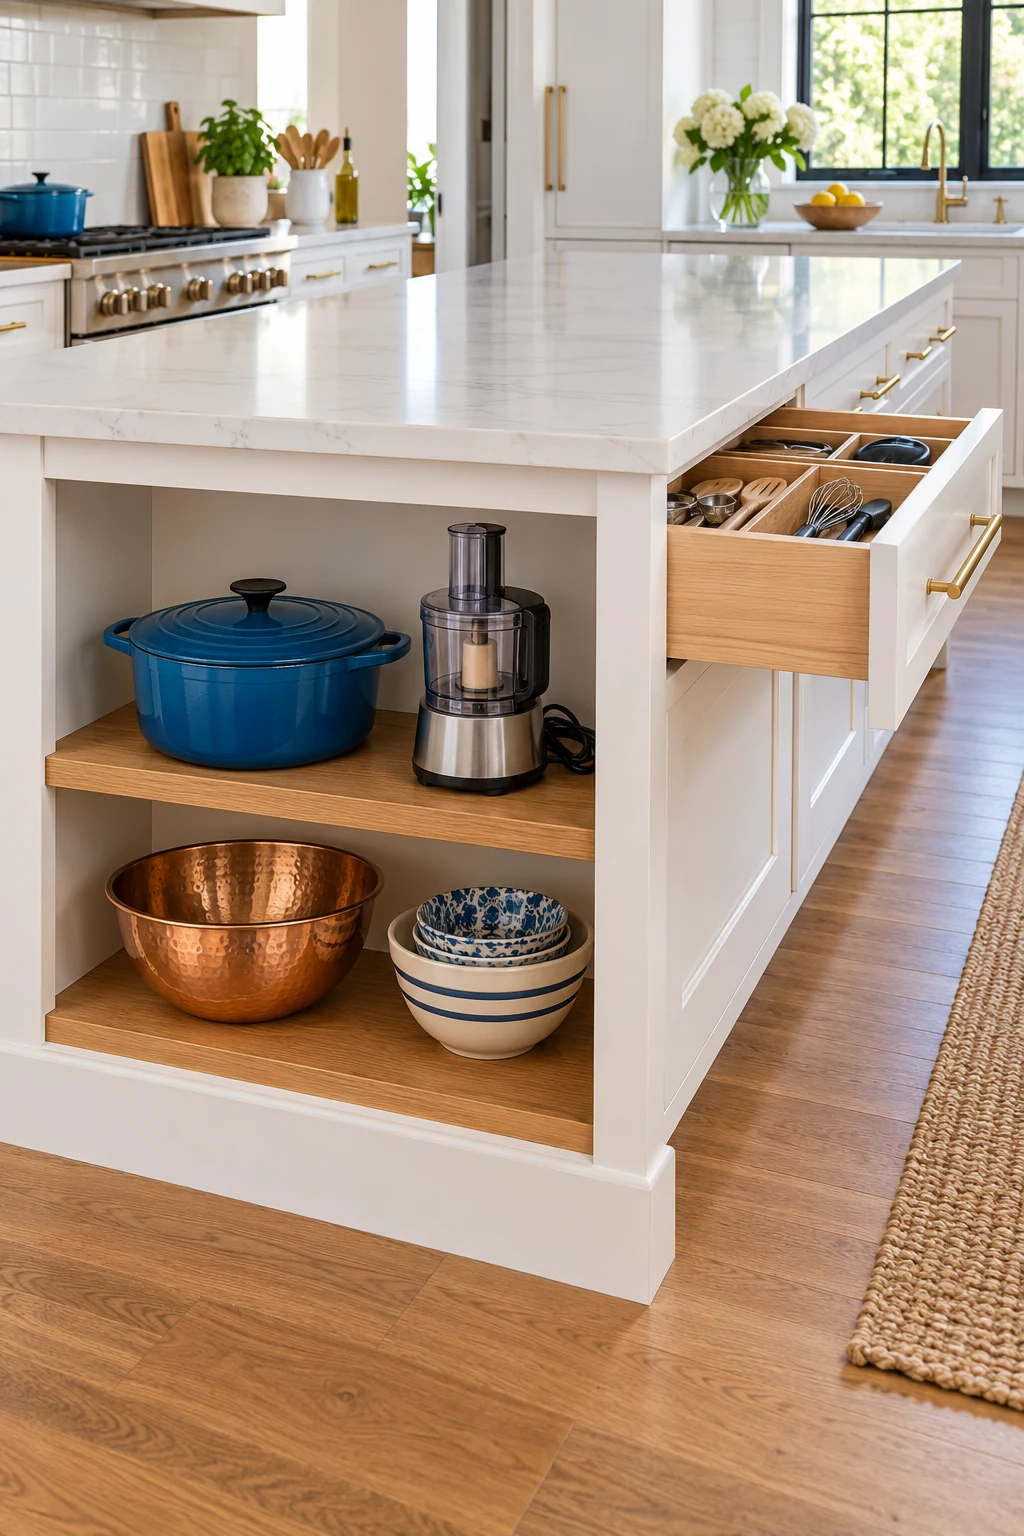
19. Let an island shelf hold a small appliance kit
An accessible island shelf can keep a light appliance and its nonsharp accessories near the prep area. Choose one with sufficient support and a clear opening, and keep the equipment completely within the shelf footprint.
Check that the storage does not interfere with knees, stools, or walking routes. Keep electrical cords secured for storage rather than dangling from the island. Move the machine to an approved operating location before use instead of running it in the cubby.
20. Give seasonal equipment a labeled home
Holiday appliances can live in a less central cabinet when they are clean, dry, and stored as directed. Keep their accessories and a clear identifying label together so the next use does not begin with a search.
Avoid placing heavy or awkward machines on high shelves just because they are used infrequently. Follow environmental storage limits and keep appliances away from damp areas. Choose an accessible location or get appropriate help when moving equipment that is difficult to handle.
21. Keep covers for clean and fully cooled appliances
A correctly sized cover can keep dust off an appliance in open storage, provided its instructions allow it. Use the cover only after the appliance has cooled, dried, and been unplugged as directed.
Remove the cover completely before operation, and never drape fabric over a hot machine. A cover should not press controls, trap moisture, or create a cord tangle. On enclosed shelves, cleaning and dry storage may be simpler than adding another accessory.
22. Keep manuals and model details easy to retrieve
Keep the appliance’s model number, manual, and any necessary assembly instructions in a defined folder or accessible digital collection. A nearby drawer can hold paper copies without filling the appliance shelf with packaging.
Retain the instructions you need for storage, cleaning, clearance, and replacement parts. Do not rely on a generic manual for a similar-looking model. Clear identification also helps when deciding whether an old attachment belongs with the machine you still own.
23. Store only the machines that still serve a purpose
If several appliances duplicate the same job, consider which ones you actually use and want to keep. Make that decision before dedicating a whole cabinet to an unused collection. A smaller group is easier to retrieve and maintain.
Handle donation, sale, or disposal appropriately, checking product condition and any recalls before passing equipment along. Keep the pieces you use rather than following an arbitrary item count. The useful outcome is a workable kitchen, not the smallest possible appliance collection.
24. Create a cooling and return routine
Plan where a hot appliance can cool safely after use without blocking the only route through the kitchen. Once it has cooled, follow the manual’s cleaning and drying instructions before returning it to its storage position.
Make the final steps easy: accessories in their assigned holders, cord loosely contained, shelf clear for the appliance’s return. Never rush a warm or damp machine into an enclosed cabinet to make the counter look tidy. A reliable return routine keeps the cleared surface available.
Choose one appliance that rarely earns its counter space and give it a safe, easy-to-reach storage home. Keep the accessories together and make its return routine simple. Subscribe to the Havelyo email list for more small-space decorating and organization ideas.