
Kitchen Organization
25 Fridge Organization Ideas to Help You See What You Have
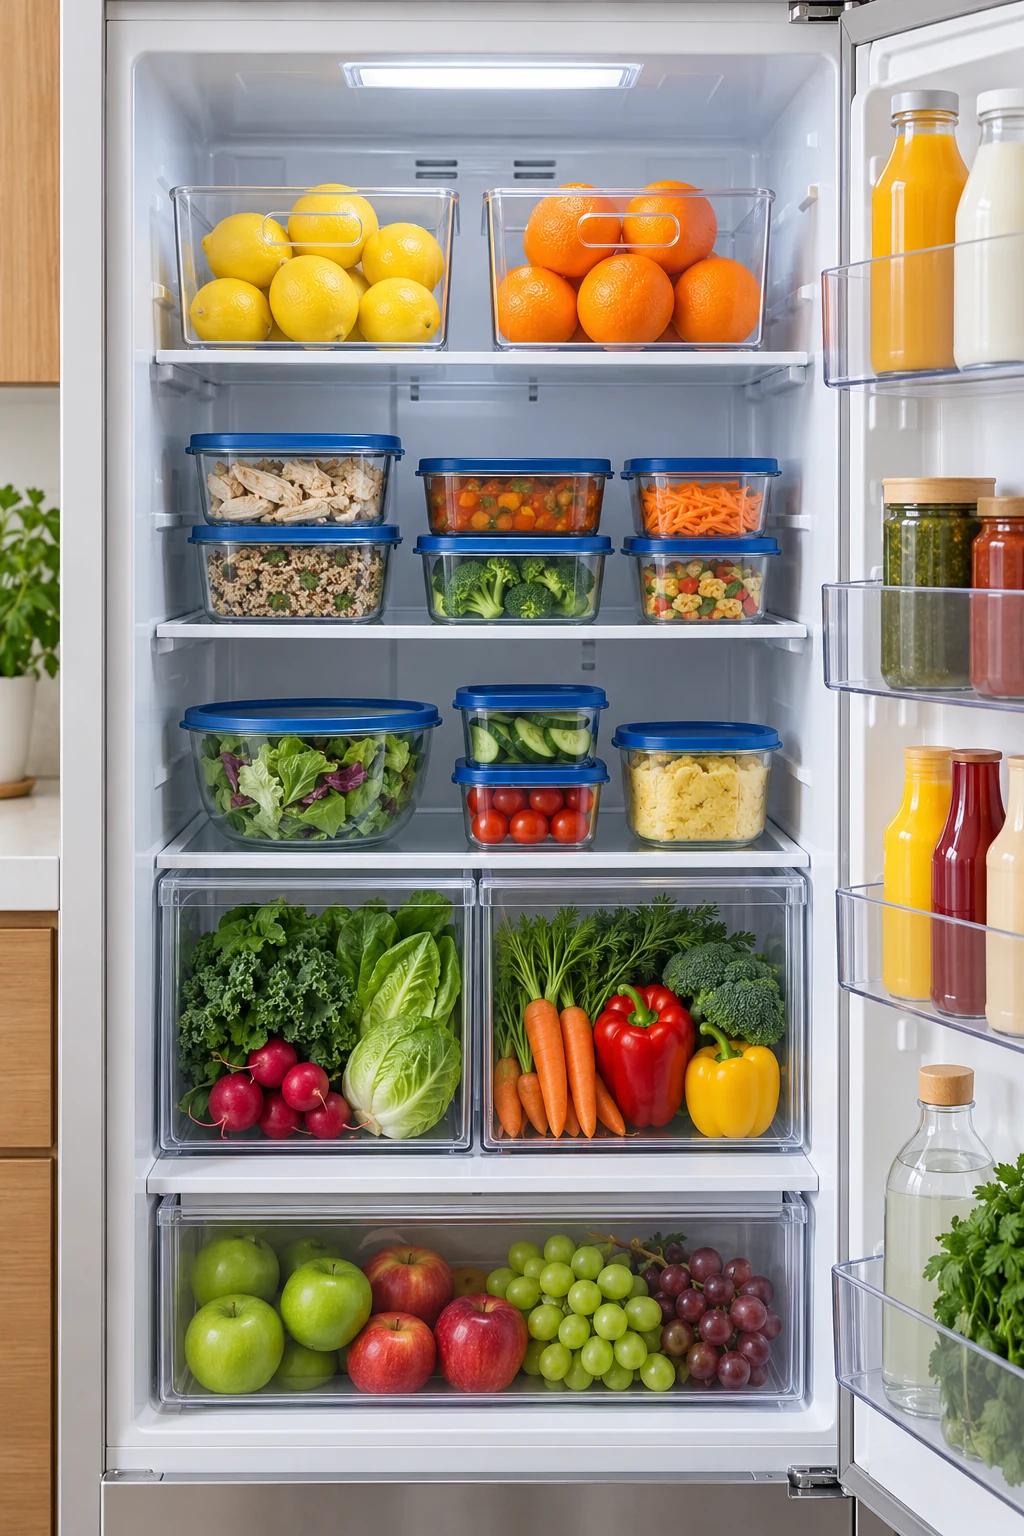
A refrigerator can look full while hiding the ingredients for several meals. Short containers disappear behind bottles, leftovers lose their identities, and buying another matching bin does not necessarily solve the problem.
These 25 fridge organization ideas prioritize safe food storage and everyday visibility. Start with a temperature check, then improve one shelf at a time. Keep the refrigerator at or below 40°F, follow food labels, and preserve the airflow and clearances your appliance requires before adding organizers.
This article contains affiliate links. If you buy through them, Havelyo may earn a commission. As an Amazon Associate I earn from qualifying purchases.
1. Check the temperature before changing the layout
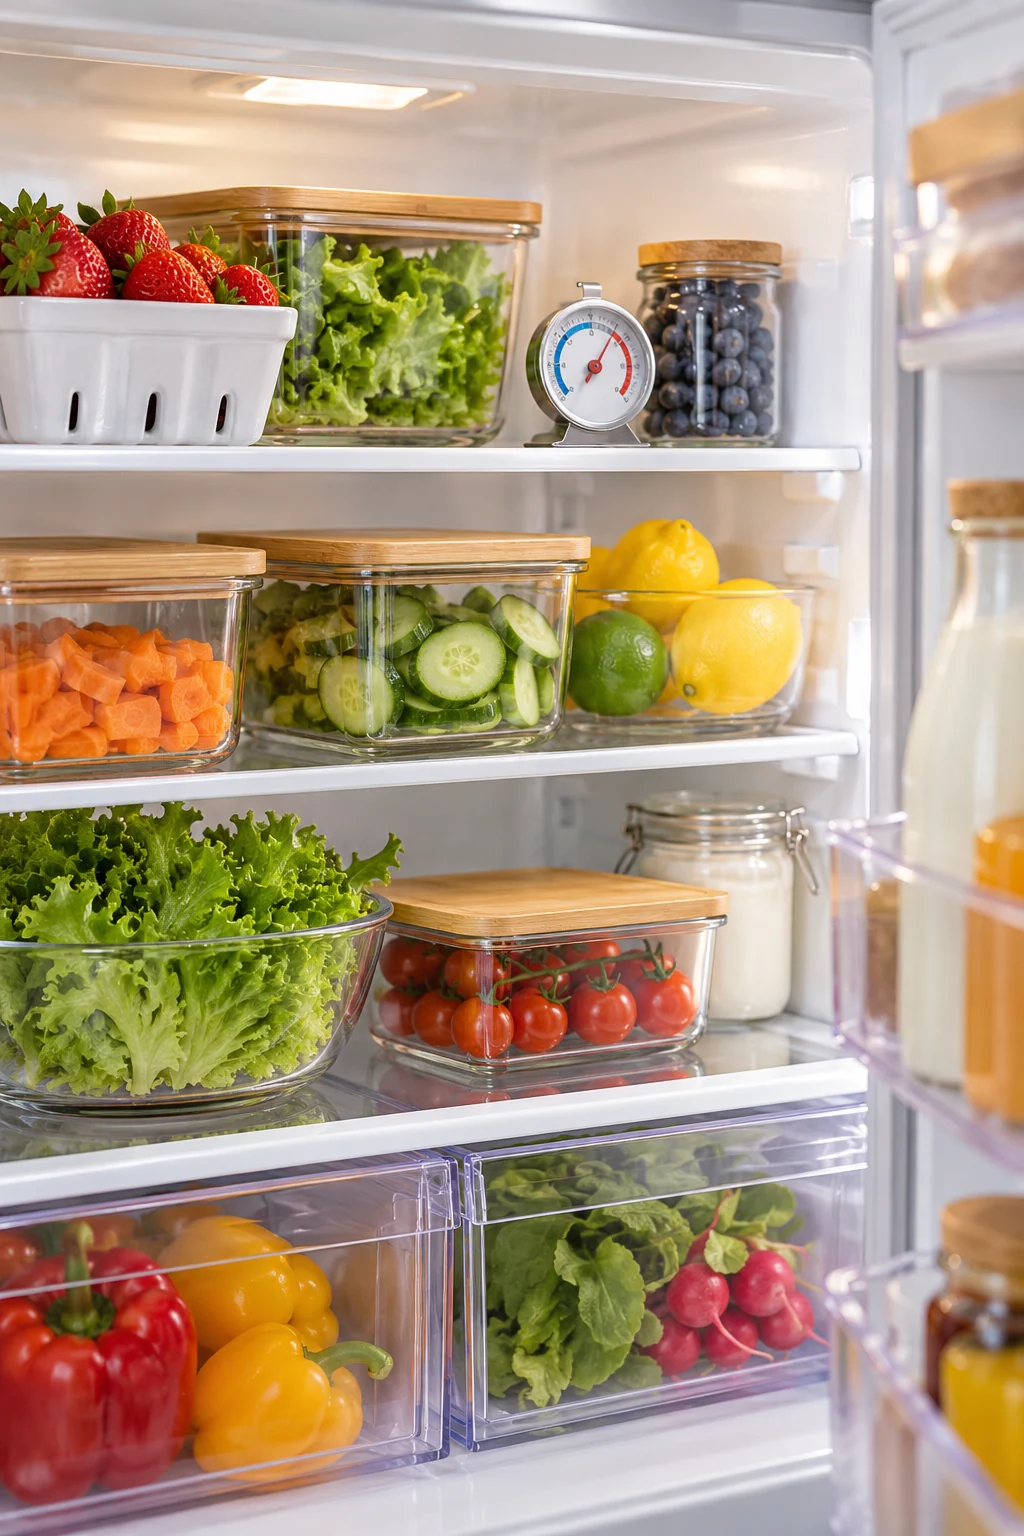
A tidy refrigerator still needs to keep food cold enough. Use an appliance thermometer to check that the refrigerator stays at or below 40°F, and follow your appliance manual when adjusting the control.
The Rubbermaid Commercial Refrigerator/Freezer Thermometer has a mechanical dial and can hang or stand. Choose a position that is easy to check and follow its instructions; the FDA’s official storage guidance explains the temperature target and why the control dial alone is not enough. View on Amazon.
2. Reset one small section at a time
Work through a shelf or door bin while leaving the rest of the food refrigerated. Set up a cooler with an appropriate cold source if you need to remove perishables for a longer cleaning session.
Do not leave groceries warming on the counter while you experiment with containers. Make the layout decisions first, then move food promptly and follow official time-and-temperature guidance for anything that has been out of refrigeration.
3. Measure usable shelf space and door clearance
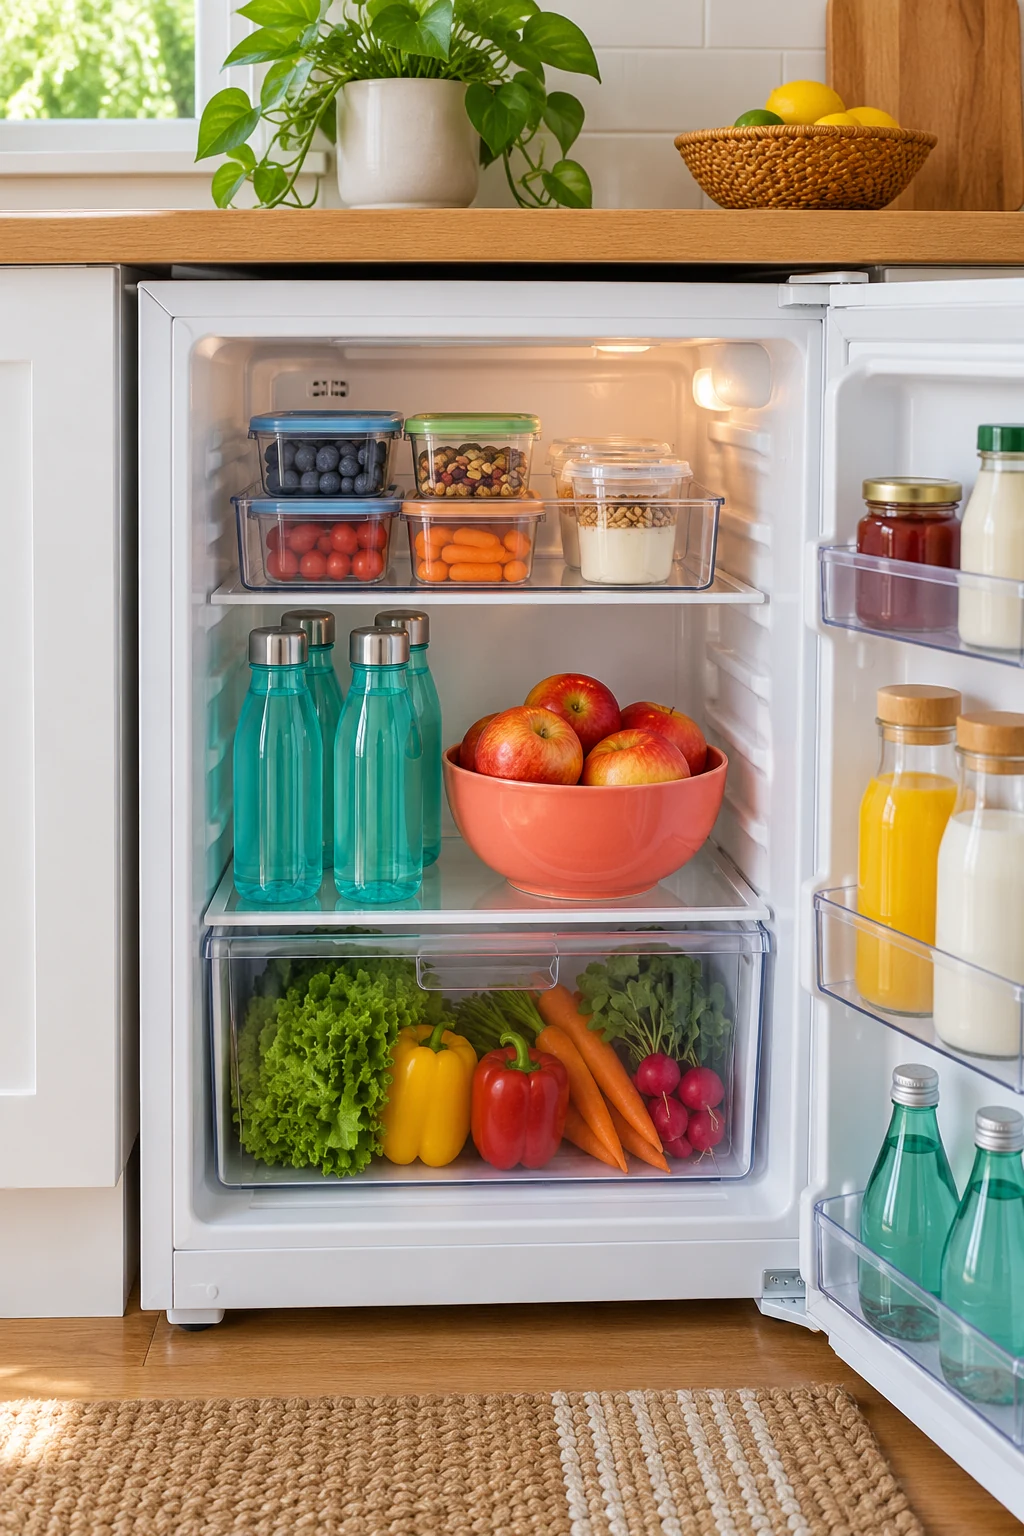
Measure the flat shelf area, the distance to the shelf above, and the space taken by the closed door bins. Include the room needed to pull a handled organizer forward and lift it out.
A bin that fits an empty shelf may block the door once food is loaded. Test one organizer before buying a matching set, and check that drawers can still open with the refrigerator door at its usual angle.
4. Keep vents and air paths open
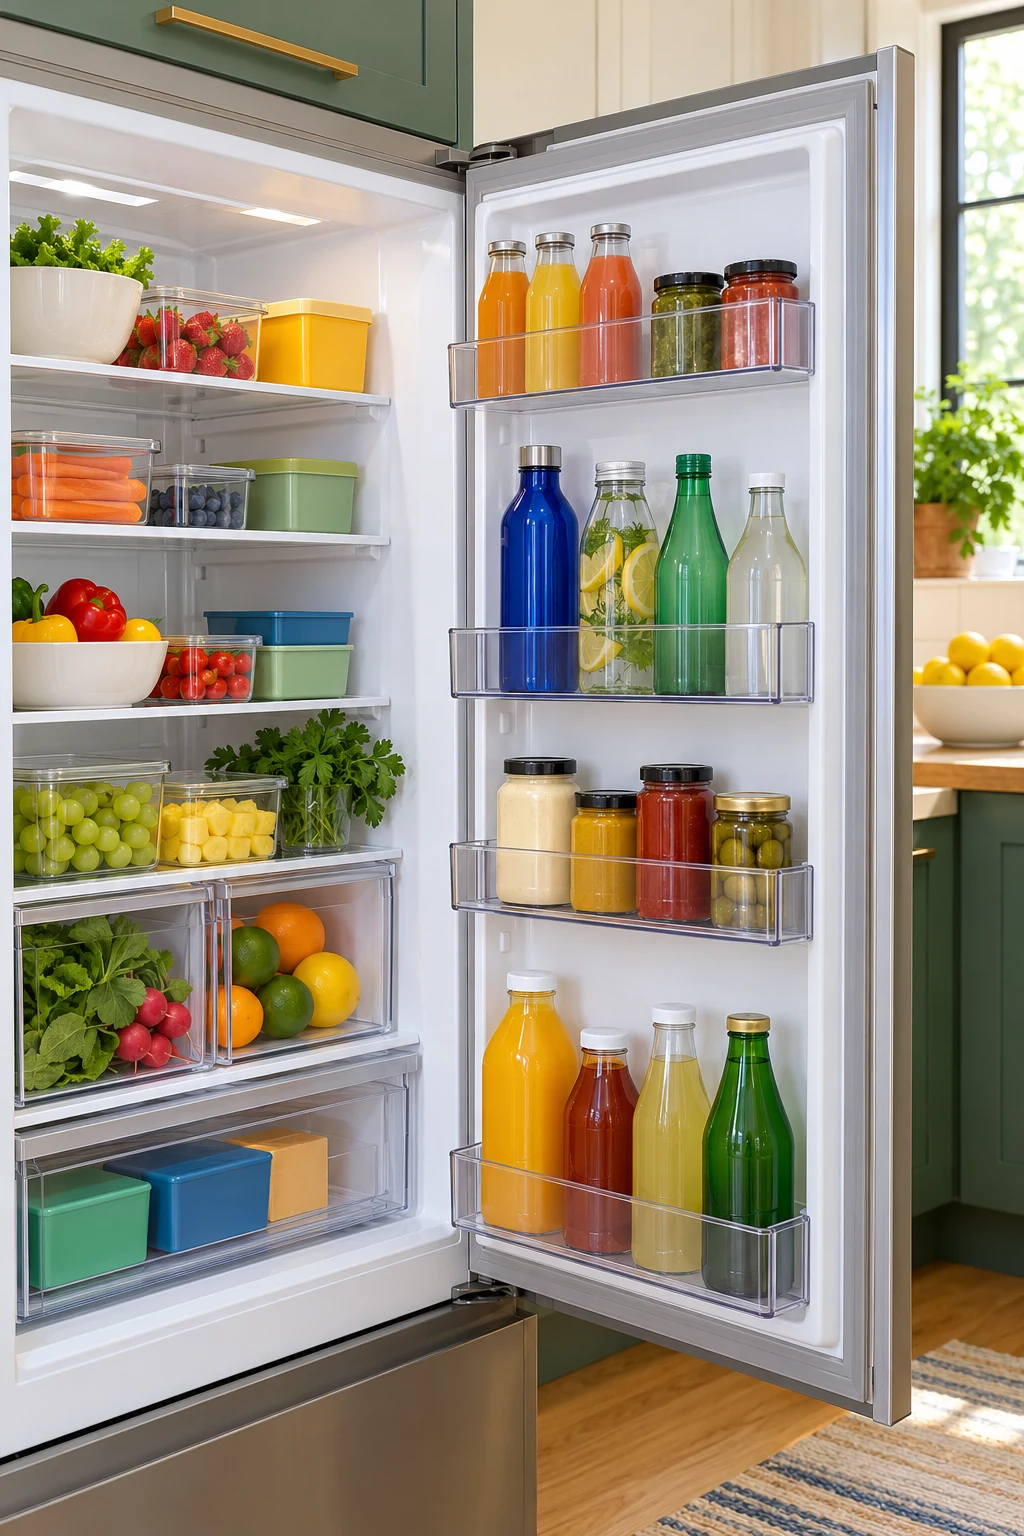
Find the refrigerator’s vents in its manual and avoid covering them with bins, tall packages, or shelf liners. Leave the air circulation spaces the manufacturer specifies.
Do not cover an entire shelf with tight rows of containers simply to create a uniform look. If the new layout makes temperature control unreliable, reduce the load or change the placement before adding more organizers.
5. Contain raw meat, poultry, and seafood separately
Keep raw meat, poultry, and seafood securely wrapped or in appropriate sealed containers so juices cannot reach other foods. A dedicated lower-shelf position adds separation from ready-to-eat food above it.
Use a suitable secondary tray when helpful, but do not mistake an open organizing bin for a sealed food container. Follow USDA official storage guidance, clean any leaks promptly, and keep the raw-food area away from ready-to-eat snacks and produce.
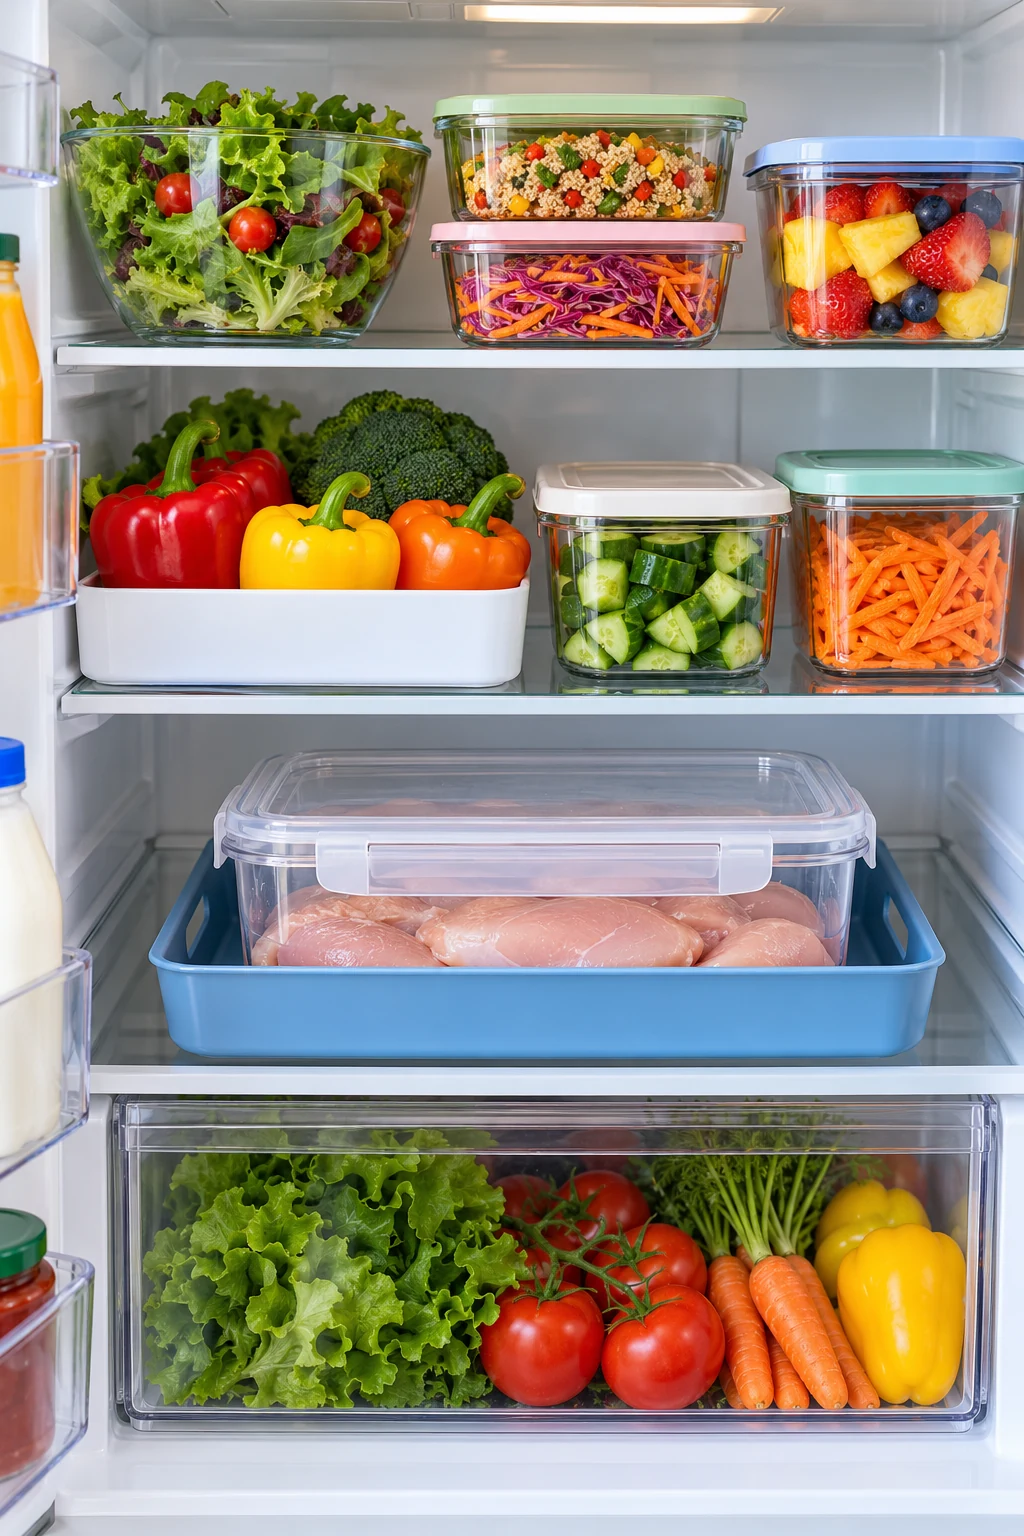
6. Give ready-to-eat foods their own shelf zone
Place covered leftovers, prepared lunches, and other ready-to-eat foods where they are visible and separate from raw ingredients. Group them in a simple row instead of hiding small containers behind tall bottles.
Keep each item properly covered and dated when useful. The organization should make it easier to choose food within appropriate storage periods, not encourage keeping leftovers until the bin happens to be empty.
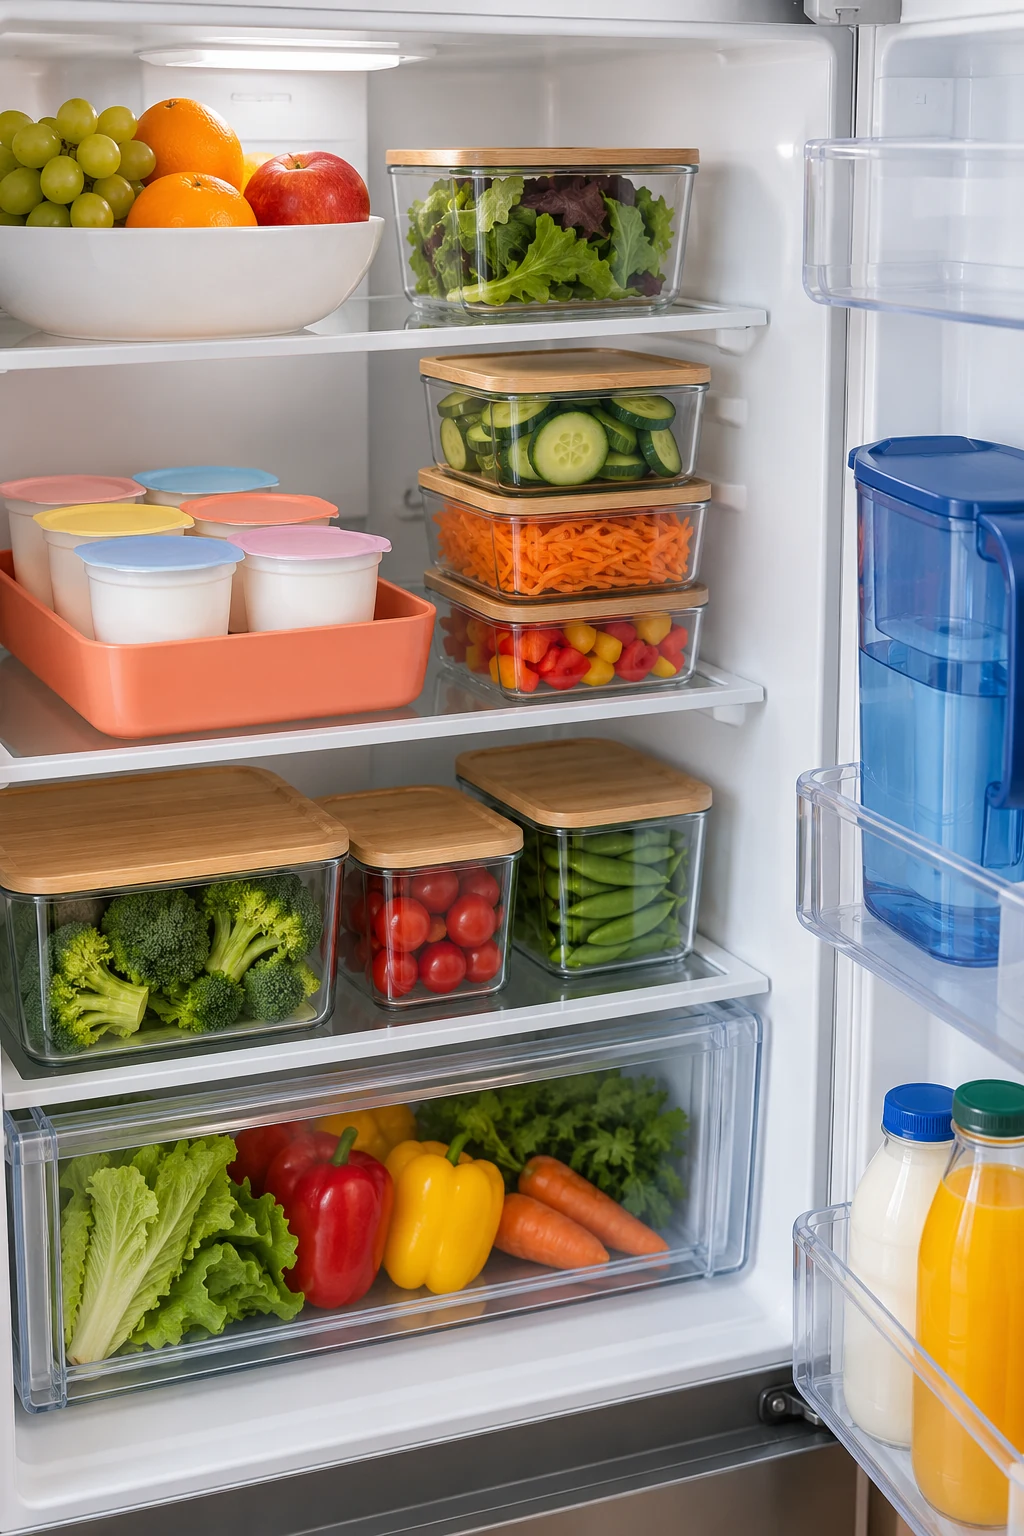
7. Create a clearly visible use-first section
Choose a small front section for suitable foods that need attention soon, such as an opened package or a dated leftover. Keep it separate from raw-food storage so it can be scanned quickly before planning a meal.
A use-first label does not establish that food is safe. Check the individual item’s storage history and guidance, and use the official storage guidance for specific categories rather than giving every leftover the same invented deadline.
8. Use clear, same-size boxes for selected leftovers
A few compatible rectangular containers can reduce the awkward gaps between leftover tubs. Pick capacities that suit your meals so a small serving does not occupy a much larger box.
Rubbermaid Brilliance’s five-container 3.2-cup Tritan set provides clear sides, latches, and matching lids. The selected food-storage set is listed for refrigerator and freezer use; follow its directions for filling and care rather than borrowing instructions from pantry-only containers. View on Amazon.

9. Label the food and the date it was prepared
Put a readable label on leftovers before they go into the refrigerator. Include the food name and preparation date so someone else can identify the contents without opening the container.
Choose labels compatible with the container and its cleaning method. A date label supports a food-safety decision, but the food’s type, temperature history, and official storage guidance still determine what to keep.
10. Use a rolling caddy for a deep shelf category
A low-sided rolling bin can bring small sealed items forward from the back of a deep shelf. Try it for a specific group such as breakfast yogurt or packaged lunch ingredients.
The 9-inch-wide YouCopia RollOut Fridge Caddy has two adjustable dividers and handles. Its listed depth is 15 inches; leave room for the loaded contents and the pullout motion, and keep the caddy supported on a suitable flat shelf. View on Amazon.
11. Give packaged snacks a modest handled bin
Group a manageable quantity of ready-to-eat packaged snacks in a bin that is easy to lift. Keep wrappers and original labels intact and put the bin at a comfortable height for the people using it.
The iDesign Clear Handled Bin measures 8 by 8 by 6 inches and is listed for refrigerator use. It is hand-wash only; compare its usable space and loaded weight with your shelf rather than assuming a full bin will be easy to carry. View on Amazon.
12. Keep eggs in their original carton
Store purchased shell eggs in their original carton on an interior shelf. The carton keeps the package information with the eggs and avoids the extra handling involved in transferring them to a decorative dispenser.
USDA recommends the carton-on-a-shelf arrangement because door temperatures fluctuate more. Leave enough clearance to open the carton, and resist using every built-in door compartment just because it looks like a convenient egg display.
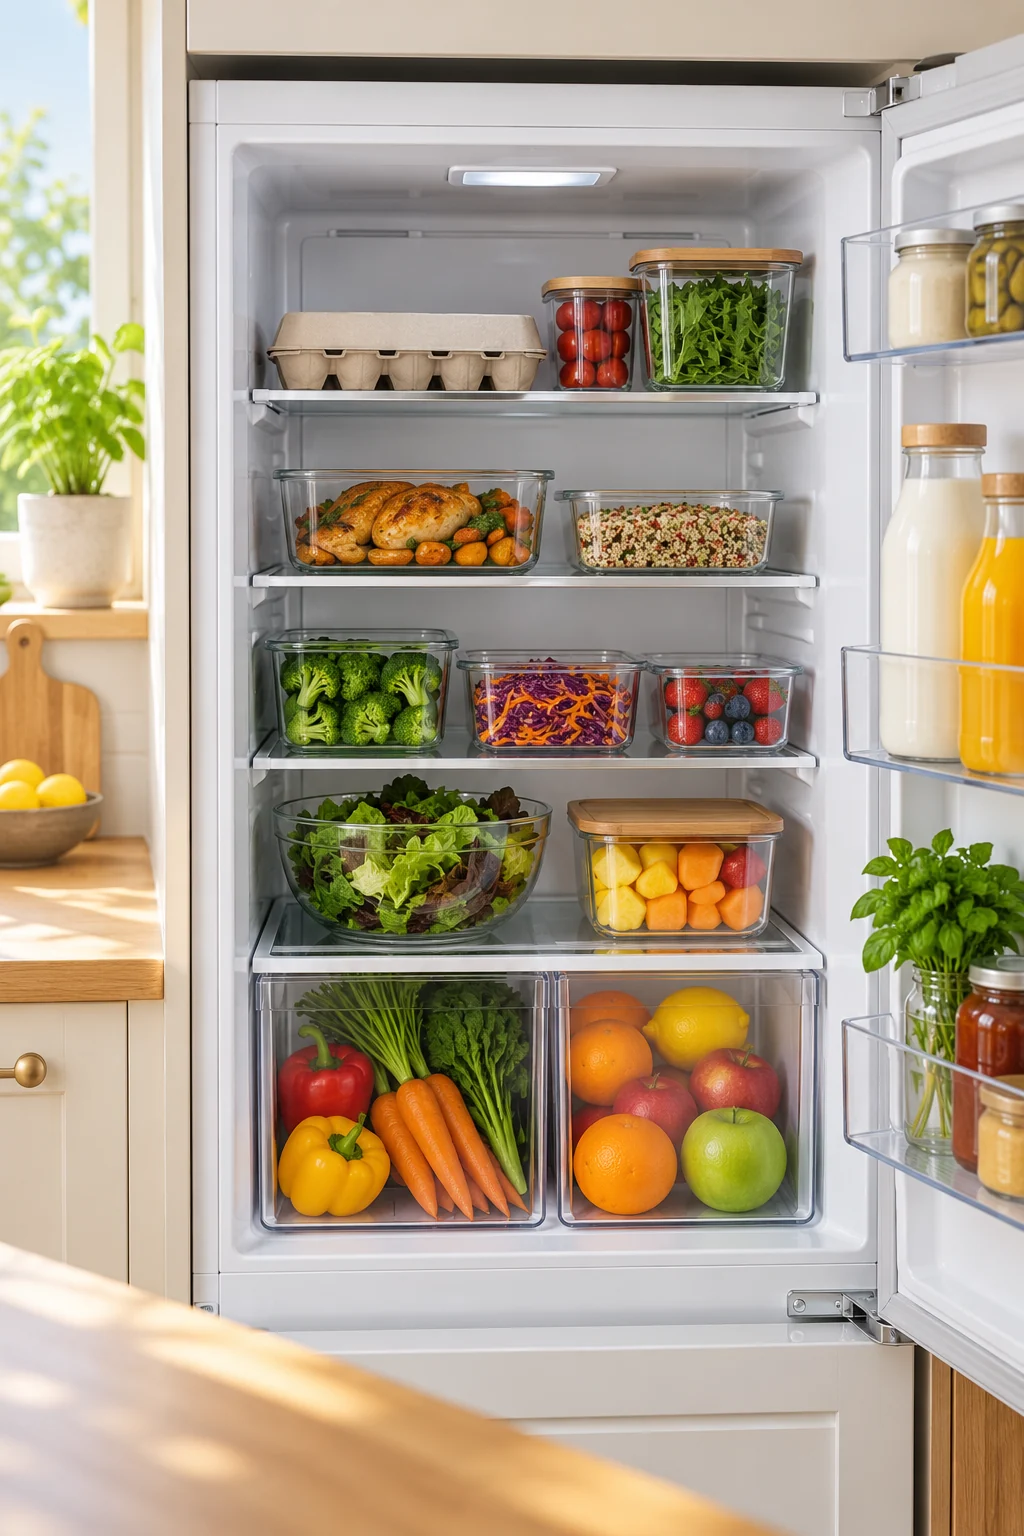
13. Place milk on an interior shelf
Give milk and similar perishables a suitable interior-shelf position rather than the warm, frequently moving door. Adjust a shelf according to the refrigerator manual if a taller carton needs space.
Keep the cap closed and the package upright unless its design permits another position. A tall-item lane can accommodate milk without raising an entire shelf so far that small items become hidden underneath it.
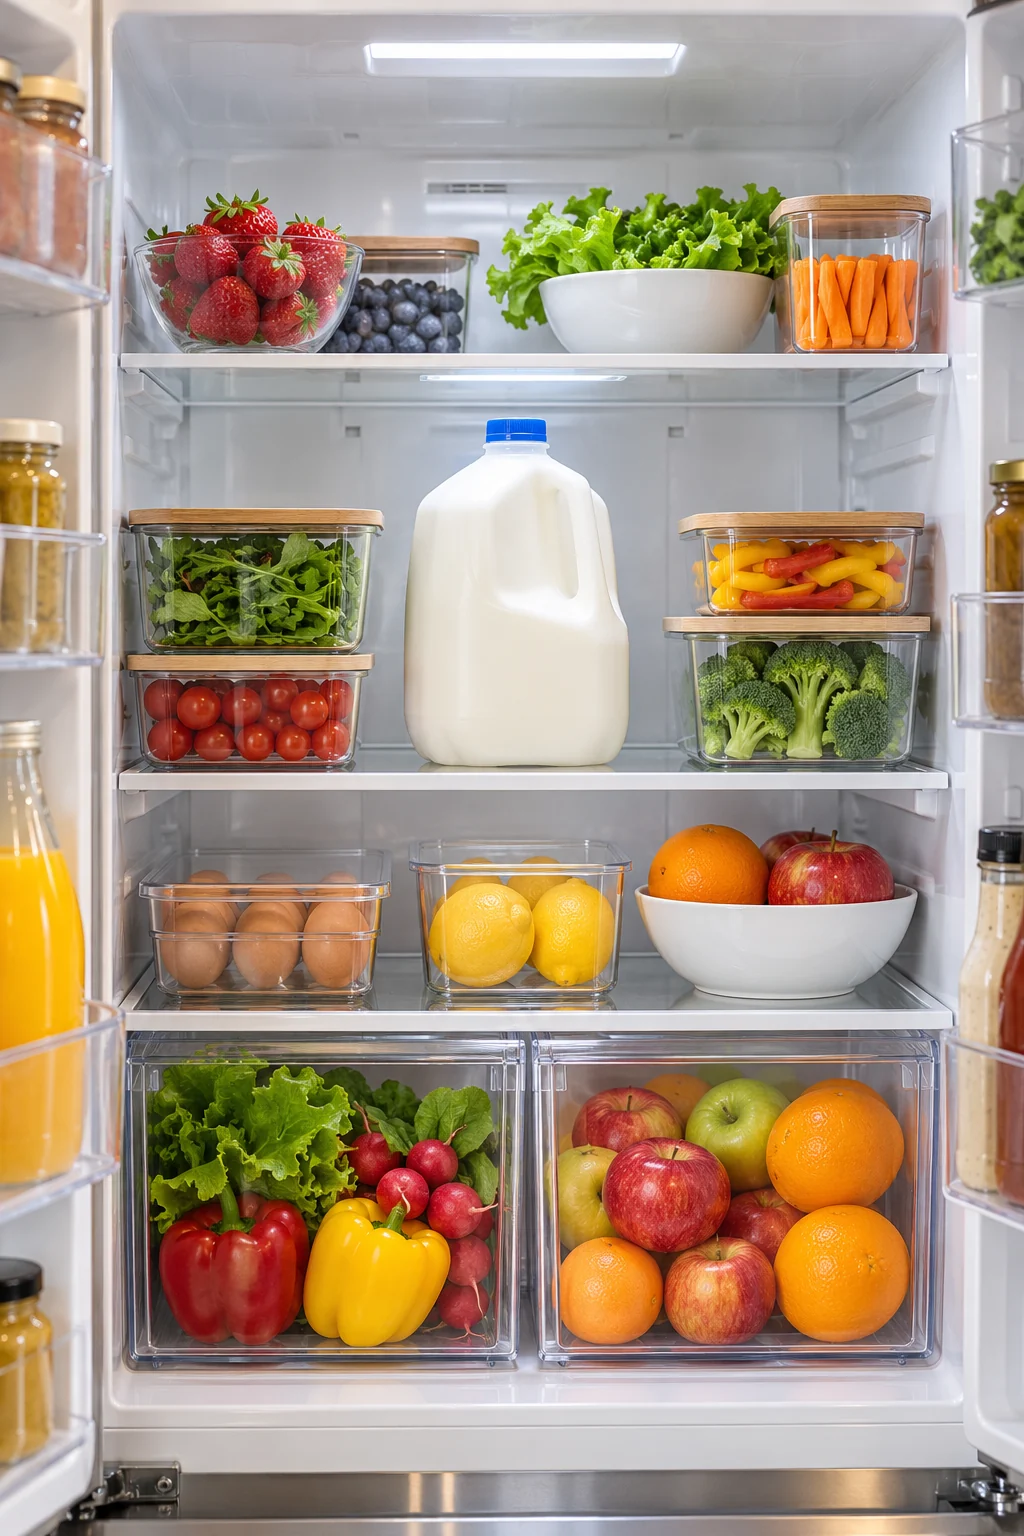
14. Match door storage to product directions
Use door compartments selectively for products whose labels and the appliance guidance make that position appropriate. Group similar condiments together and leave the names facing outward.
Do not move eggs, milk, or other sensitive perishables to the door just to make the main shelves symmetrical. Check refrigeration instructions after opening and keep the door closed as much as practical while choosing ingredients.
15. Try a small turntable only where it fits
A rotating tray can make a group of short condiment bottles easier to reach on a suitable shelf. Compare its round footprint with a rectangular bin before choosing it; the corner space may matter in a small refrigerator.
The 12-inch Copco Nonskid Turntable has a raised rim and lined base. The listing includes refrigerator use; follow its care directions, leave a full rotation path, and keep the tray clear of vents and the closing door. View on Amazon.
16. Use the crisper settings for the produce inside
Check the refrigerator manual for what each crisper drawer and humidity control is designed to do. Assign produce to the appropriate drawer rather than treating all fruits and vegetables as one storage category.
Keep the contents visible and avoid filling the drawer so tightly that delicate produce is compressed. Consult food-specific guidance before changing packaging or washing produce in advance; there is no single storage method for everything.

17. Keep cut produce covered and identifiable
Prepared produce needs a suitable clean food-storage container and appropriate refrigeration. Label it when the preparation date is not obvious, and place it where it can be seen without shifting raw ingredients.
Do not treat an open decorative basket as a substitute for the required food container. Follow item-specific handling guidance and keep cut produce away from any surface or package contaminated by raw meat juices.
18. Close partly used packages without losing the label
Fold or close a suitable original package neatly so it does not spill into the refrigerator. Keeping the original wrapper can preserve use instructions, ingredients, and dating information that a plain jar would hide.
OXO Good Grips Magnetic All-Purpose Clips can grip folded bag openings. Use them only when the food’s packaging directions permit that closure; clips do not turn a damaged bag into a leakproof container or extend a storage period. View on Amazon.
19. Arrange short items in front of tall ones
Put small cups and short containers toward the front, with taller packages behind where they remain identifiable. A simple height order can improve visibility without introducing another organizer.
Avoid building a solid wall of bottles along the back, especially near vents. Leave a clear way to retrieve the rear items and move anything used daily closer to the front.
20. Keep a lunch-assembly group together
Group compatible ready-to-eat lunch ingredients so you can gather them quickly, while keeping foods covered and within their appropriate cold-storage conditions. A small tray or assigned shelf section is often enough.
Return the group promptly after packing lunch. The convenience comes from fewer searches, not from leaving all the ingredients on the counter while other morning tasks take over.
21. Reserve a safe thawing position
If you thaw food in the refrigerator, plan a location where its secure packaging sits in a leak-containing tray away from ready-to-eat items. This prevents an improvised crowded placement when dinner planning happens late.
Allow the time recommended for the food and keep the refrigerator at the proper temperature. Do not move the thawing package to the counter just because the organizing bin needs to be used for something else.
22. Keep a little space for newly cooked food
Leave enough practical room to refrigerate prepared food promptly in suitable shallow containers. A completely packed refrigerator can make safe cooling and placement much harder after cooking.
Do not keep a large cooked dish on the counter waiting for a gap to appear. Follow official cooling guidance and your container’s instructions, and reduce unnecessary chilled stock if meal storage is routinely a squeeze.
23. Remove empty packaging before restocking
Check for nearly empty cartons, discarded sleeves, and unused container lids that occupy shelf space. Keep only packaging needed for safe storage, identification, or instructions.
Avoid removing every outer package automatically. Egg cartons and many product labels serve useful purposes, and a tidier visual arrangement is not worth losing the information needed to handle food correctly.
24. Clean spills before they become hidden residue
Address a drip or spill promptly using the refrigerator manufacturer’s cleaning directions. Remove the affected bin or food package as needed so residue is not left underneath a neat-looking row.
Clean organizers according to their own care labels; many clear bins are not dishwasher safe. Dry components before returning them, and follow appropriate food-safety advice if raw-food juices have contaminated another item.
25. Check the fridge before writing the grocery list
Look through the use-first section, produce drawers, and everyday staples before shopping. Plan a meal around suitable food you already have, then add only what is genuinely missing.
If the same category keeps overflowing, buy less or change the size of its assigned zone. An organized refrigerator should help you see your food and use it appropriately, without requiring every shelf to stay camera-ready.
Begin with one clear use-first section and a check of the refrigerator temperature. Once you can see suitable food, keep raw ingredients contained, and return groceries without blocking airflow, the layout is doing the useful work it should. Subscribe to the Havelyo email list for more small-space decorating and organization ideas.