
Kitchen Organization
30 Drawer Organizer Ideas for Every Room in Your Home
A drawer hides clutter quickly, but that does not make its contents easy to find. When small items share one open space, they slide, overlap, and quietly collect at the back. A few well-chosen boundaries can make an ordinary drawer much more useful.
These 30 drawer organizer ideas cover the kitchen, bedroom, bathroom, office, and everyday living areas. Start with the drawer you open most often. Empty it, remove items that belong elsewhere, and measure the usable interior before choosing a layout. Reuse suitable trays or boxes first, then add only the pieces that make putting things away easier.
This article contains affiliate links. If you buy through them, Havelyo may earn a commission. As an Amazon Associate I earn from qualifying purchases.
1. Measure the drawer with closure in mind
Measure the inside width and depth, then check the usable height beneath the cabinet or drawer above. Pull the drawer out as far as it normally travels. The back section may be difficult to reach even when the interior is generous.
Make a paper layout before ordering trays. Include the height of the contents, not just the organizer, and leave enough room to grasp each item. Keep slides and moving hardware clear so a carefully arranged drawer still opens smoothly.
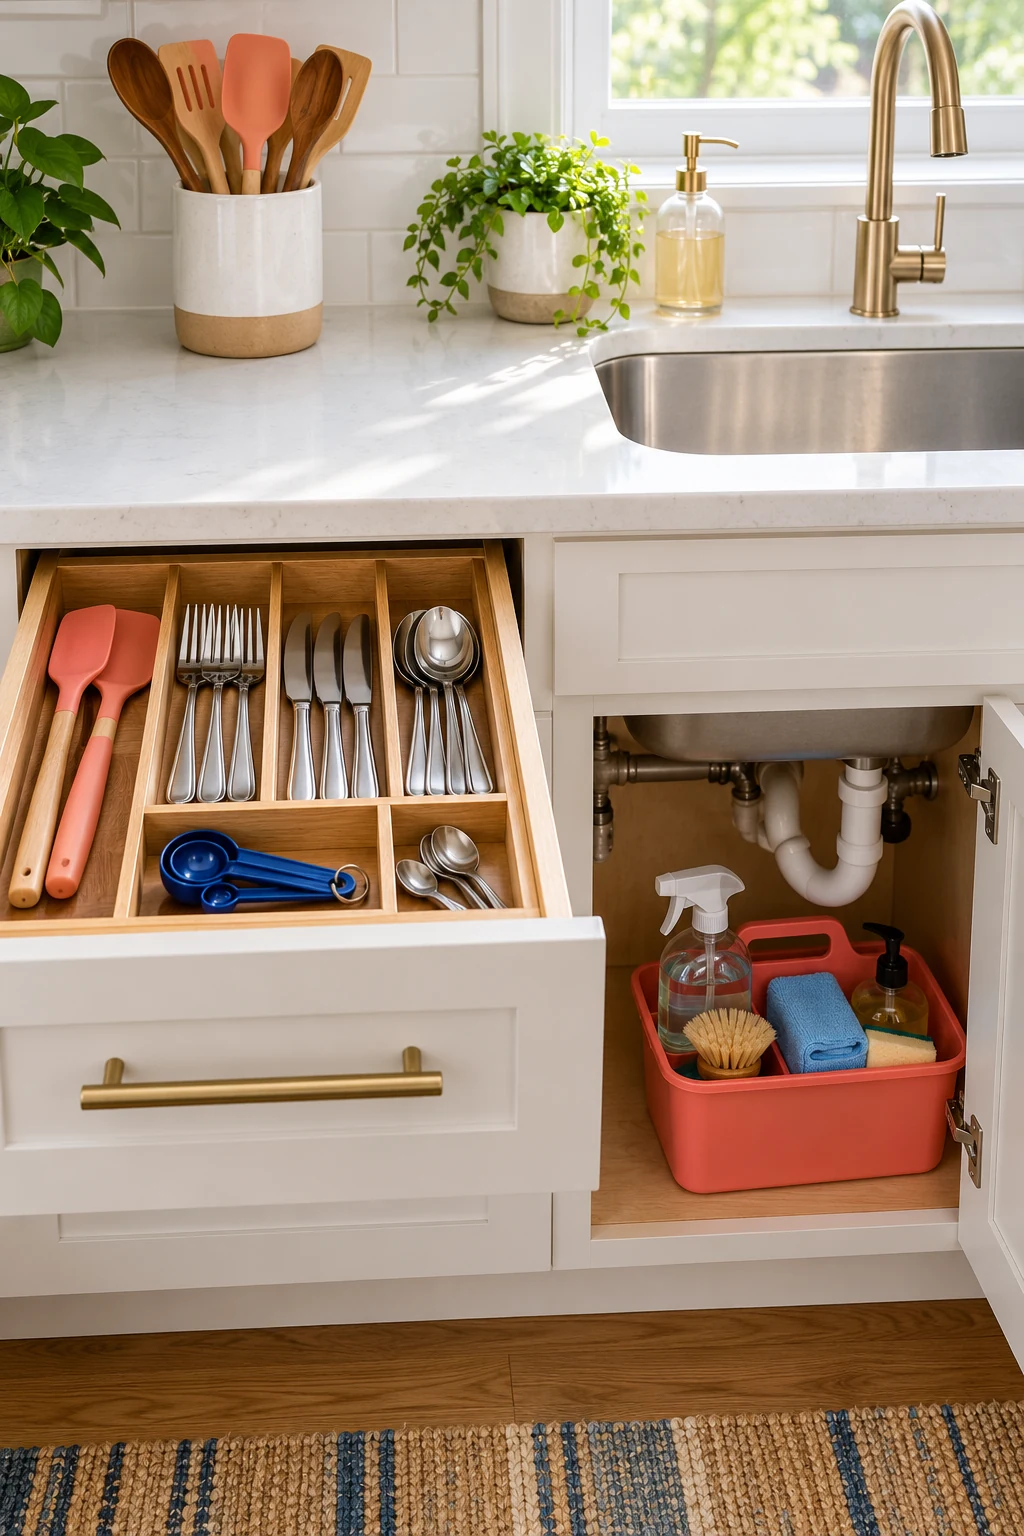
2. Use one narrow tray for everyday flatware
Separate forks, spoons, and table knives from the cooking tools that share their drawer. A narrow tray can leave a useful strip for other essentials, particularly in an apartment kitchen with only one or two shallow drawers.
Joseph Joseph DrawerStore Compact Cutlery Organizer uses angled compartments in a 15.6-by-4.33-inch footprint. Its empty height is lower than the required 3.25-inch drawer clearance, so measure with utensils in place. Bulky handles may reduce how many pieces fit comfortably. View on Amazon.
3. Protect knife blades in a dedicated insert
Give kitchen knives individual supported positions rather than letting them slide among peelers and spoons. Put the knife section where the handles are easy to identify and grasp. Keep sharp tools inaccessible to children and anyone who cannot use them safely.
The Joseph Joseph DrawerStore Compact Knife Organizer offers two-tier storage for blades up to 9 inches long. Check the entire knife length, handle width, and loaded clearance before buying. A protected blade still needs careful handling, and an overfilled insert makes that harder. View on Amazon.
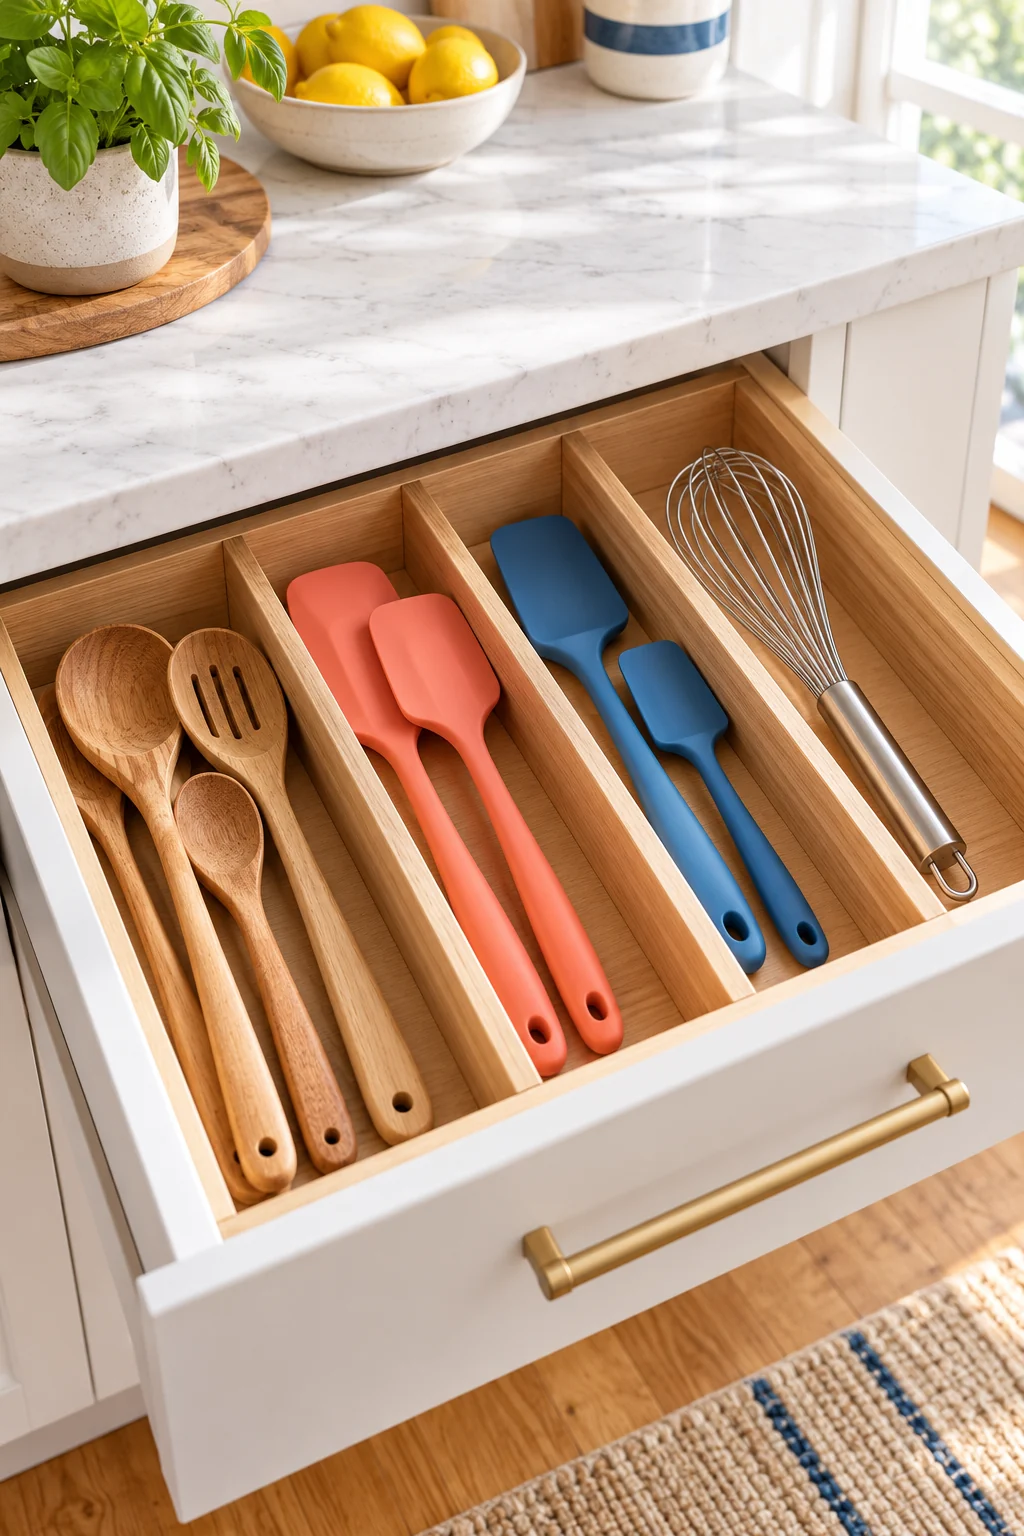
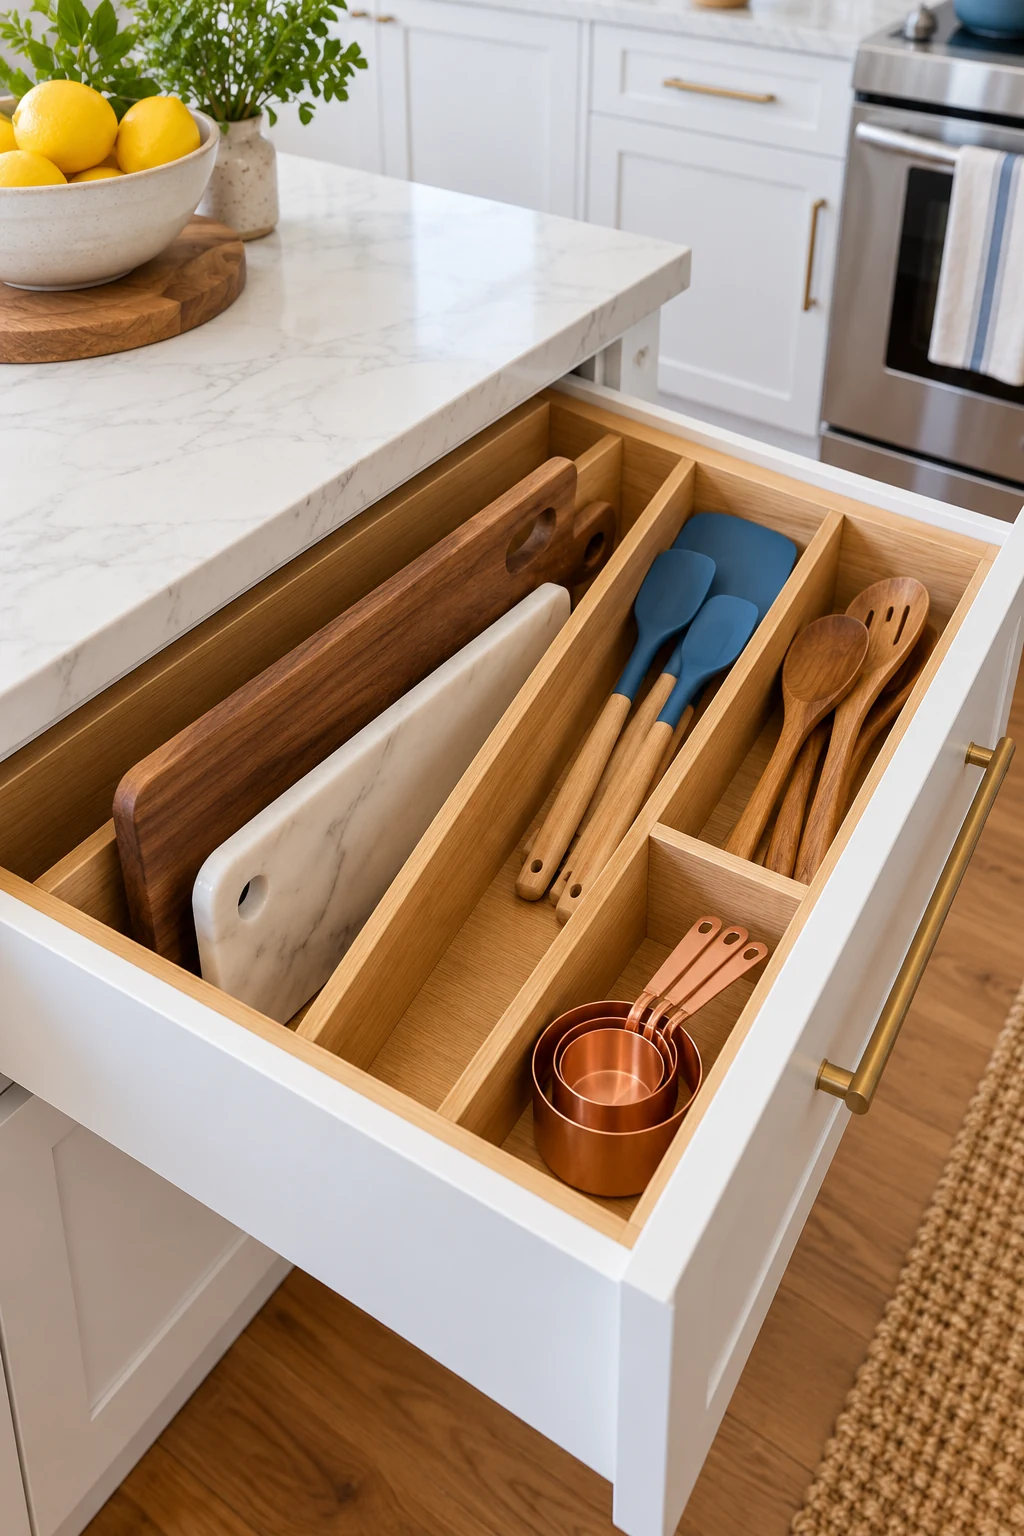
4. Build long lanes for awkward cooking tools
A ladle and a potato masher rarely fit the same little compartment as measuring spoons. Lay your longest utensils in the drawer first, then form lanes around their shapes. Keep the widest tool heads where they will not interlock.
Try a simple divider before replacing the whole tray. Store only the tools used in that cooking area, and move oversized occasional pieces elsewhere. If a whisk repeatedly catches the drawer above, it needs a deeper location rather than a tighter arrangement.
5. Keep spice labels visible from above
A drawer can make spices easy to scan when jars lie in orderly rows. Choose a cool, dry location and follow the spice maker’s storage instructions. Arrange everyday seasonings closest to the front, with larger or less-used bottles farther back.
YouCopia SpiceLiner is a cut-to-fit foam roll that supports lying jars without a fixed angled rack. Measure the combined jar-and-liner height before closing the drawer. Keep jars labeled and leave room to grasp each one without disturbing an entire row. View on Amazon.
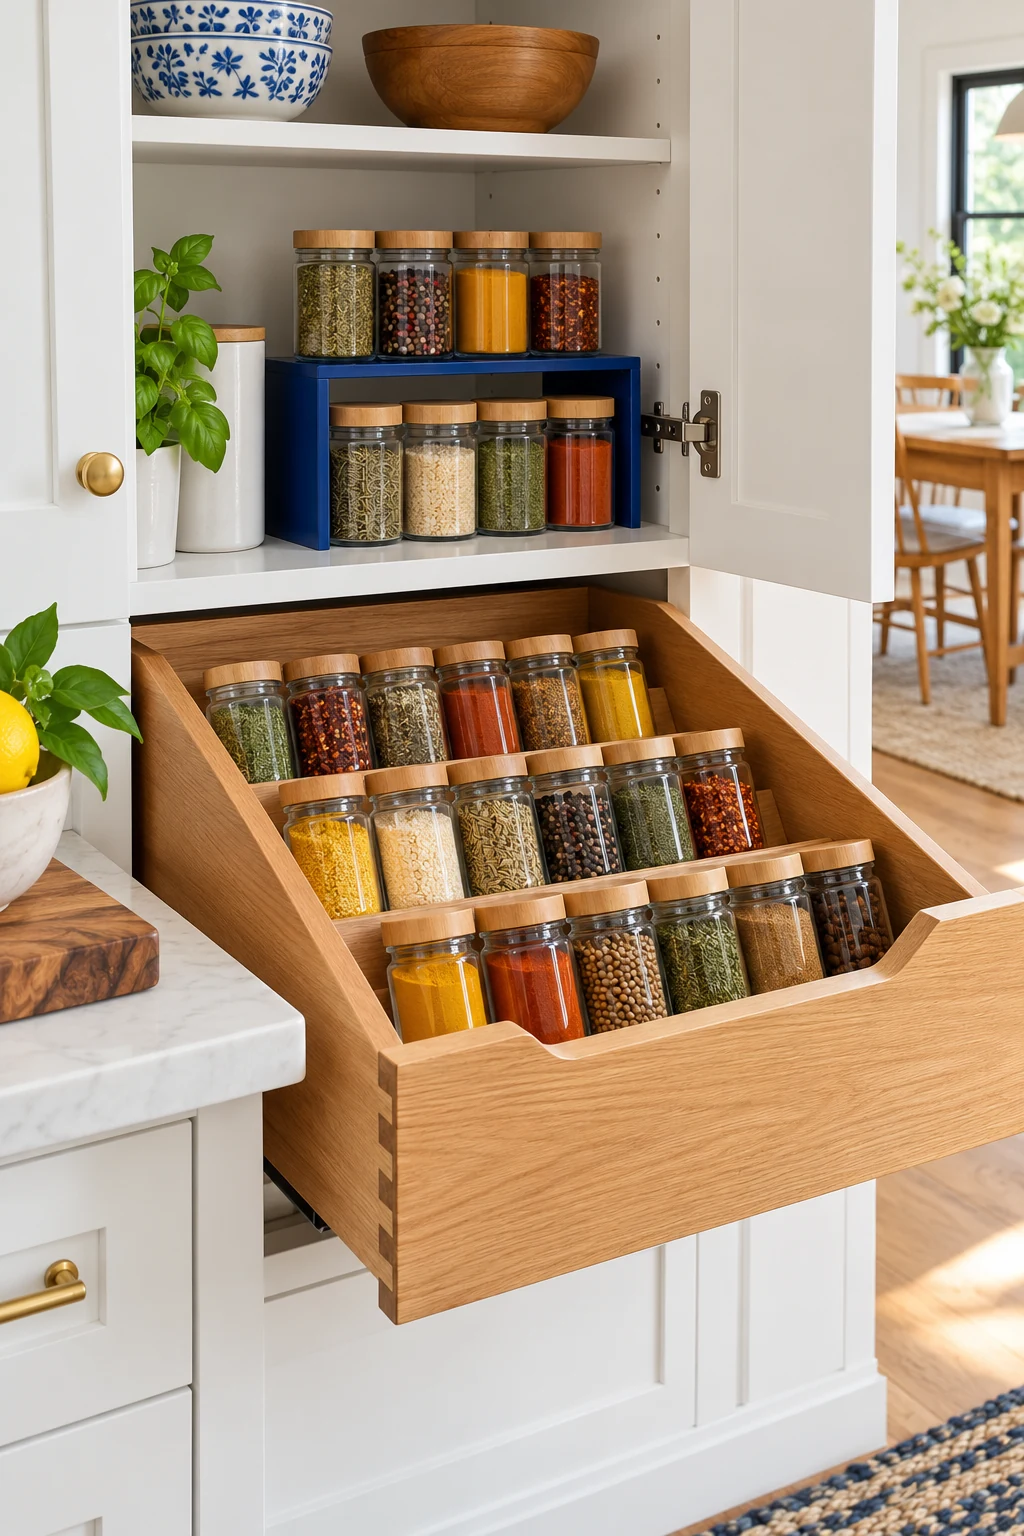
6. Nest food containers and file their matching lids
Match containers with lids before arranging the drawer, then remove pieces you no longer use. Nest compatible containers in small groups and stand their lids upright in a separate divided section. You should be able to see which sizes are ready to pack.
Do not force containers together if their rims or seals are being distorted. Keep the drawer clean and put everything away fully dry. When stacks grow too high to lift easily, divide the group or give larger containers a different home.
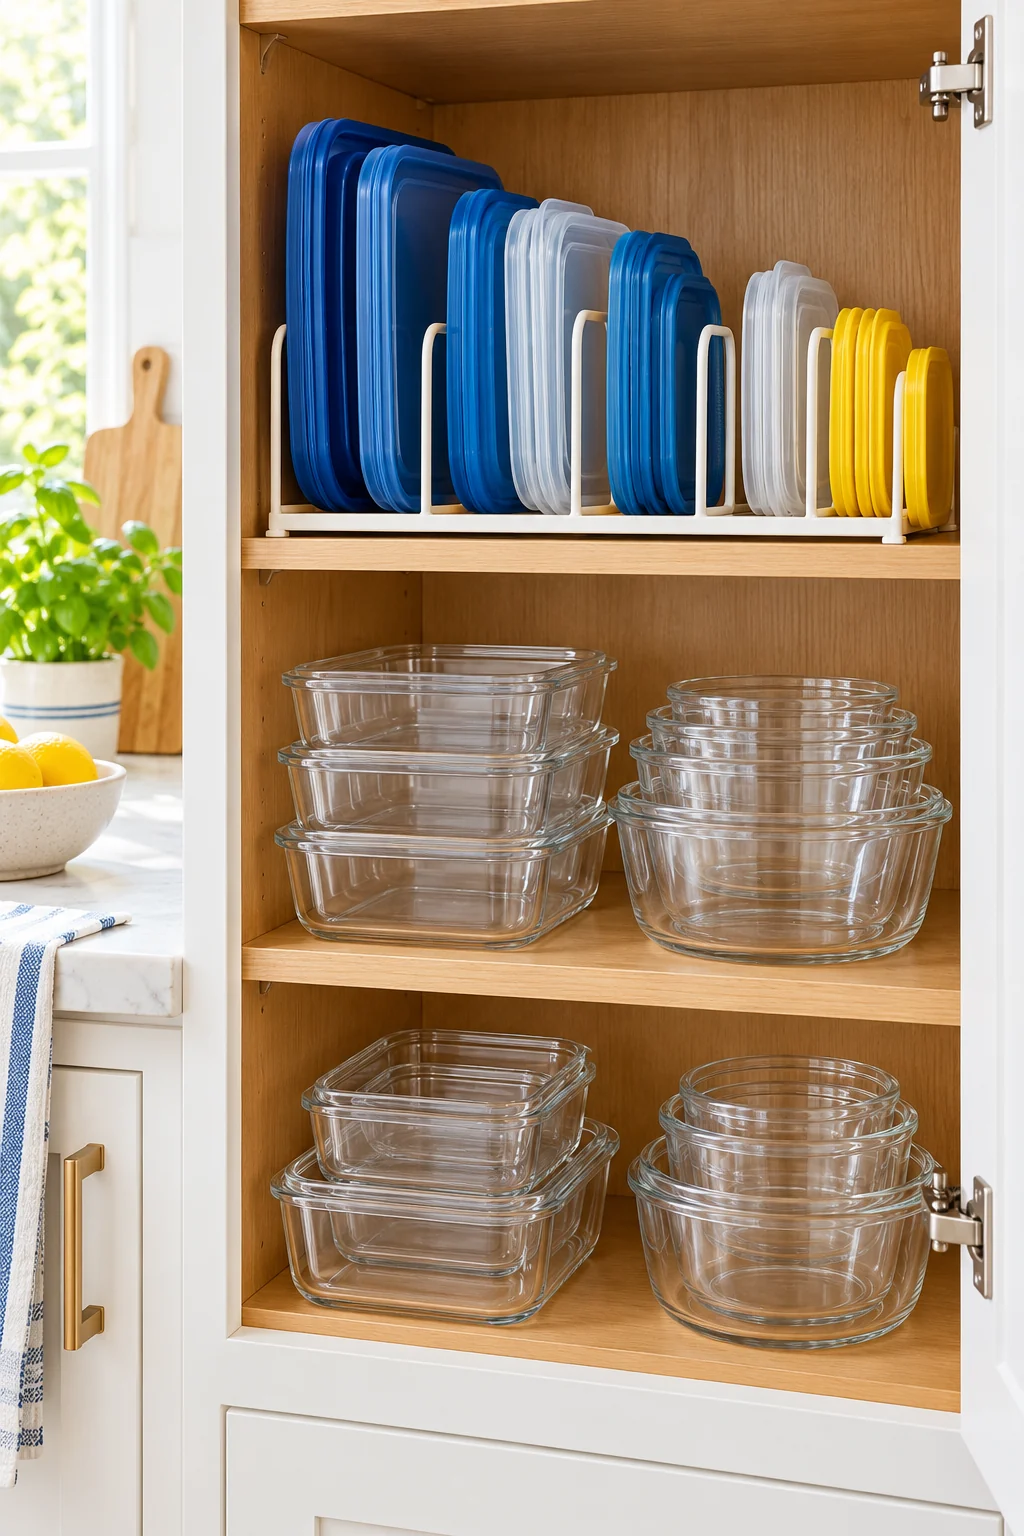
7. Fold kitchen towels into a visible row
Choose a fold that stands neatly within the drawer’s height and place towels side by side. This lets you take one towel without disturbing a stack. Separate dish towels from cleaning cloths so the intended use stays clear.
A simple box you already own may hold the row upright. Leave enough slack to add freshly washed towels without compressing them. If clean laundry never fits, reduce the working supply or move backups out of the everyday drawer.
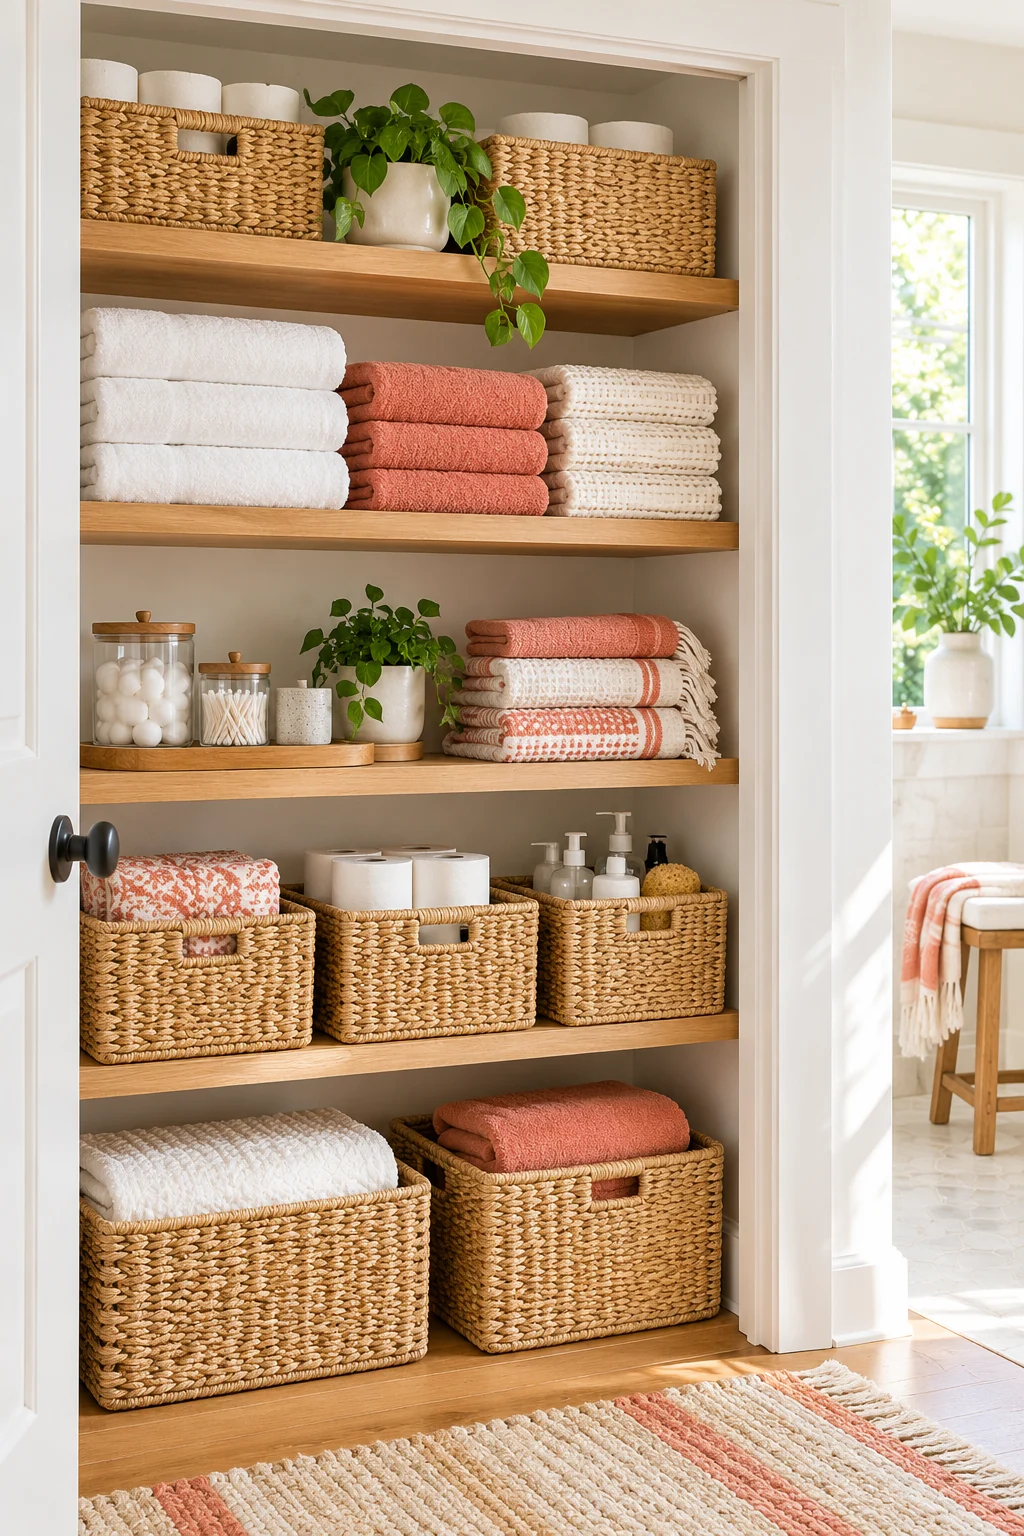
8. Divide a dresser into flexible clothing lanes
A wide dresser drawer can work better with a few long lanes than dozens of tiny cells. Group folded tees, leggings, or sleepwear within each lane so garments stay upright as the drawer empties. Adjust the lane widths to the clothes you actually own.
OXO Good Grips Expandable Dresser Drawer Dividers extend from 11 to 17 inches and stand 4 inches tall. They suit a drawer with compatible dimensions and sound, parallel sides. Follow the locking instructions rather than pushing hard enough to bow a drawer wall. View on Amazon.
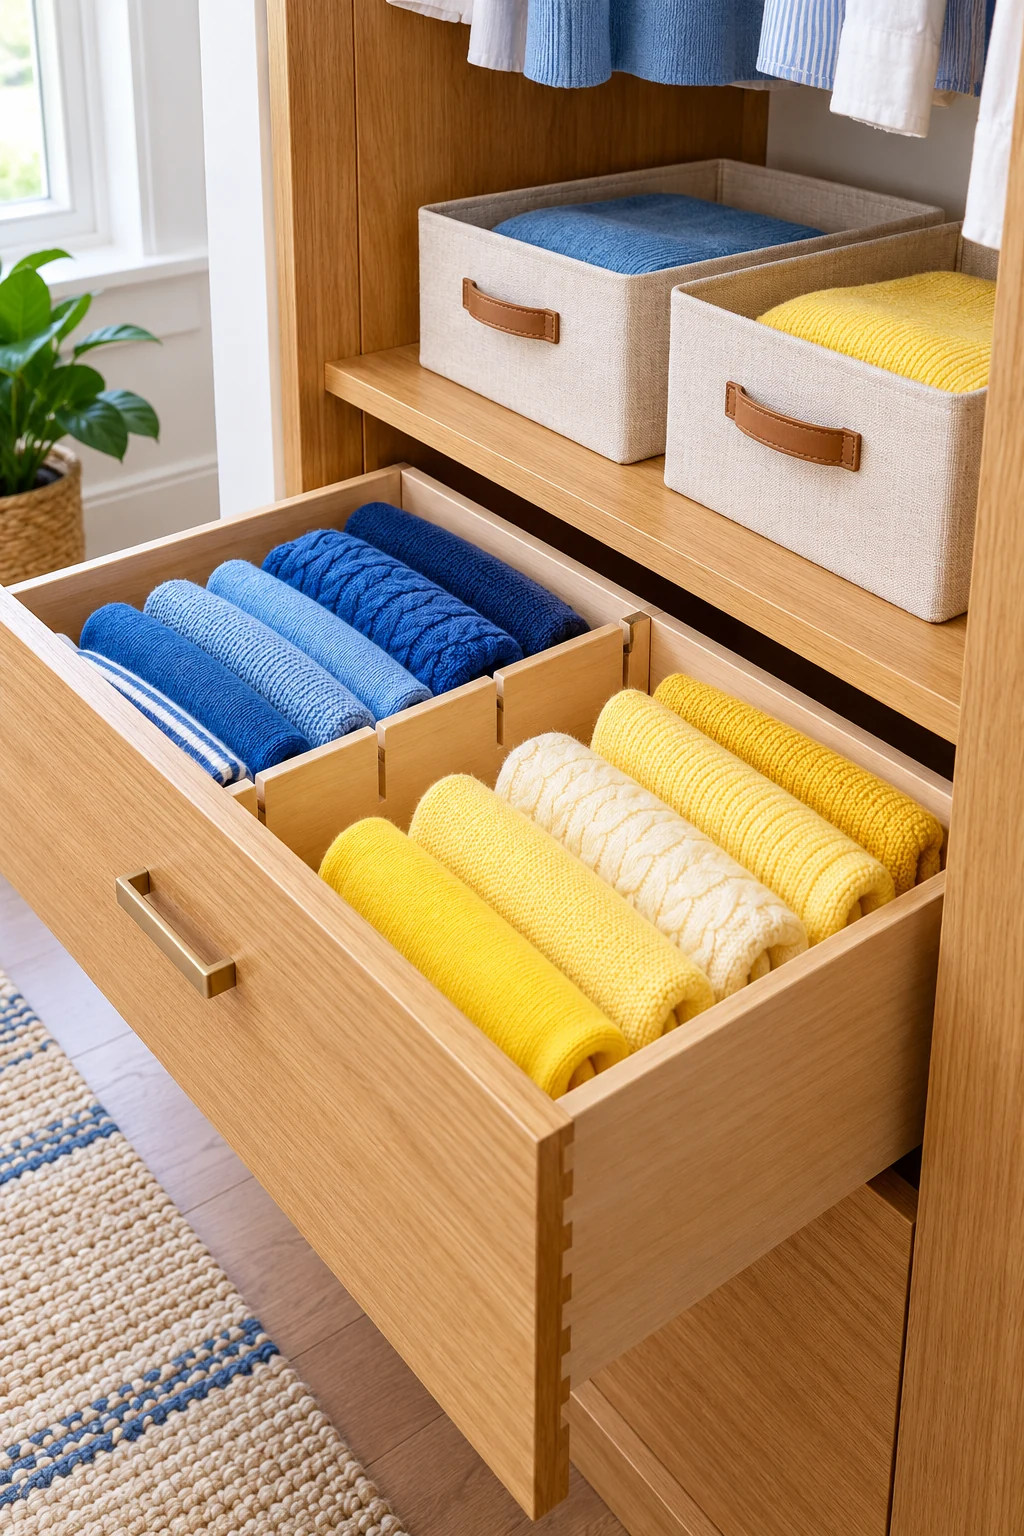
9. Give socks compartments sized to the pairs
Sort socks by the categories you reach for, such as athletic, dress, or warm pairs. Use cells only when they fit your preferred fold without stretching the cuff or squeezing the fabric. Larger winter socks may need an open section.
The Simple Houseware 4-Pack Drawer Organizer Set includes several fabric compartment layouts, each listed at 3.5 inches high. Mix the pieces across drawers instead of assuming the full set must go together. Measure each bin’s footprint and keep fabric organizers in dry storage. View on Amazon.
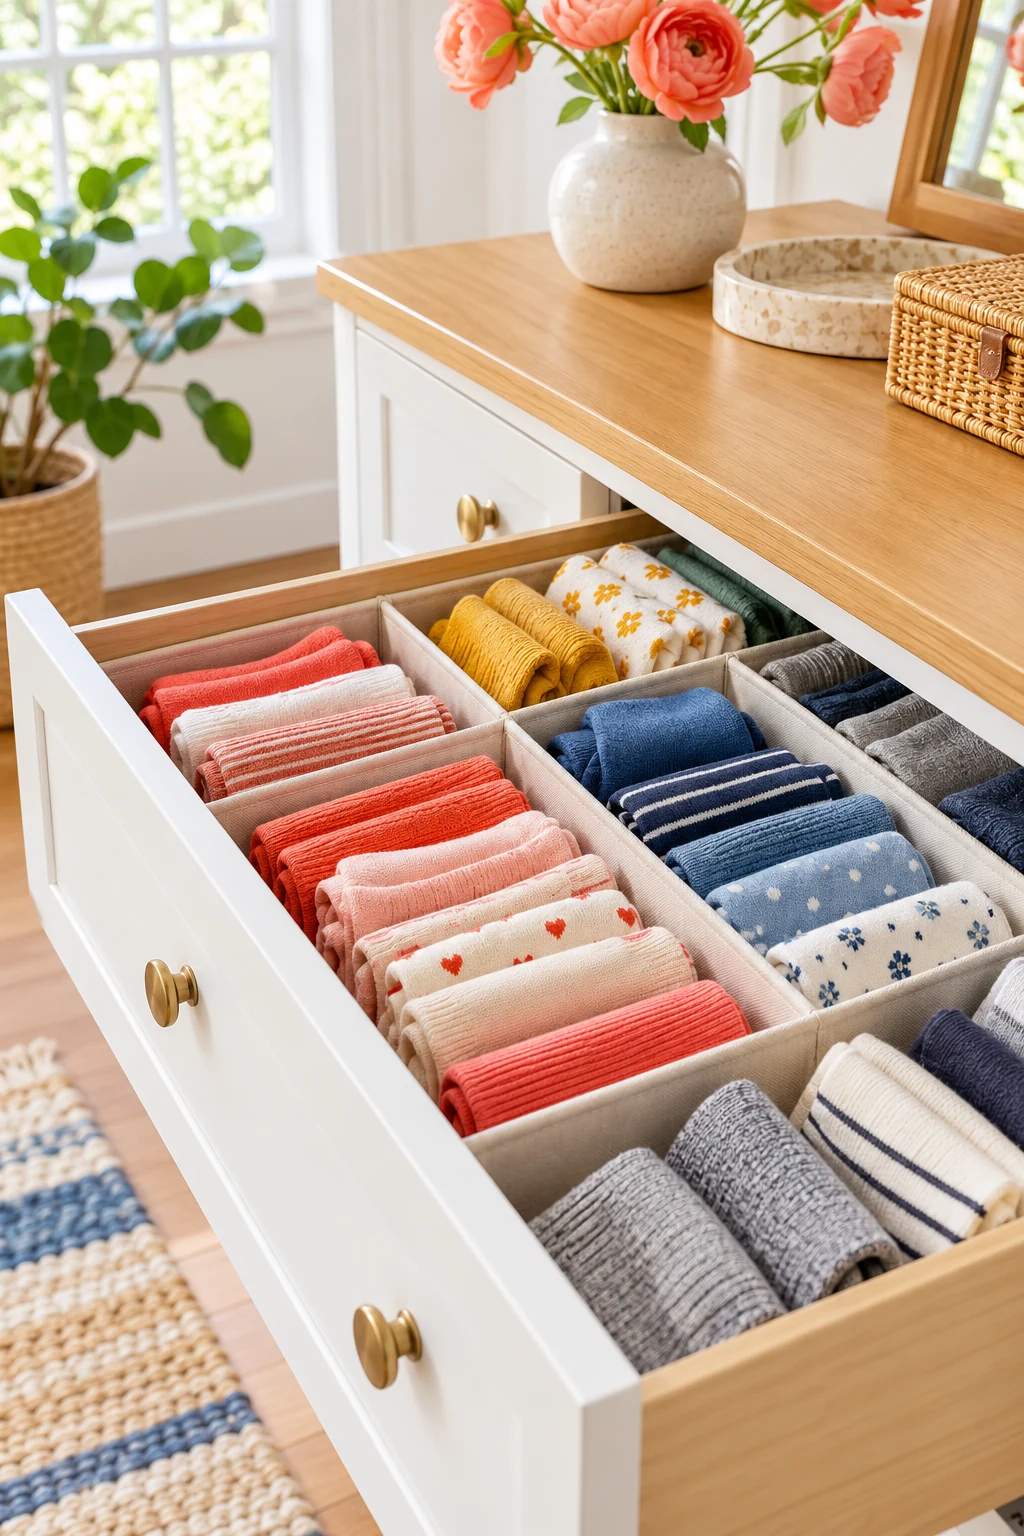
10. Support bras without crushing the cups
Arrange structured bras in a row that supports their shape, following the garment care instructions. Use a divider to keep neighboring clothing from pressing into the cups. This works best when the drawer is deep enough for the bras to sit naturally.
Soft bralettes can have a smaller folded section of their own. Avoid stuffing delicate straps into narrow gaps or forcing all styles into identical cells. If the drawer cannot accommodate a garment’s shape, choose another storage location rather than compressing it.
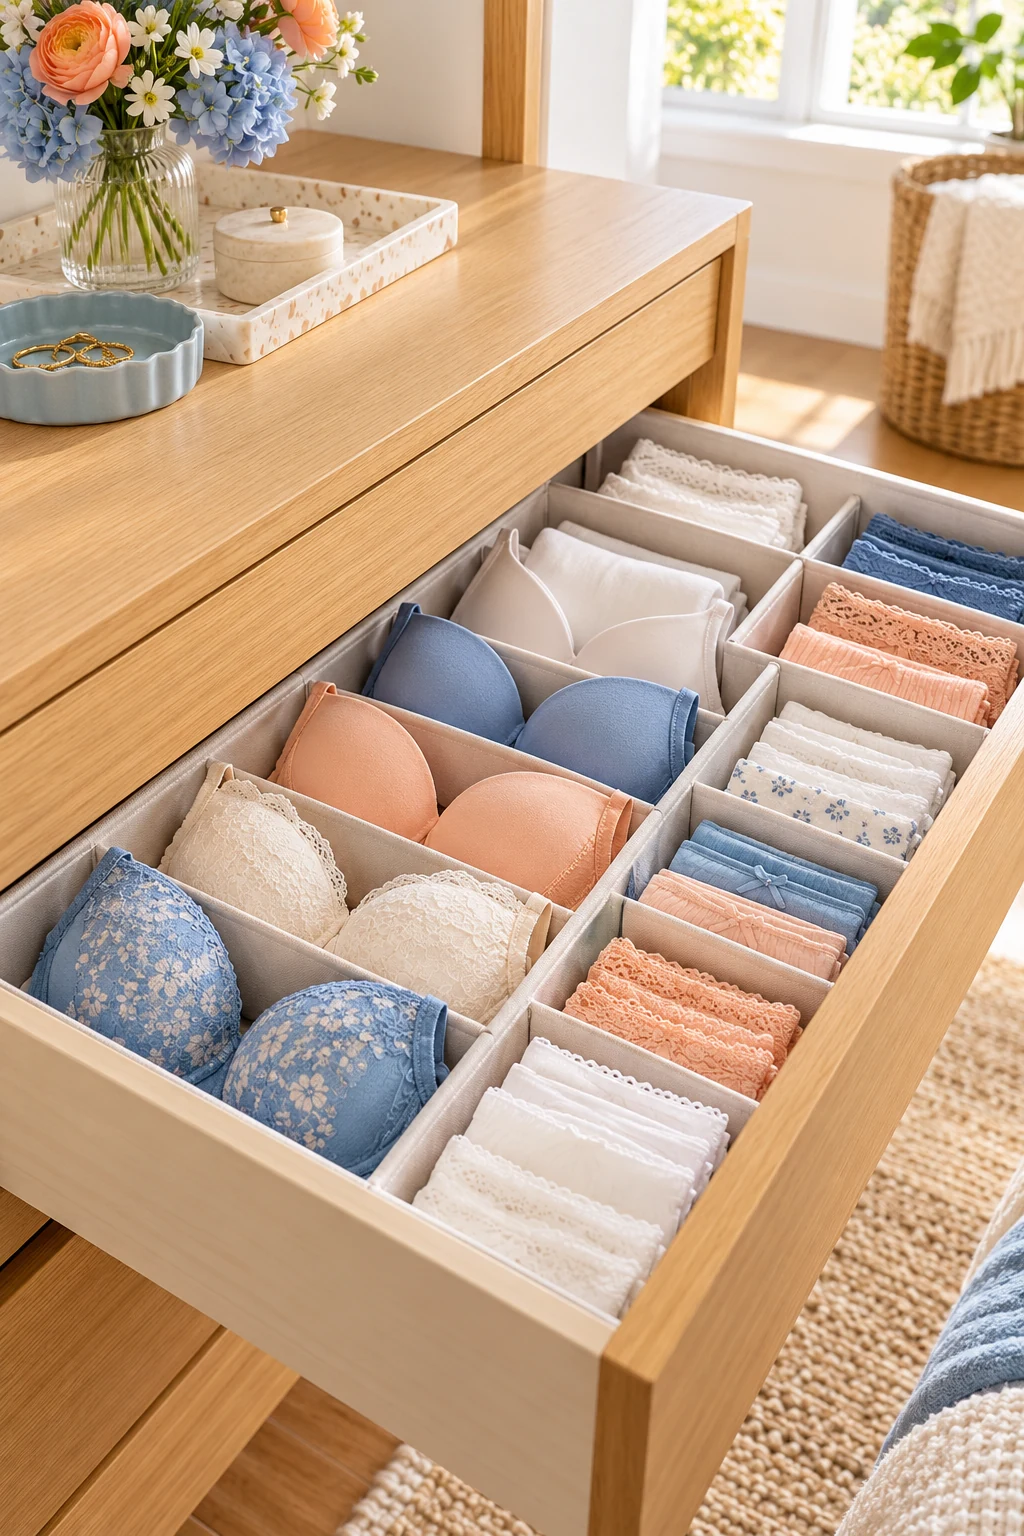
11. File workout outfits by the way you dress
Keep exercise tops, bottoms, and socks in neighboring sections so assembling an outfit takes one drawer visit. Fold pieces to a similar height and let the divider keep the categories separate. Frequent-use clothing deserves the easiest front section.
Pre-matched outfits can help if you regularly wear the same combinations, but separate categories work better when you mix and match. Leave a small amount of space for clean laundry. The system should survive a busy week without needing careful restyling.
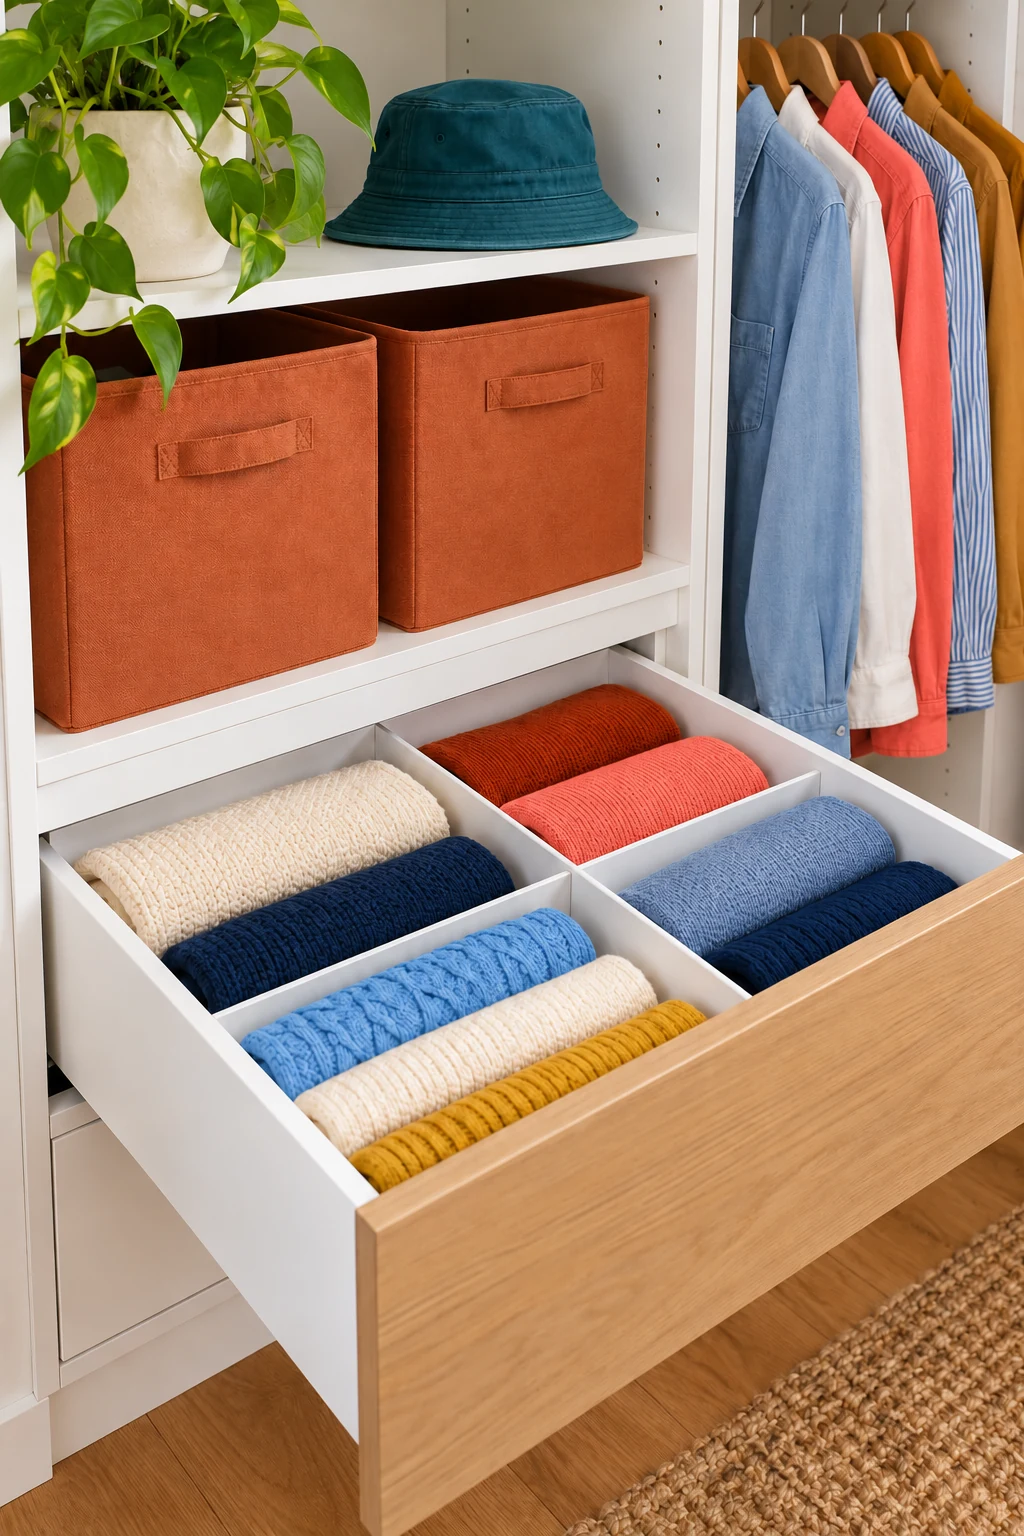
12. Give scarves a loose-fold section
Light scarves can lie in loose folds inside a wide, shallow compartment. Keep the edges visible so you can choose one without pulling out the rest. Separate delicate scarves from belts, zippers, or other hardware that might catch the fabric.
Use smooth dividers and avoid forcing thick scarves into tightly packed cells. Check the care requirements for special materials. If a scarf repeatedly emerges creased in a way you dislike, hanging or a larger storage area may suit it better.
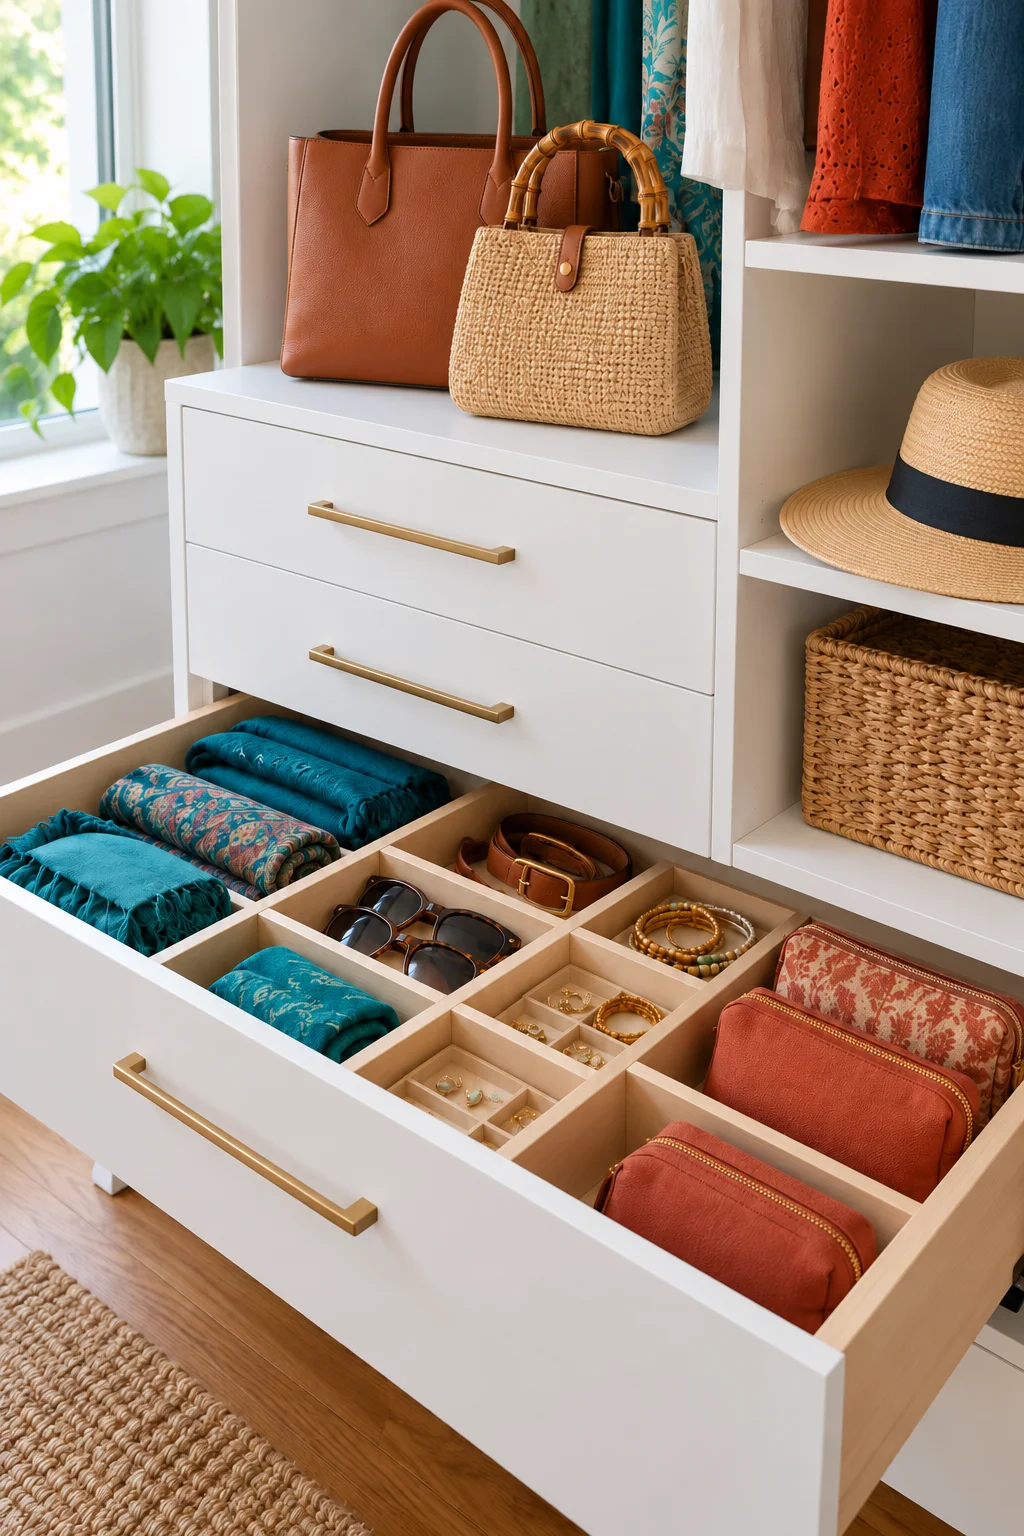
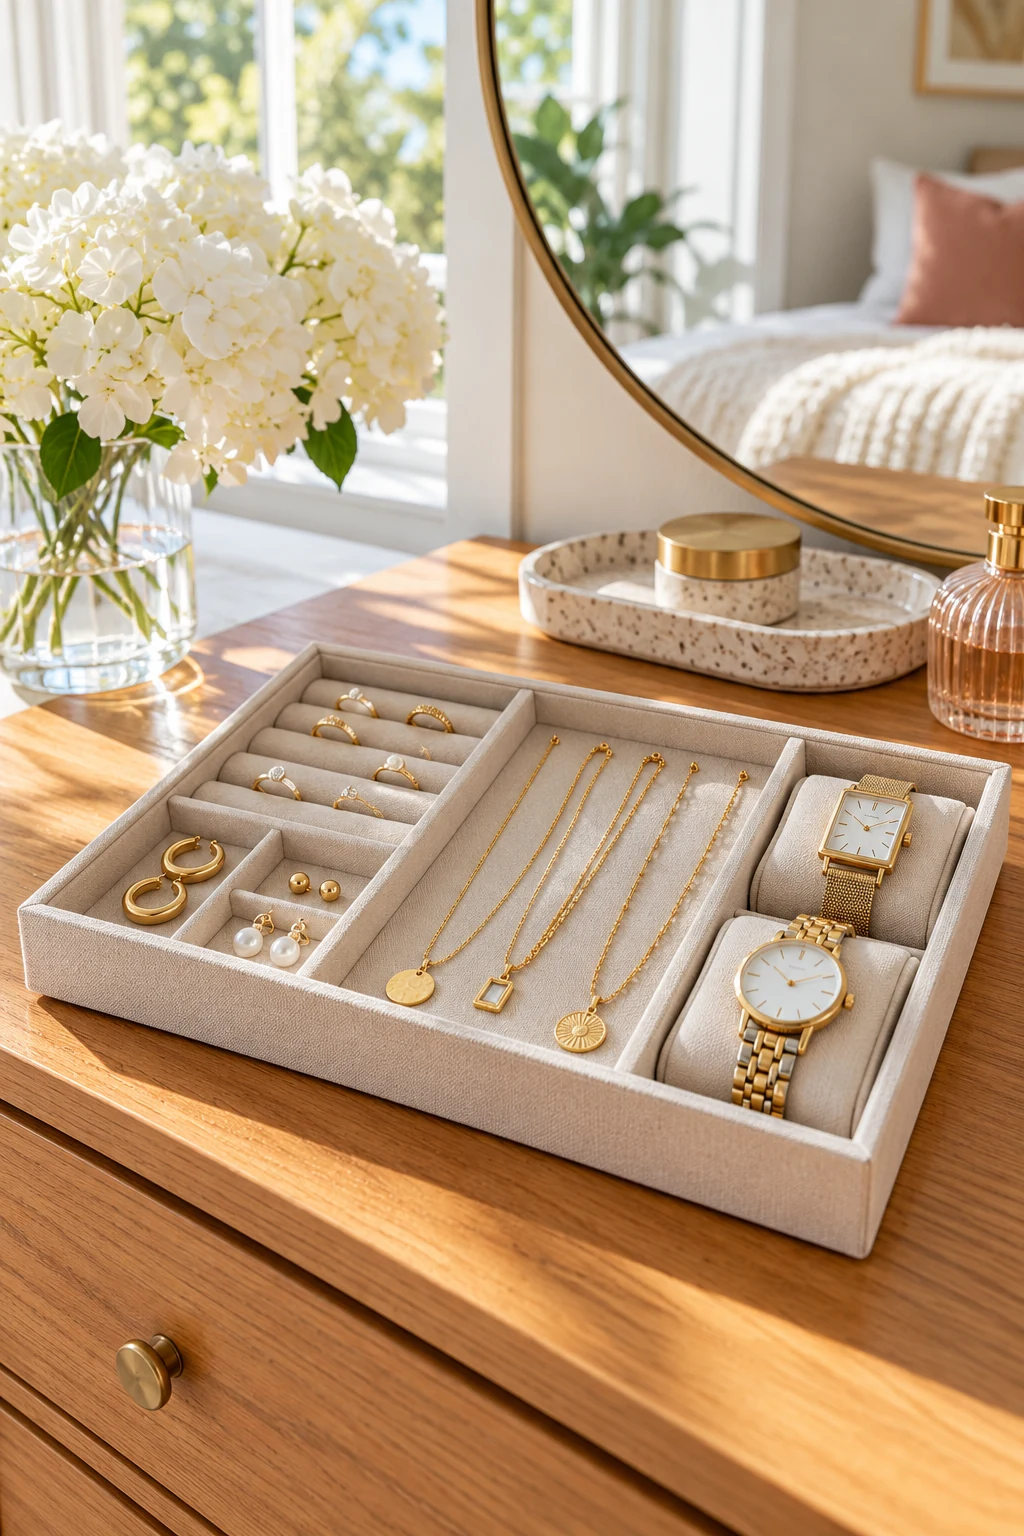
13. Keep jewelry in material-appropriate compartments
Use individual soft-lined sections for jewelry that would otherwise tangle or rub together. Place rings and earrings in small sections, with necklaces laid out or stored in their own suitable holders. Keep matching pieces together when that helps your routine.
Follow storage guidance for the specific metals, stones, and finishes you own. An ordinary desk tray is not automatically suitable for delicate jewelry. Reserve easy-reach space for everyday pieces and protect valuable items according to your household’s security needs.
14. Create a simple nightstand essentials tray
Limit a nightstand drawer to the items you use at bedtime or first thing in the morning. A shallow tray can separate reading glasses, a sleep mask, and a notebook while leaving the rest of the drawer open.
Keep liquids closed and away from paper and electronics. Charge devices only where their instructions allow, with ventilation and cords clear of moving parts; a closed drawer is not a default charging location. Remove unrelated odds and ends during a quick weekly reset.
15. Separate daily makeup from occasional products
Arrange the makeup you use most in the front of a vanity drawer, grouped by the order you reach for it. Small trays keep pencils from rolling beneath palettes and make it easier to remove a category when cleaning.
STORi SimpleSort’s six-piece set includes two each of 3-by-3, 6-by-3, and 9-by-3-inch trays. Those varied footprints can suit small cosmetics better than one large catchall. Check tray height and product fit, and follow the organizer’s cleaning instructions. View on Amazon.
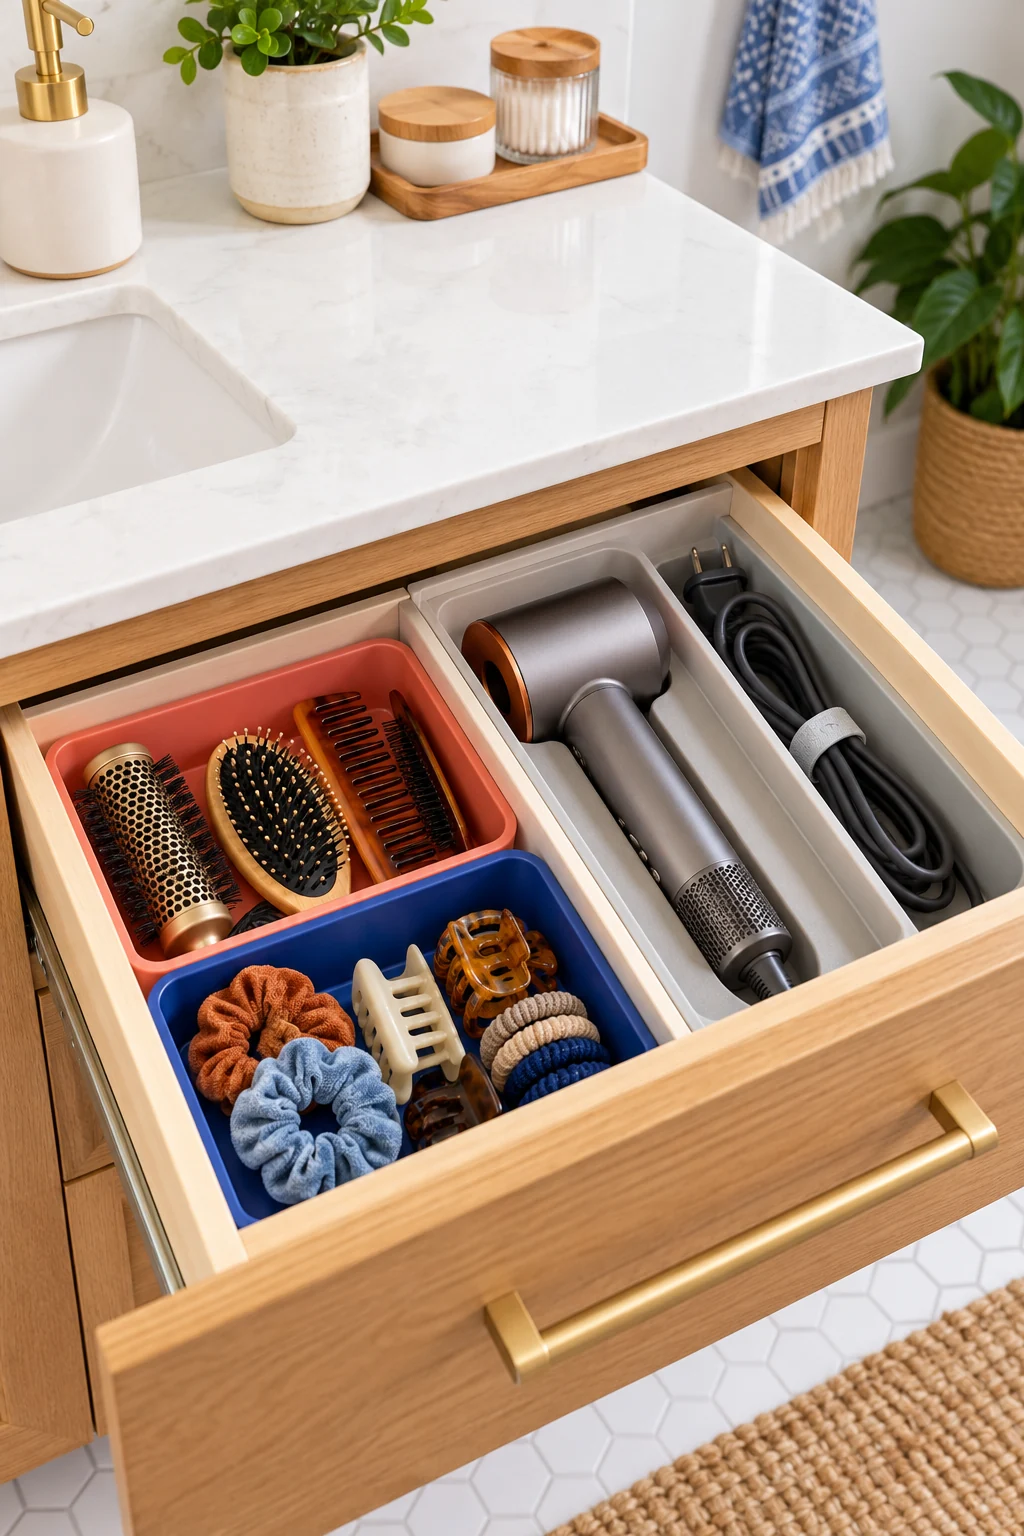
16. Keep hair ties and clips in separate small cups
A few small, smooth containers can prevent hair ties, pins, and clips from becoming one tangled handful. Use the smallest compartments for pins and a larger space for bulky clips. Keep the daily selection near your brush.
Reuse clean containers if they fit securely and have no rough edges. Do not fill every compartment to the top; small pieces need enough room to pick up easily. Keep tiny accessories secure from young children and discard damaged elastics or sharp broken clips.
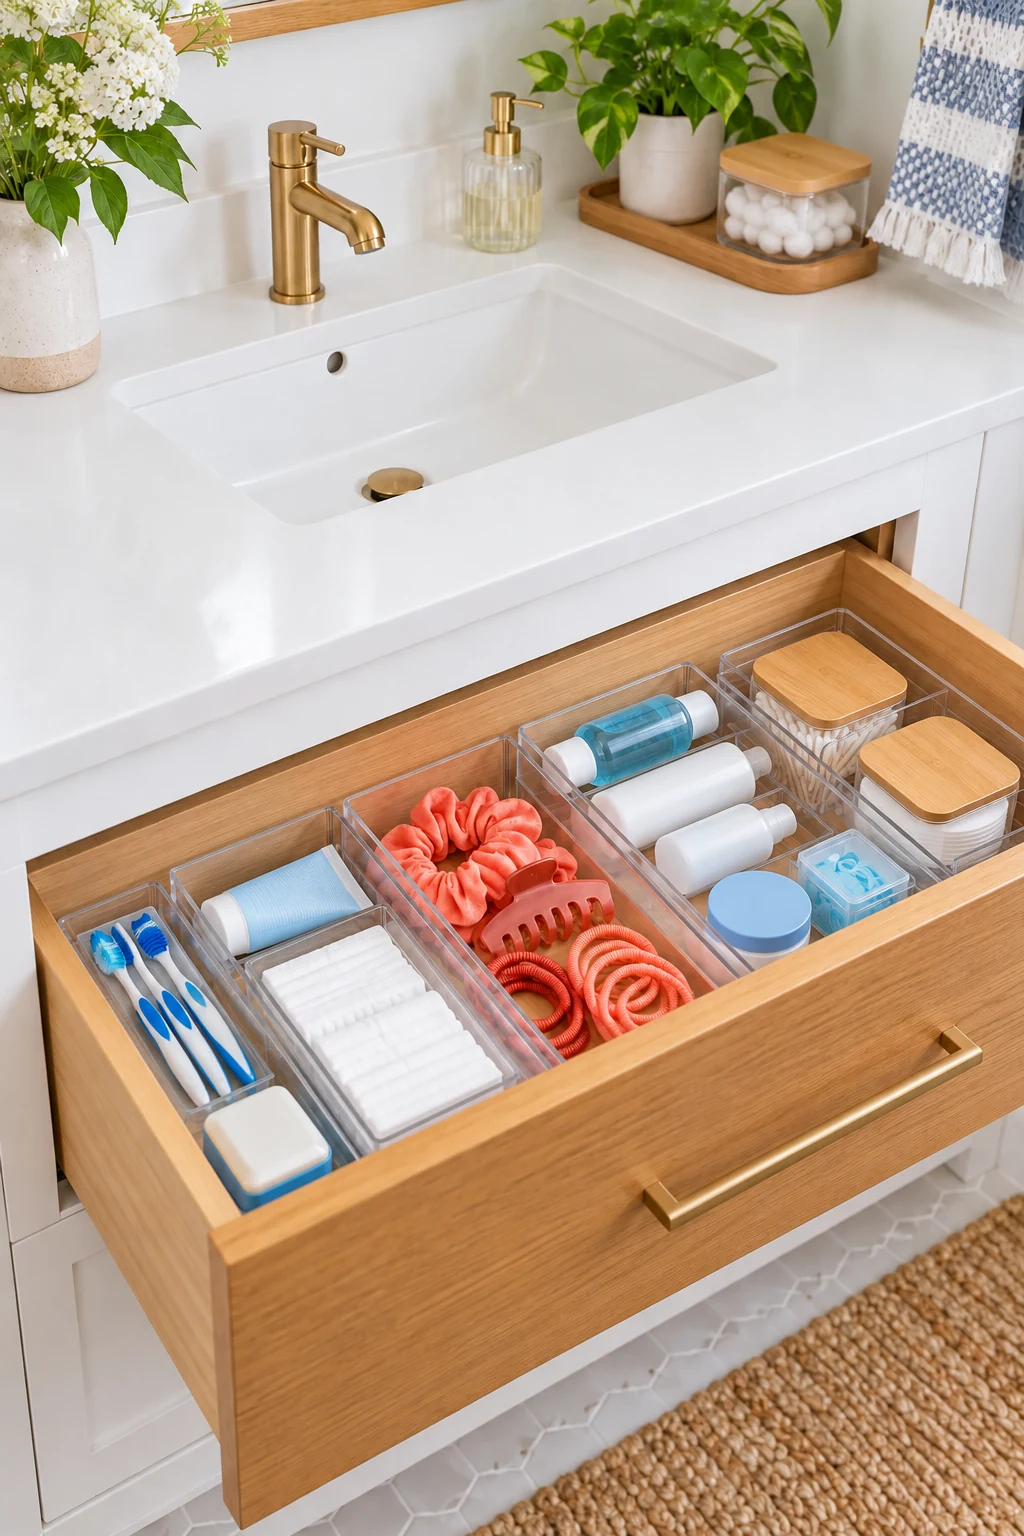
17. Line up oral-care refills in their packaging
A dry vanity drawer can hold unopened toothbrush heads, floss refills, and other oral-care backups in a short row. Group them by the device or person they belong to, with package labels facing upward.
Retain compatibility details and use instructions rather than decanting everything for appearance. Keep everyday wet brushes in an appropriate drying location. Review the refill row before shopping so you do not buy another package simply because the first one was hidden.
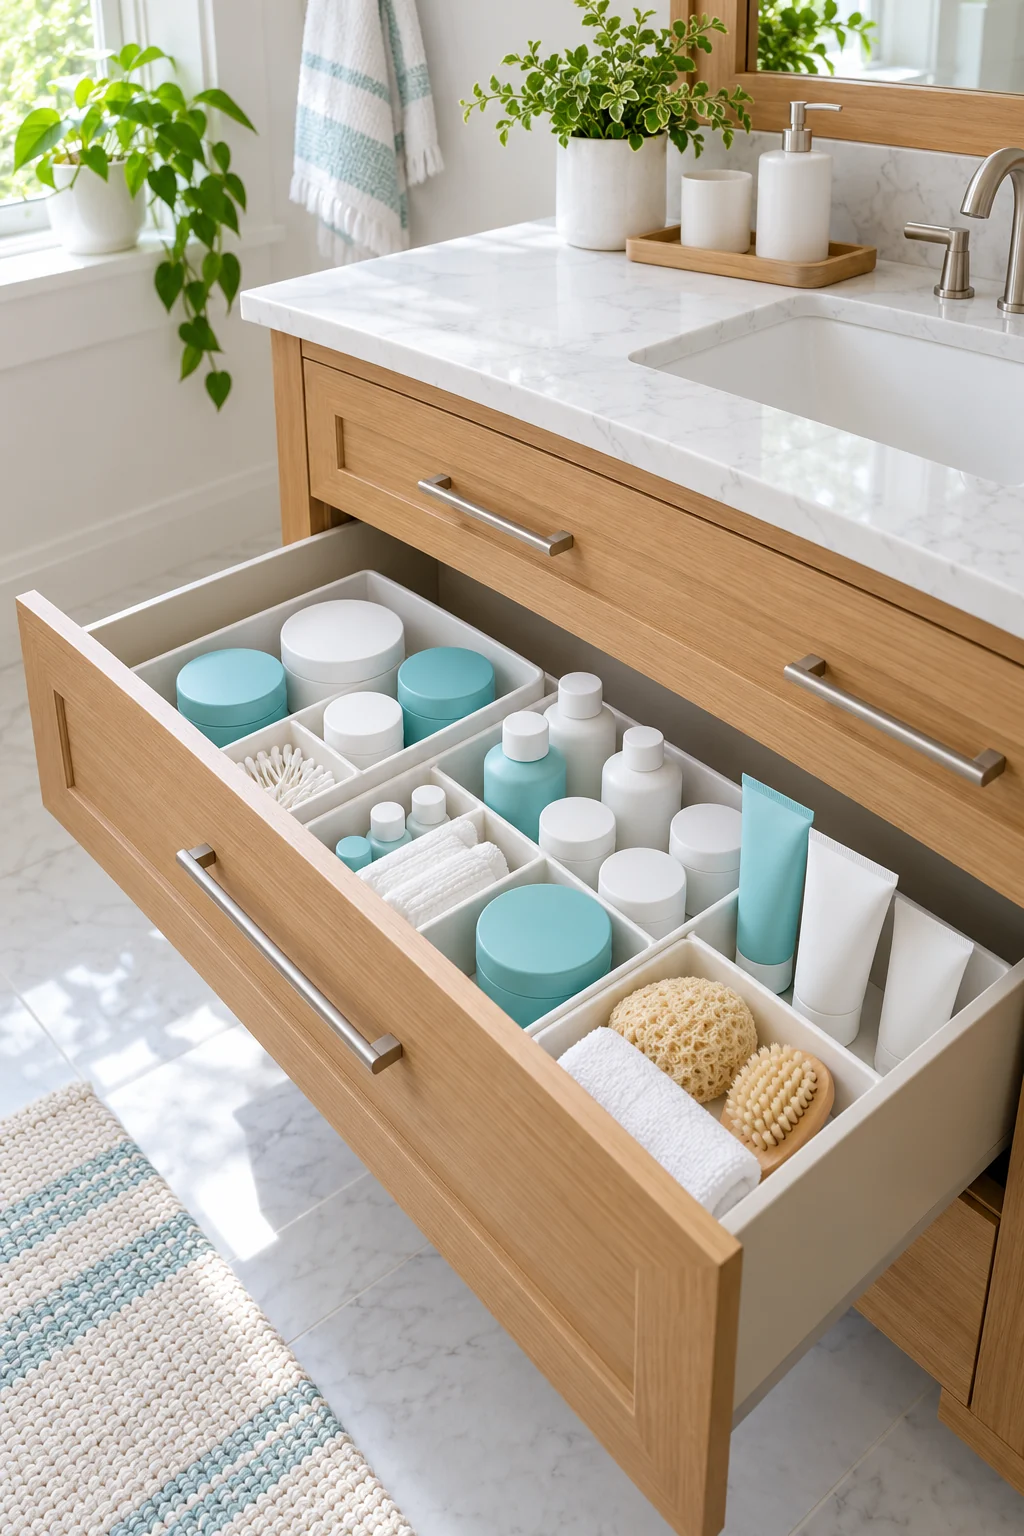
18. Arrange travel toiletries as a removable kit
Use a small washable pouch or removable tray for the travel-size products you actually use. Keep it together in a dry bathroom drawer so packing does not require collecting tiny bottles from several locations.
Close every cap and follow product storage directions. Check dates and inspect for leaks before each trip; an organizer cannot make an old product suitable to use. Keep the kit small enough to lift out without rearranging the whole drawer.
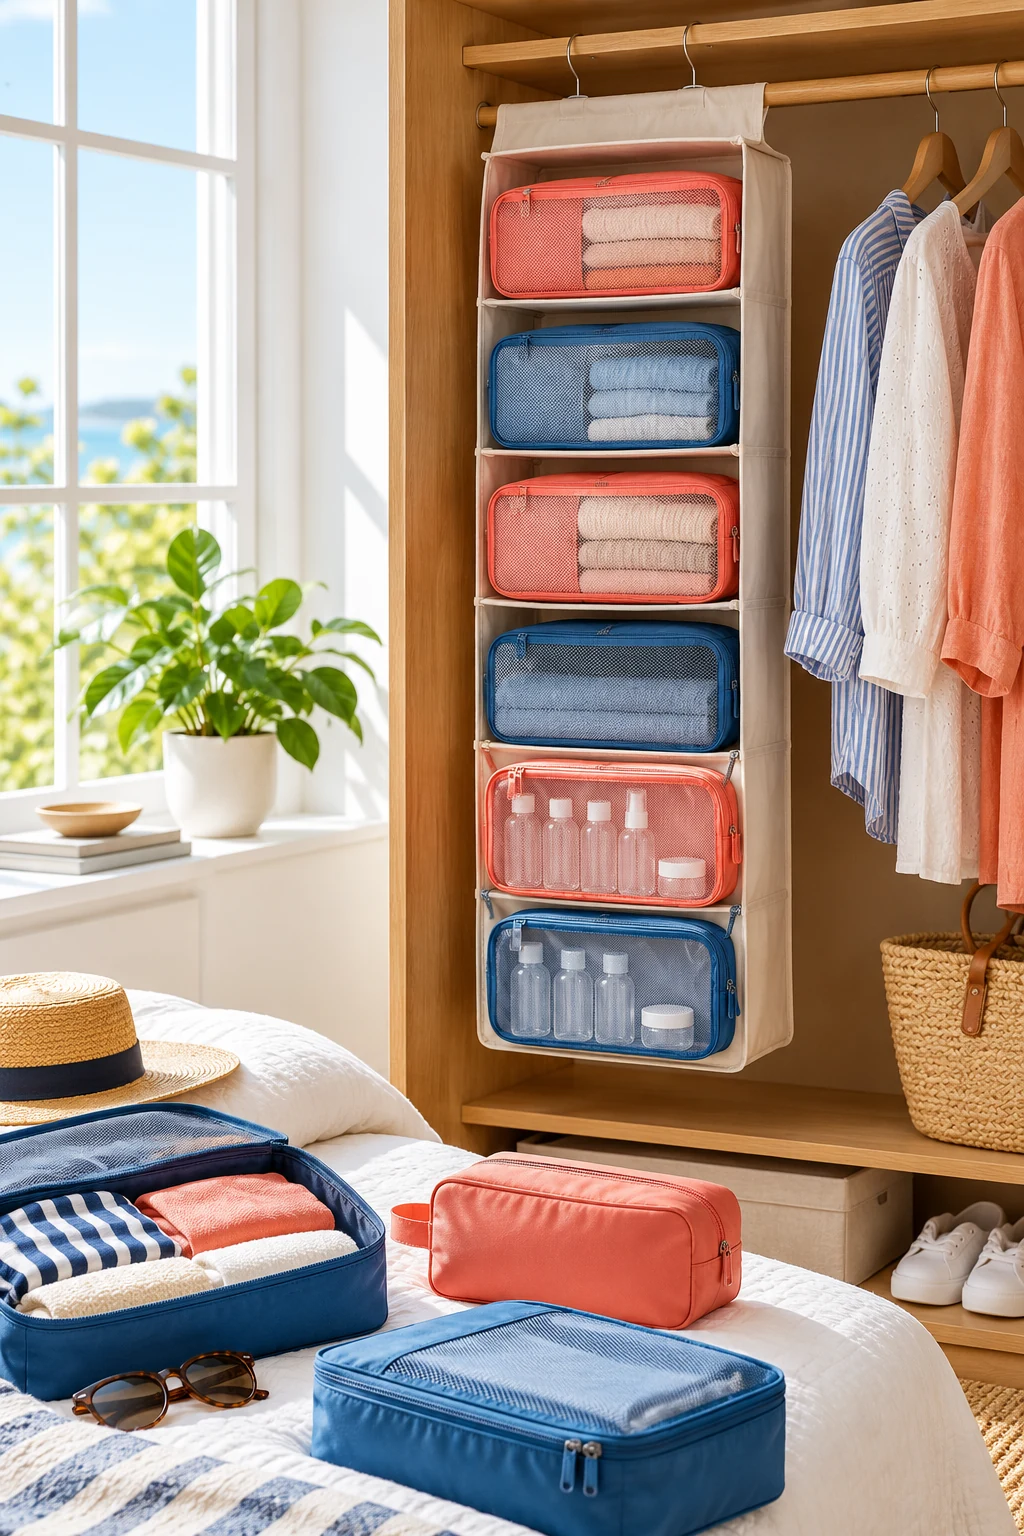
19. Separate grooming tools from loose products
Place combs, a nail file, and other dry grooming tools in a long tray where their handles are easy to see. Give pointed or sharp tools their protective covers and a secure section appropriate for your household.
Clean and dry tools according to their instructions before returning them. Keep creams and oils contained separately so a leaking bottle does not coat the entire tray. A drawer is easier to maintain when it has a few clear categories rather than a compartment for every possible item.
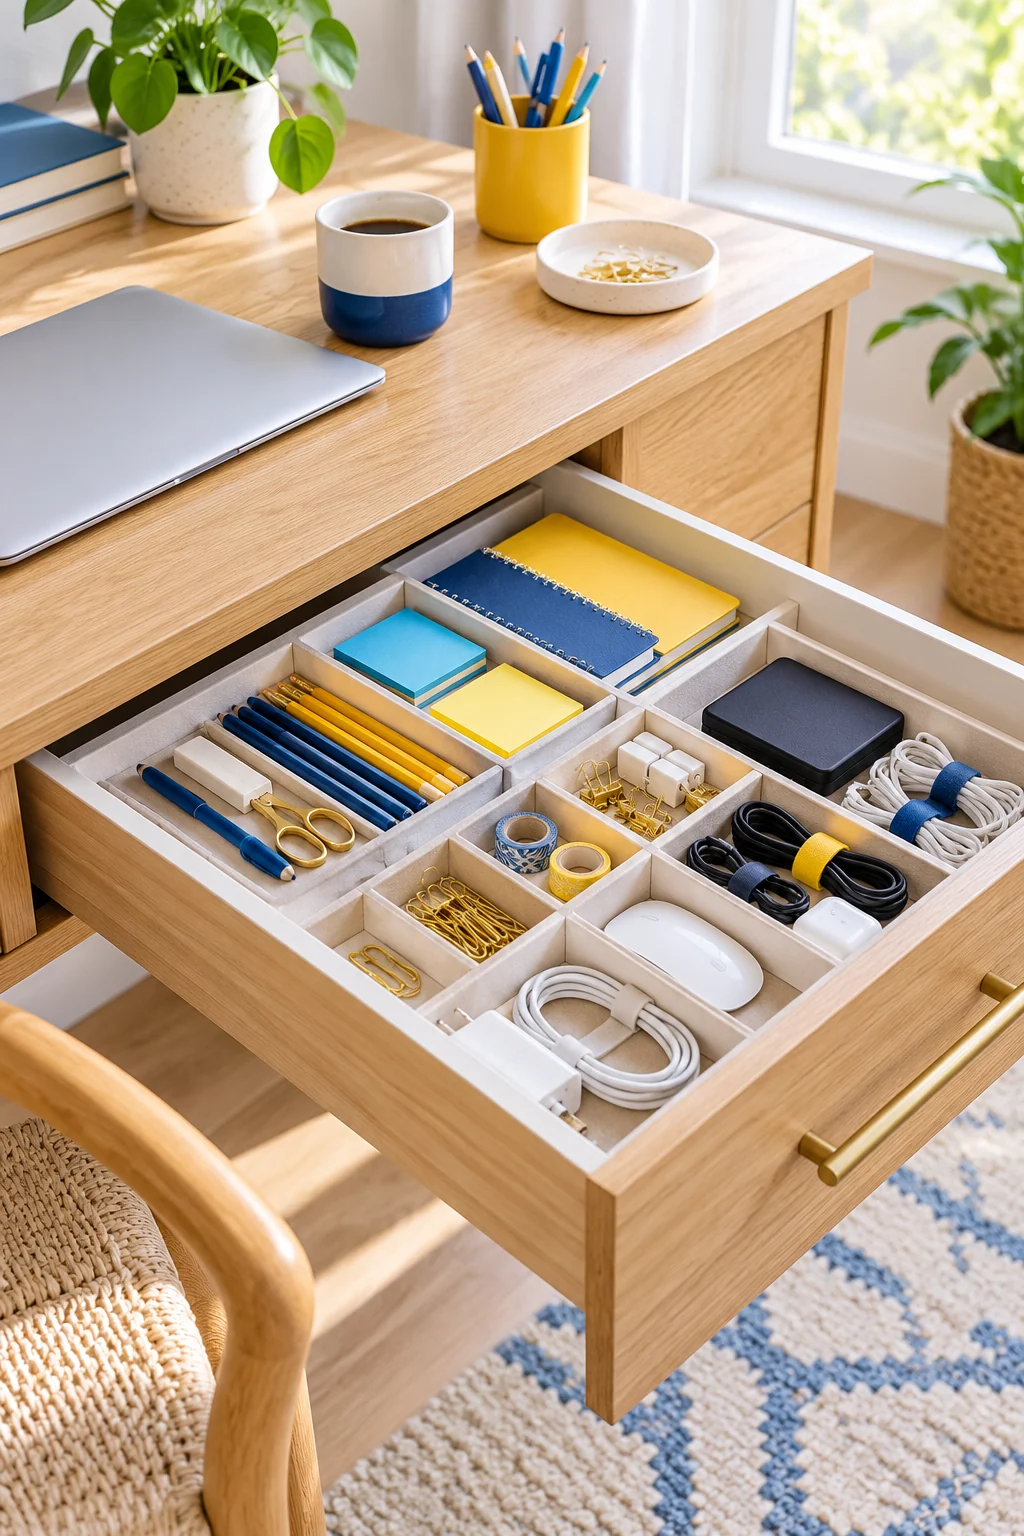
20. Build an office layout around your actual tools
Lay out the pens, scissors, tape, and sticky notes you use at your desk before choosing compartments. Keep the most-used pieces near the drawer front, with longer channels along the side. Group spare supplies separately from tools currently in use.
Joseph Joseph Blox’s ten-piece organizer has trays that clip together in different layouts. That flexibility is useful when stationery shapes do not match a fixed flatware insert. Test the arrangement before applying its nonslip feet, and distribute spare trays across other drawers if needed. View on Amazon.
21. Pair cables with the devices they serve
Coil unplugged cables loosely according to their care guidance and keep each with a simple identifier. A small compartment or reusable tie can stop several cables from becoming one knot. Put frequently used cables in the front section.
Do not bend cables sharply or wrap them tightly around plugs. Remove damaged cables from use and keep power adapters out of a closed drawer while operating unless the manufacturer explicitly allows it. Store only cables you can identify and still need.
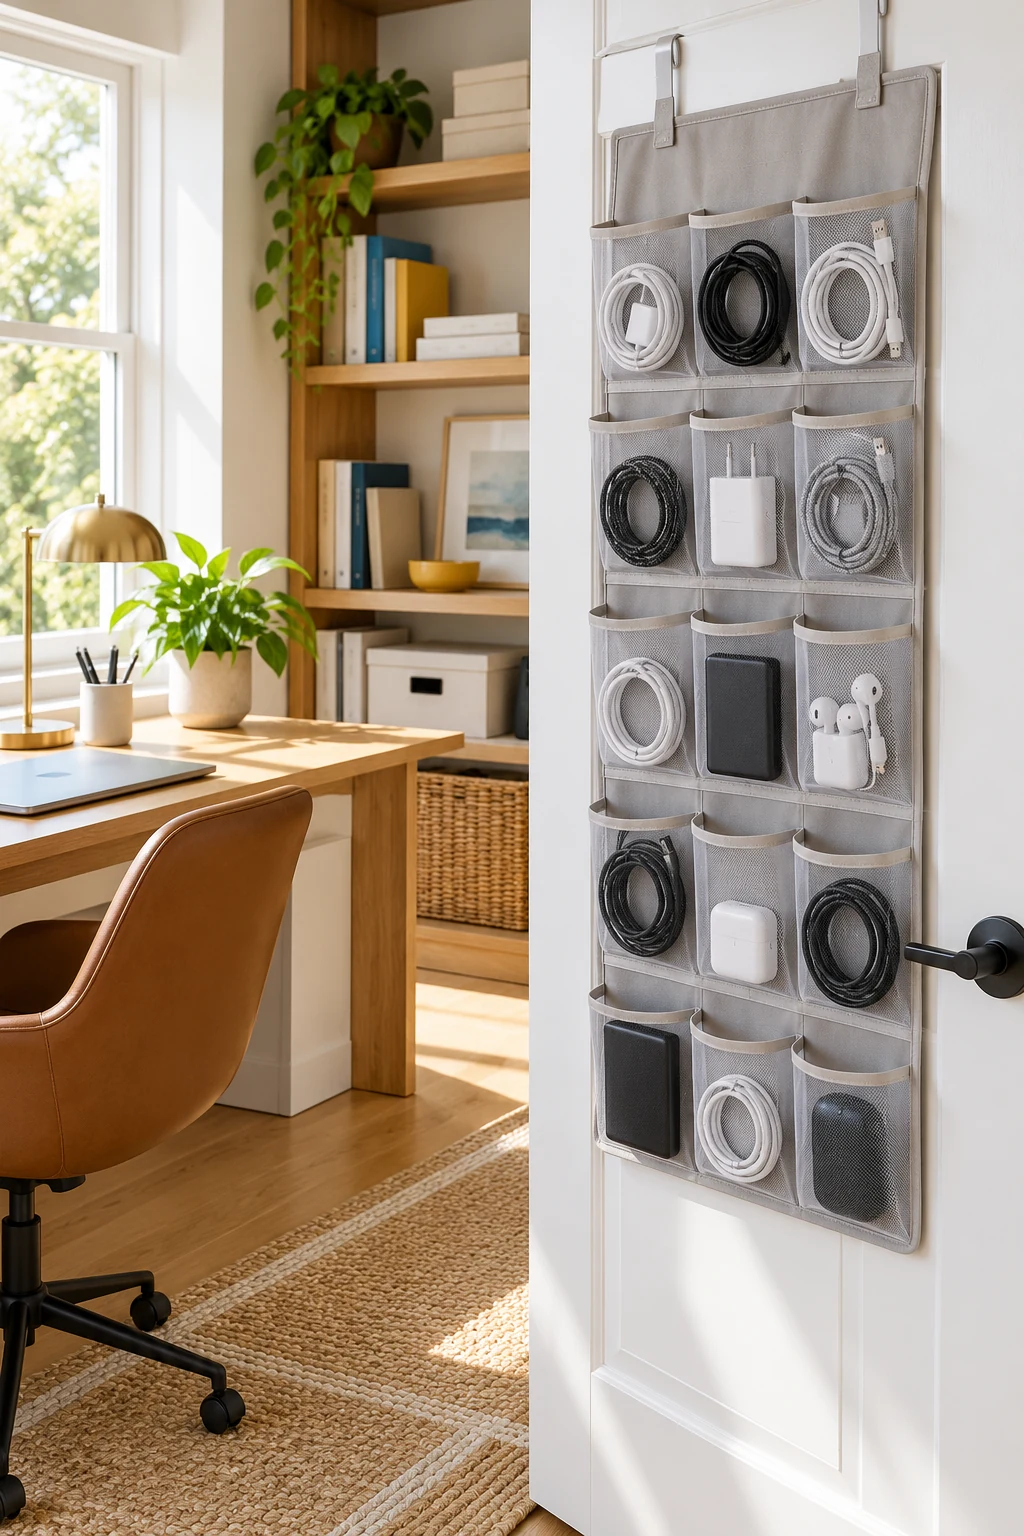
22. Give small electronics a padded landing place
A shallow drawer can keep a camera accessory, headphones, or a spare mouse from spreading across the desk. Use compartments suited to their shape and keep delicate surfaces from rubbing against loose metal objects.
Follow each device’s storage guidance and leave batteries in their appropriate protected storage rather than mixing loose cells with hardware. Keep liquid refills in a different drawer. A simple inventory note can help when a rarely used adapter is otherwise easy to forget.
23. Keep correspondence supplies ready together
Store envelopes, stamps, address labels, and a working pen in neighboring compartments. A flat rear section can hold a few blank cards without bending them. This turns a drawer into a practical mailing station.
Keep the supply proportionate to how much mail you send. Put confidential paperwork in suitable secure storage instead of mixing it with stationery. If you are constantly stacking papers above the organizer, move the filing task to a dedicated place.
24. Make a drawer for the current project
Give an active household or creative project one removable tray. Keep only the tools and materials needed for its next session, such as a small repair kit or a set of drawing supplies.
Label the tray with a concrete project name and review it when the work is finished. Return reusable tools to their main homes, and avoid accumulating several abandoned project trays. This works best as temporary working storage rather than a second junk drawer.
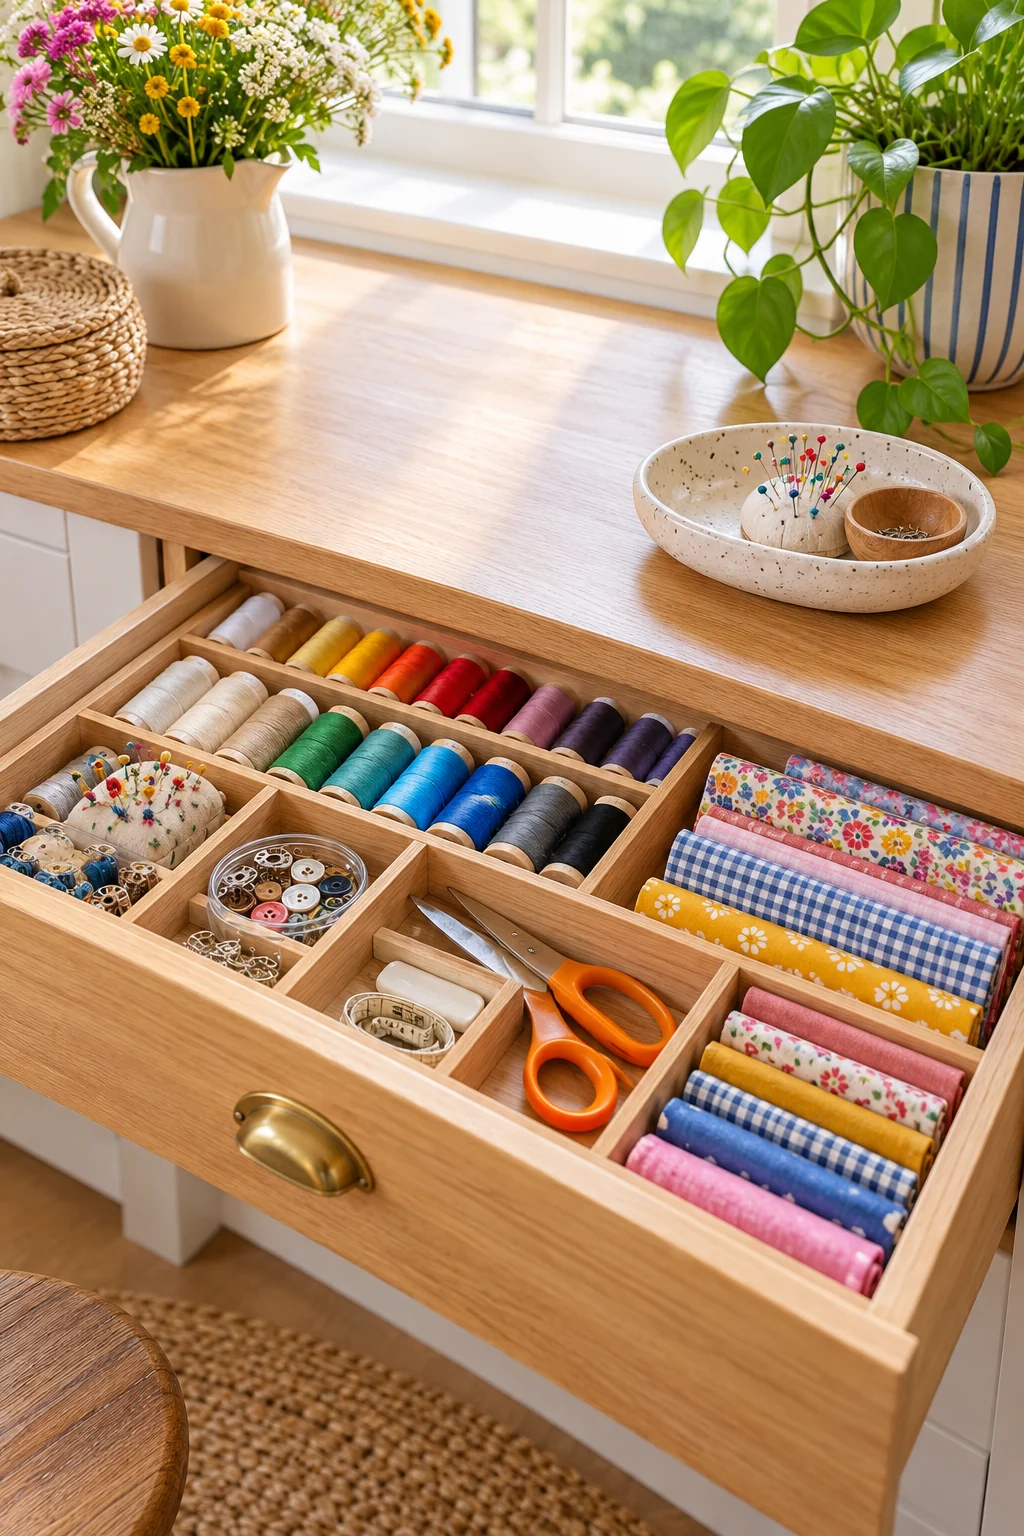
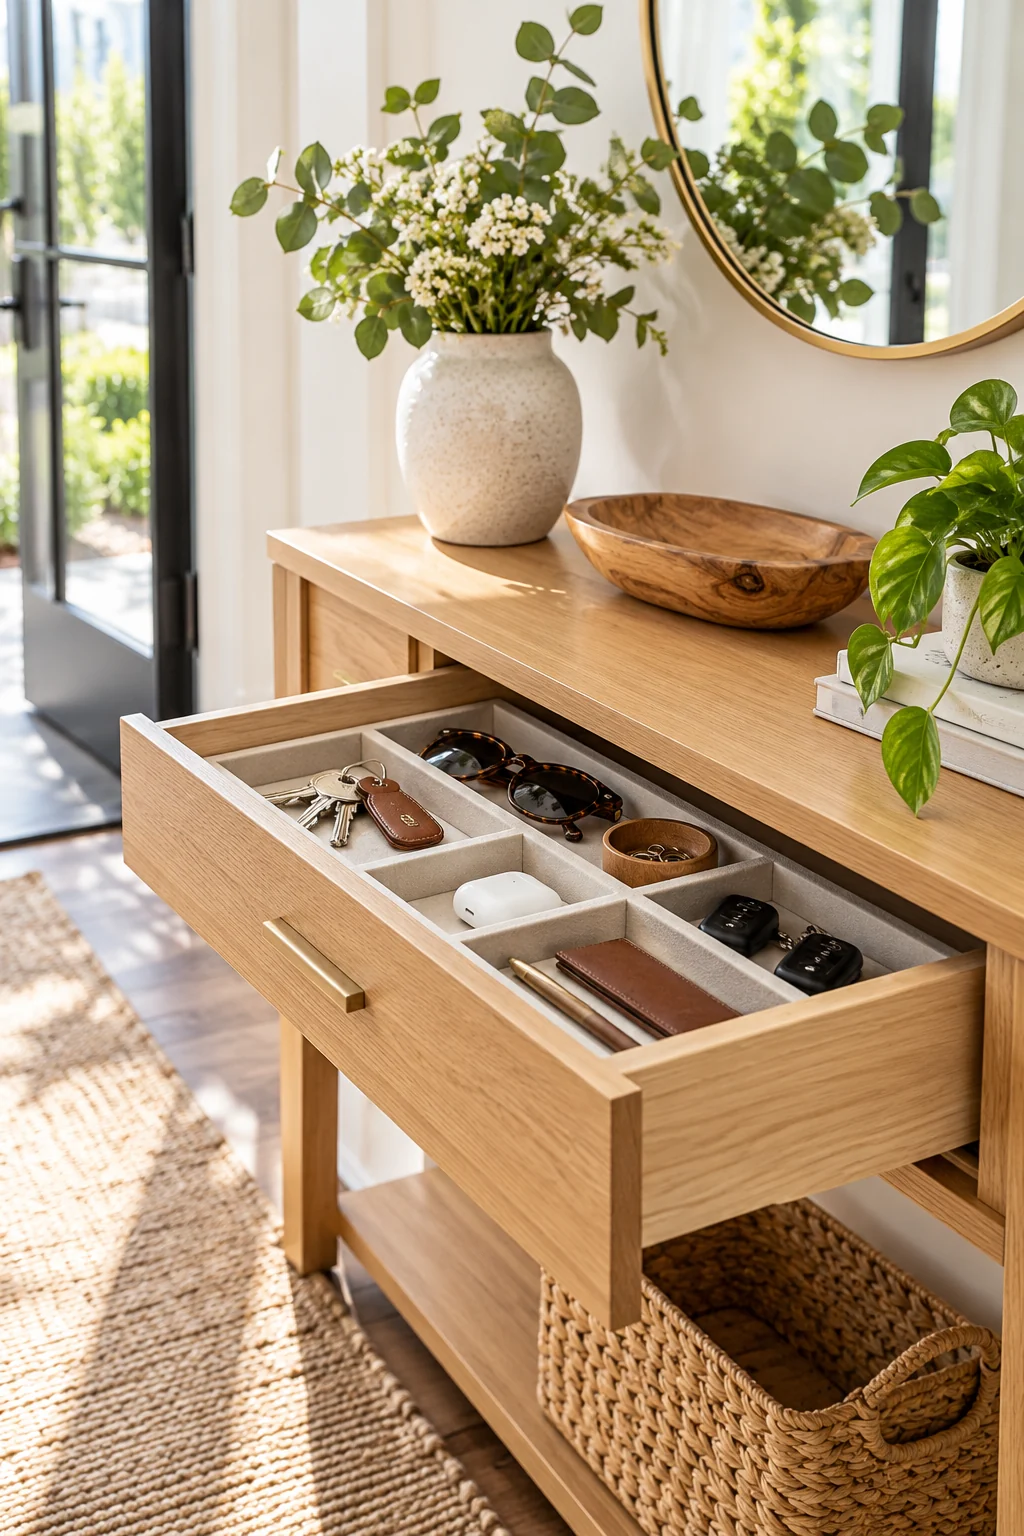
25. Assign each person an entryway compartment
A console drawer can give each household member a defined spot for everyday small essentials. Choose compartments wide enough for a wallet or glasses case, and leave a shared section for items such as a tape measure or reusable shopping list.
Keep important keys and identifying documents according to your security needs, especially near doors or windows. Use plain labels if ownership is not obvious. The drawer should support leaving and arriving, so move unrelated household supplies elsewhere.
26. Keep seasonal accessories in pairs
A low entryway drawer can hold dry gloves, lightweight hats, and folded neck warmers in separate sections. Store pairs together and position the most-used items in front. Small dividers stop one missing glove from sliding underneath everything else.
Wet accessories need to dry before enclosed storage. Change the drawer’s contents as the weather changes instead of adding each new season on top of the last. Bulky items may need an open bin rather than a shallow drawer.
27. Create a living-room remote-control tray
Keep remotes and small entertainment accessories in a shallow drawer beside the seating area. Give each remote a visible position so you can spot what is missing. Leave enough space around the buttons that they are not held down in storage.
Put spare batteries in appropriate packaging or a purpose-made safe holder, out of children’s reach. Remove unrelated cords and instruction manuals if they overwhelm the daily-use tray. Keep the drawer simple enough for anyone to return the remote after watching.
28. Sort craft supplies by project stage
Give cutting tools, marking supplies, and fastening materials separate sections in a craft drawer. Arrange the most-used tools along the front edge, with refills behind them. Use appropriate guards and secure storage for anything sharp.
Choose removable containers for supplies you carry to a worktable. Keep small components contained and inaccessible to young children. Separating tools from refills often makes the drawer more useful than arranging every item by color.
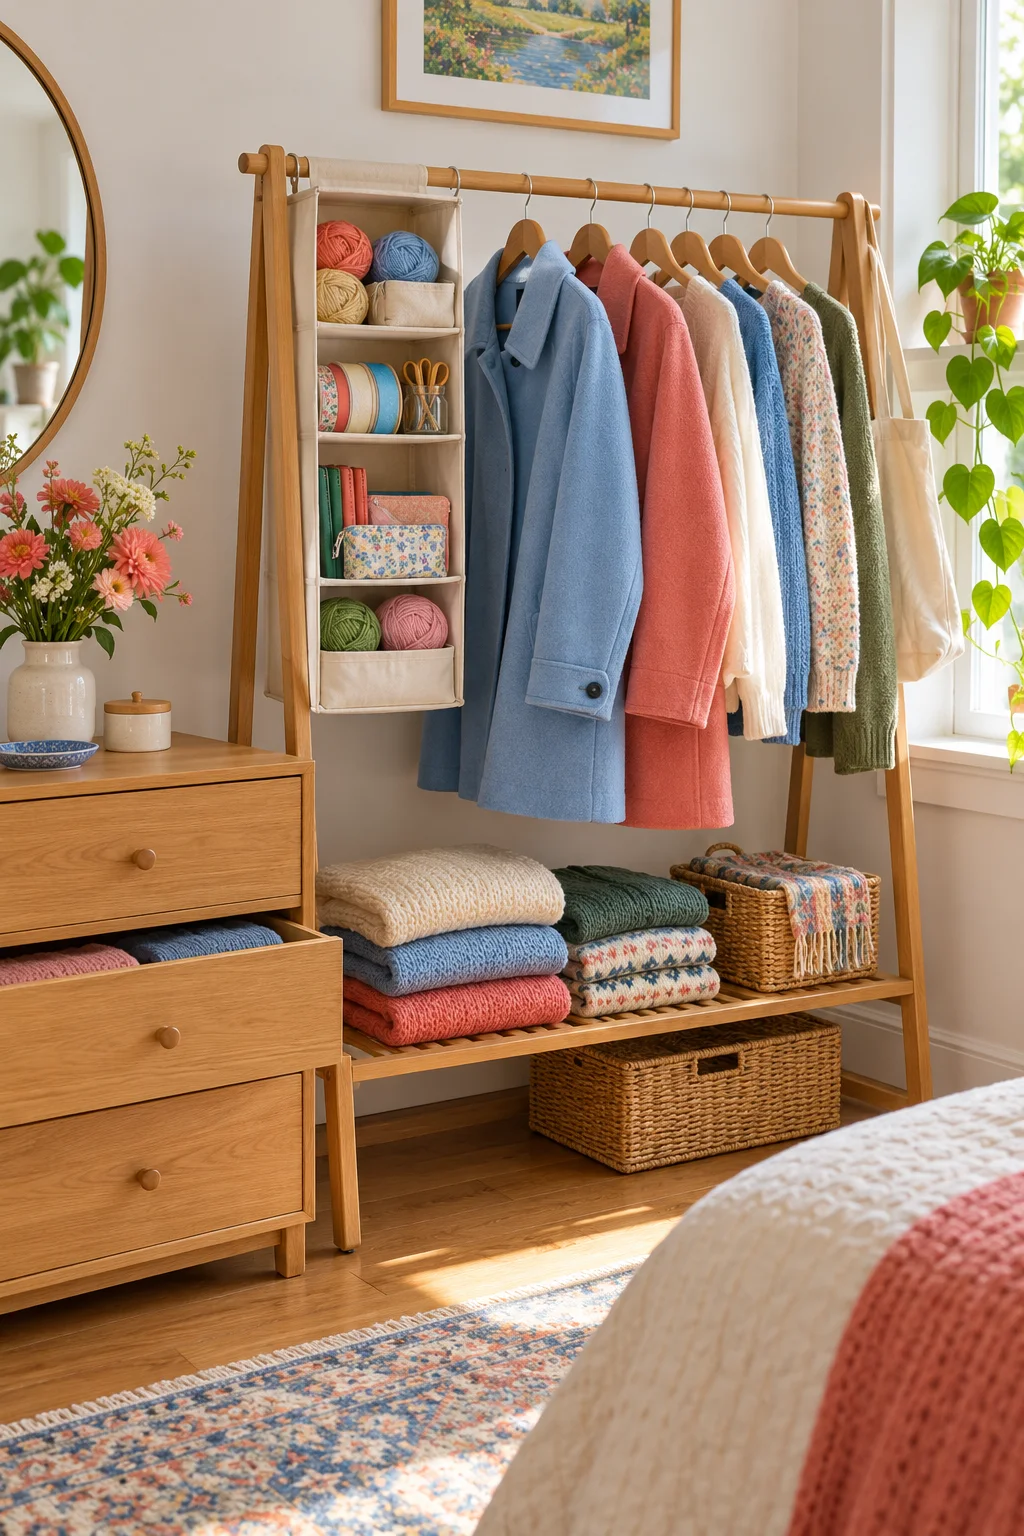
29. Make a small mending kit easy to lift out
Keep thread, spare buttons, a tape measure, and properly stored needles together in a removable sewing kit. Place it in a drawer near where you normally mend clothing so the kit can come to the work surface in one trip.
Keep needles and pins in secure holders and tiny parts away from children and pets. Label spare buttons by garment when possible, then remove them when the garment leaves your wardrobe. A compact useful kit beats a deep drawer full of unidentified notions.
30. Leave a little room for the next reset
End each drawer project with some unassigned space. That gap gives your fingers room to lift things out and makes it easier to notice when a category is growing. Fill only the compartments that solve a real problem.
After a week of normal use, check which items land outside their sections. Enlarge the category, change its position, or remove what no longer belongs. The organizer should suit your routine rather than require everyone to follow an intricate packing puzzle.
Pick one drawer, give its most-used items clear places, and leave a little breathing room. Adjust the layout after living with it for a few days. Subscribe to the Havelyo email list for more small-space decorating and organization ideas.