
Kitchen Organization
20 Cutting Board Storage Ideas for Kitchens of Every Size
A cutting board needs a convenient home, but its broad shape can take over a drawer or start an awkward stack beside the stove. The right spot should let you grab the board you need and put it back without moving half the kitchen.
These 20 cutting board storage ideas work with different cabinet sizes and board collections. Start near your usual prep area, check the board’s care instructions, and measure the full shape, including handles. Choose storage for clean, dry boards, with a separate place to let them dry after washing.
This article contains affiliate links. If you buy through them, Havelyo may earn a commission. As an Amazon Associate I earn from qualifying purchases.
1. Keep the everyday board beside your prep area
Choose a home within easy reach of the counter where you usually chop. A board stored across the room is more likely to stay out between meals, especially when retrieving it means moving a pile of serving trays first.
Try a nearby lower cabinet or drawer before adding anything to the counter. Keep the route between storage, prep space, and sink uncomplicated. If two people often cook together, make sure pulling the board out does not block the other person’s main station.
2. Measure the board with its handle included
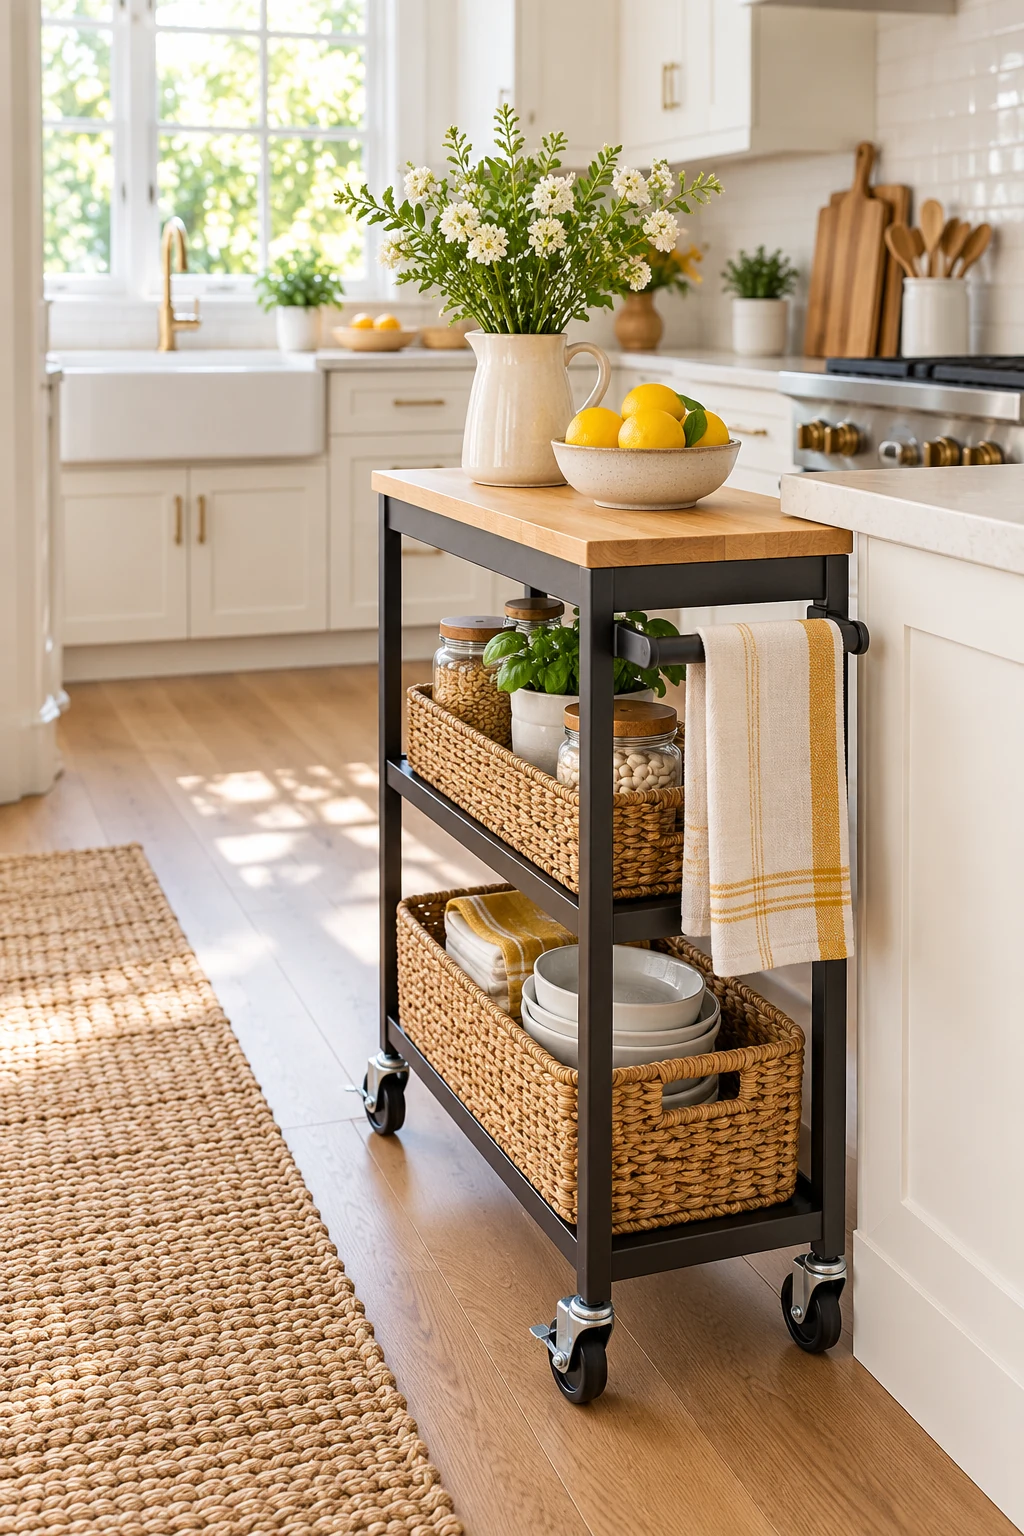
Write down the length, width, and thickness of each board, including any handle or raised feet. The visible rectangle is not always its full storage footprint, and a thick end-grain board needs a different slot from a flexible mat.
Compare these measurements with the cabinet opening as well as the space inside. You may have enough room for a board to stand but too little room to tip it out beneath a shelf. Test that movement using the actual board before buying a rack.
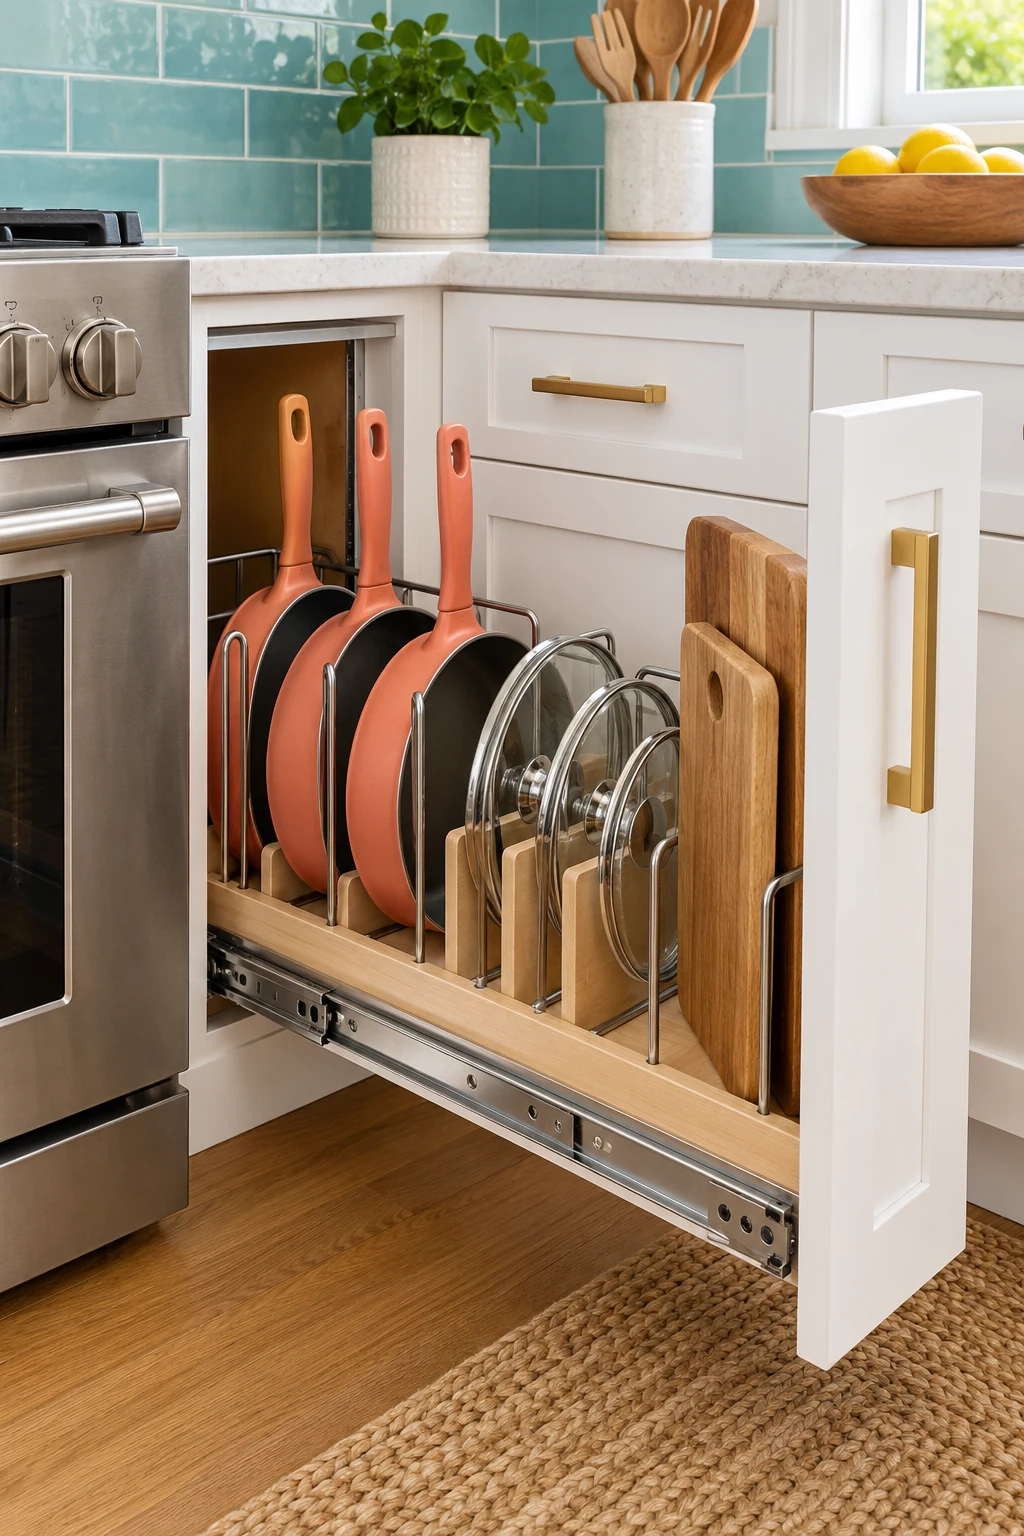
3. Stand boards in an adjustable cabinet rack
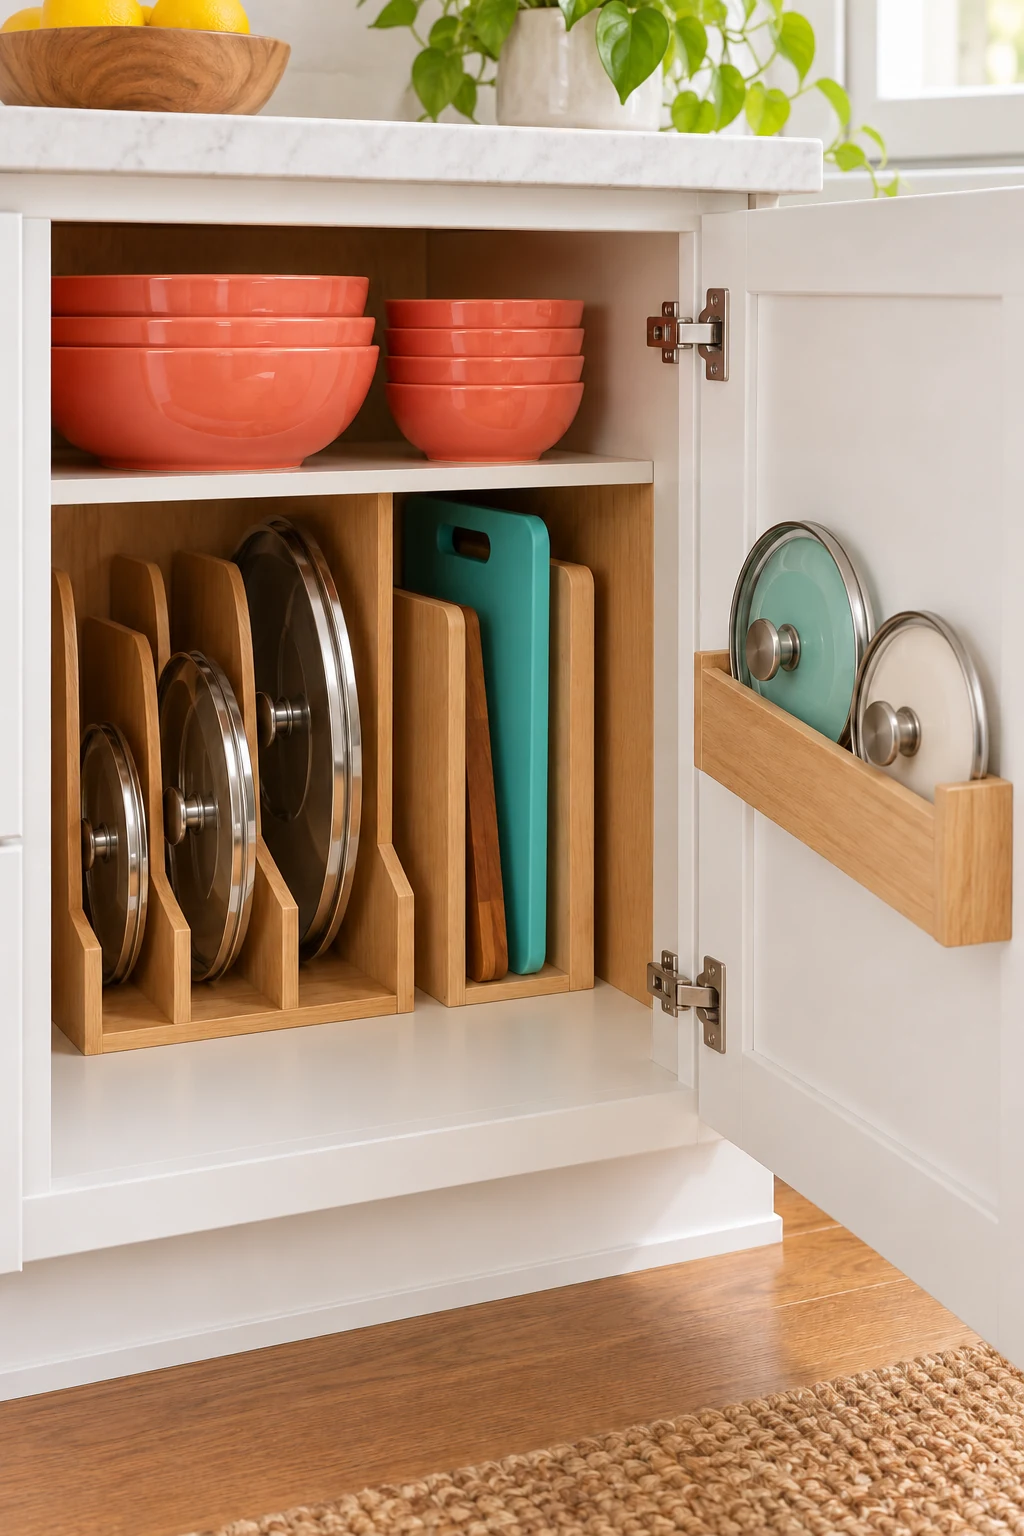
A freestanding divider rack can turn a pile into individual vertical lanes. Put the boards on a stable shelf with their easiest-to-grasp edge facing the opening. Separate wide boards from thinner pieces so each has support without being wedged tightly.
The YouCopia StoreMore Bakeware Rack, Organizing Hero edition, has seven adjustable dividers and a listed 11.6-by-7.4-inch base footprint. Check the complete loaded height and board thickness. Its compact base helps on a shelf, but the board itself may project well beyond it. View on Amazon.
4. Share a tall bay with baking sheets
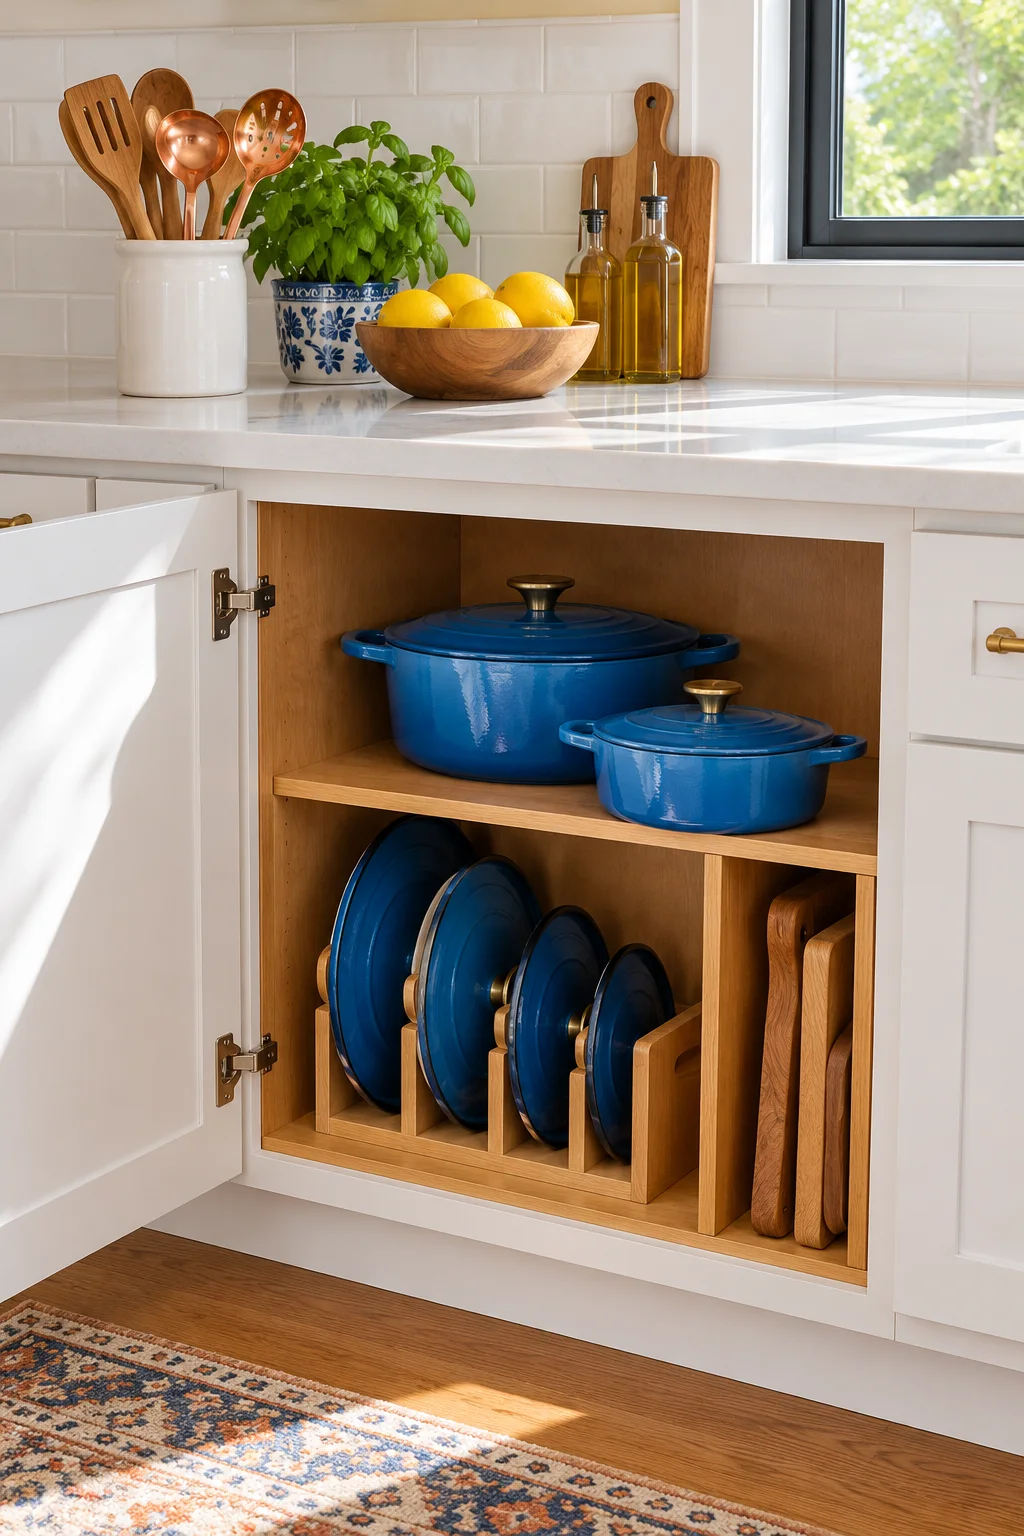
A tall lower-cabinet opening can hold cutting boards and sheet pans side by side. Assign the boards their own lanes so the heavy baking sheet does not have to move each time you want a small prep board.
Position the most-used board closest to the door and leave a finger-width access gap that feels comfortable for your hand. Keep everything clean and dry before it returns. If pan handles or rolled edges catch the boards, divide the categories into separate bays.
5. Use a shallow cabinet-door basket for thin boards
A thin board can fit inside a hanging door basket while the cabinet shelf holds bowls or cookware. Test the loaded basket with the door closed, because a board’s height may extend into the space occupied by an upper shelf.
The silver Simple Houseware Over Cabinet Door Organizer has a basket interior listed at 2.9 inches deep by 11.8 inches wide. Measure the board, hook fit, hinges, and loaded projection. Avoid assuming a heavy butcher-block board is suitable; no universal door-load rating is verified here. View on Amazon.
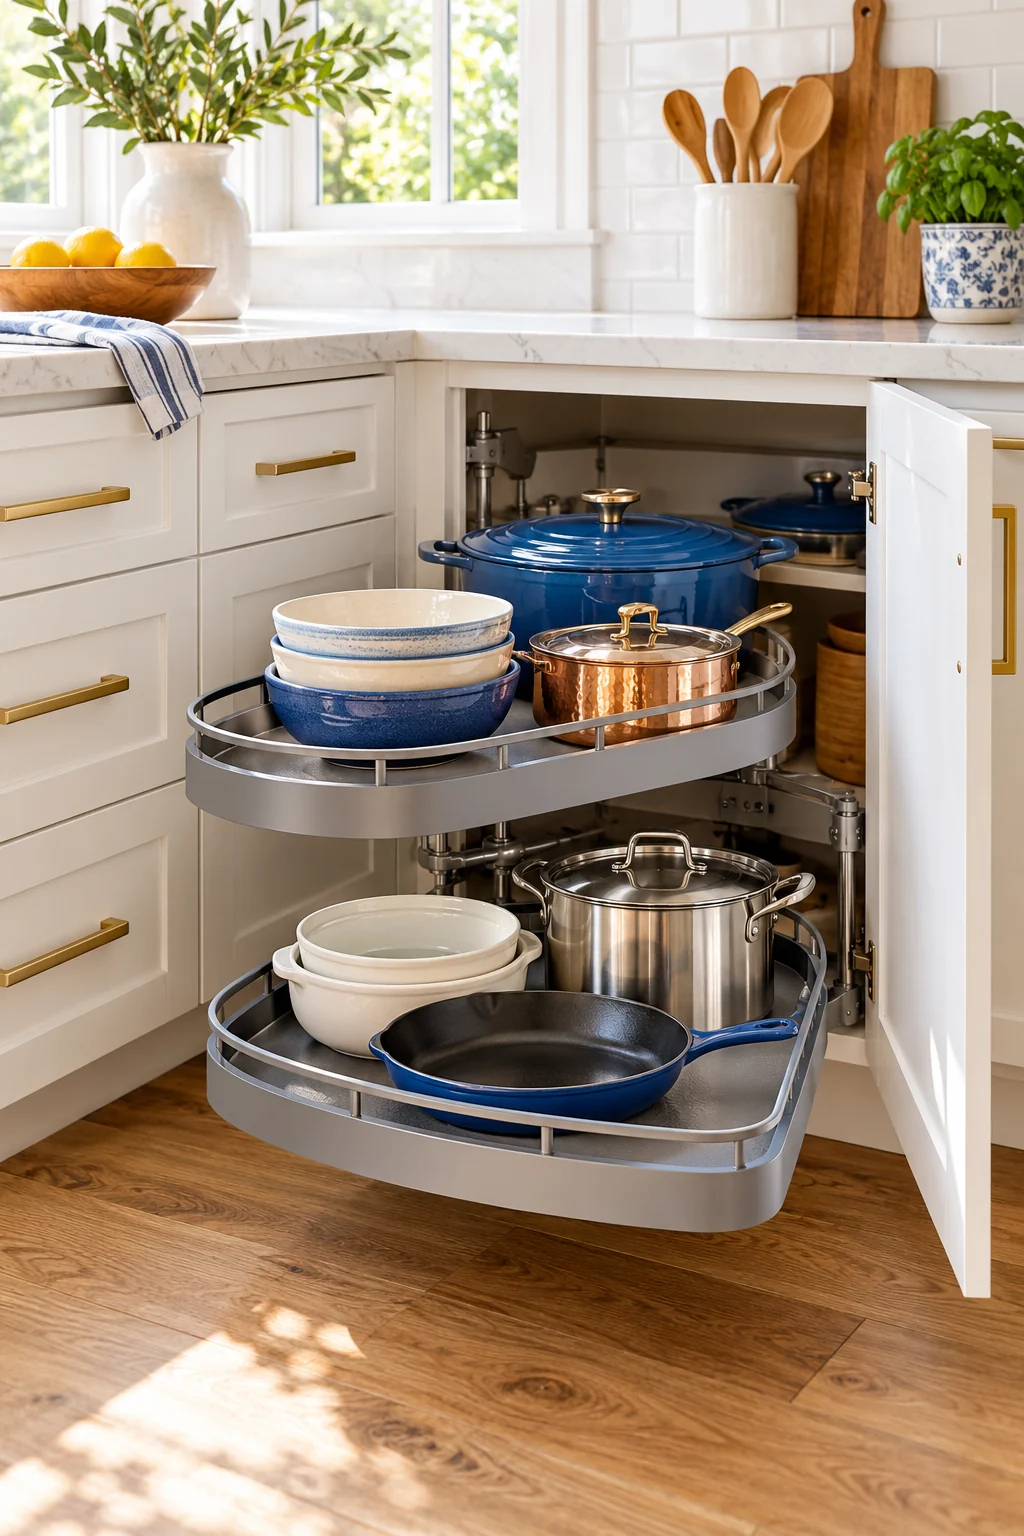
6. Create a board lane in a deep drawer
In a sufficiently deep drawer, boards can stand in a dedicated narrow section beside trays. Choose supports that hold the boards through opening and closing, and check that the top edges remain below the frame above the drawer.
Utoplike’s large bamboo drawer dividers can mark the boundary between categories in sturdy interiors spanning 17.8 to 20.6 inches. Their 2.4-inch height does not automatically support a tall board. Add appropriate board support if needed and follow the divider’s pressure-fit instructions. View on Amazon.
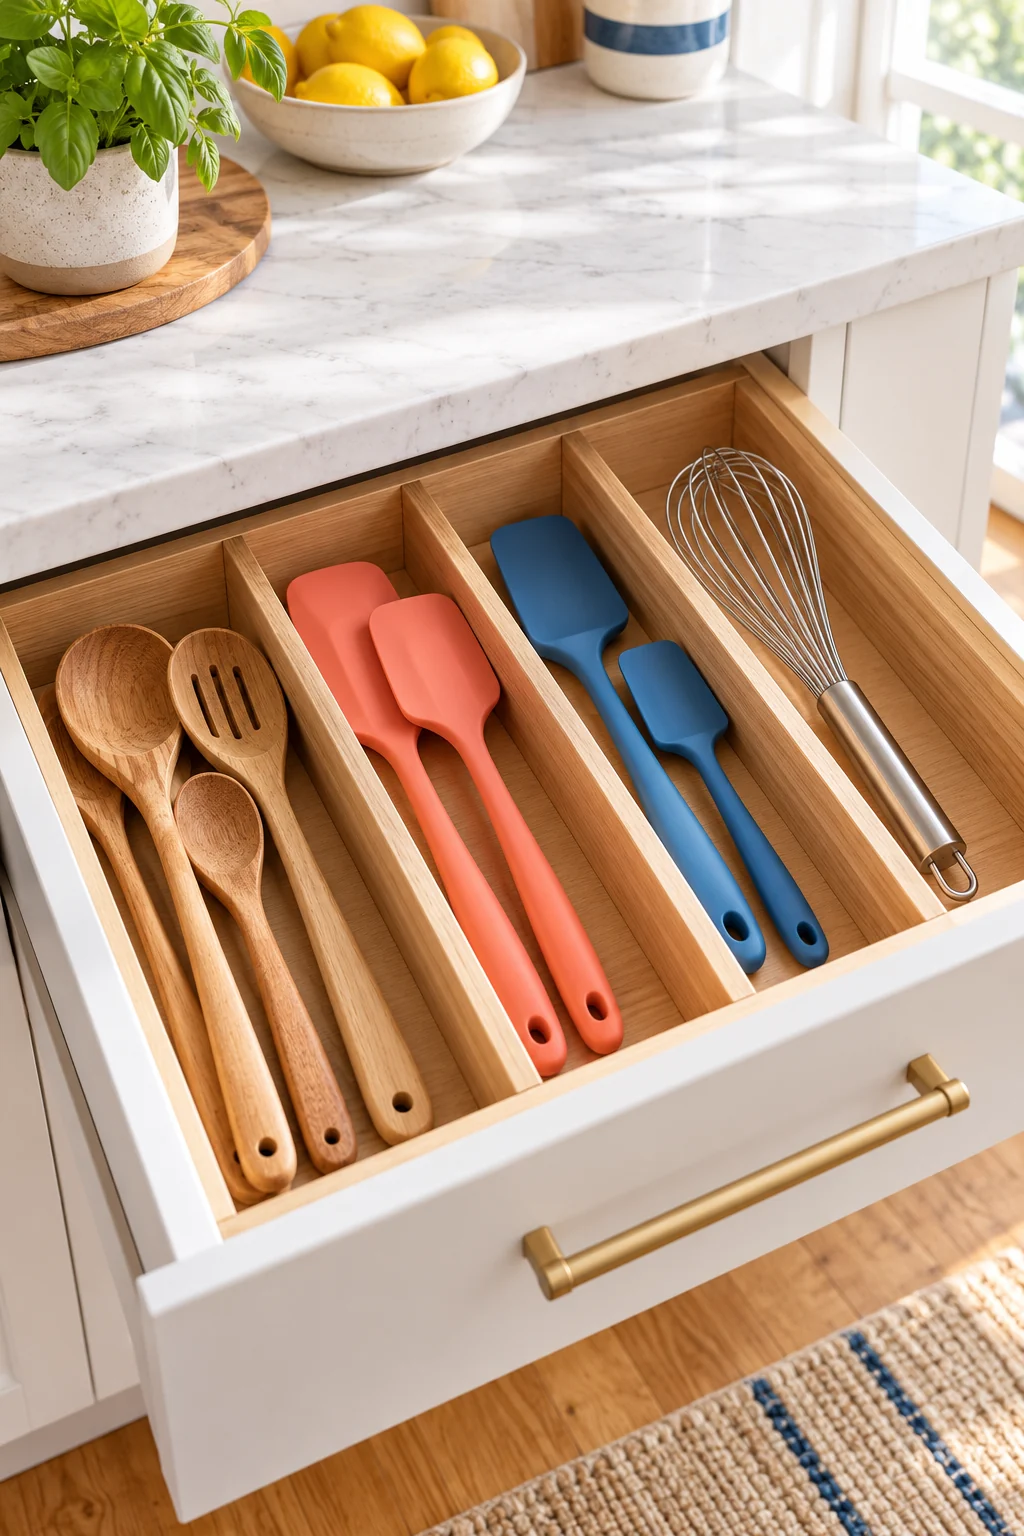
7. Give a heavy board its own low position
Store a thick, heavy board where you can grasp it securely with both hands. A low shelf with an individual supported position is often easier to manage than a top cabinet or a narrow rack that requires a twisting lift.
Check the shelf’s support and the board’s care directions before choosing its orientation. Do not lean a heavy board against plumbing or a weak cabinet panel. If moving it is consistently difficult, use a smaller board for everyday jobs and reserve the large one for occasions.
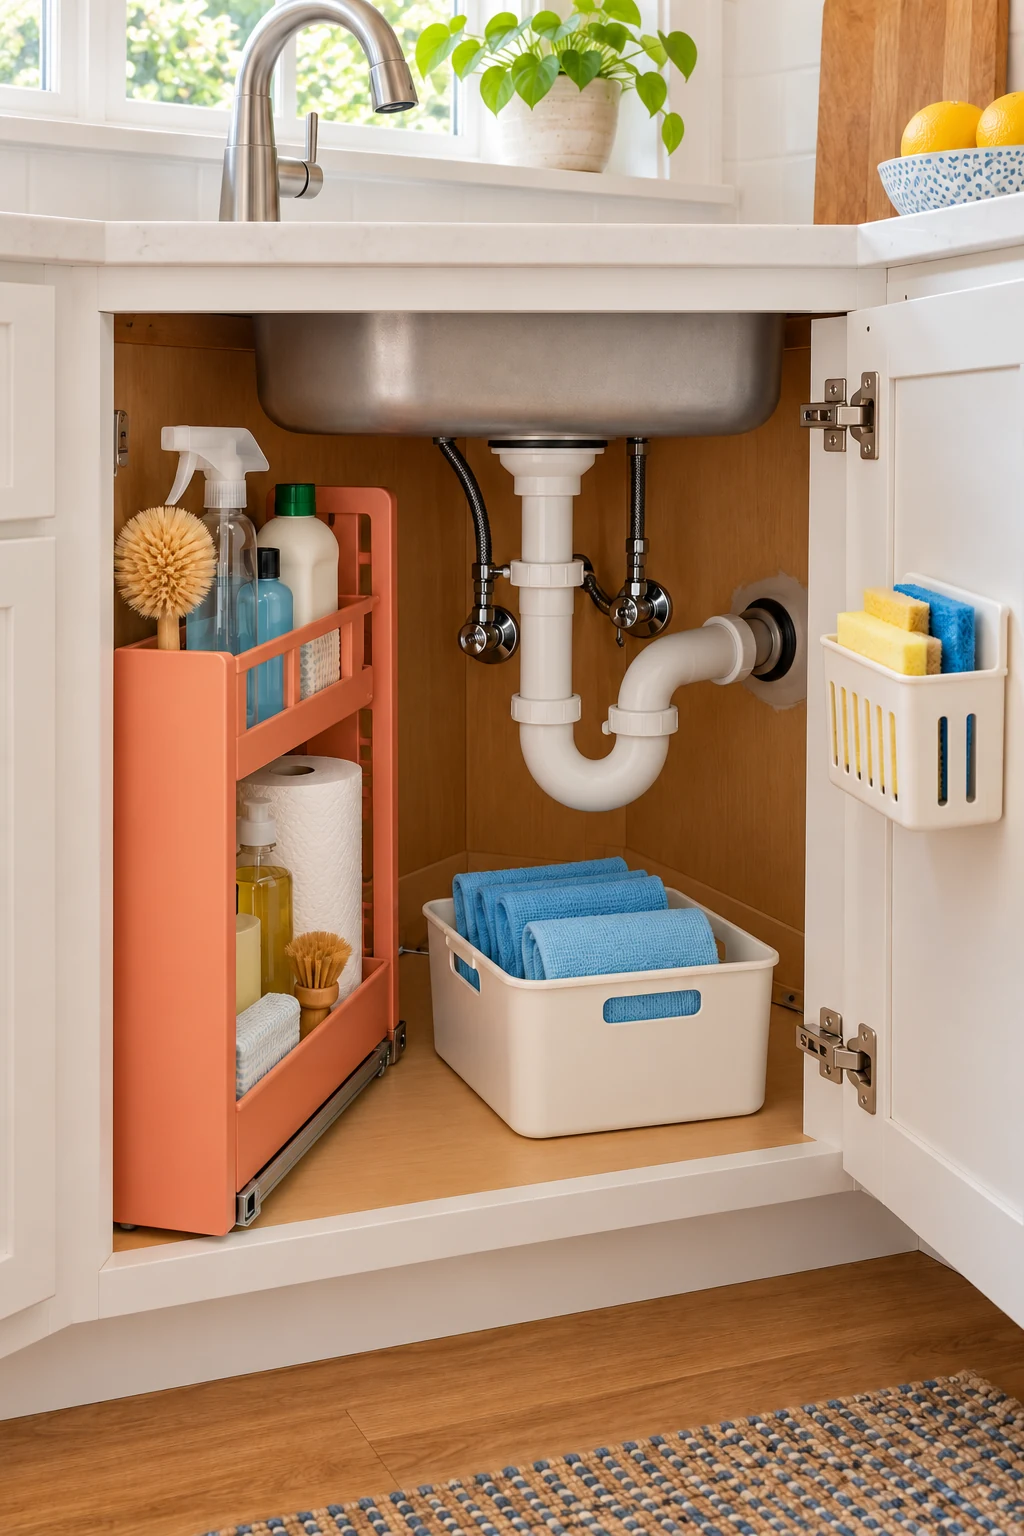
8. Use a rollout to reveal a deep board bay
When boards disappear at the back of a cabinet, a mounted pullout can bring the storage area forward. Keep them contained in suitable upright supports or an approved flat arrangement so they cannot slide into the moving hardware.
The single-tier LYNK PROFESSIONAL chrome pullout measures 11 inches wide by 21 deep before installation clearances. Confirm board fit, the opening, mounting substrate, supported load, and travel. The sliding shelf and any added board rack must remain stable together when extended. View on Amazon.
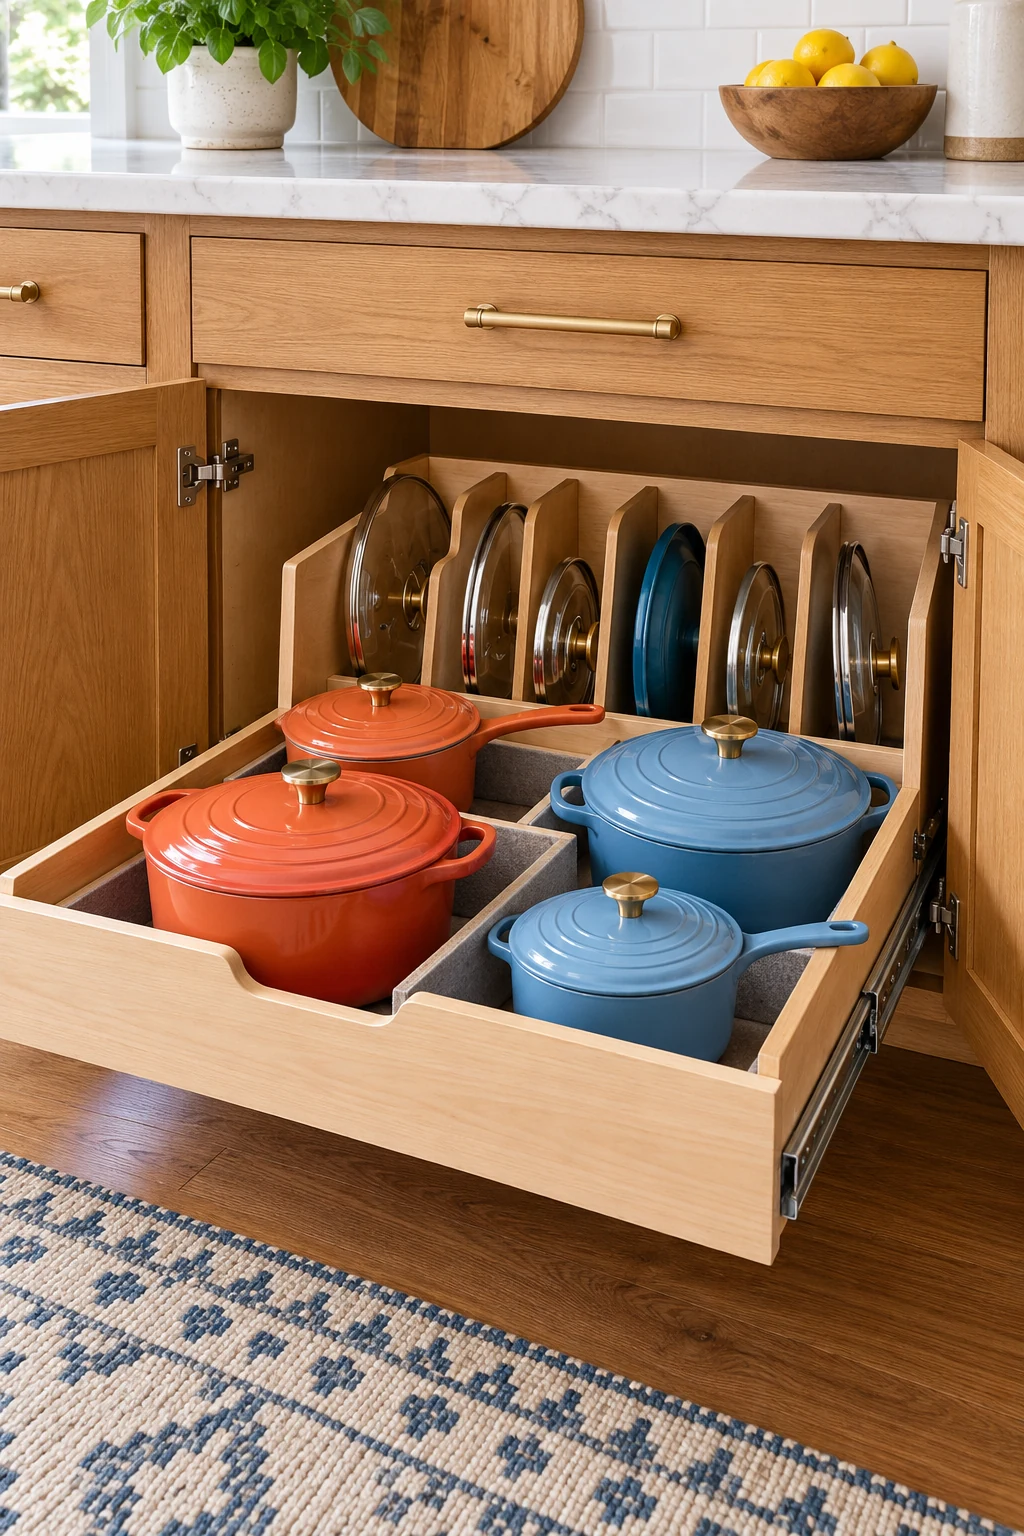
9. Lay compatible thin boards in one drawer layer
A wide shallow drawer can hold thin plastic or composite boards flat if their care instructions permit it. Keep the stack low enough that you can take out a board without fighting the drawer or bending the pieces below.
Place the smallest board at the front rather than beneath the largest. Fully dry everything before storage, and avoid applying this layout automatically to wood. Different materials and constructions have different storage needs, so follow the instructions for the board you own.
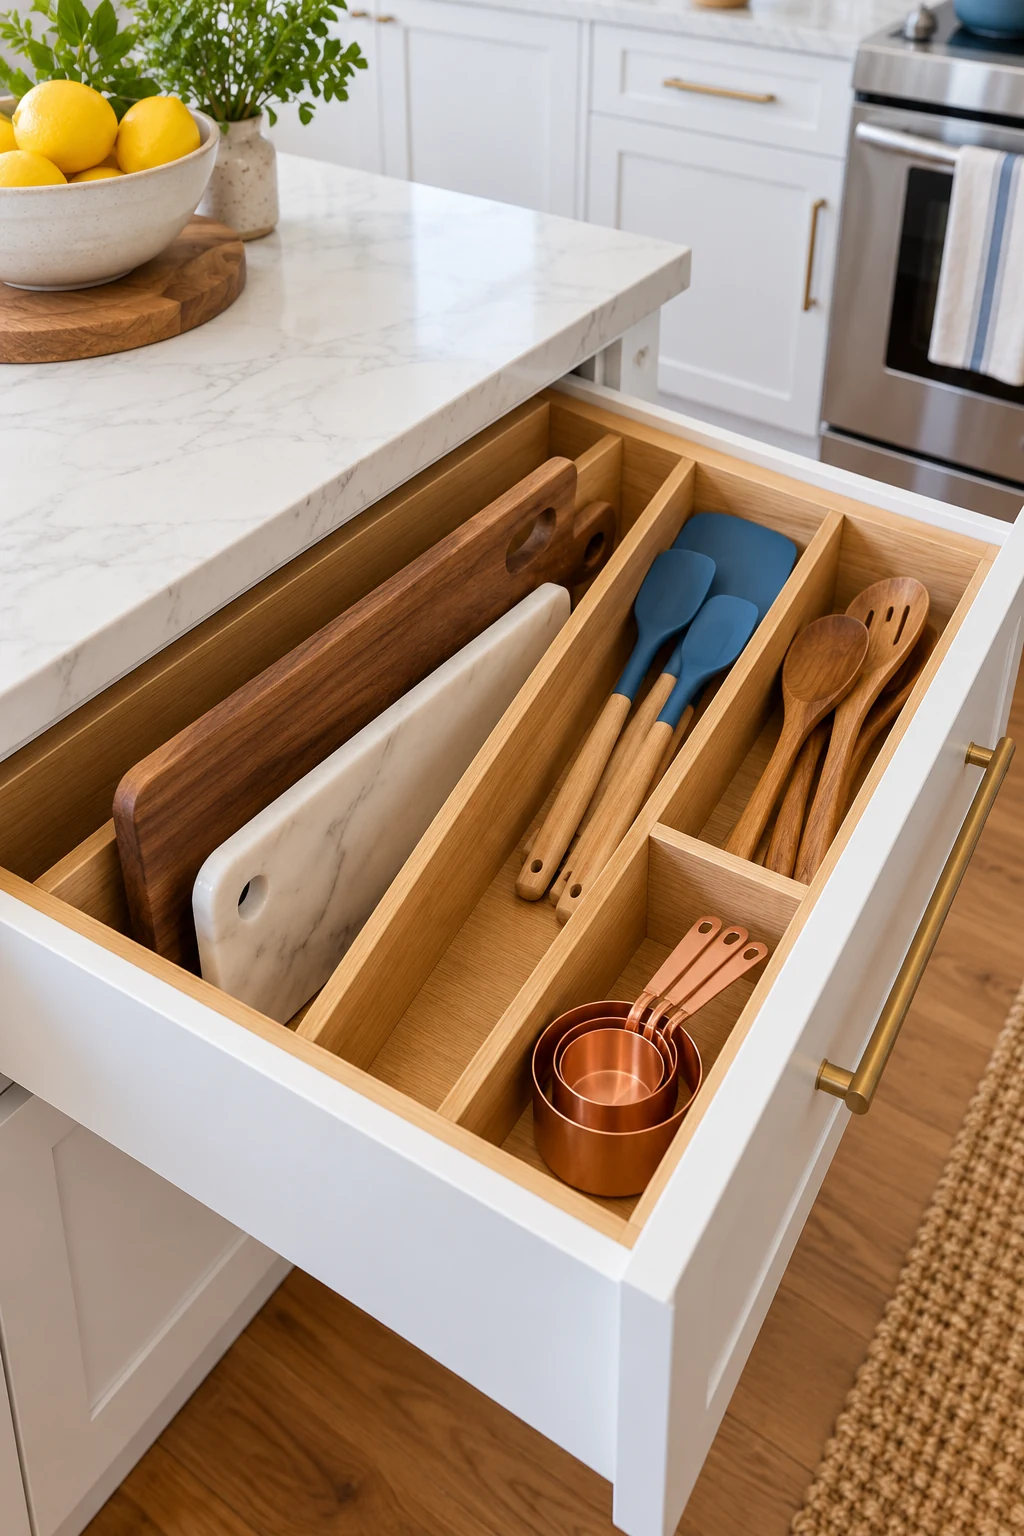
10. Hang only boards designed for hanging
A lightweight board with a purpose-made hanging hole can occupy a suitable hook near the prep area. Check the hole’s shape and the board’s weight before mounting, and leave room to lift it on and off without knocking a backsplash or utensil.
For very light perforated mats, Command Small Wire Hooks are rated to 0.5 pound each on compatible surfaces. Follow preparation, placement, and removal directions. Do not combine hooks to invent a higher limit or use this small-hook option for a heavy wooden board. View on Amazon.
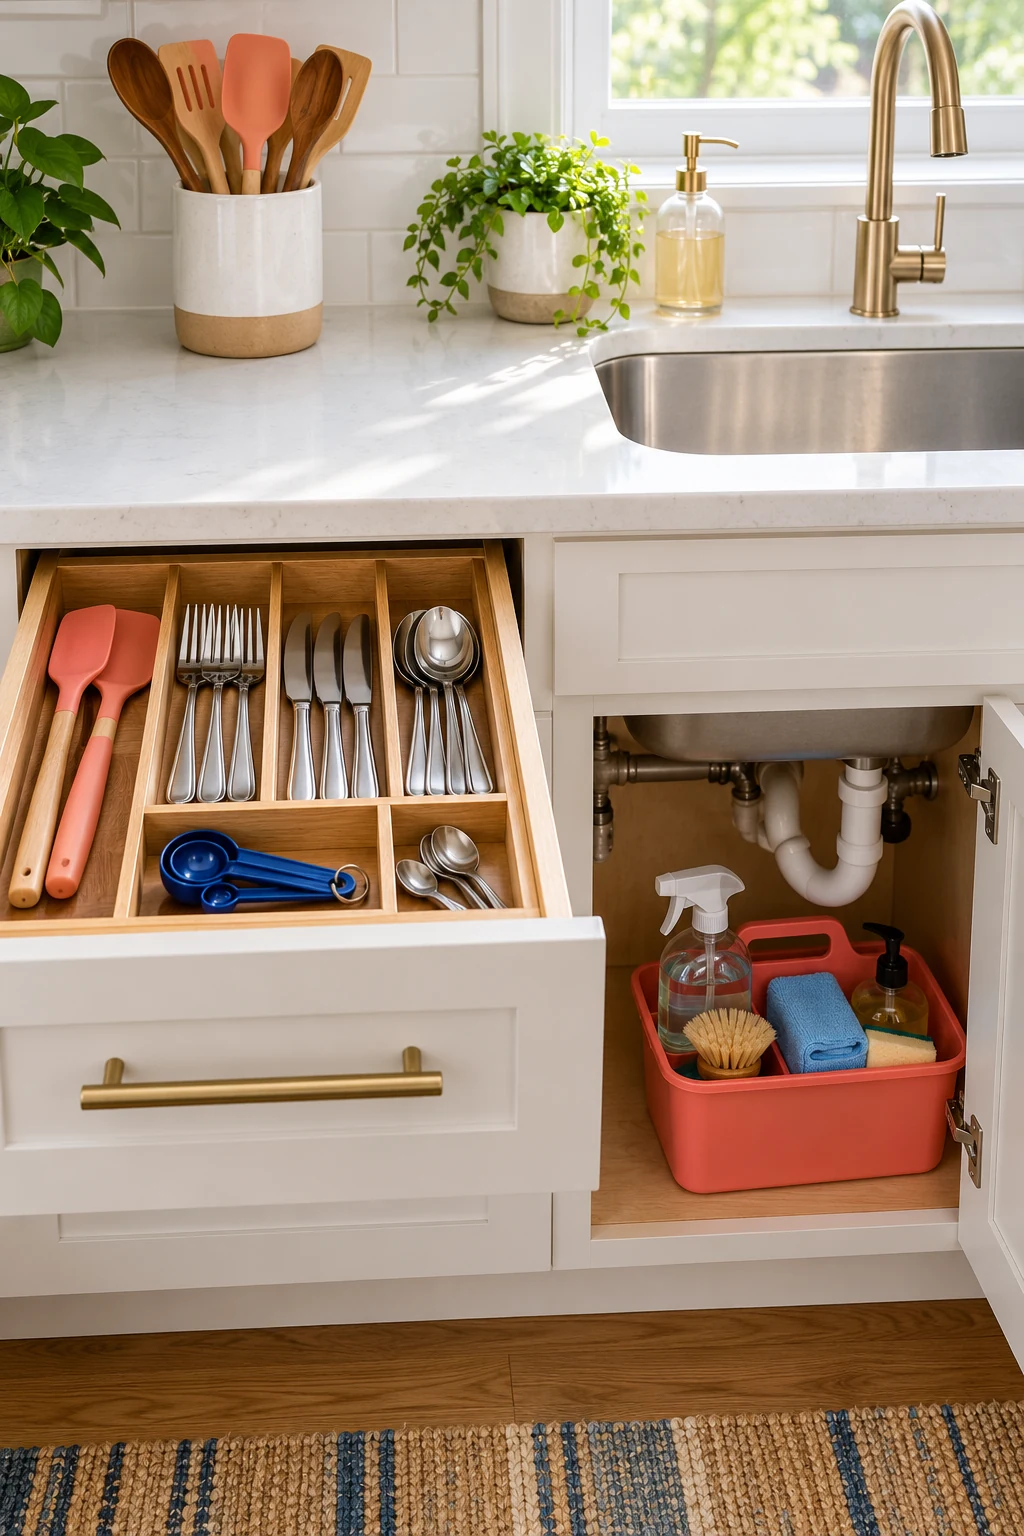
11. Keep tiny prep boards in a removable bin
Small bar boards and compact prep boards can vanish behind full-size pieces. A modest bin can keep that group visible on a reachable shelf, provided the boards fit without bending or projecting so far that the bin becomes unstable.
The clear iDesign 8-by-8-by-6-inch handled bin is one option for a suitably small collection. Check usable interior dimensions rather than assuming its outside width is the opening. Keep it clean, hand-wash as directed, and avoid filling it with a heavy stack. View on Amazon.

12. Separate serving boards from everyday prep boards
Large decorative serving boards may work better near platters than in the daily chopping zone. A dedicated shelf or vertical divider beside entertaining dishes keeps them accessible without making a sandwich board difficult to reach on a weekday.
Arrange by how often you use each piece, not just by appearance. A long handle can make a serving board awkward in a low shelf opening. Check the full removal path and keep it supported so it cannot tip when a neighboring platter comes out.
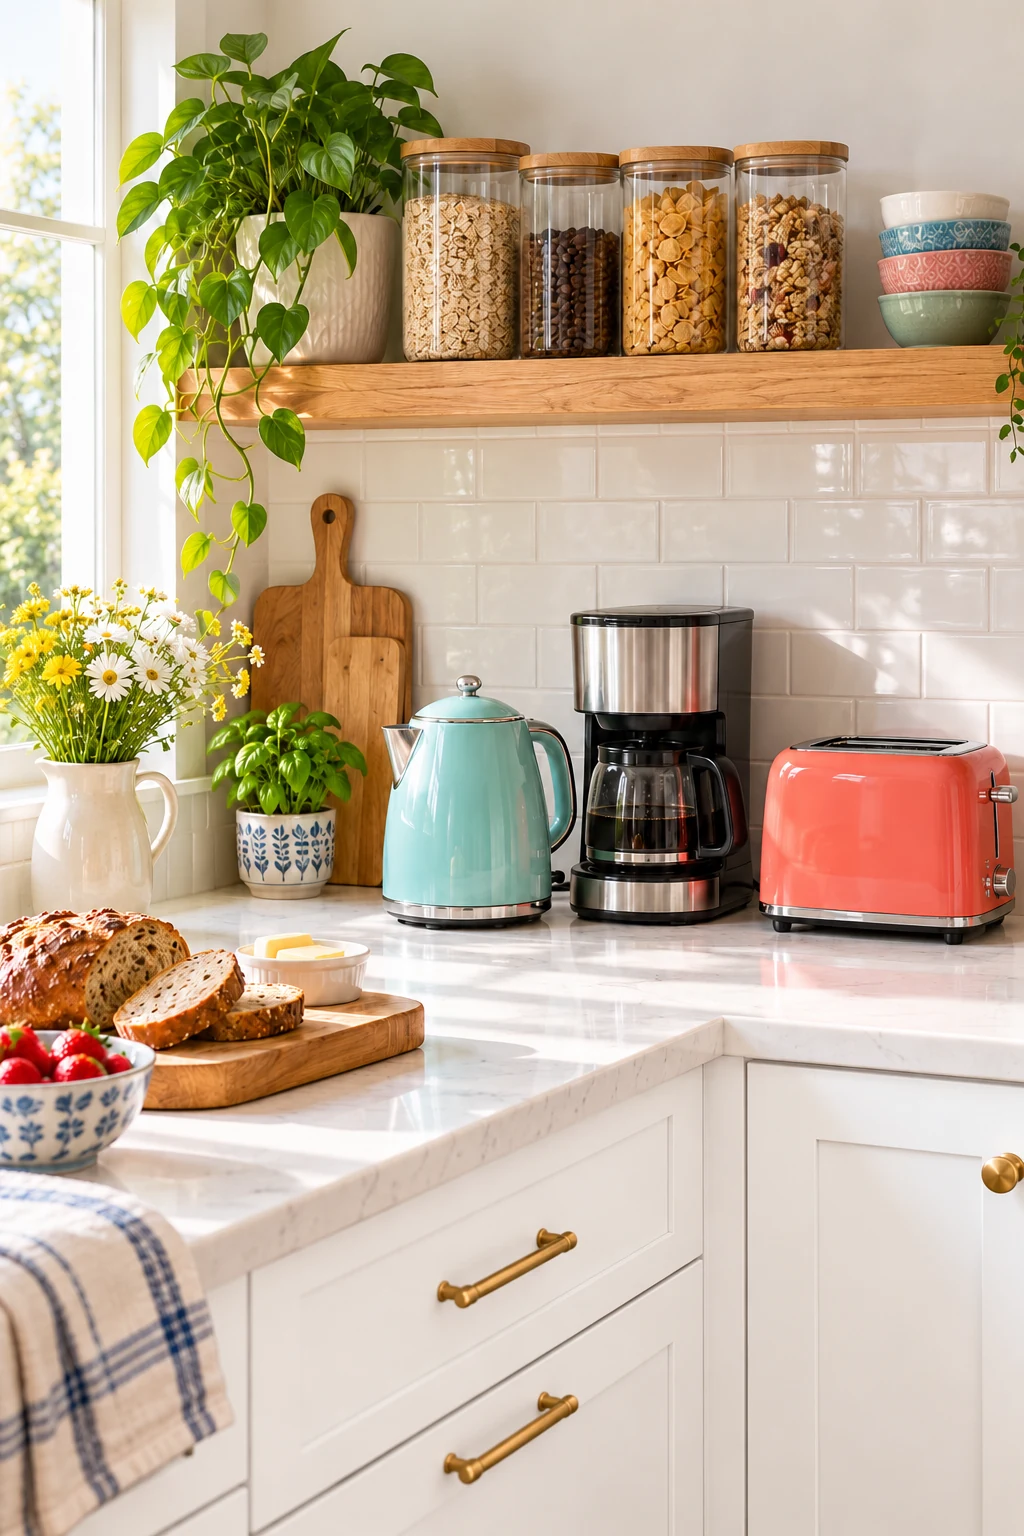
13. Build a slim vertical slot into a planned cabinet
If you are already changing cabinetry, include a measured divider bay for boards and baking sheets. Base the clear lane widths on the collection you plan to keep rather than dividing the opening into evenly spaced slots by default.
Have the cabinetmaker account for board height, door access, supports, and the ability to clean the bay. A removable divider can make maintenance easier if the design permits it. Avoid cutting existing structural panels without professional advice just to gain a narrow opening.
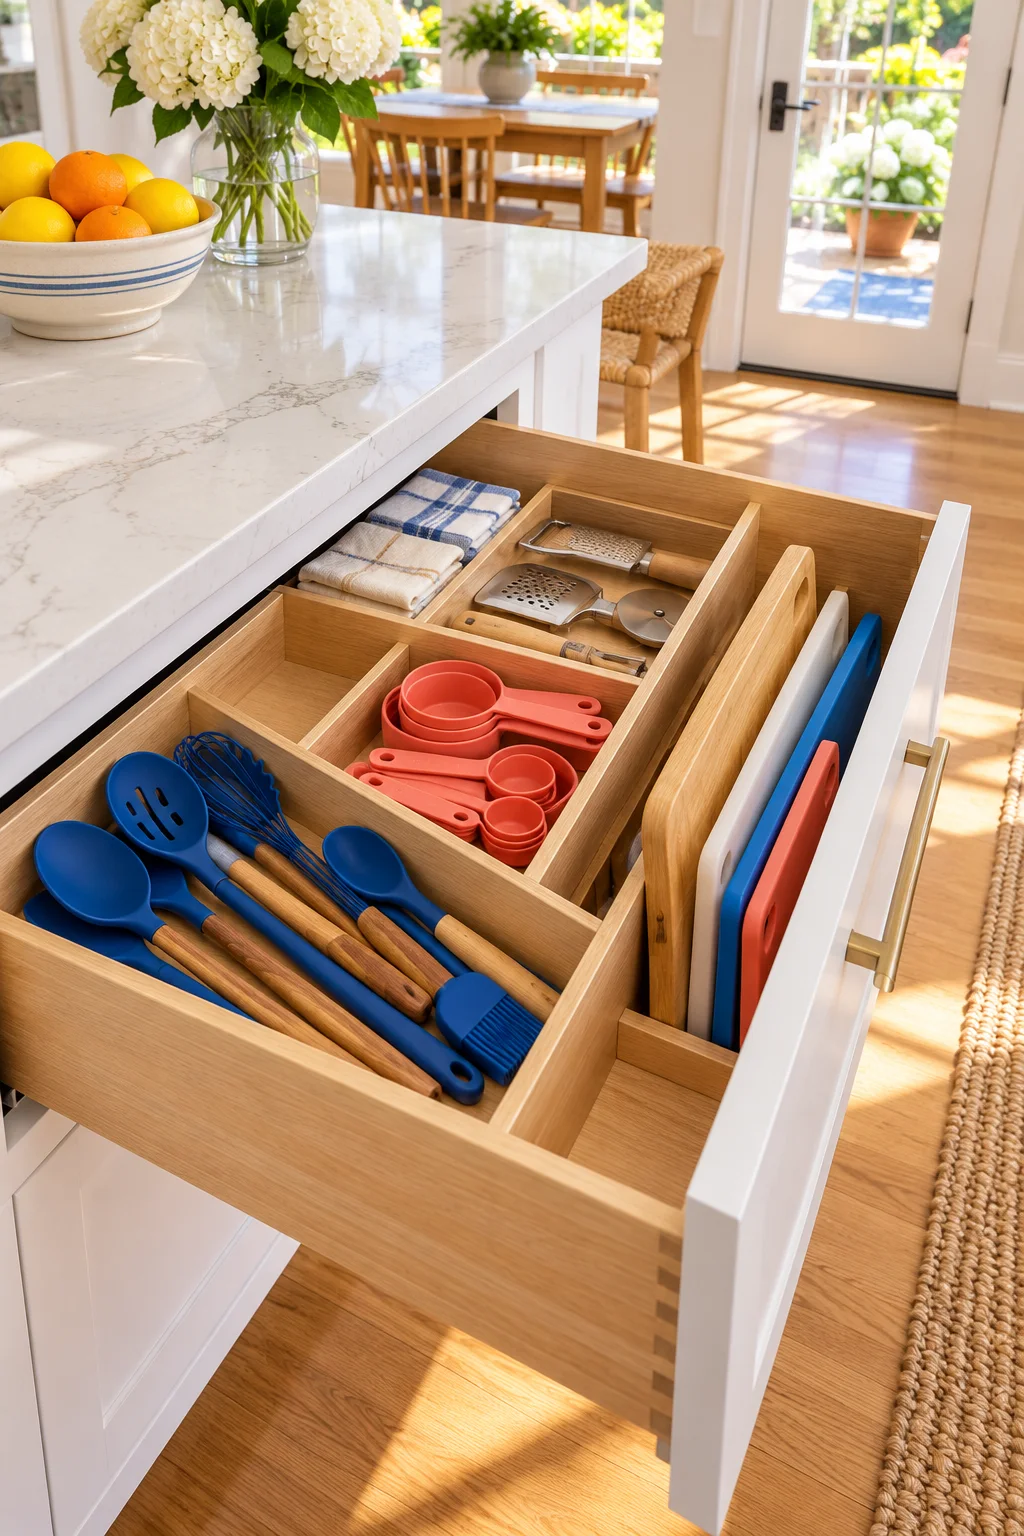
14. Use an island end only when the walkway stays clear
An island’s open end can hold supported boards near the main prep surface. Recessed storage is useful because boards remain within the furniture footprint instead of protruding into the route around the kitchen.
Check that long handles do not catch clothing and that stools still tuck in. Keep boards away from shoes, floor cleaning supplies, and frequent splashes. If the exposed position gets dirty or blocks movement, an enclosed island cabinet will be a better home.
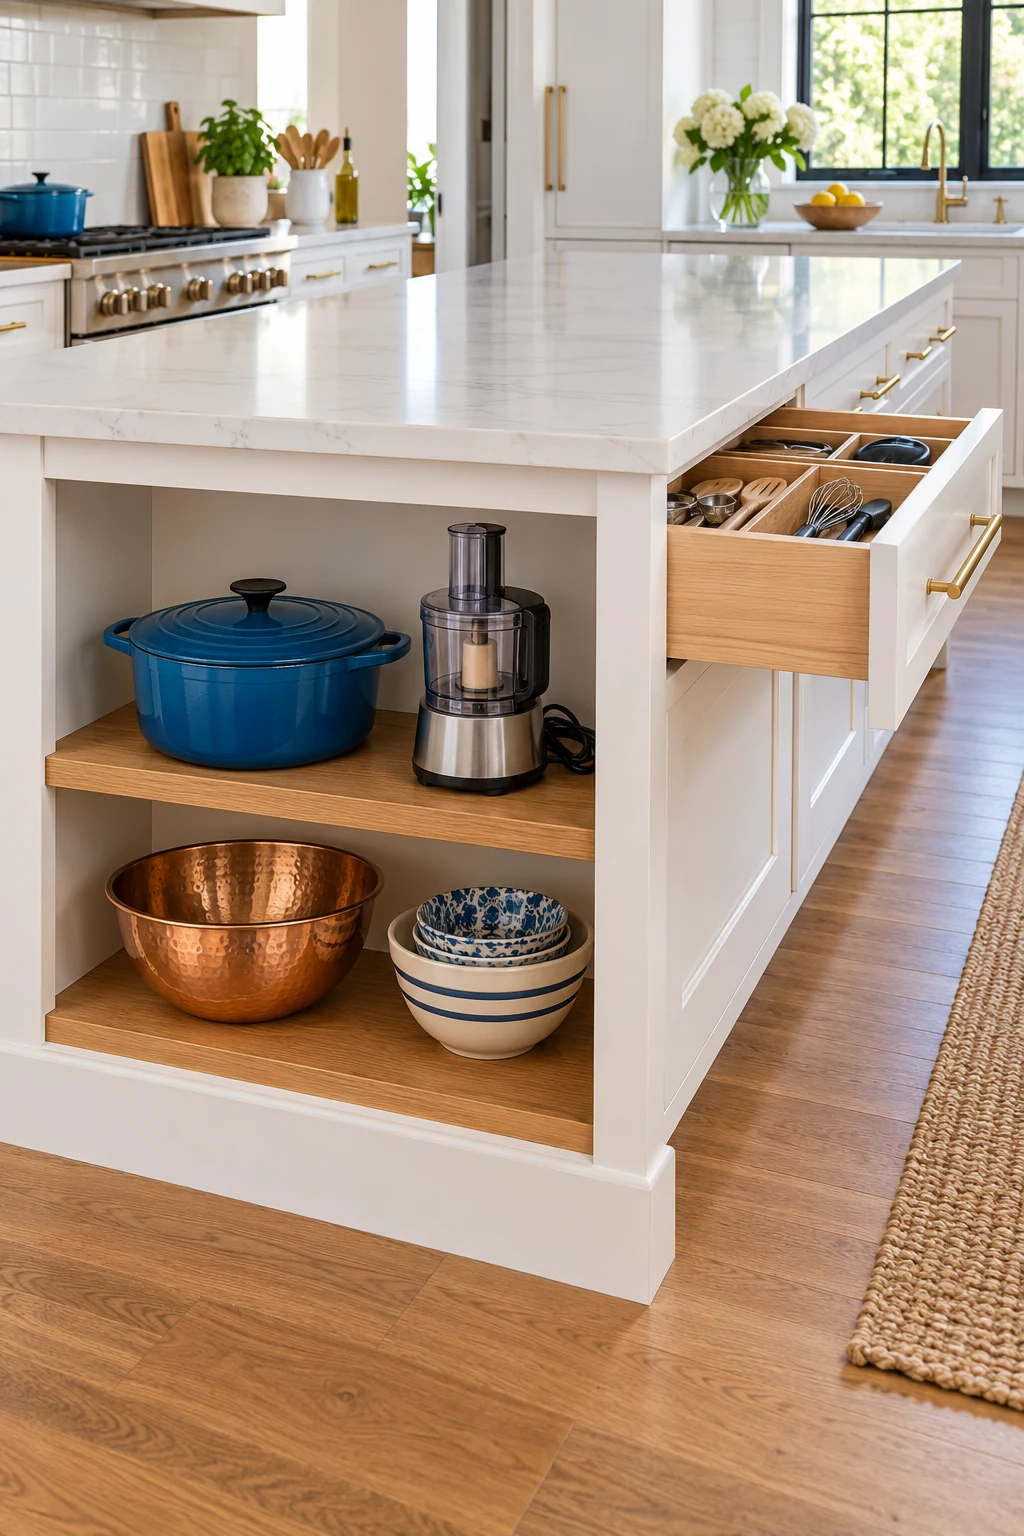
15. Keep a frequently used board out with proper support
A board that you use throughout the day may earn a small countertop spot. Use a stable, appropriate stand and keep the arrangement away from stove heat, sink splashes, and any area needed to operate nearby appliances.
Check the maker’s storage guidance before leaving a wooden board flat for long periods. John Boos recommends edge storage for its wooden boards and discusses airflow when displaying them. Apply the instructions for your own board’s construction rather than treating every material alike. Read John Boos board-storage guidance.
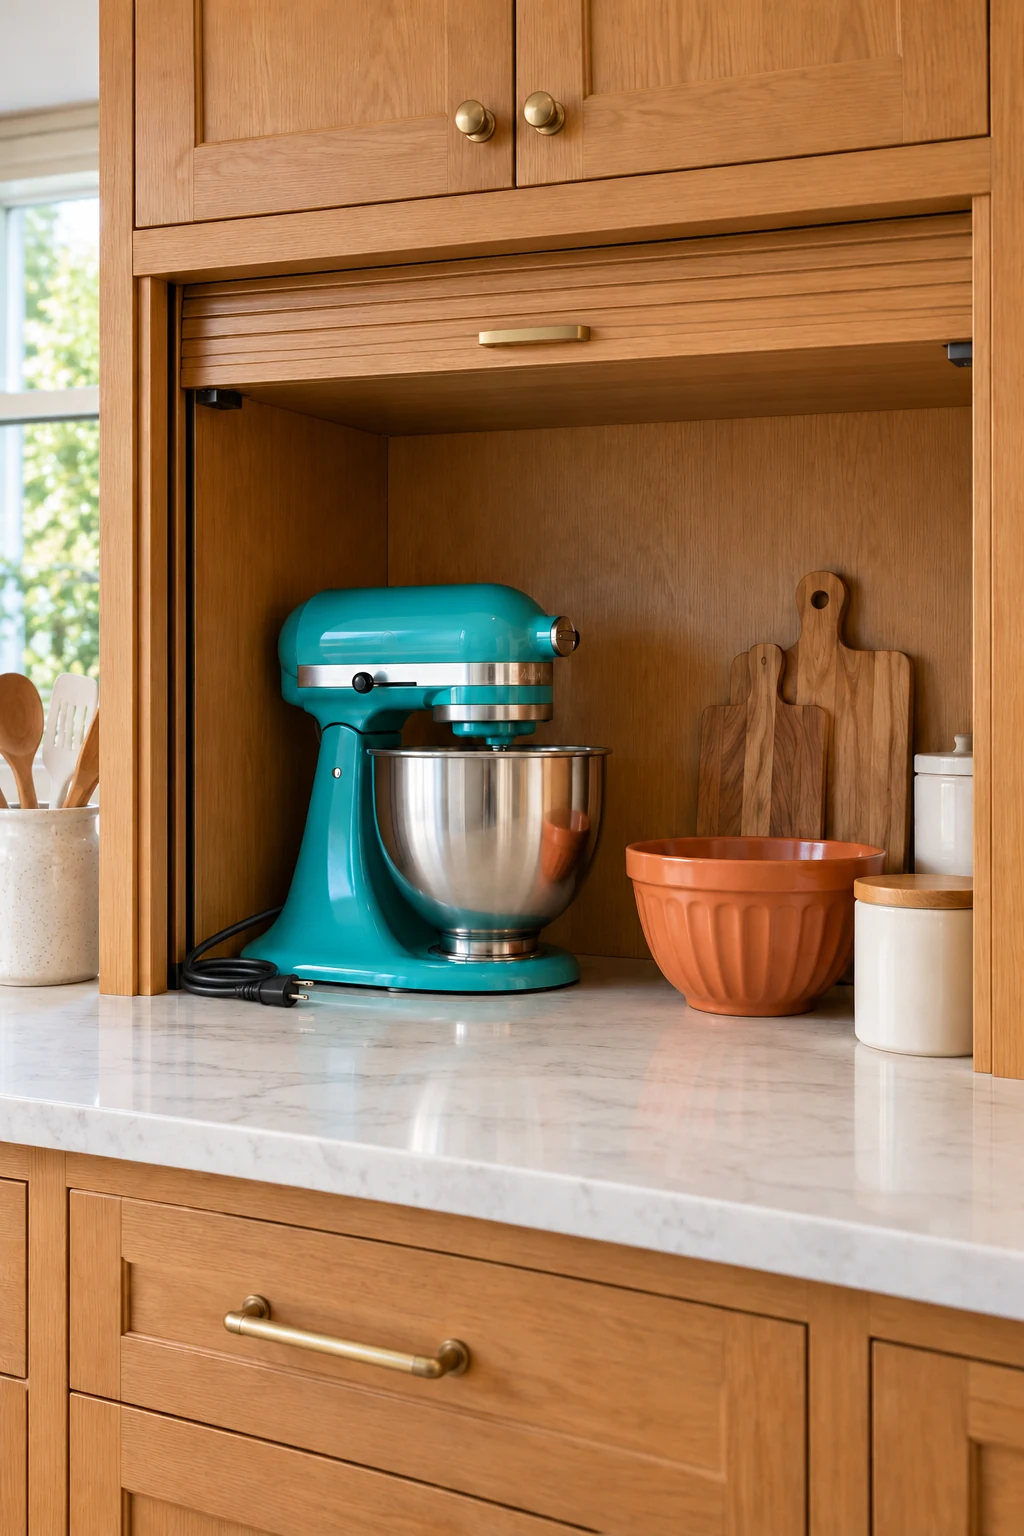
16. Use a drying spot before the permanent storage spot
After cleaning, give a board the drying time and orientation its maker recommends. A narrow enclosed slot is a poor place to put it while still damp, especially if its broad faces press against other boards.
Choose a stable temporary position that allows the surfaces to dry without slipping toward the sink or falling across the counter. Once dry, return the board to its assigned space. Separating these two steps keeps storage decisions from overriding material-specific care.
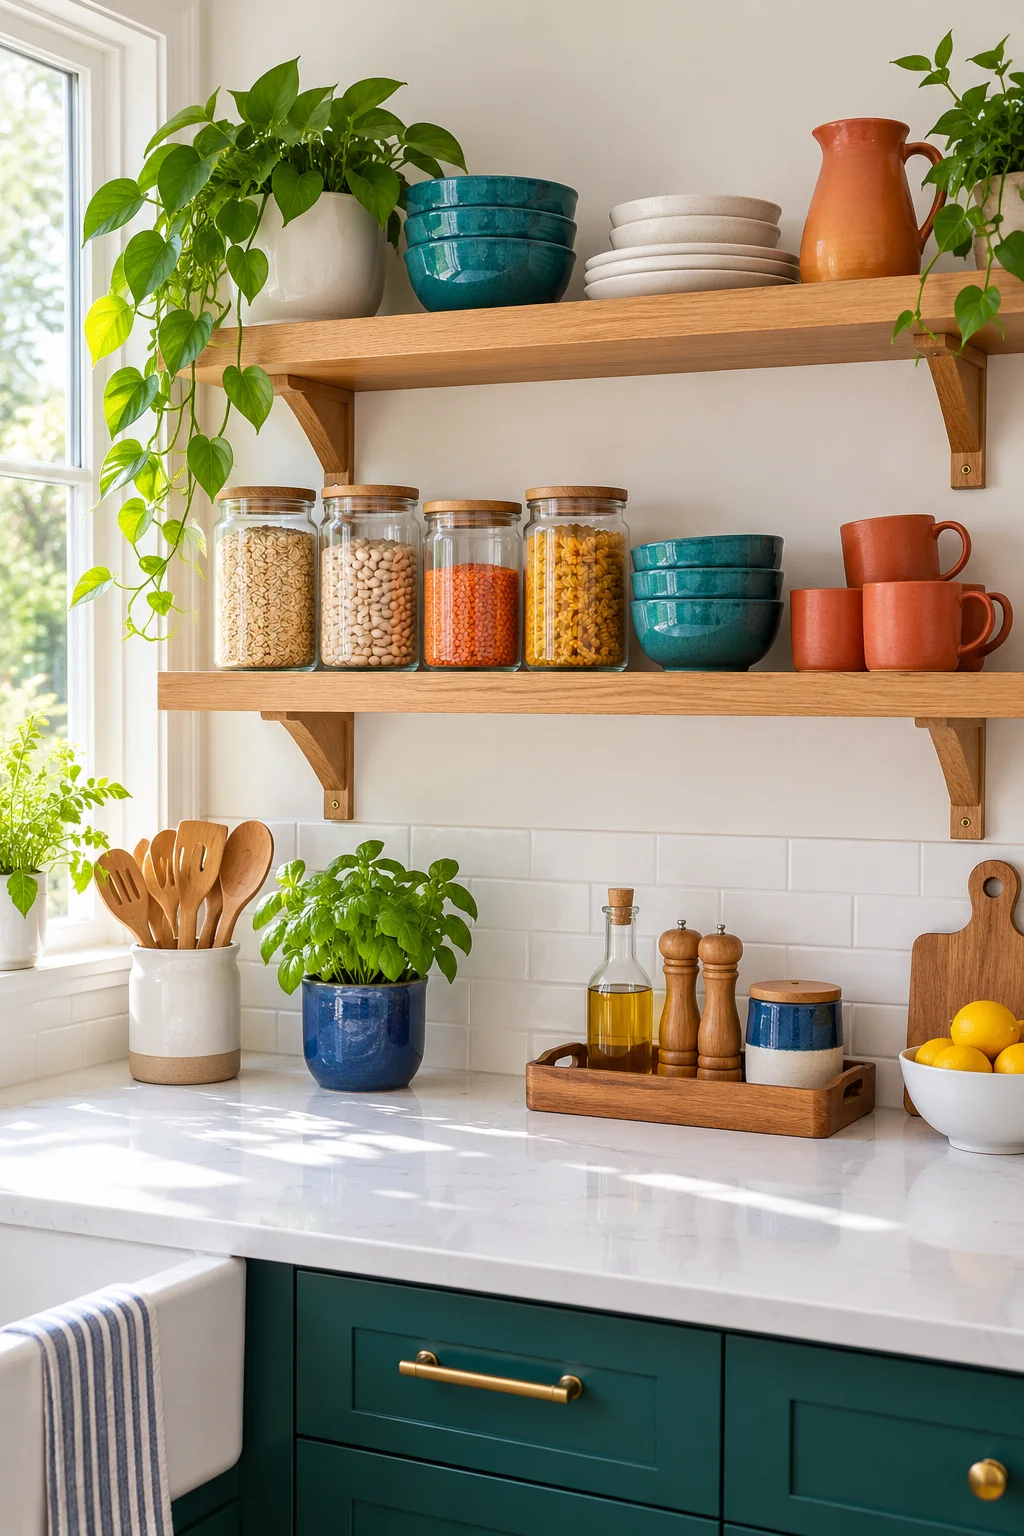
17. Keep different-purpose boards easy to identify
If your household uses separate boards for raw ingredients and ready-to-eat foods, preserve that distinction in storage. Give each its own position and make existing color markings or handles visible so the right board is easy to select.
A consistent location can support your routine, but storage does not replace cleaning between food-preparation tasks. Follow food-safety guidance and the board maker’s washing instructions. Avoid applying decorative labels to the cutting surface or any area that interferes with proper cleaning.
18. Keep boards away from cleaning-supply storage
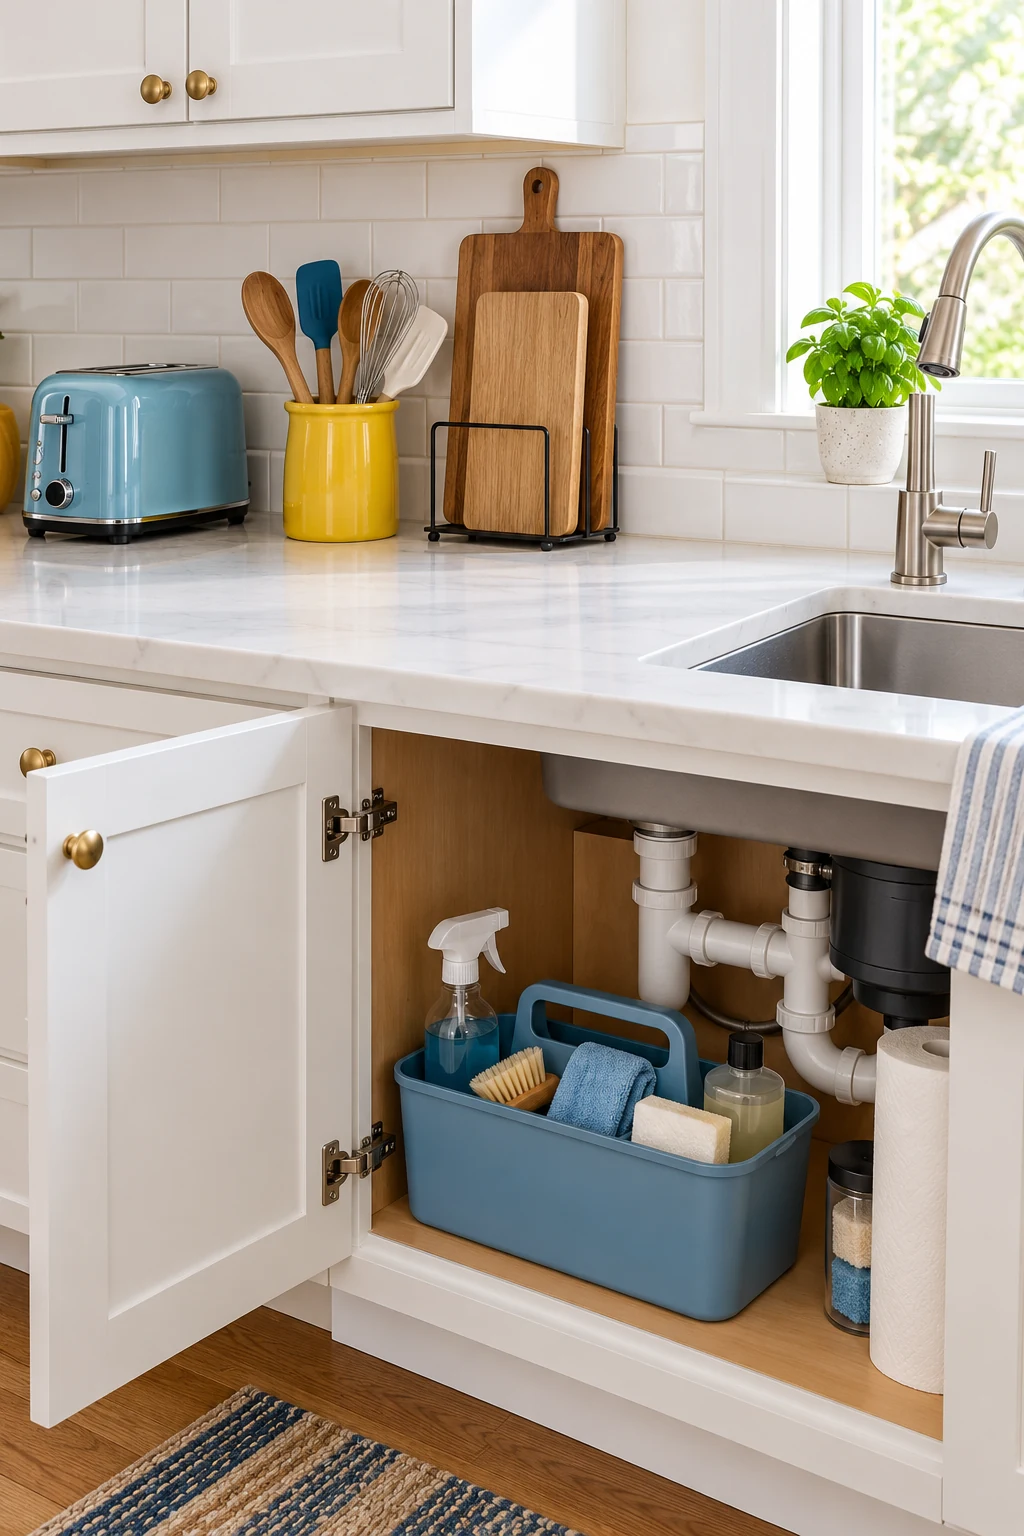
Choose a food-preparation cabinet for boards rather than placing them under the sink with household cleaners. A slim board may fit beside a spray bottle, but sharing that area creates an unnecessary conflict between kitchen tools and chemical storage.
Look first for a side lane near sheet pans or a shallow drawer by the prep counter. Keep the board area clean and dry. When space is tight, moving an occasional serving dish elsewhere may free a better location without adding another organizer.
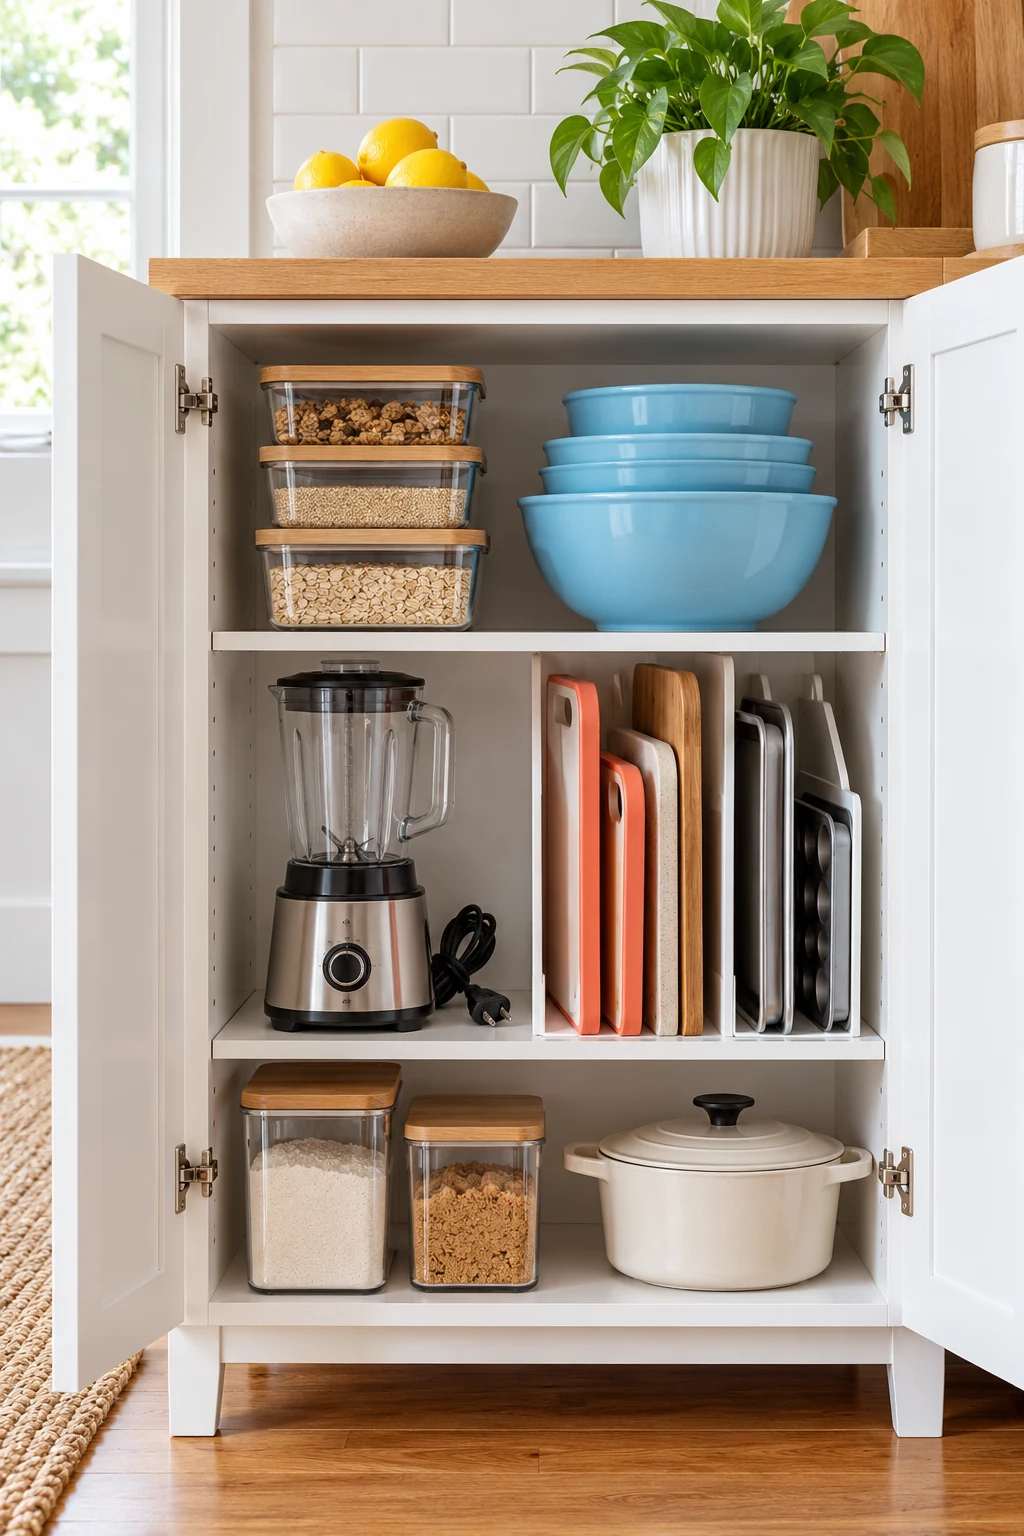
19. Test the loaded door before committing to the layout
Open and close the door slowly with the boards in their planned positions. Watch the hinges, shelf fronts, hooks, and neighboring handles through the whole motion. A board that fits with the door open can still prevent it from closing correctly.
Repeat the test with the thickest board, not just the easiest one. Leave enough room to grasp it without removing the organizer. If the door needs pressure to latch, move or reduce the storage instead of forcing it shut against the board.
20. Keep the collection small enough to return easily
Look at which boards come out during a normal week and which serve a genuine occasional purpose. Store that working collection with enough room to return a clean board directly, rather than sliding it behind whatever happens to be nearest.
When a board becomes damaged or hard to clean, follow the maker’s replacement guidance. Do not build a bigger storage system around pieces you should no longer use. A manageable collection keeps both the daily prep area and the storage routine simpler.
Choose one reachable spot for the board you use most and test the complete take-out-and-return motion. Once that works, fit the occasional pieces around it. Subscribe to the Havelyo email list for more practical small-space decorating and organization ideas.