
Uncategorized
25 Closet Organization Ideas to Make Every Inch Count
A closet can look full and still waste space: a tall gap below shirts, an unreachable shelf, or a shoe pile hiding the pair you want. Start with the spot that slows you down most.
These 25 closet organization ideas suit an everyday bedroom closet, especially a small reach-in. Reuse what you own first, then choose storage around your clothes and routine. Empty one section, measure it, and put back only what belongs there. Keep everyday items within easy reach and leave room for doors and drawers to open. A little breathing room is useful storage space, too.
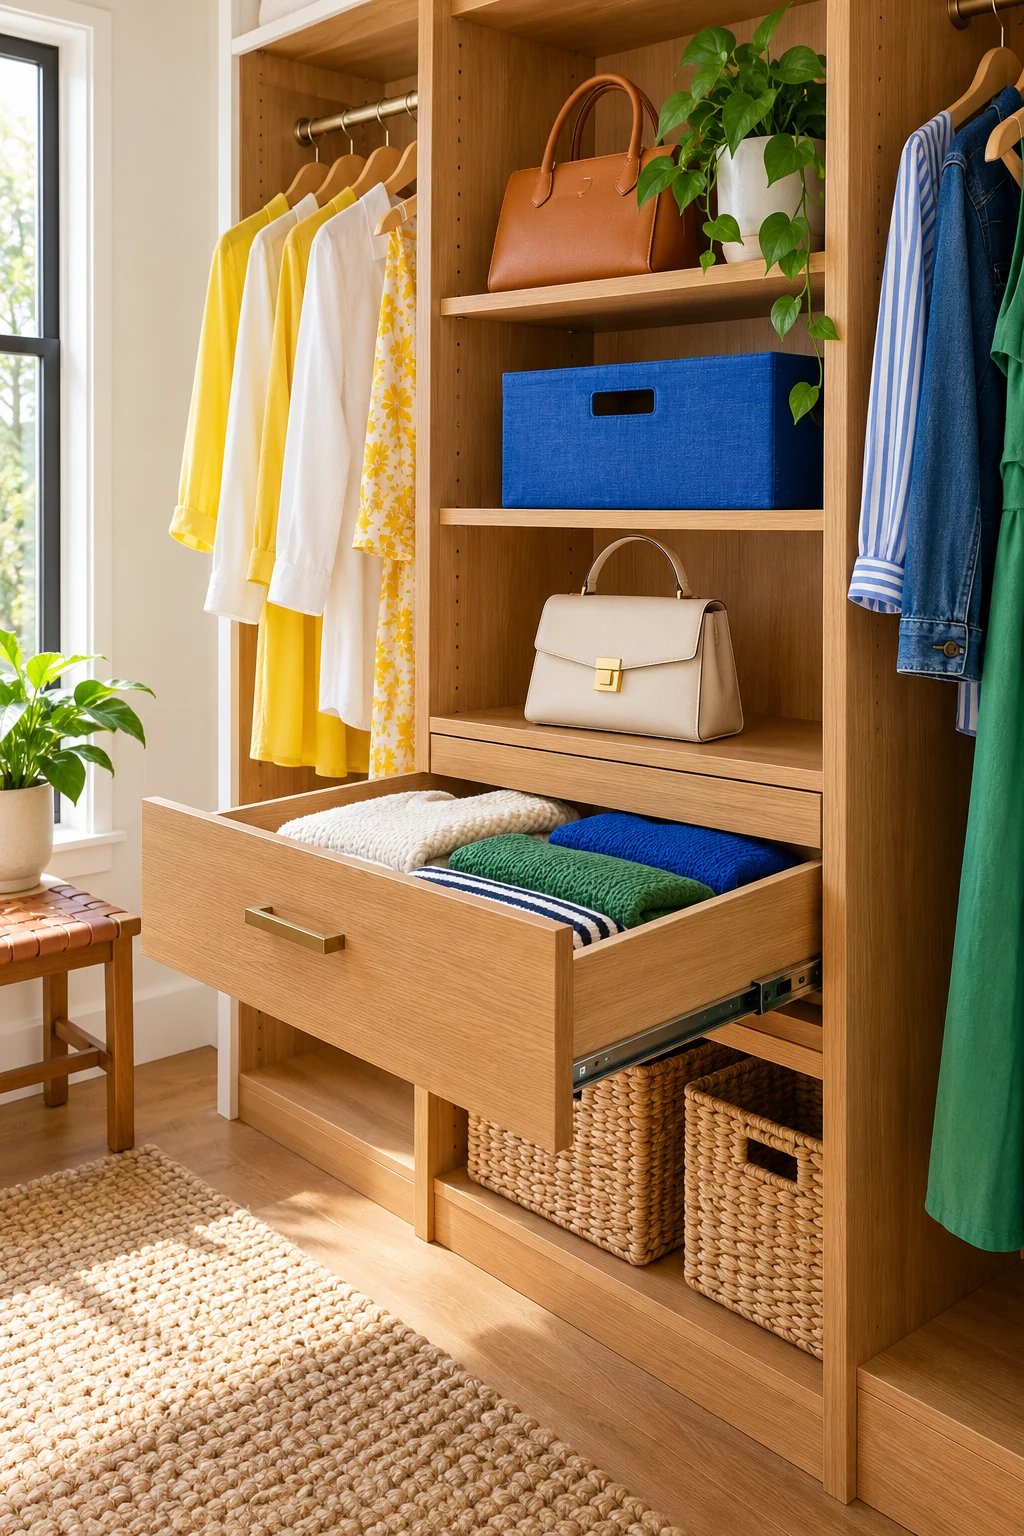
This article contains affiliate links. If you buy through them, Havelyo may earn a commission. As an Amazon Associate I earn from qualifying purchases.
Make a plan for your actual wardrobe
1. Measure the usable space
Measure the inside width, depth, and height of your closet, then note the door opening, baseboards, shelf supports, and anything else that narrows access. A bin that fits on a shelf may still be too wide to pull through a sliding-door opening.
Hang your longest garment and measure its drop before changing a rod. For drawers, measure inside the drawer, including the height available when it closes. Keep these numbers on your phone before shopping.
2. Sort before you add storage
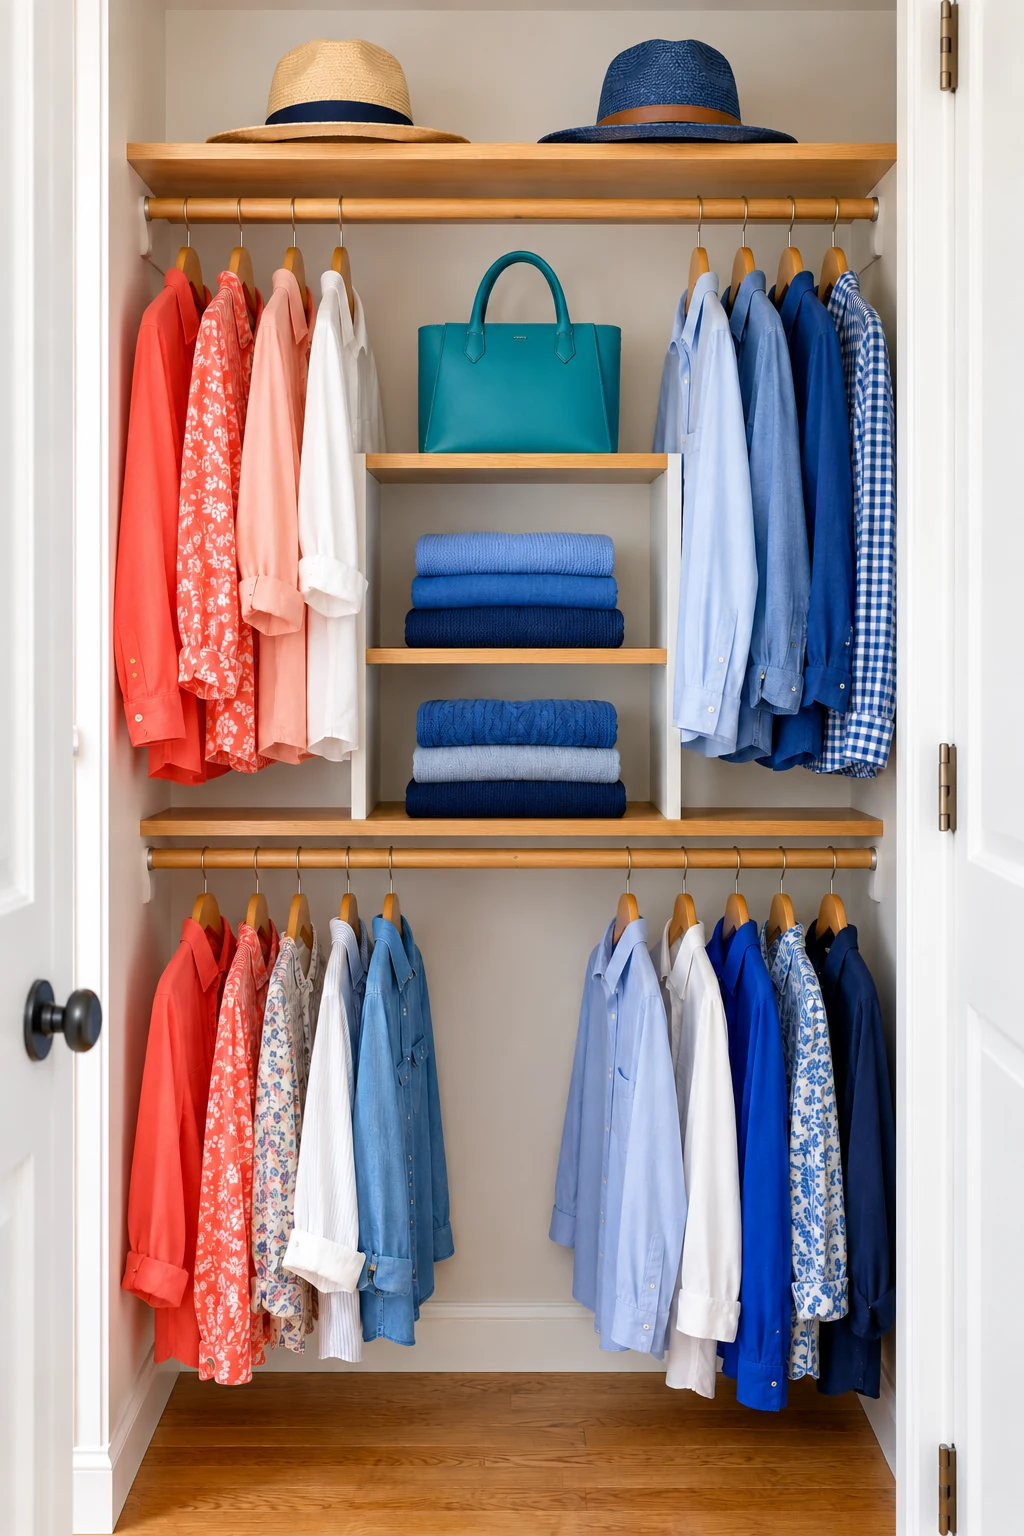
Work through one category at a time: jeans, sweaters, or shoes. Return the pieces you wear, set repairs aside, and decide what can leave. This gives you a useful inventory without covering the bedroom in every item you own.
Keep undecided pieces in a temporary box with a review date you choose. If that box quietly becomes permanent storage, revisit it before adding another organizer. Even a clever layout has a limit.
3. Give everyday clothes the easiest reach
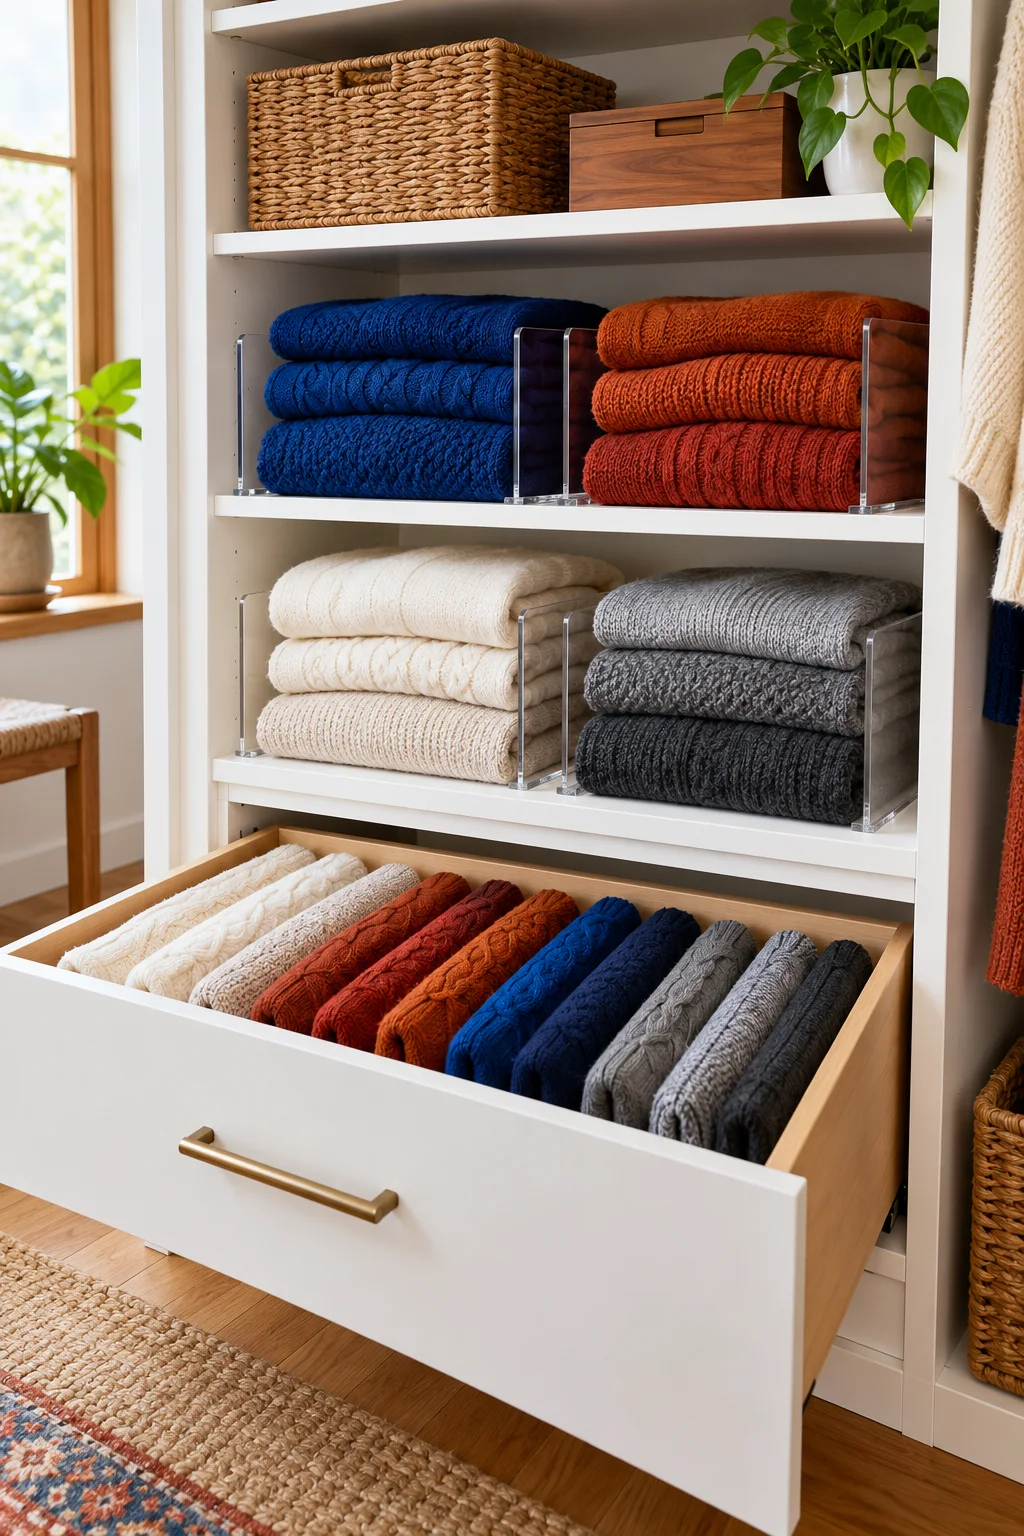
Put your most-used clothing where you can see it and reach it comfortably. That may mean work shirts near the opening and occasional outfits farther to the side. In a shared closet, give each person a clear section.
Build zones around how you get dressed, then group similar items within them. Color order can help you scan, but it works better after categories have a home. Adjust the arrangement if your routine or reach changes.
4. Keep one clear bay for long garments
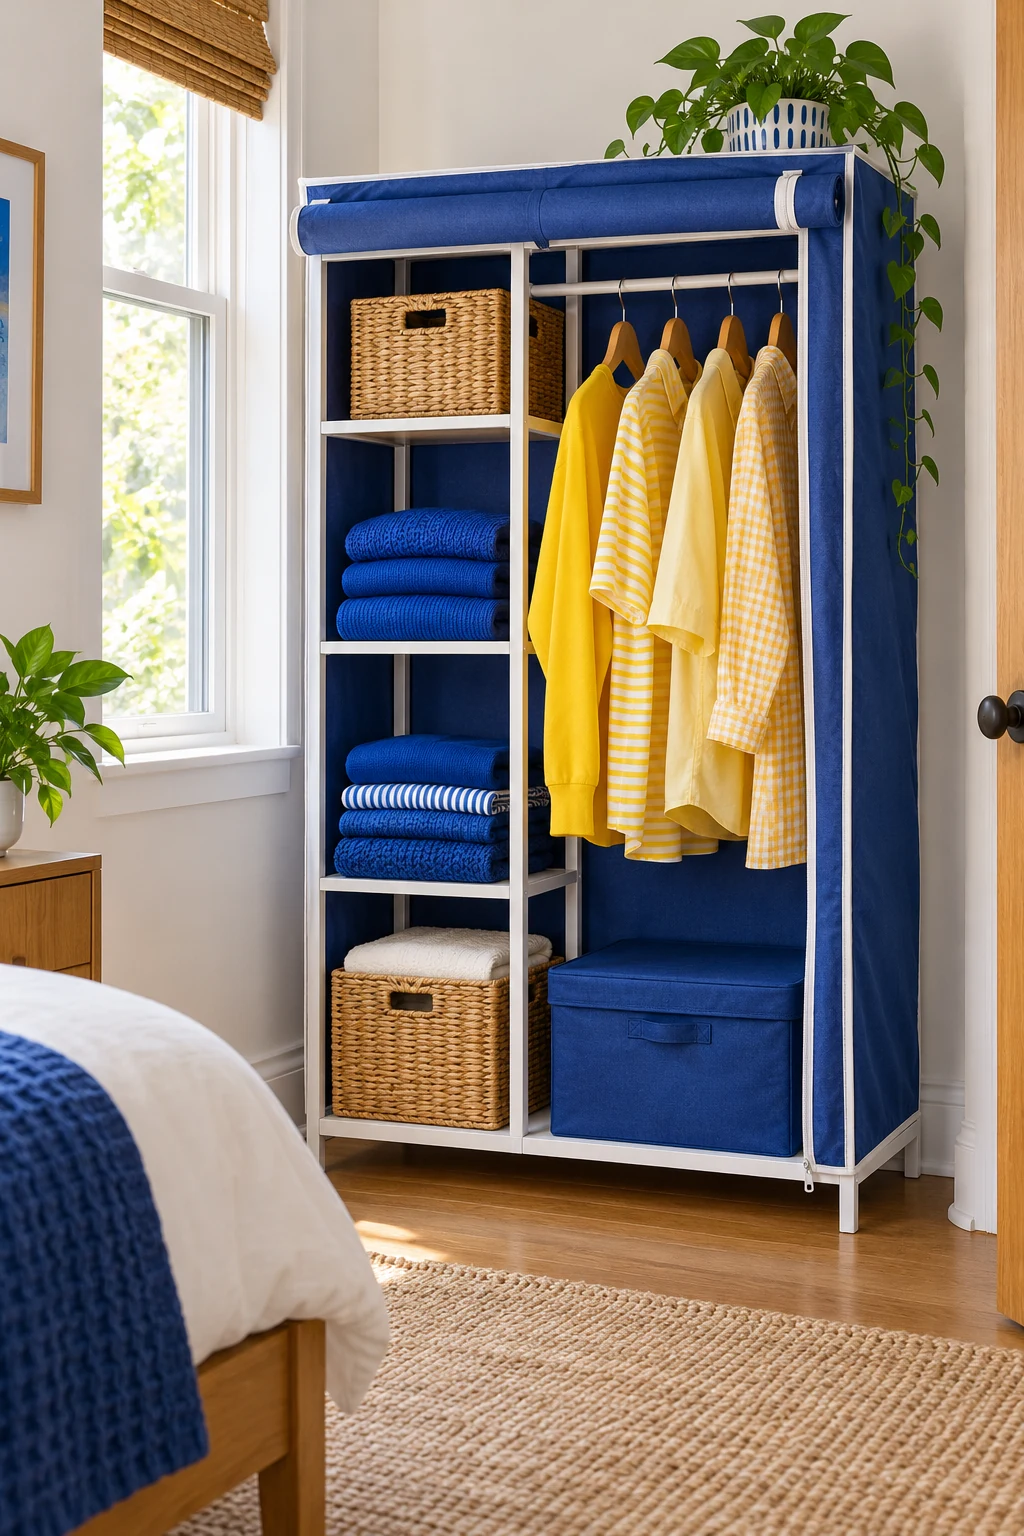
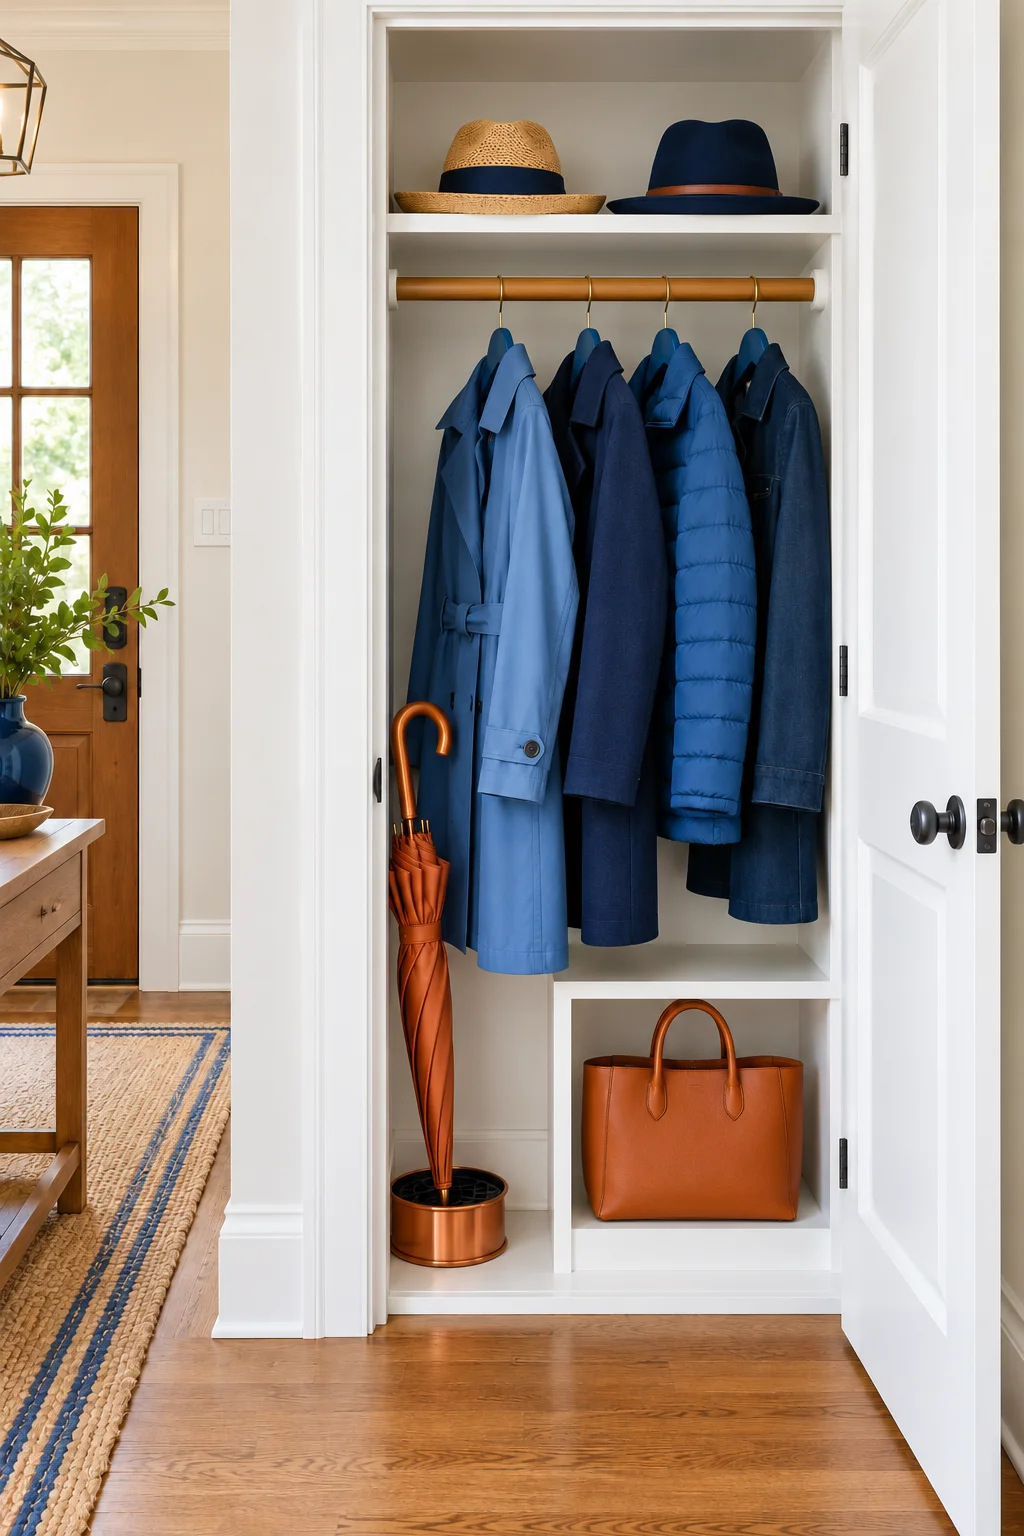
Gather dresses, long coats, and jumpsuits into a single hanging area. This can free the floor under shorter clothes for a shoe rack or leave space for a second rod elsewhere.
Try the arrangement with your actual hangers before fixing anything in place. Long hems should hang freely, clear of shoes and the floor. If most of your wardrobe is long, preserve that hanging space rather than forcing a double-rod layout that doesn’t suit it.
5. Add a second rod under shorter clothes
A second hanging level can put the empty area beneath shirts to work. Use the lower level for short pieces and check that garments on both levels hang without bunching. Confirm that the existing rod and supports can carry the added load.
The Simple Houseware Adjustable Closet Hanging Rod hooks over an existing rod and adjusts horizontally from 18 to 30 inches. It’s a useful option where a permanent second rod isn’t practical; measure the full installed drop and clothing clearance first.
Make hanging and shelf space work harder
6. Use slim hangers where they help
A consistent hanger shape makes a crowded rail easier to scan and reduces the tangle of mismatched hooks. Keep specialty hangers for pieces that need them, and leave enough space to slide clothing along the rod.
Amazon Basics Slim Velvet Suit Hangers in the Black/Silver 30-pack have notched shoulders and a velvet surface. They’re a practical swap for bulky everyday hangers, but don’t squeeze in so many that sleeves catch whenever you pull something out.
7. Trade spare hanging width for cubbies
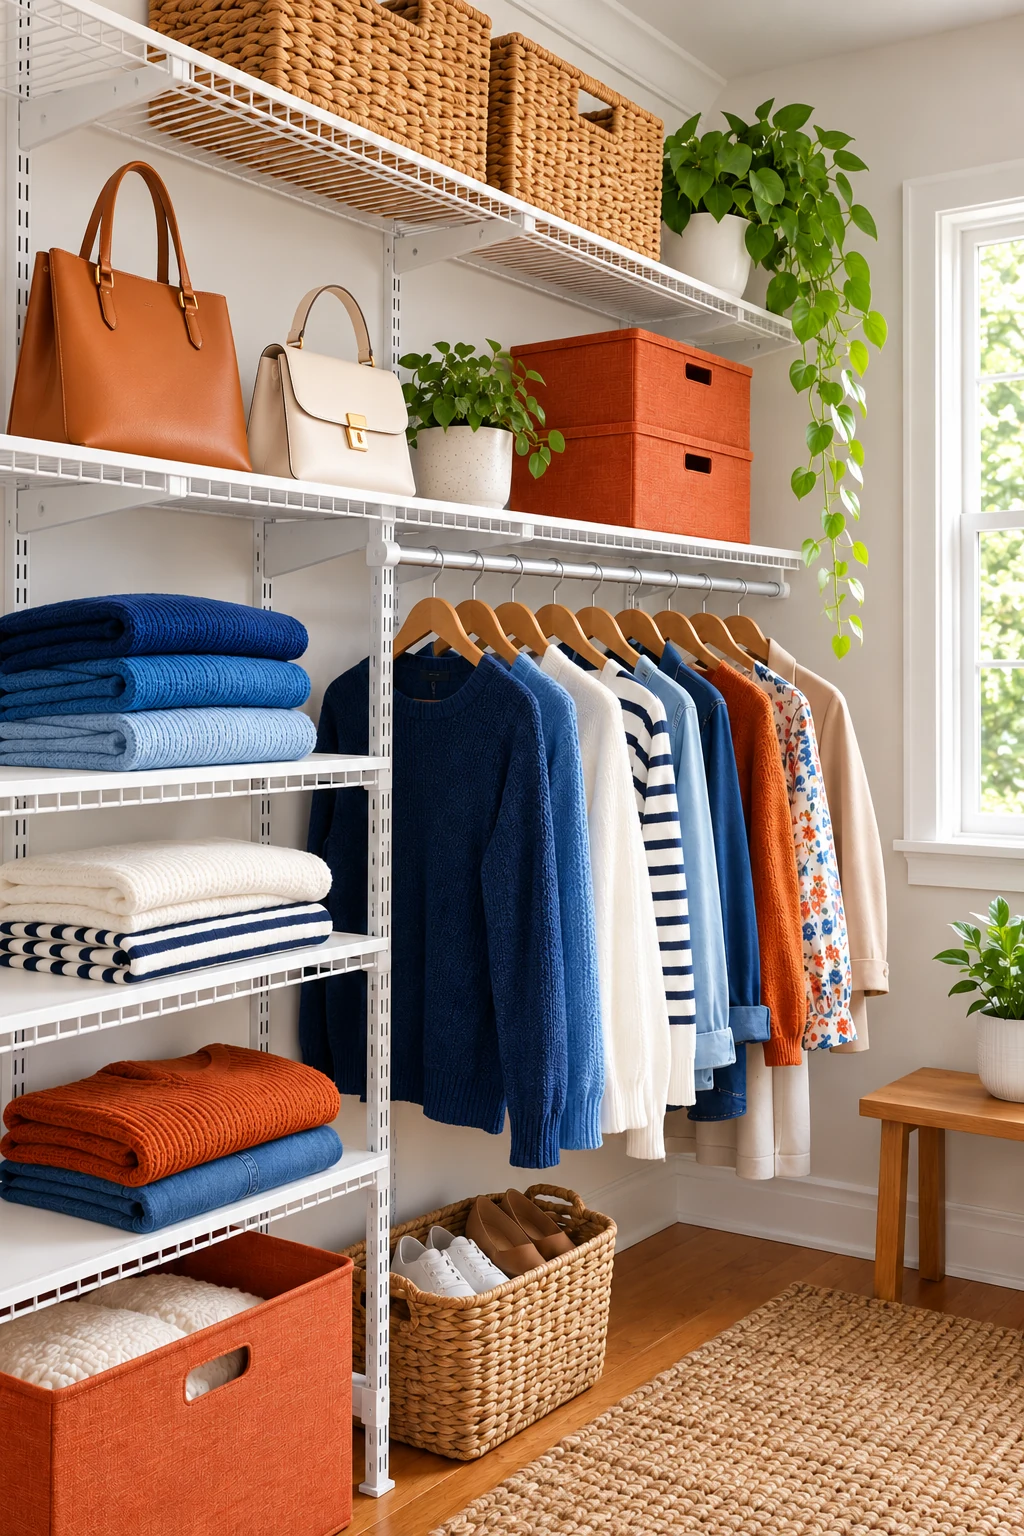
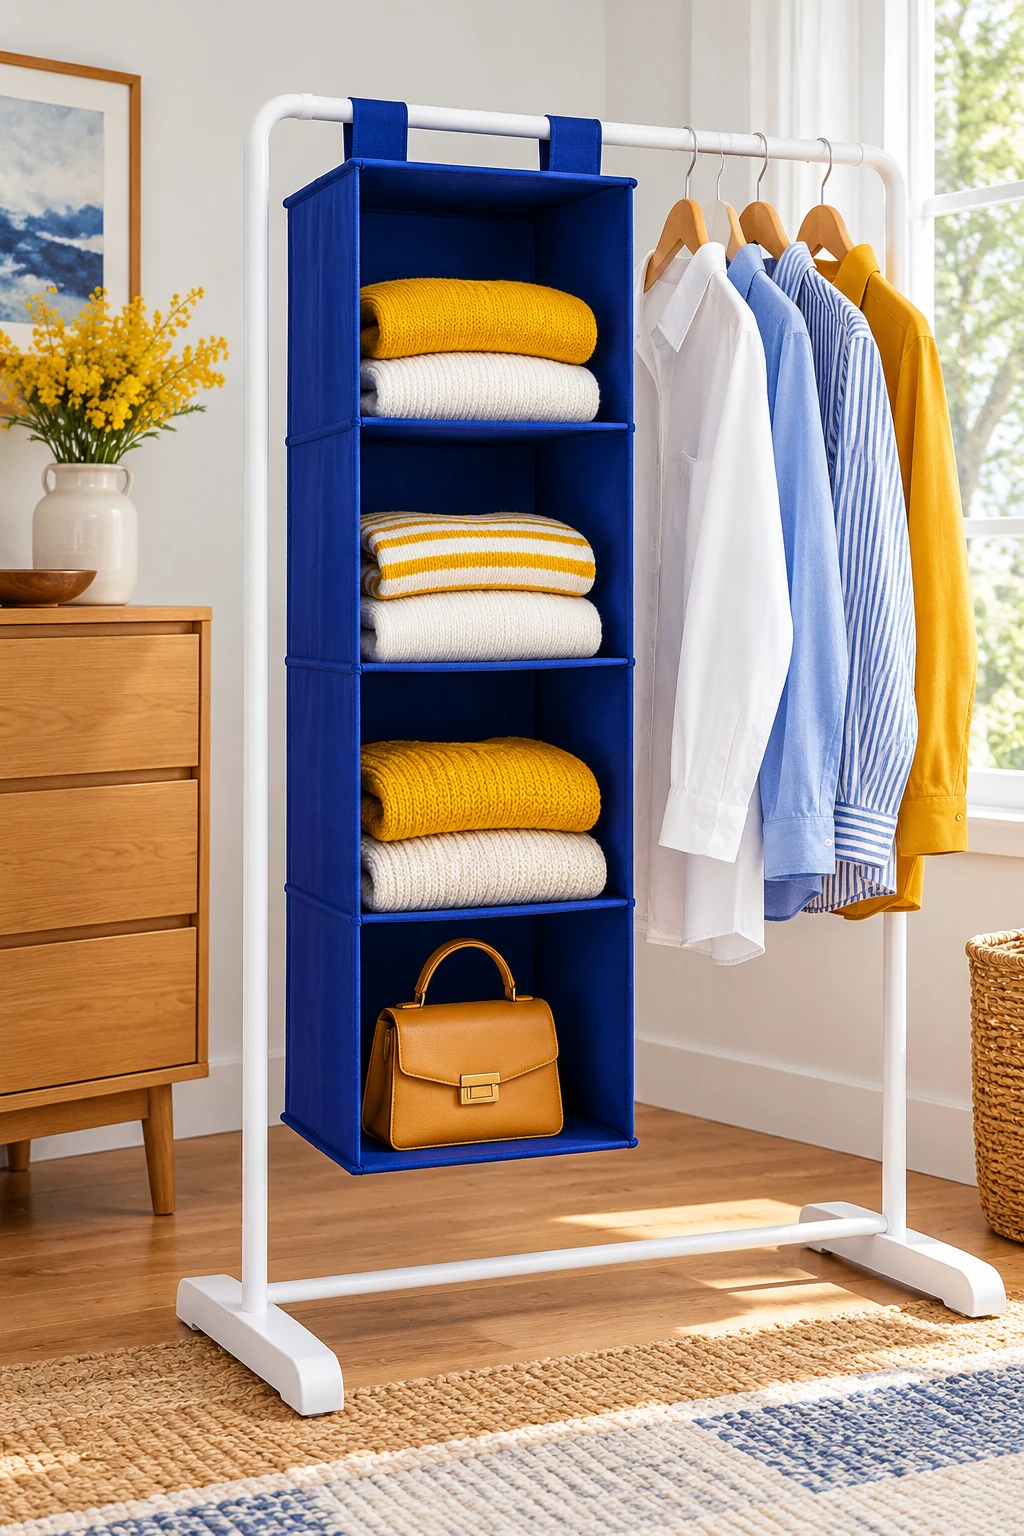
If you have more rod space than shelf space, a hanging shelf organizer can hold lightweight folded items. Give each compartment one category, such as tees or workout clothes, so putting laundry away stays simple.
The StorageWorks 6-Shelf Hanging Closet Organizer adds fabric compartments and side pockets to a suitable rod. It trades hanging width for folded storage. Check the current variant’s measurements and load instructions, and leave the space below accessible.
8. Reserve a small outfit station
Leave a short stretch of rod for the next outfit you plan to wear. Put its pieces together so a busy morning doesn’t send you hunting through three sections. An empty hanger can mark the spot when it isn’t in use.
Keep this zone deliberately small. It should help you prepare, not become an overflow rail for everything without a home. Return unused pieces to their category when your plans change.
9. Fold to fit the shelf
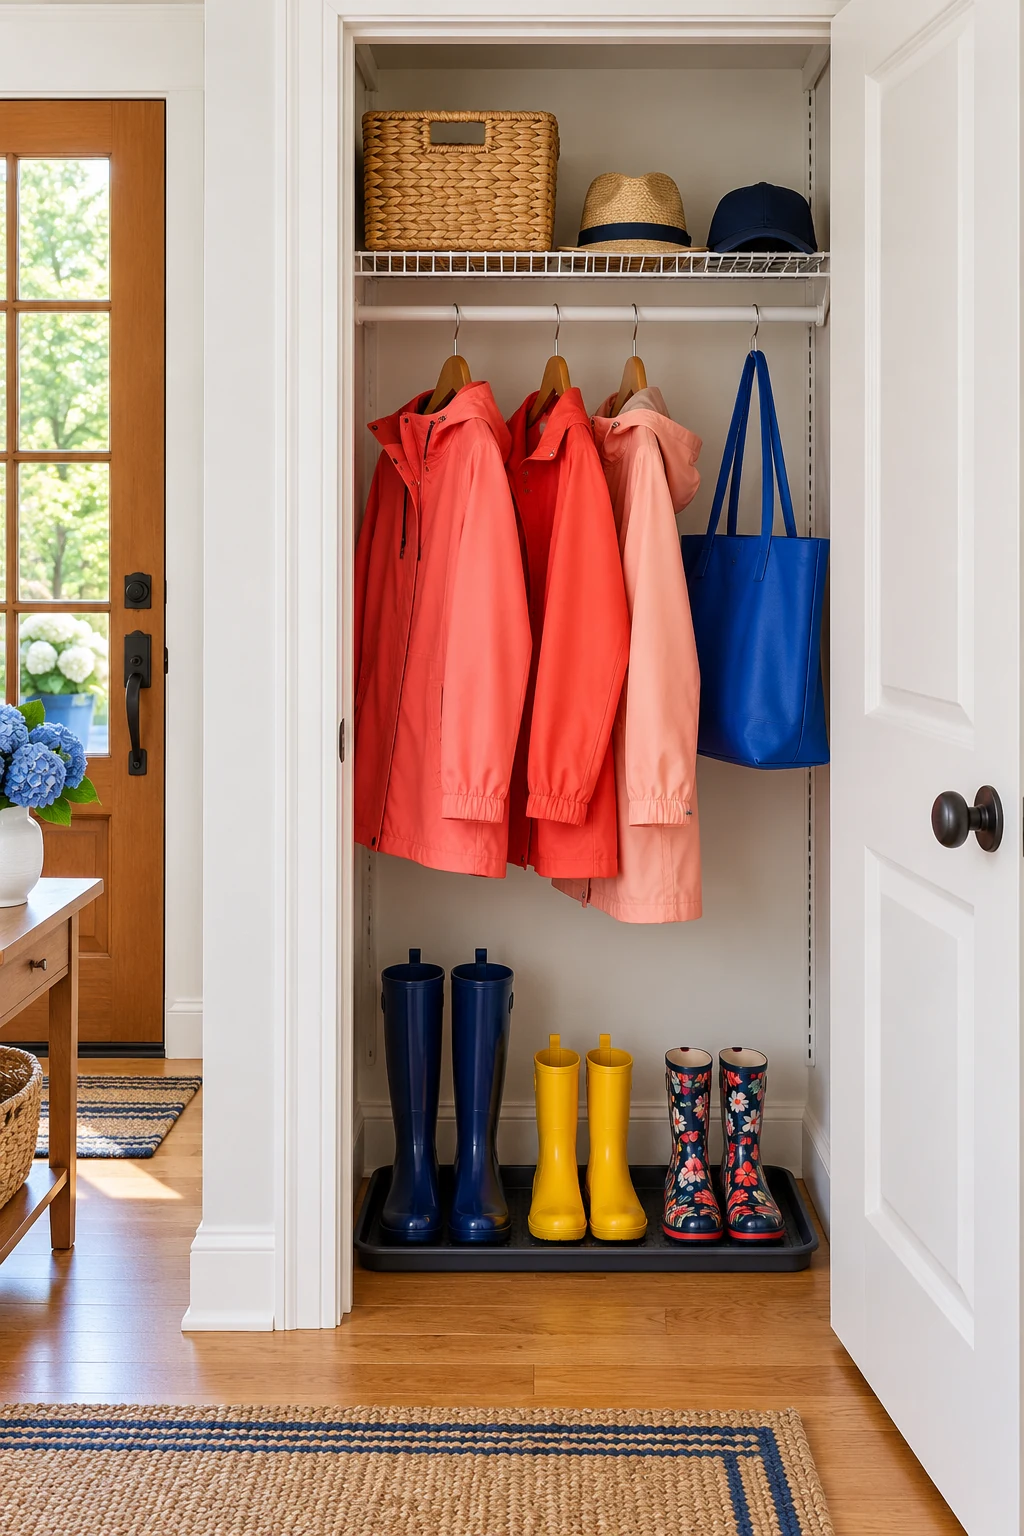
Choose a fold that fits your actual shelf depth and leaves the stack easy to grasp. Try one sweater before refolding the whole collection. Short, reachable stacks are usually easier to maintain than towers you have to steady with one hand.
Give bulky knits more shelf width and avoid packing a hidden second row behind everyday clothes. A deep shelf can hold occasional-use items at the back, but you’ll need a clear way to retrieve them.
10. Separate stacks with shelf dividers
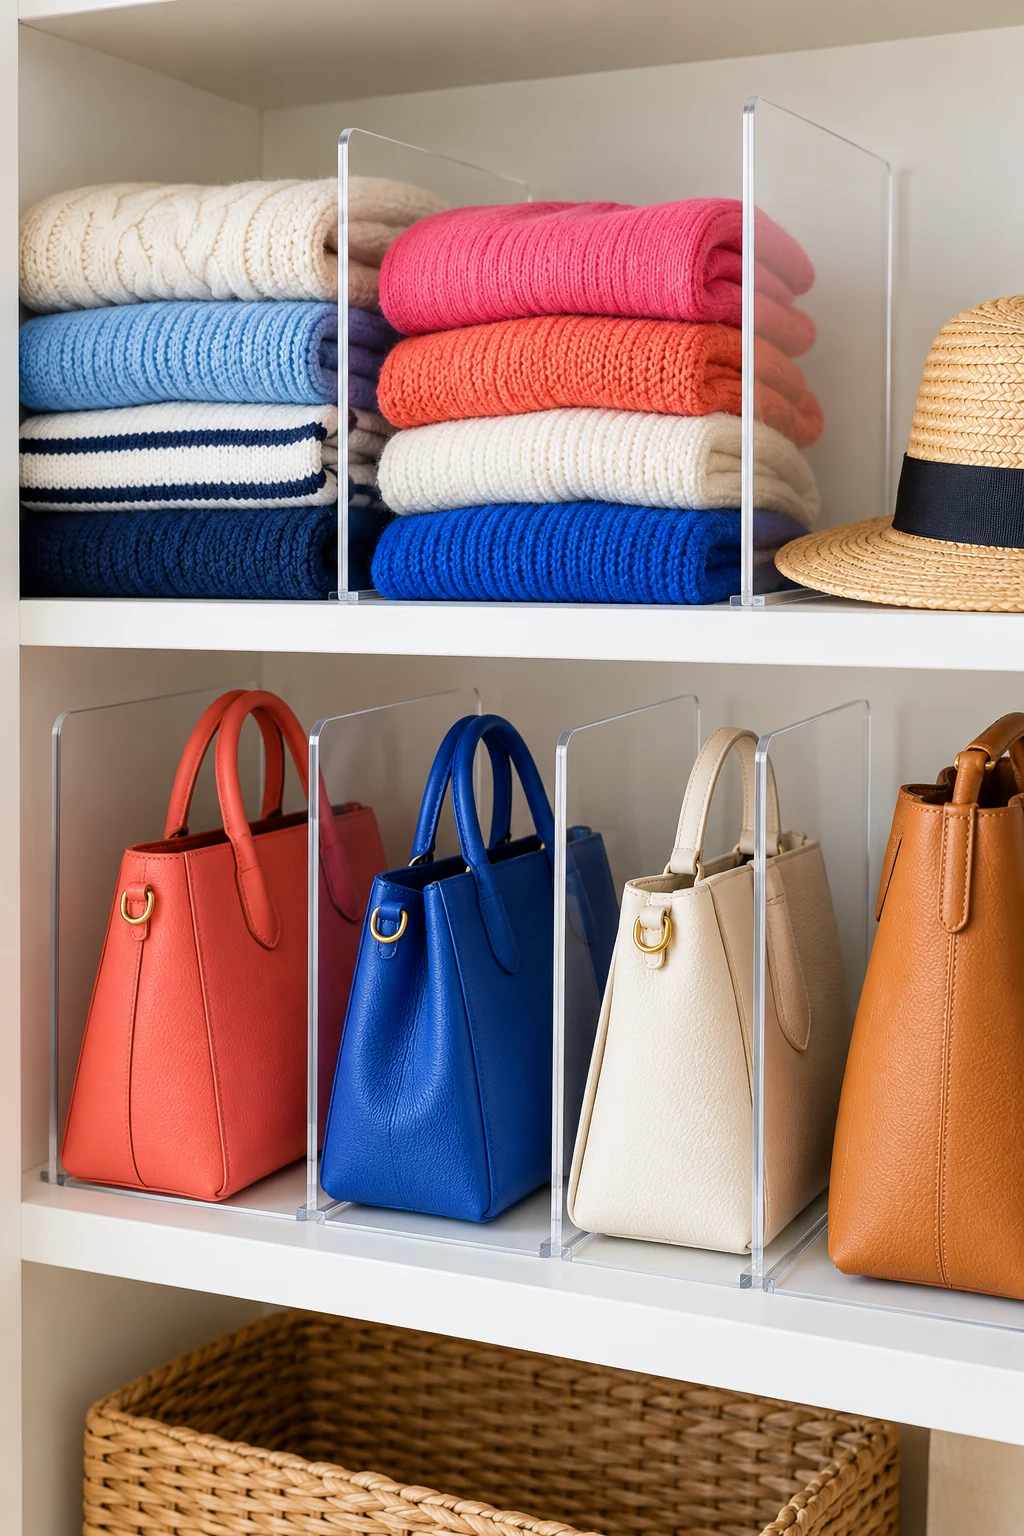
Dividers can keep folded categories from leaning into one another. Start with the stacks that repeatedly collapse, then leave enough width to lift out an item without scraping the divider.
The LYNK Professional Home Tall White Shelf Dividers come as a set of two and slide onto solid wood shelves up to 7/8 inch thick. Check shelf thickness and the mounting edge carefully. This particular set isn’t a recommendation for wire shelving.
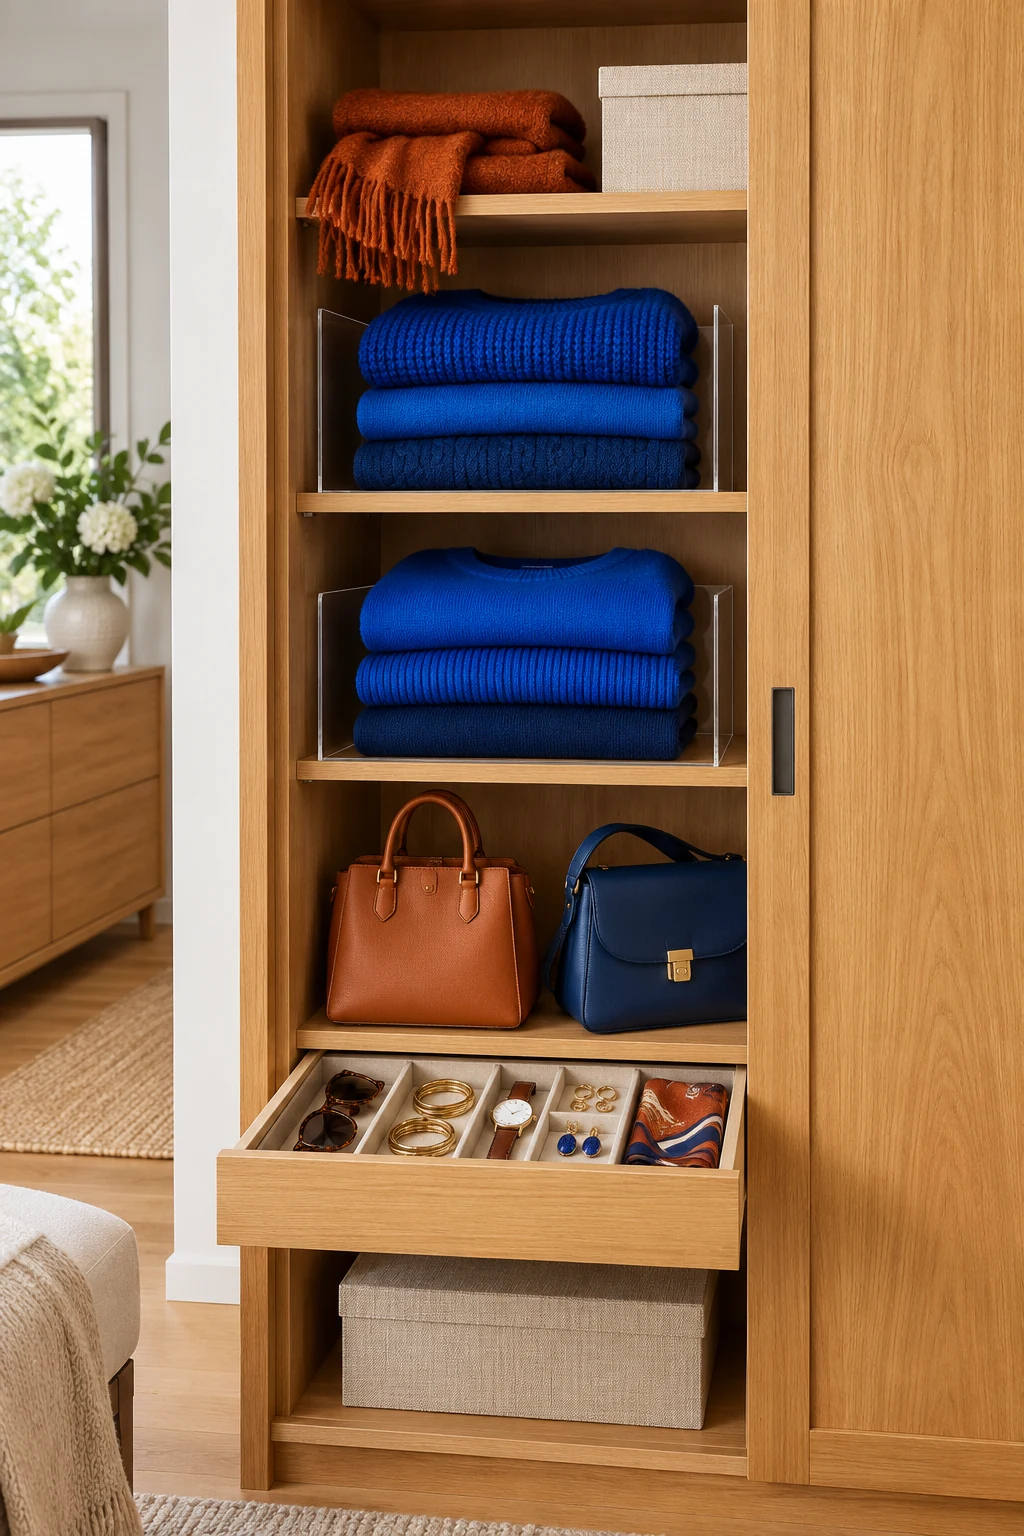
Give small items a clear home
11. Use bins you can pull forward
On deep shelves, a shallow basket or bin can bring a whole category within reach. Try it for scarves, workout gear, or cold-weather accessories. Reuse a clean box first to test the size and position.
Measure both the shelf and the opening in front of it. Leave space to grip and remove the container, and avoid a heavy bin above your head. A large bin helps only if you can comfortably lift it when full.
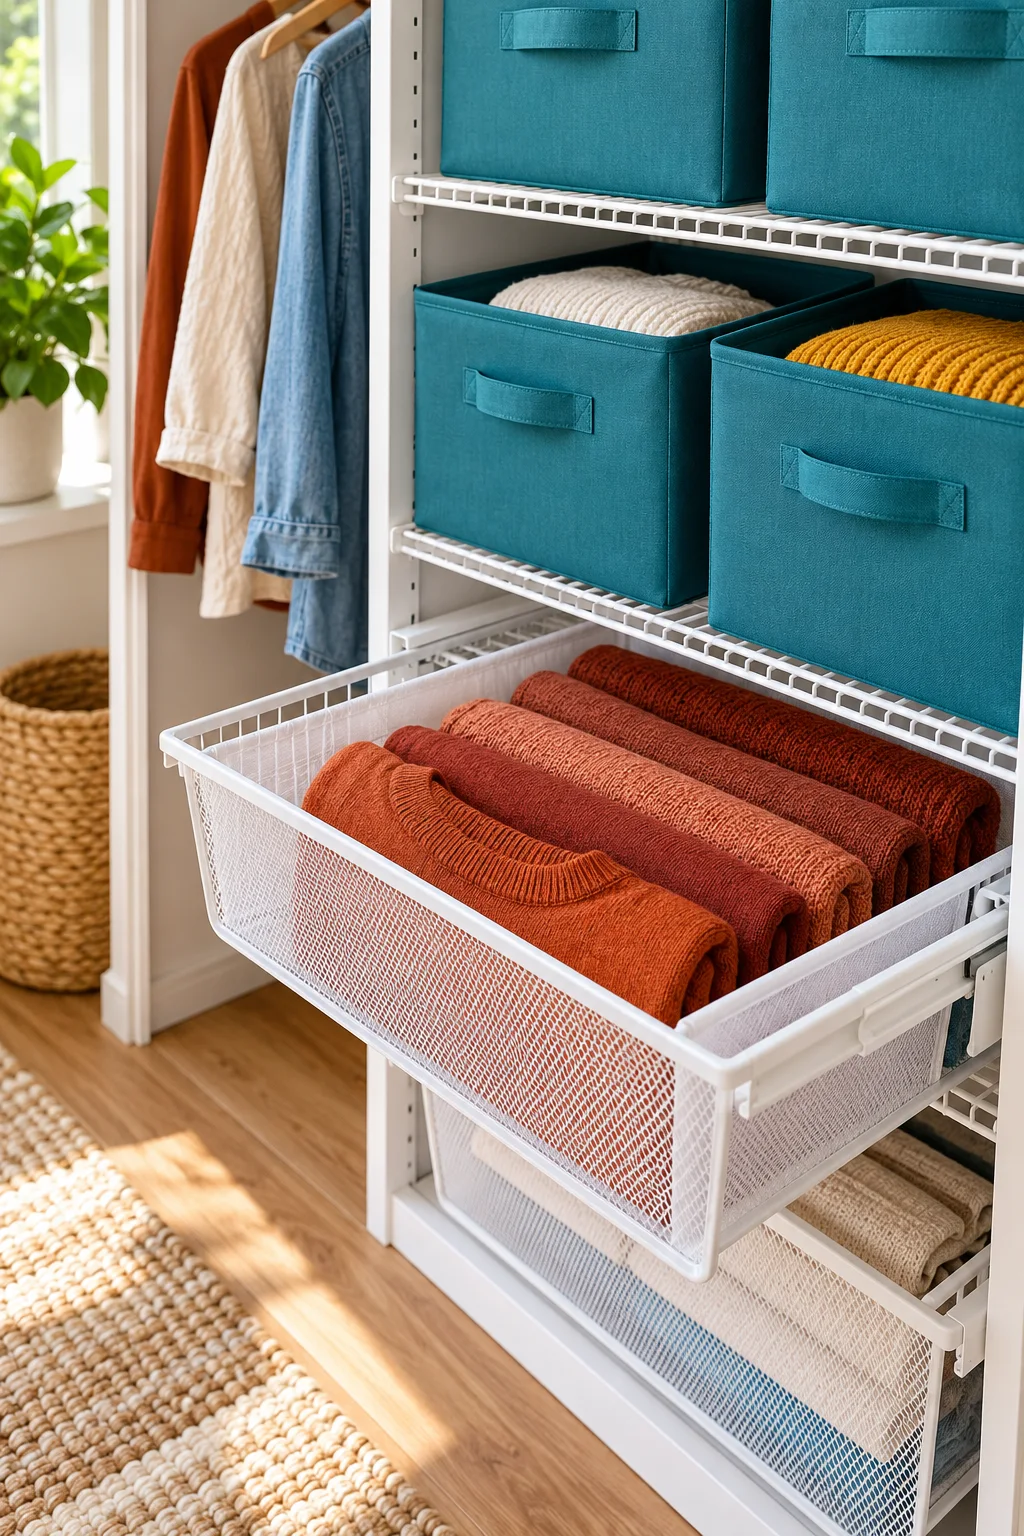
12. Stand handbags in their own row
Give frequently used bags individual spaces on a shelf so you don’t have to unstack them. Place clutches upright between suitable dividers or in an existing file holder, checking that edges won’t rub delicate finishes.
For bags stored longer term, follow their care instructions for stuffing, dust covers, and positioning. Avoid forcing them into a narrow slot or hanging a heavy bag by its handles for convenience. Keep your daily bag in the easiest spot.
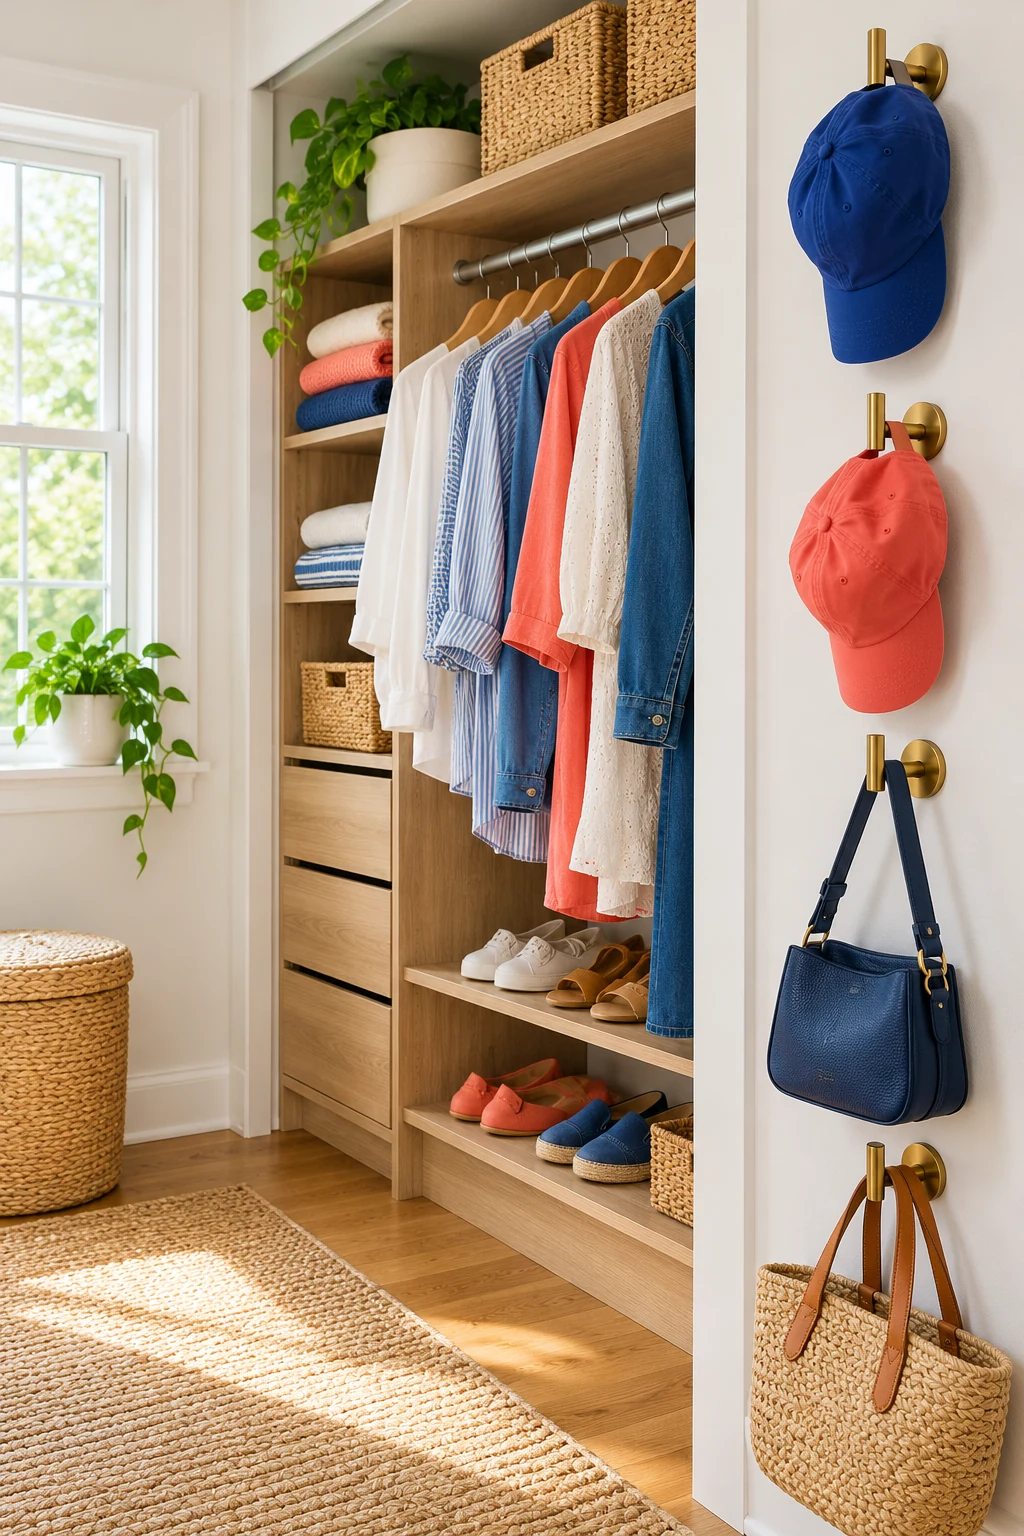
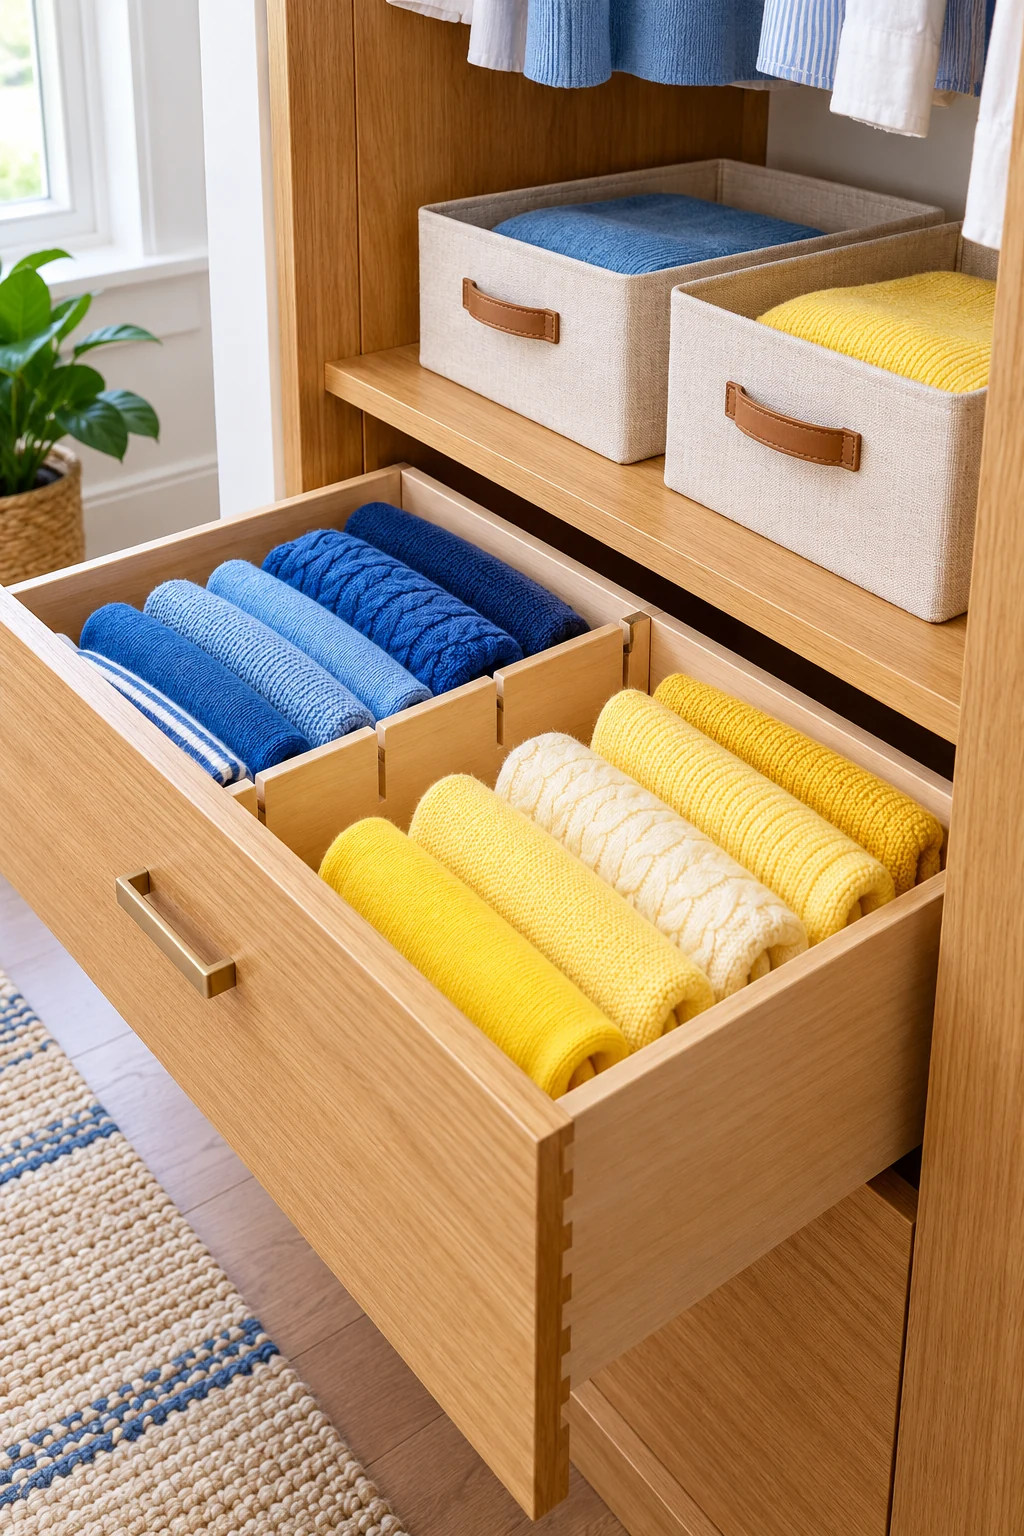
13. File fold clothes in drawers
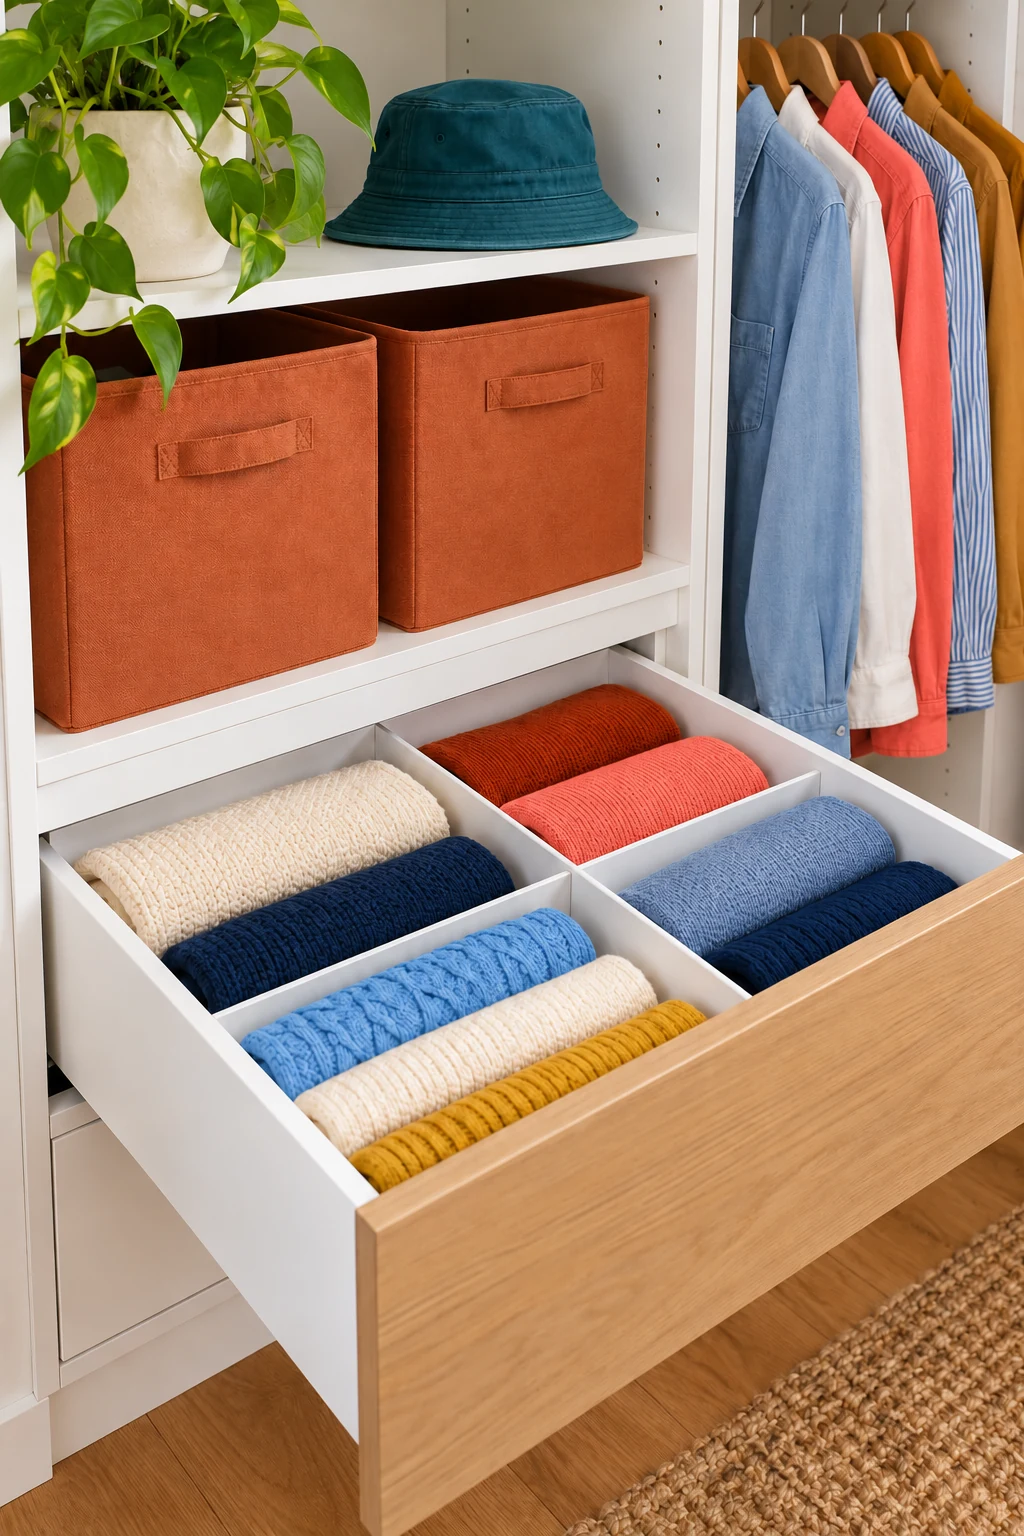
Arrange tees or leggings upright in a drawer so the visible folded edges show what’s inside. Test the fold against the drawer height before committing to a whole category.
Fill loosely enough to take one piece out and put it back. For slippery fabrics that won’t stand, a small open box can support the row; bulky knits may work better on a shelf. Use the method where it makes access easier, rather than forcing every fabric into it.
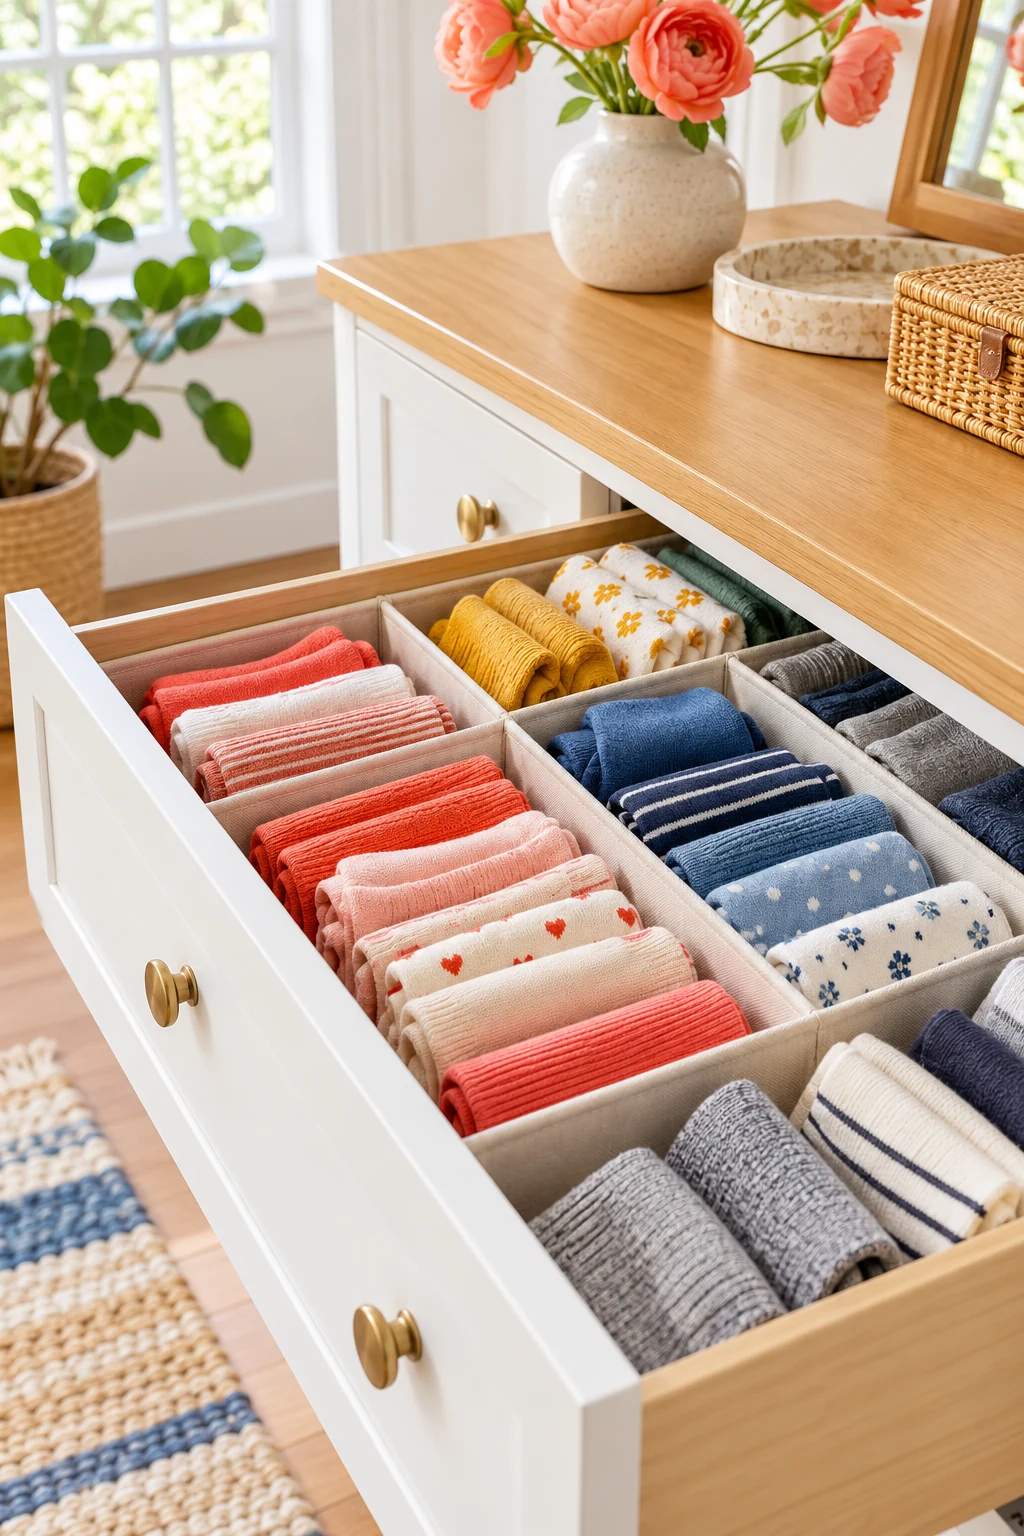
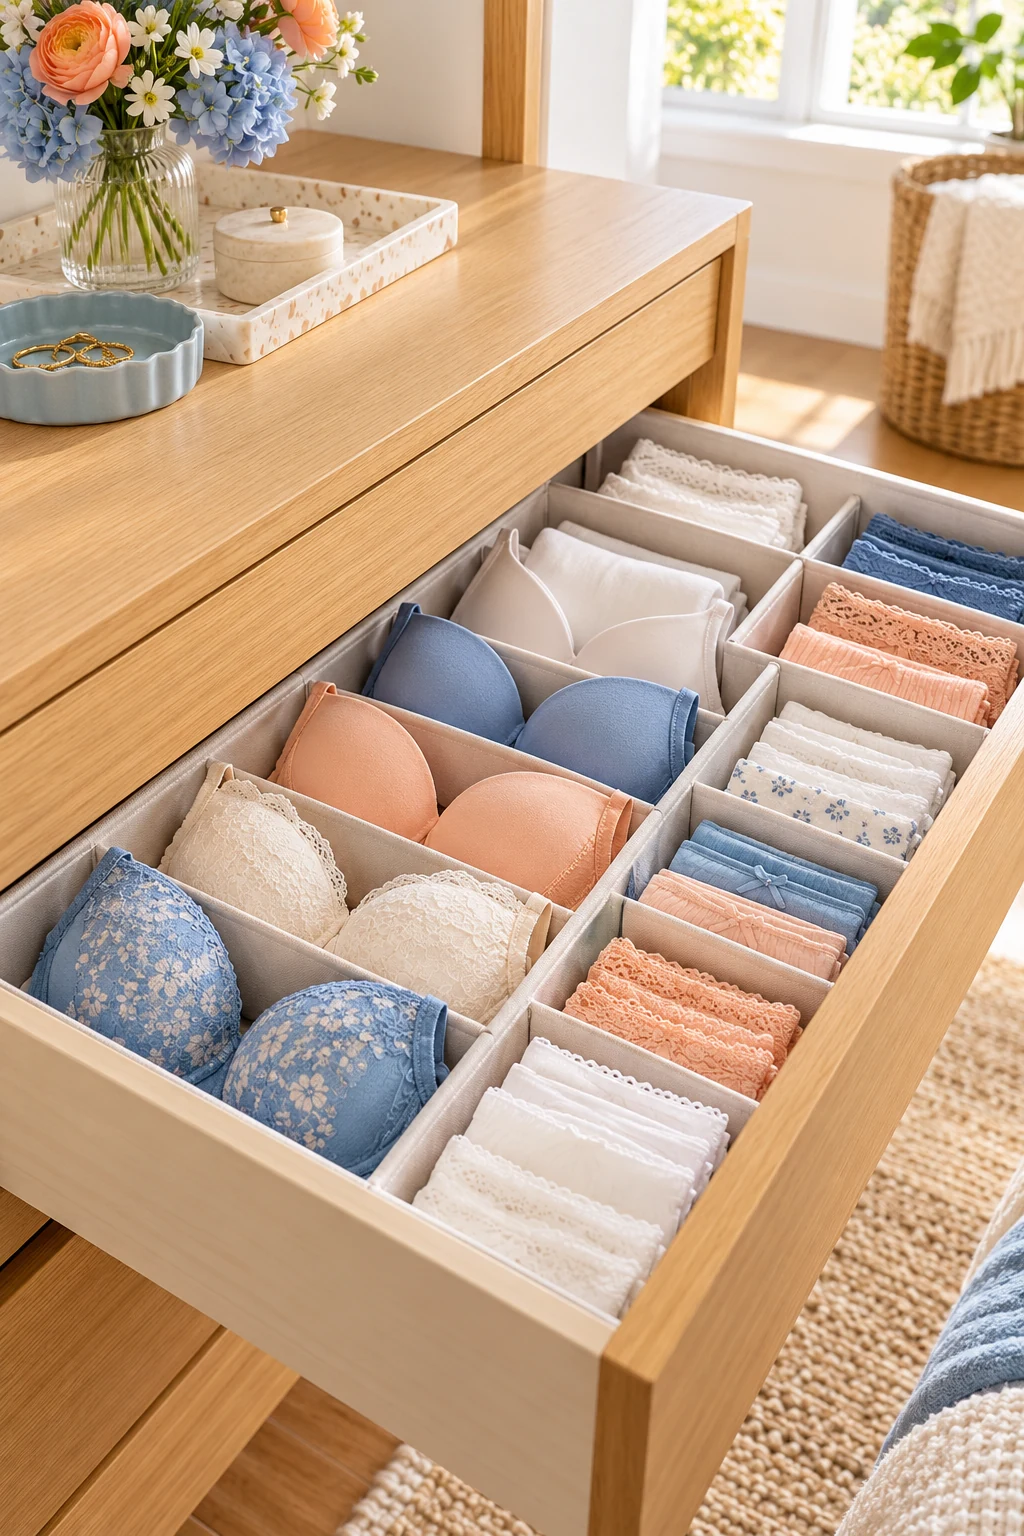
14. Divide the sock and underwear drawer
Use small compartments to stop socks, underwear, and other little items from mixing together. Sort them into categories you’ll actually maintain, such as everyday socks and workout socks, instead of creating a complicated filing system.
Measure the drawer’s interior before choosing inserts, and make sure they don’t catch when it closes. Leave an open section for pieces that don’t suit compartments. Reused small boxes can help you test the layout before buying a matching set. The Simple Houseware 4-Pack Drawer Organizer Set in Gray offers mixed compartment sizes. Its inserts are 3.5 inches high; compare the footprint of each piece with your drawer before arranging the set.
15. Keep accessories in a shallow tray
A shallow tray makes belts, watches, or sturdy everyday accessories visible in one place. Put it on a reachable shelf or inside a drawer that opens fully. Small bowls you already own can separate loose pieces.
Delicate jewelry needs storage suited to its materials, and long necklaces may need individual hooks to avoid tangles. Keep the tray limited to items you use here; otherwise it can turn into another catchall that hides what you need.
Use overlooked surfaces and floor space
16. Put door pockets to work
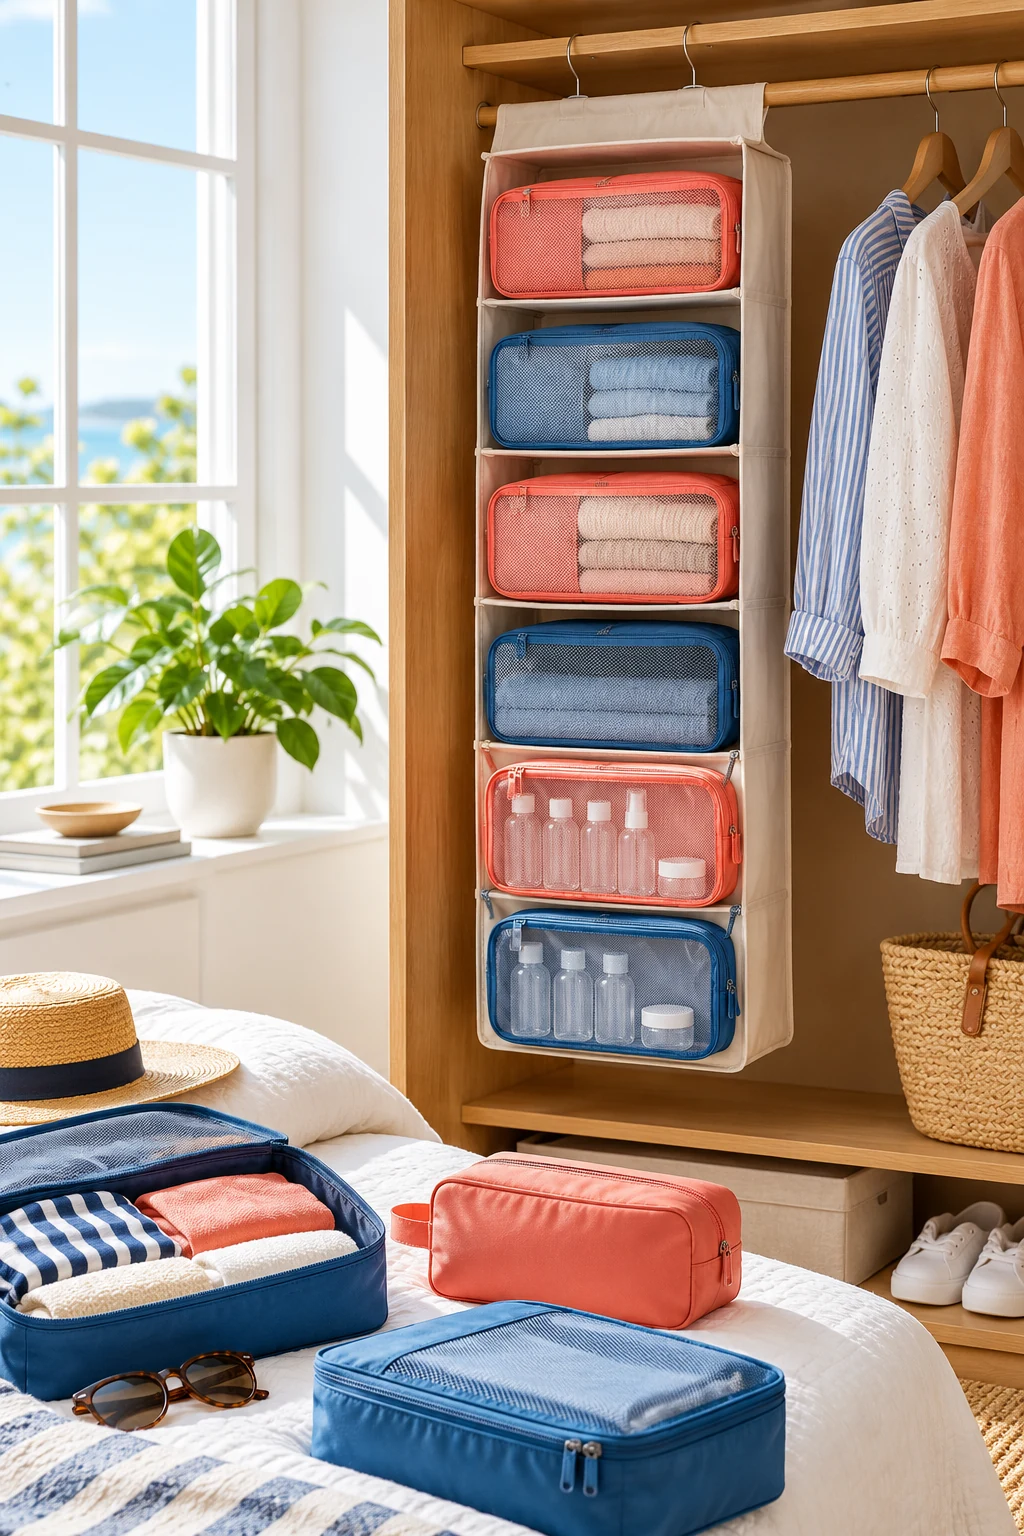
An over-door organizer can hold small shoes or accessories without taking shelf space. Test the door’s full swing and closure with the hooks installed before filling it. This works on a suitable hinged door; sliding and bifold doors need a different plan.
The Simple Houseware 24 Pockets Clear Over the Door Shoe Organizer in Gray is 19 inches wide and 64 inches high. Its hooks fit doors up to 1-3/8 inches thick. Check pocket fit for your shoes, especially bulky pairs.
17. Add hooks on an accessible side wall
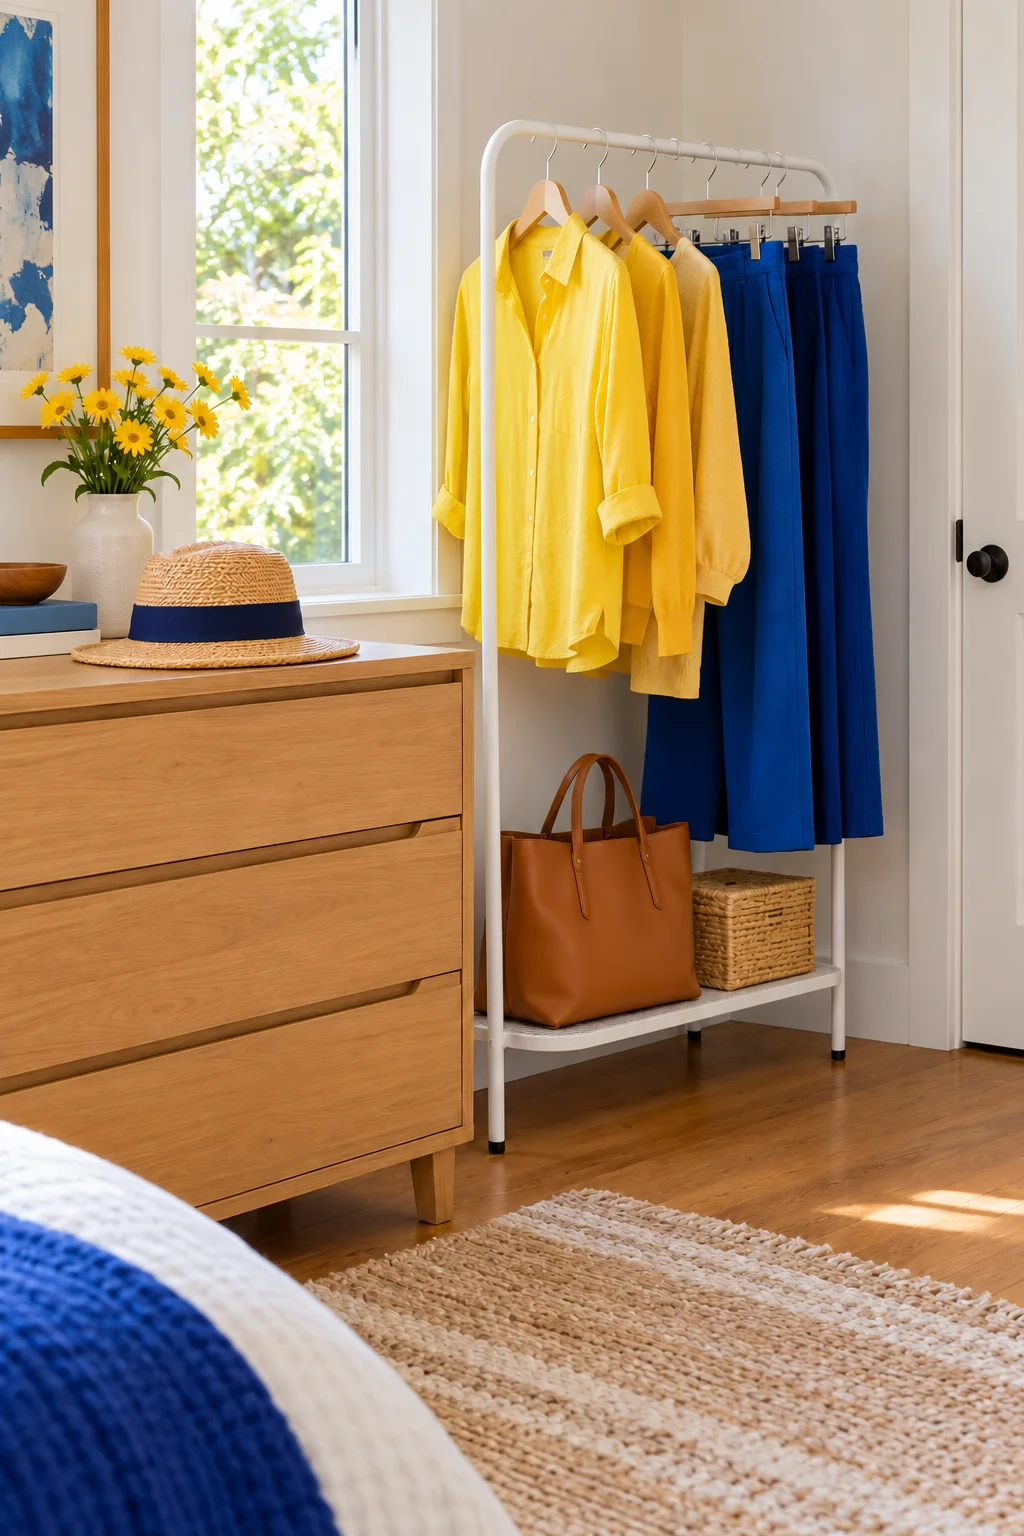
A bare side wall can hold a few belts, scarves, or light bags. Position hooks where hanging items won’t brush the door track or sit hidden behind your clothes. Hold the items in place first to test access.
Use fixings appropriate for the wall and the intended load. If you rent, check what’s permitted; adhesive hooks can damage some finishes and aren’t automatically a safe substitute. Follow the maker’s surface, weight, and removal instructions.
18. Give everyday shoes a low rack
Use a low rack beneath short hanging clothes to separate everyday pairs. Measure the footprint and check the height with garments hanging above it. Leave enough room to lift shoes off without knocking the clothes.
Choose shelf spacing around the shoes you own. Flats and sneakers may share a rack neatly, while ankle boots can need a taller opening. Store pairs where both shoes stay visible and keep the door path clear. The Simple Houseware 3-Tier Stackable Metal Panel Shoe Rack in Bronze is a freestanding, assembly-required option. Use its current listed dimensions to check fit, and judge capacity by your own shoes rather than a pair-count promise.
19. Leave a taller space for boots
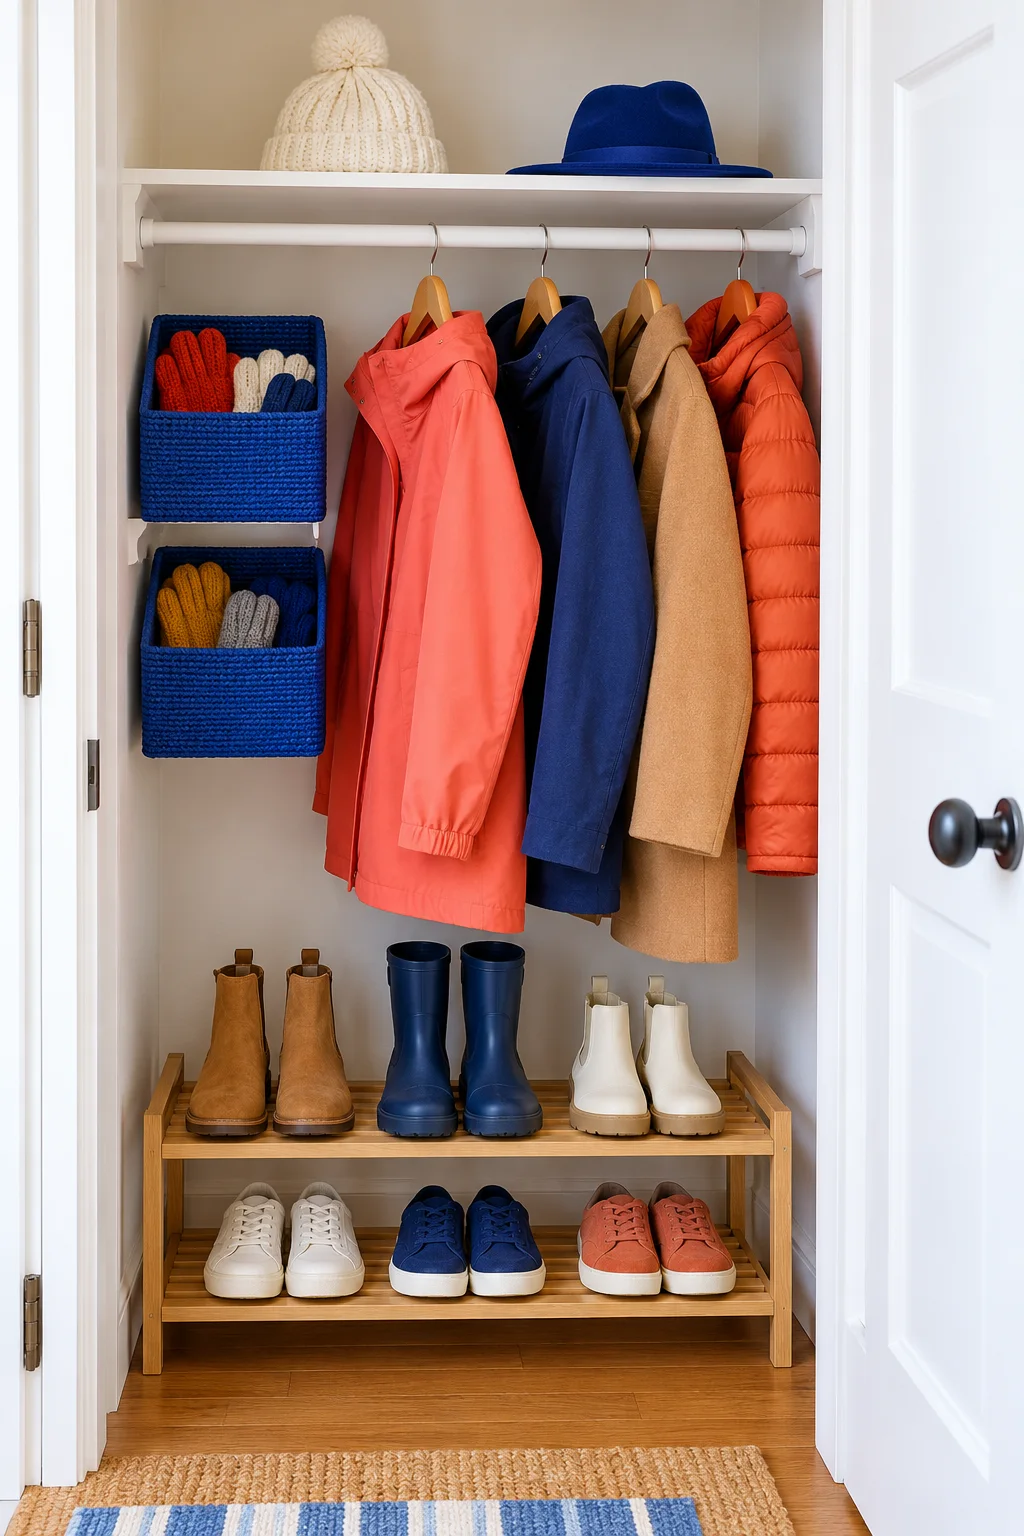
Set aside an open floor bay for taller boots instead of folding their shafts under a low shoe shelf. A removable tray can make the spot easier to clean, provided it fits without becoming a trip edge.
Let footwear dry according to its care instructions before putting it away. Use suitable supports if the boots need them, and keep tall pairs away from hanging hems. This bay may be small, but it needs real vertical clearance.
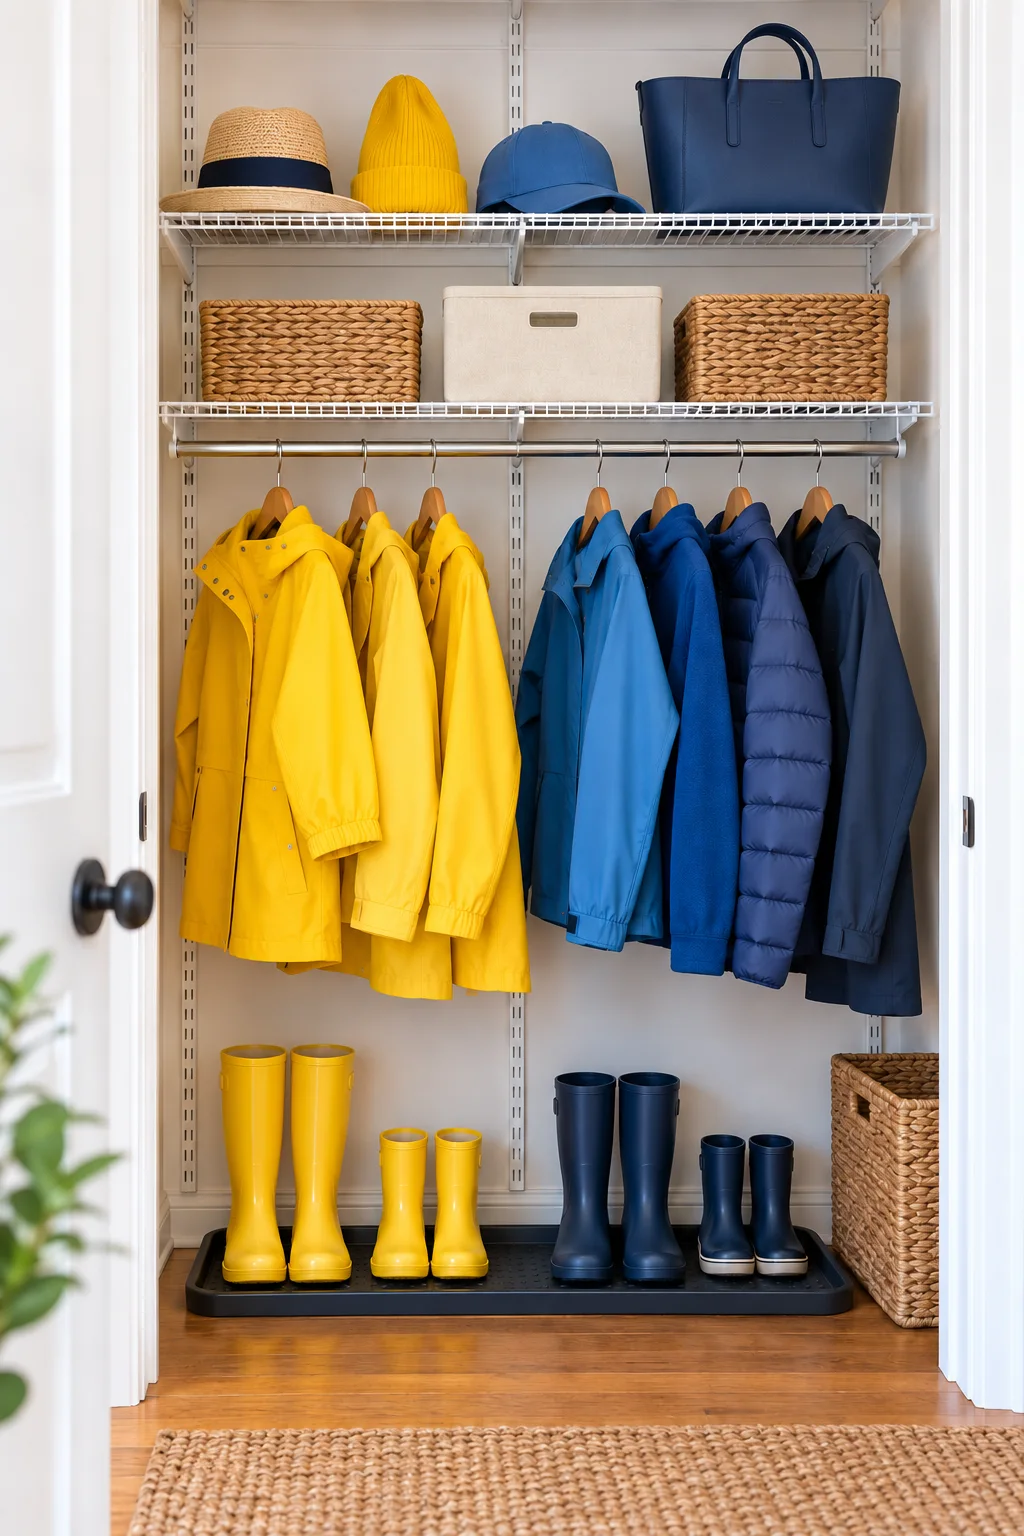
20. Use the upper shelf for light occasional items
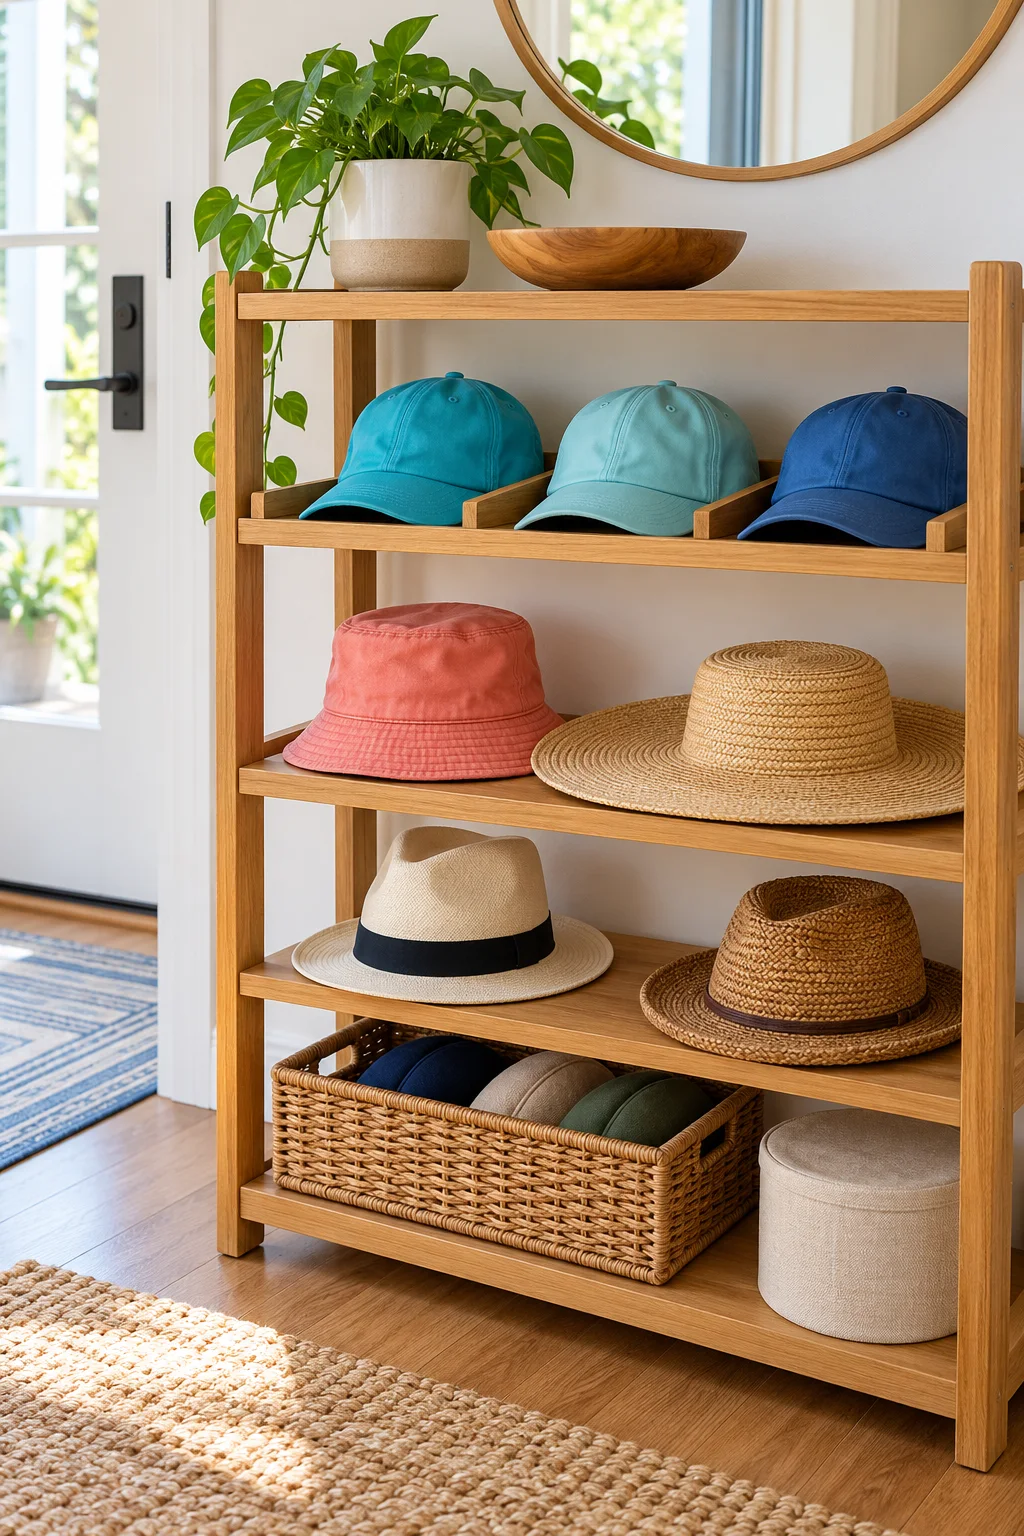
Store light, infrequently used things above your everyday reach: an empty travel tote, spare hats, or a small seasonal bin. Keep heavy items lower, and avoid stacking containers so high that you have to dismantle a tower.
Leave enough space to lift each container down with control. Use a suitable stable step stool when needed and follow its instructions; don’t climb closet shelves. If access is awkward, move that category to a safer spot.
Build a system you can keep using
21. Move off season pieces out of the daily zone
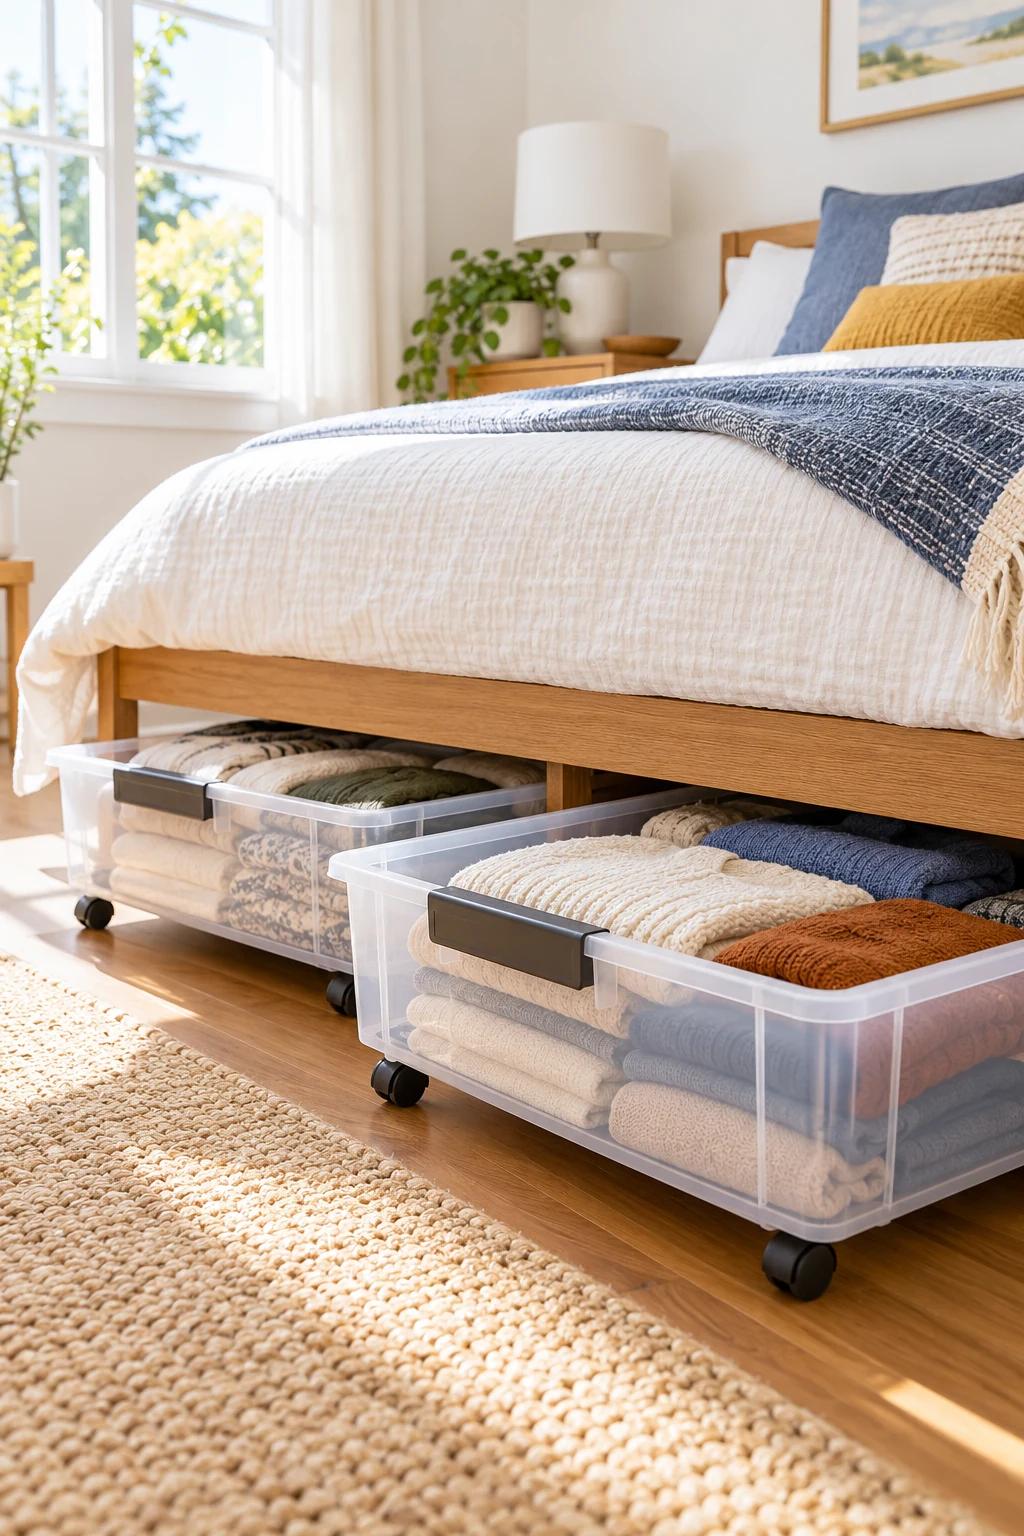
If the closet is still crowded, store selected off-season clothing elsewhere. The space under a bed can work if you can easily slide a container out and keep the contents protected.
Measure floor-to-frame clearance, including supports and anything that hangs below the bed. Store clean, fully dry items according to their care labels, and leave room to close the container without crushing them. Keep a short contents list so the storage doesn’t become a forgotten archive. Amazon Basics Under Bed Storage Bags in the Gray 2-pack have clear tops and zippers. The selected selected size variant is listed at 42 by 18 by 6 inches; check clearance with the bag filled.
22. Give laundry a measured footprint
Place a hamper where dirty clothes naturally land, provided it doesn’t block closet access. Test the spot with the hamper full and check that you can remove it easily. A bag on a suitable support may fit where a rigid basket won’t.
If the closet is too tight, put the hamper nearby instead. Don’t sacrifice the only usable floor space to keep every laundry step inside the closet, and follow care guidance for damp items.
23. Create a small rewear zone
Give clothes that have been worn briefly but aren’t ready for laundry a dedicated place. A couple of hangers or suitable hooks can replace the pile that tends to collect on a chair.
Keep the zone separate from freshly washed clothing and inspect pieces before wearing them again. Limit it to what you expect to rewear soon. When it fills up, decide what goes back into rotation and what belongs in the hamper.
24. Label storage you can’t see into
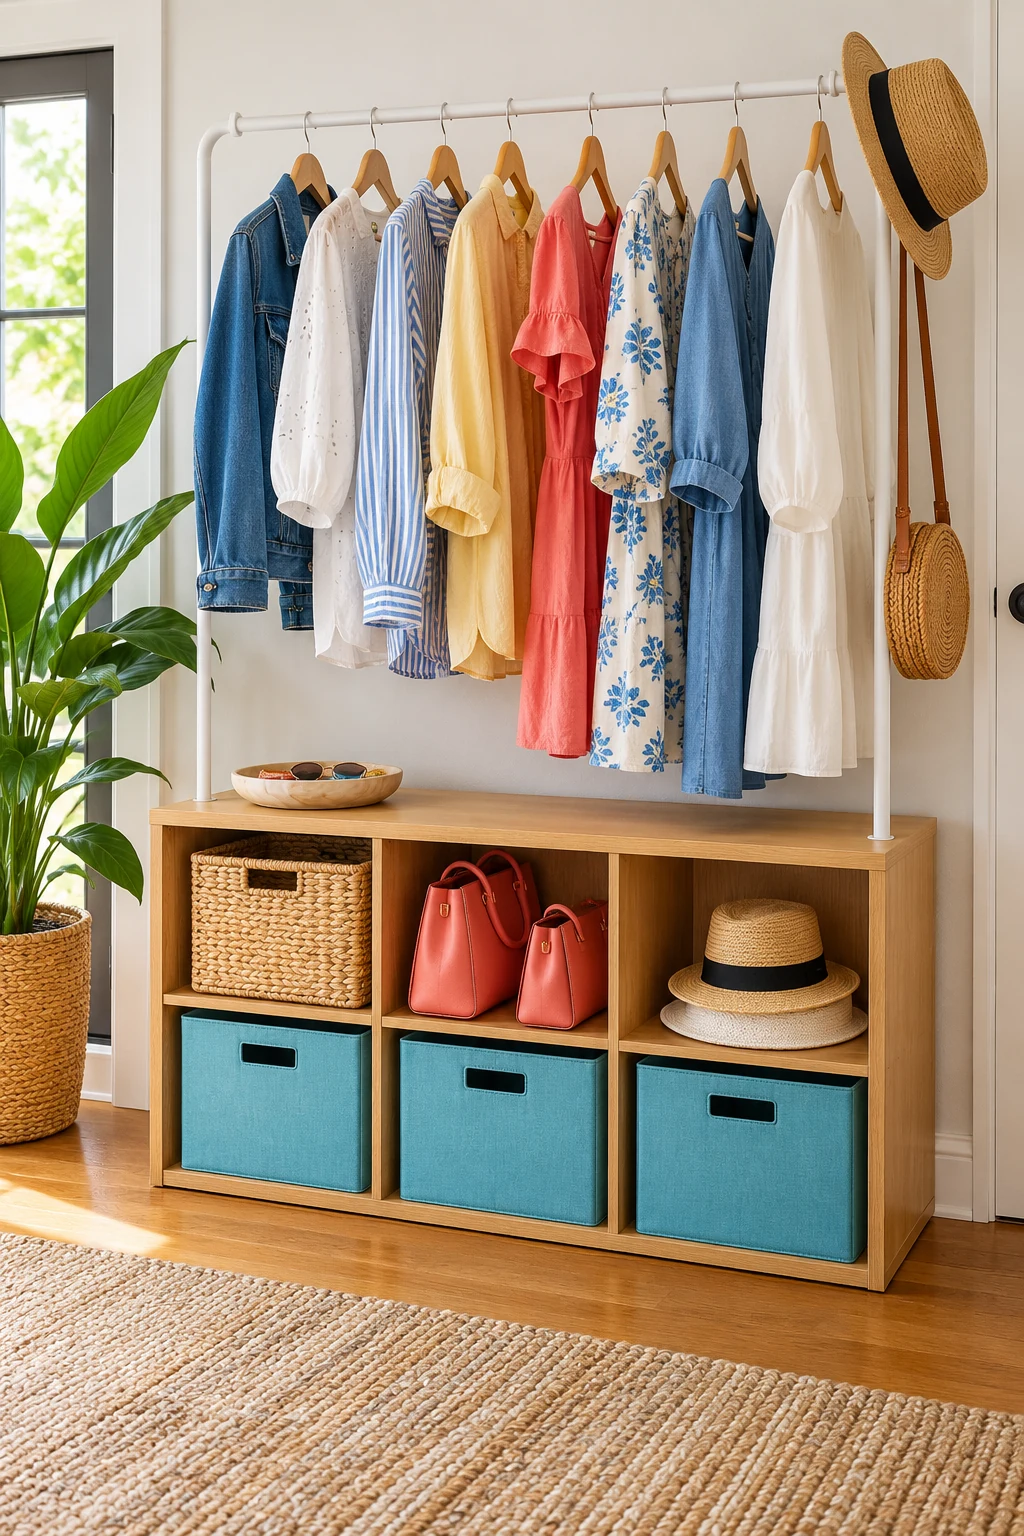
Label opaque bins with the category you’ll search for, such as winter scarves or spare tights. Place labels on the face visible from the doorway. Simple removable labels make it easy to change the system later.
In a shared closet, use wording everyone understands and label the shelf location if the bin moves often. Skip unnecessary labels on obvious items; they’re most useful where they prevent rummaging or show where things should go back.
25. Reset the closet when you put laundry away
Use laundry day as a natural check-in. Return stray items, take empty hangers out of the way, and notice which category has become hard to put back. An overcrowded section is a cue to adjust its space or contents.
Keep a small, clearly designated donation bag somewhere convenient and move it out when it’s ready. If one organizer repeatedly becomes a mess, simplify that part of the system instead of adding another layer to maintain.
An easier closet starts with one shelf, rail, or shoe pile. Measure the space, try a simple change, and keep what makes getting dressed and putting things away feel easier. You can build on that small win at your own pace. Subscribe to the Havelyo email list for more small-space decorating and organization ideas.
[ADD VERIFIED EMAIL SIGNUP LINK OR FORM HERE]