
Kitchen Organization
22 Chest Freezer Organization Ideas to Find Food Without Digging
A chest freezer offers plenty of depth, but depth alone is not useful when dinner is buried under three unrelated bags. A few clear zones and a reliable inventory can make that space much easier to use.
These 22 chest freezer organization ideas focus on finding food without prolonged digging. Start with the freezer manual and a temperature check: keep frozen storage at 0°F or below. Measure the compartment, protect food while organizing, and choose bins you can comfortably lift when full.
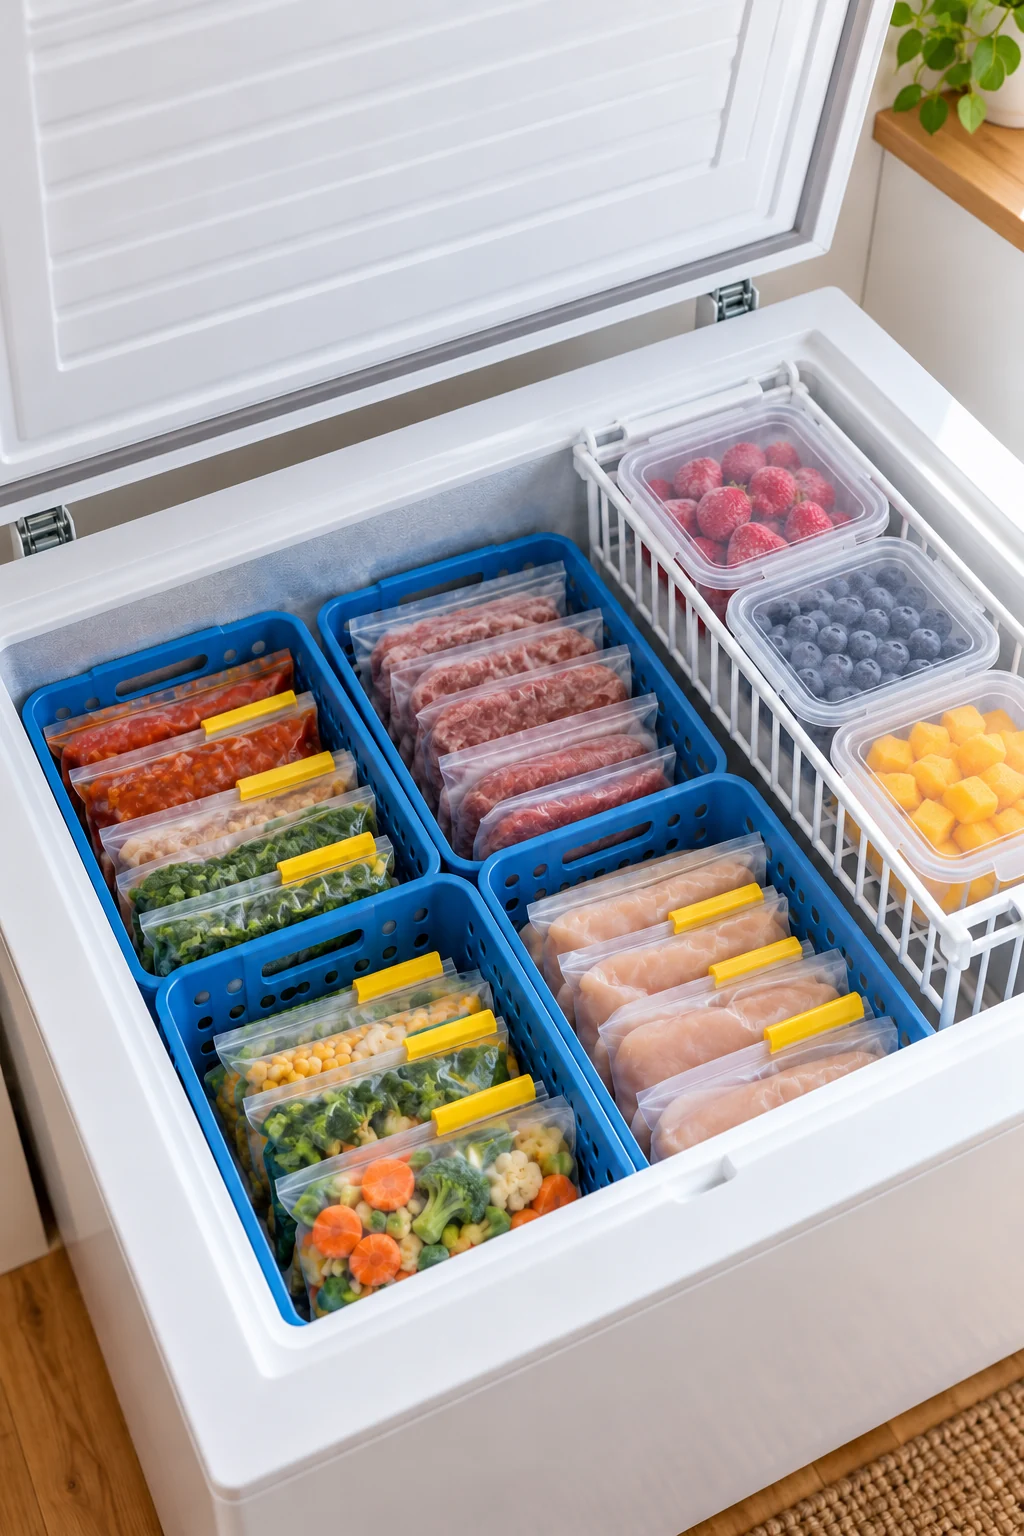
This article contains affiliate links. If you buy through them, Havelyo may earn a commission. As an Amazon Associate I earn from qualifying purchases.
1. Check the freezer temperature first
Use an appliance thermometer to confirm that the freezer maintains 0°F or below. Follow the freezer manual when adjusting its controls, and keep the thermometer where it can be checked without a long search.
The Rubbermaid Commercial Refrigerator/Freezer Thermometer uses a battery-free dial. Choose the refrigerator/freezer model rather than its similarly named oven version, and follow USDA official storage guidance when checking temperature and handling frozen food. View on Amazon.
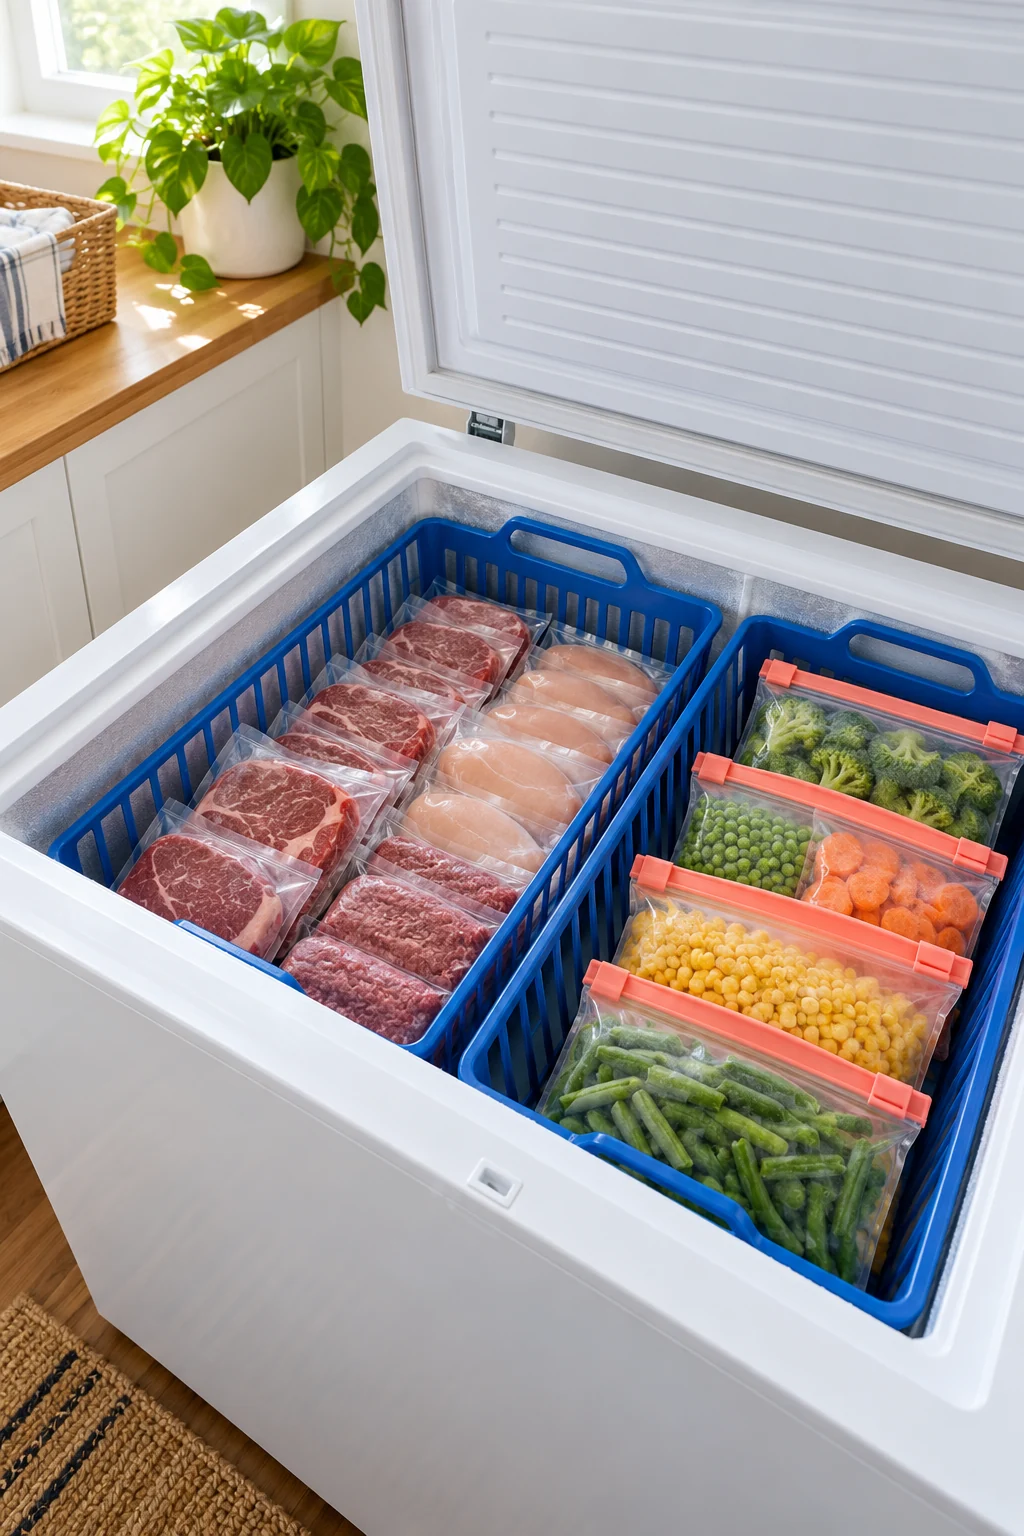
2. Measure the usable interior in sections
Measure the main compartment, the raised compressor area, and any rim designed to support the original baskets. Note where the lid hardware, inner light, drain, or other parts limit usable space.
Draw a simple top-down sketch before choosing bins. A chest freezer is rarely one perfect rectangle, and a container that fits at the opening may not fit beside the compressor hump lower down.
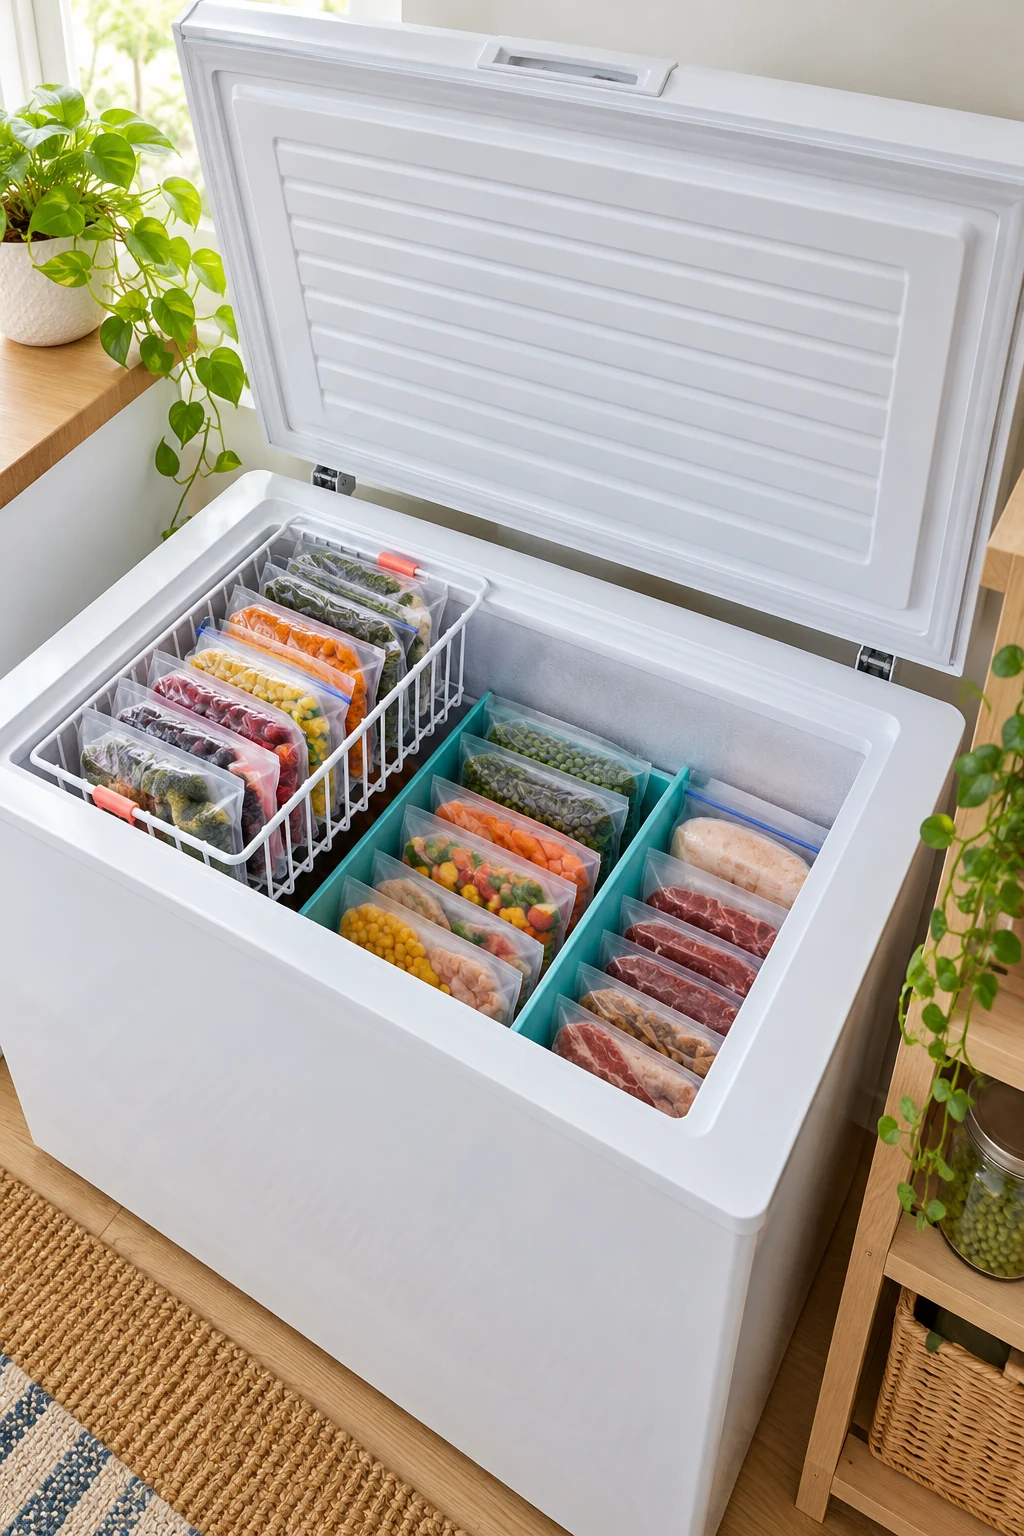
3. Sort with a cold holding plan
Organize a small section at a time and have suitable coolers and cold sources ready if food must come out. Decide your categories before leaving the lid open for an extended period.
Protect the cold chain while you work and follow official guidance if anything thaws or warms. A full empty-and-refill photograph is not a reason to leave frozen food on the floor while the layout is being planned.
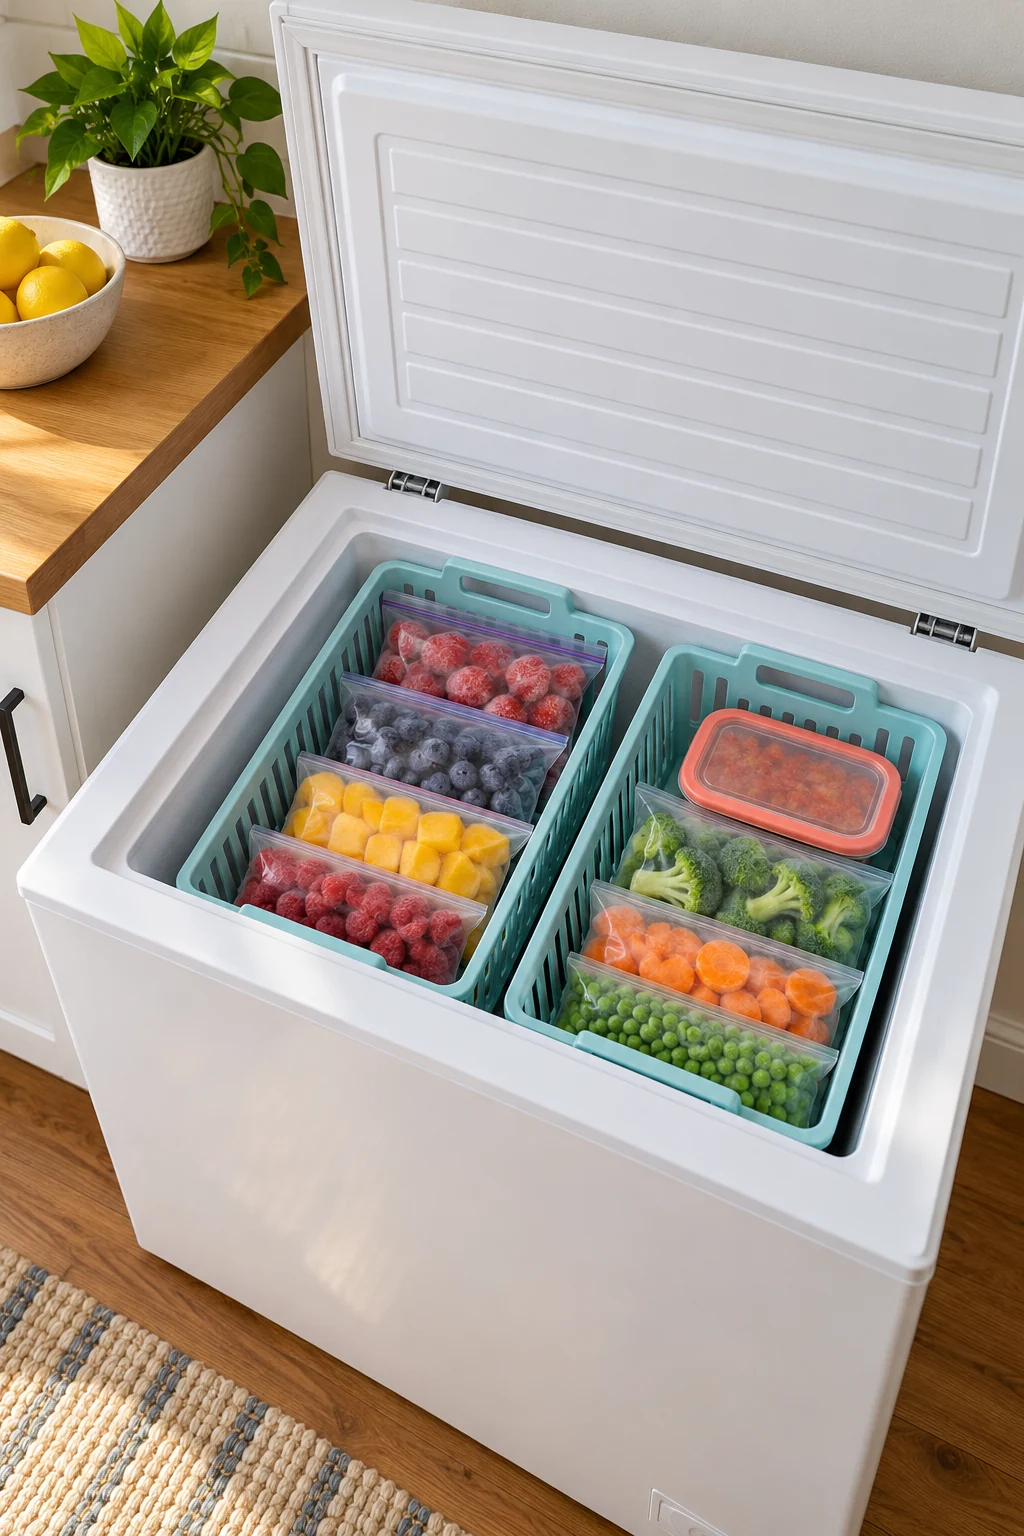
4. Divide the freezer into a few clear categories
Assign separate areas for items such as vegetables, prepared meals, bread, and securely packaged raw meat. Use categories your household can recognize at a glance rather than a different bin for every ingredient.
Keep raw-food packages contained and separated from ready-to-eat foods, including in case they begin to thaw. Check USDA handling guidance and do not assume freezing makes a leaking package harmless.
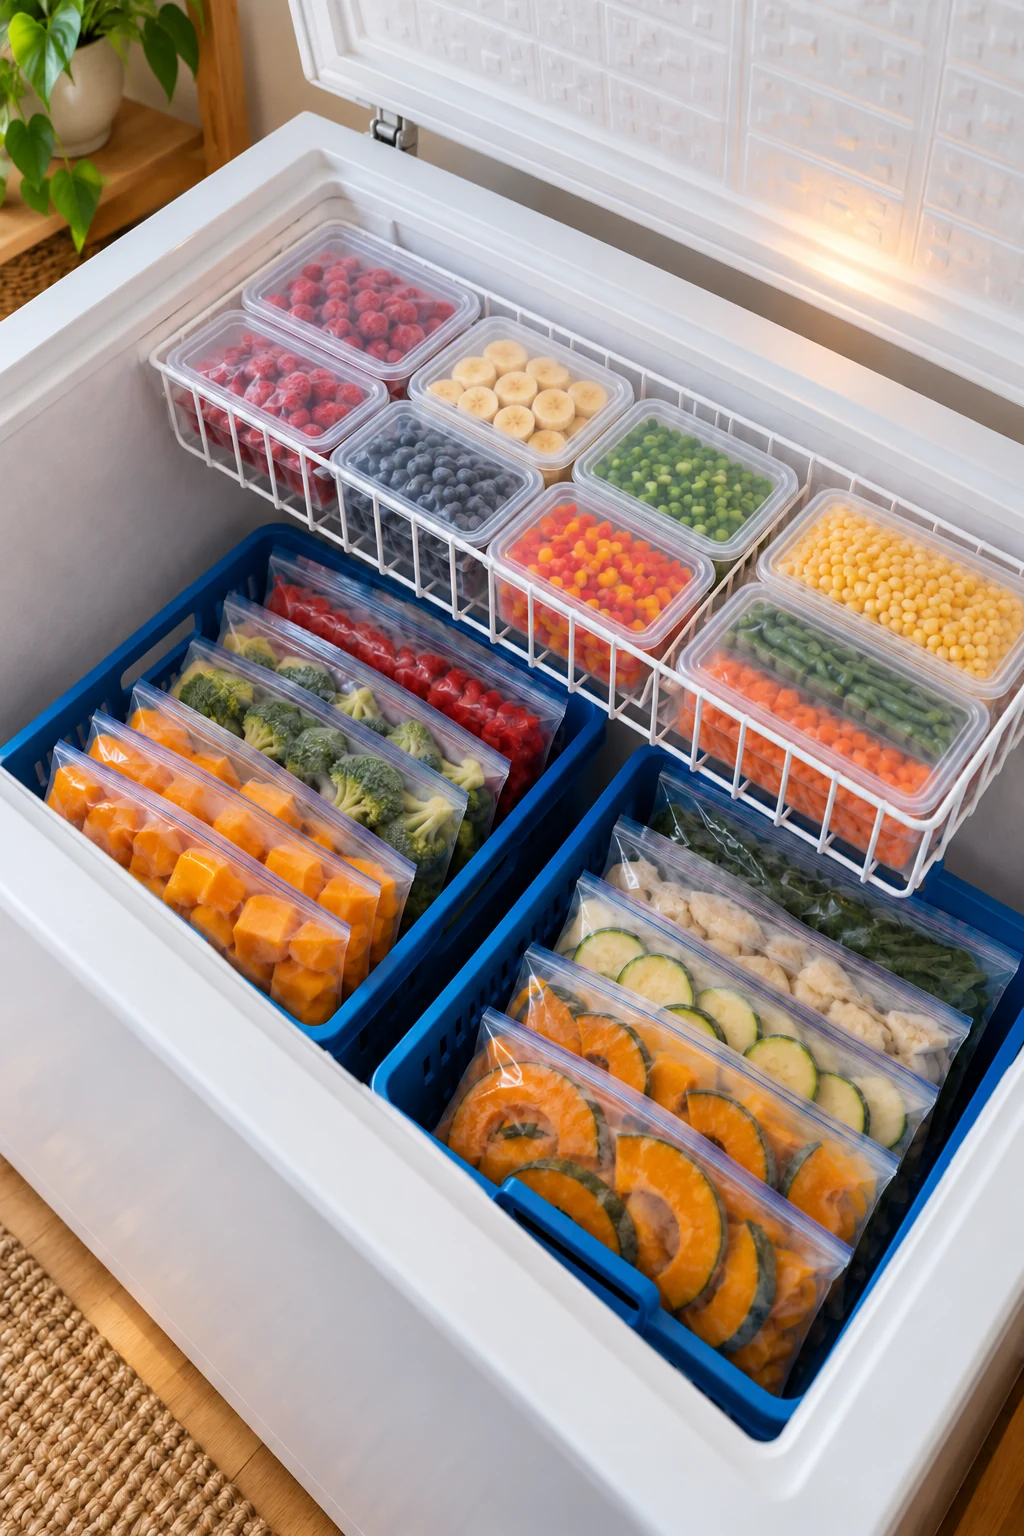
5. Keep everyday items in the original upper baskets
Use the freezer’s supplied baskets for the small foods you reach for most often. Their position near the rim can make a bag of vegetables or a breakfast item easier to retrieve.
Respect the freezer maker’s basket load and positioning instructions. Do not widen a basket, hang it from an unapproved edge, or assume an aftermarket basket will safely fit the same support rails.
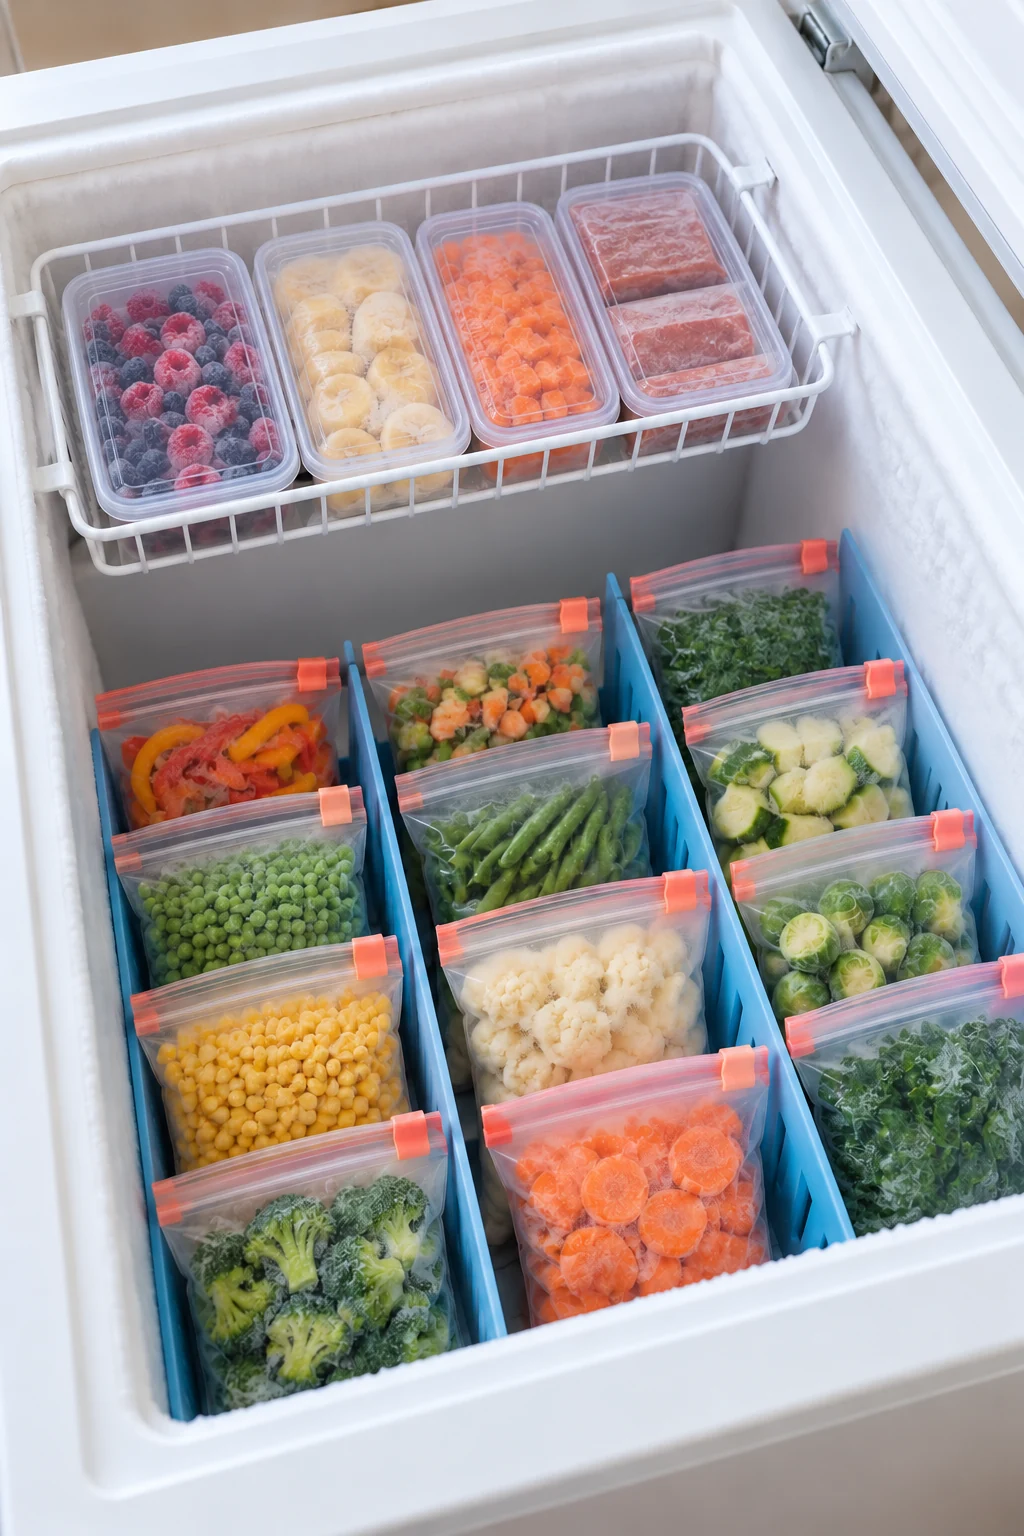
6. Choose liftable bins for lower categories
A bin can keep a category together deep in the freezer, but it must remain manageable when full. Choose the footprint and load around your comfortable reach rather than using the largest container that fits.
The iDesign 8-by-8-by-6-inch Handled Bin is explicitly listed for freezer use. Keep food in sealed packaging, leave room to grip its handles, and do not force the bin past the freezer lining or stack it without appropriate support. View on Amazon.
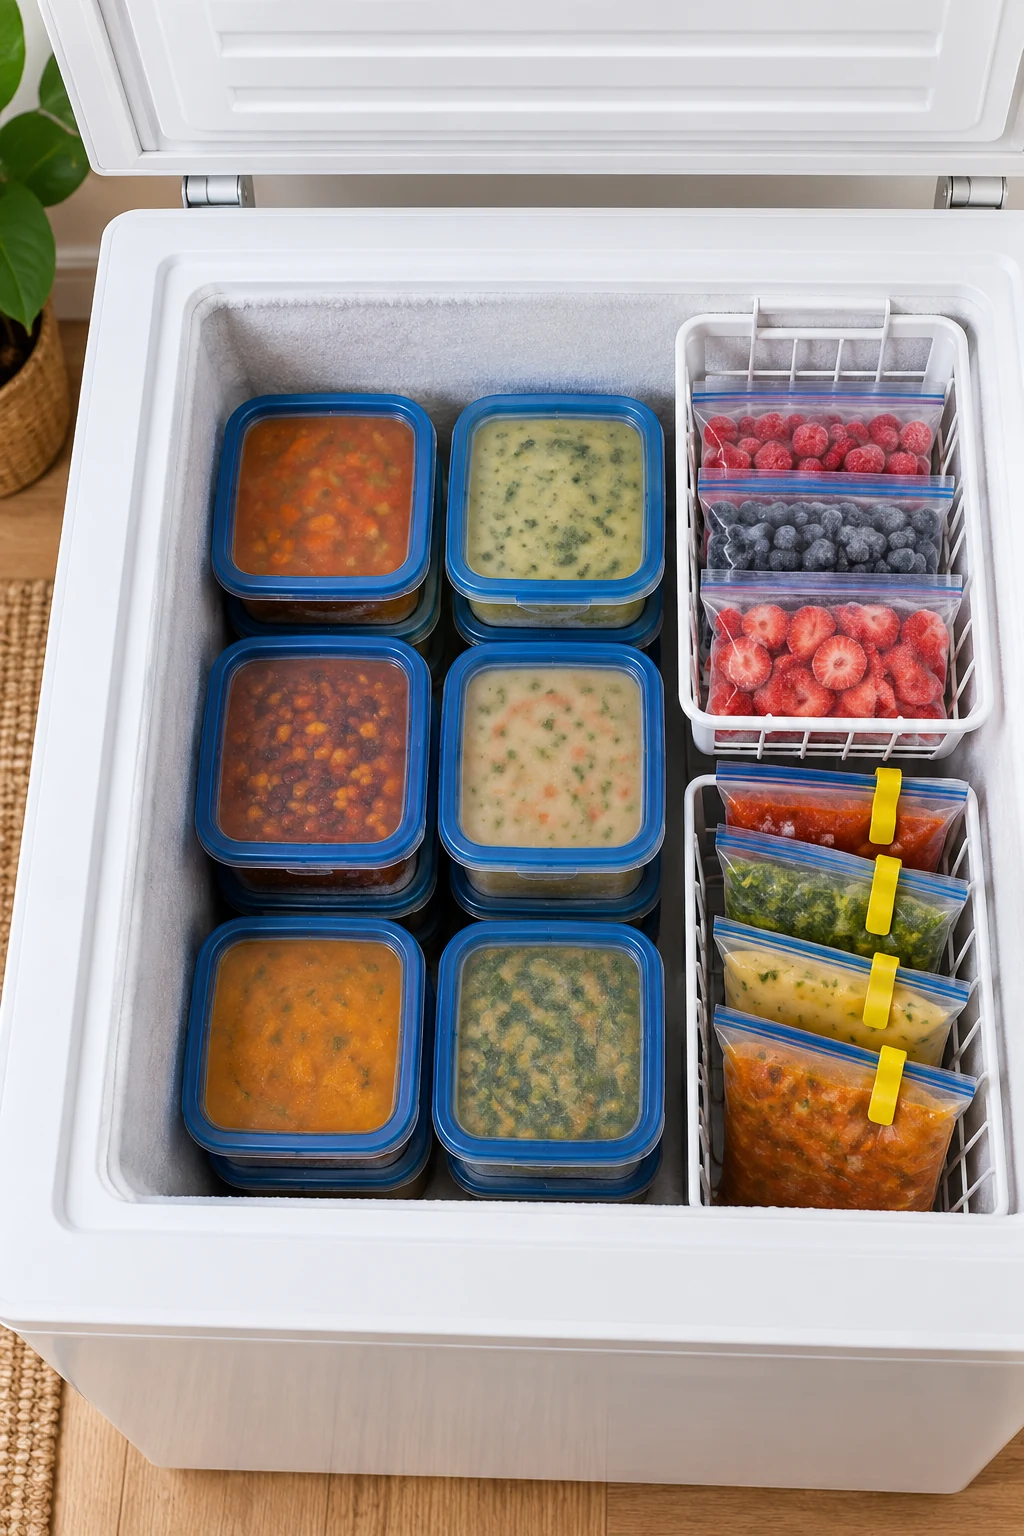
7. File flat frozen bags in adjustable lanes
Once suitable food packages are frozen solid, arranging them upright can make the contents easier to scan. Put names and dates near the visible upper edge rather than on the side hidden between bags.
The 15-inch YouCopia FreezeUp Freezer Bin has six adjustable dividers and two handles. Its listed footprint is 15.2 by 8.2 inches with a 4.9-inch height; use it on a supported flat surface, not suspended from the freezer rim. View on Amazon.
8. Freeze suitable packages flat before filing them
For foods suited to flat freezing, use appropriate freezer packaging and place newly packed items in a single layer as directed by food-safety guidance. Move them into upright storage only after they are fully frozen.
Do not stack a pile of unfrozen bags in a deep bin and expect them to form neat separate sheets. Follow food-specific cooling and packaging directions, and leave the freezer’s required air paths and loading clearances open.
9. Freeze portions you can use separately
Choose portion sizes based on real meals so you do not need to thaw a large block for a small serving. Keep the food’s identity and preparation date attached to every batch.
The Souper Cubes 1-Cup Freezer Mold provides defined cavities and a lid for portioning suitable foods. Follow its filling and care instructions, then transfer fully frozen portions into appropriate labeled freezer packaging if you need the tray for another batch. View on Amazon.
10. Use a few compatible rectangular food boxes
Rectangular freezer-safe containers can make prepared meals easier to arrange than an assortment of round tubs. Choose sizes that fit both your meal portions and the available freezer section.
The Rubbermaid Brilliance five-container 3.2-cup food-storage set is listed for freezer use. Follow the selected model’s filling, headspace, and care directions; a container’s stackable shape does not justify a tall, unstable tower of heavy meals. View on Amazon.
11. Protect bread in a light upper zone
Keep appropriately wrapped bread in a light, reachable section where heavier packages will not crush it. Separate it from raw-food storage and label portions so the contents remain identifiable.
A small basket can define the zone without compacting every loaf into a corner. Use food-appropriate freezer packaging, and do not treat an open basket or an ordinary bread bag as a universal long-term freezer solution.
12. Label every package before it gets frosty
Write the food name, portion amount, and date frozen on suitable freezer labels or packaging. Add preparation details when they help distinguish cooked food from raw ingredients.
Place the information where it can be read in the planned storage position. Keep any original cooking directions and lot information associated with the package; a neat date label alone does not tell you how to thaw or cook the food.
13. Make a simple bin-location map
Give each area a plain name or number, such as upper vegetables or lower prepared meals. Write that location beside the food in your inventory so you know where to start looking.
Keep the map outside the freezer on a nearby wall, paper list, or phone. Do not drill into the appliance, cover ventilation openings, or put anything beneath the lid gasket to hold a list in place.
14. Keep a running quantity list
Record what goes in, how much there is, and its freezer location. A simple count of portions is often more useful than a detailed spreadsheet nobody updates after dinner.
Cross off an item when you remove it, then reconcile the list during a planned quick check. University extension official storage guidance supports keeping an inventory; choose paper or a phone note according to what your household will actually maintain.
15. Bring the next suitable package to the top
Within each category, make the food you intend to use next the easiest package to reach. Move newer suitable stock behind or below it without forcing thawing food through the freezer during a long rearrangement.
Use food-specific quality guidance and the package’s storage history when choosing the order. Do not label every frozen food with the same arbitrary expiration month; the official storage guidance distinguishes food types and explains freezer quality periods.
16. Reserve the compressor step for a fitted small zone
A raised compressor area can hold a small category if the freezer manual permits storage there. Measure its width and depth separately and keep the contents fully supported.
Do not bridge a gap with an improvised board or rest a heavy bin on a sloped surface. Leave the surrounding clearances and access points required by the appliance, even if that means storing fewer items on the step.
17. Keep opened frozen-food bags closed neatly
Fold or reseal a partially used bag according to its packaging directions, keeping the label easy to read. A loose open bag is more likely to spill peas or berries into the bottom of the freezer.
OXO Good Grips Magnetic All-Purpose Clips are described for closing snack and frozen-food bags. A clip can tidy a folded opening, but it does not replace freezer-safe packaging, repair a damaged seal, or create a verified airtight closure. View on Amazon.
18. Keep a small flat freezing area available
Leave a suitable flat section available when you expect to freeze fresh portions. This makes it easier to follow a single-layer freezing method without balancing soft bags on uneven frozen packages.
After the food is fully frozen, transfer it to its labeled category and clear the area again. Stay within the freezer’s recommended loading capacity and follow cooling guidance rather than adding an excessive warm batch at once.
19. Keep the lid seal clear after every refill
Check that no bag corner, handle, or label is caught across the gasket. Close the lid gently and make sure the contents do not push it upward or prevent a complete seal.
A bin that is just slightly too tall can create a serious temperature problem. Remove the obstruction instead of weighing the lid down, and follow the appliance manual if the seal appears damaged or the lid no longer closes correctly.
20. Protect the path to and above the freezer
Keep the floor in front of the freezer clear and leave enough room above it for the lid to open as designed. Do not use the lid as a permanent shelf for boxes or small appliances.
Place heavy lifted baskets on a stable nearby surface rather than balancing them on the freezer edge. Keep children and pets away during organizing, and use the appliance’s child-safety features as instructed.
21. Plan defrosting around a smaller inventory
For a model that requires manual defrosting, follow the manufacturer’s schedule and directions. It may be easier to protect and move the contents when you have intentionally used down suitable stored food.
Have an appropriate cold-storage plan before unplugging the appliance. Never chip ice with a knife or improvise a heating method; protect the lining, clean as directed, and confirm the freezer has returned to the proper temperature before reloading.
22. Choose dinner from the inventory before shopping
Look at the freezer list while planning meals, then confirm the package is present and suitable to use. This connects the organization system to everyday cooking instead of letting the list become a record of forgotten food.
Plan safe thawing in advance using official guidance. If the list repeatedly shows foods your household avoids, reduce those purchases; the clearest freezer is one whose contents have a realistic path back to the table.
Begin with a short inventory and one easy-to-lift category bin. When you can find a package, read its label, and close the lid properly without moving half the freezer, the system is helping you use the space well. Subscribe to the Havelyo email list for more small-space decorating and organization ideas.