
Kitchen Organization
25 Kitchen Utensil Organizer Ideas for Drawers and Countertops
A drawer full of useful utensils can still be hard to use when a ladle catches the frame or the can opener disappears under three spatulas. The same thing happens on the counter when one crowded crock tries to hold every tool you own.
These 25 kitchen utensil organizer ideas help you separate everyday tools from occasional pieces and choose a layout for their real shapes. Begin with one drawer or countertop spot, measure the usable space, and keep your most-used tools close to the task they support.
This article contains affiliate links. If you buy through them, Havelyo may earn a commission. As an Amazon Associate I earn from qualifying purchases.
1. Sort by the jobs you actually do
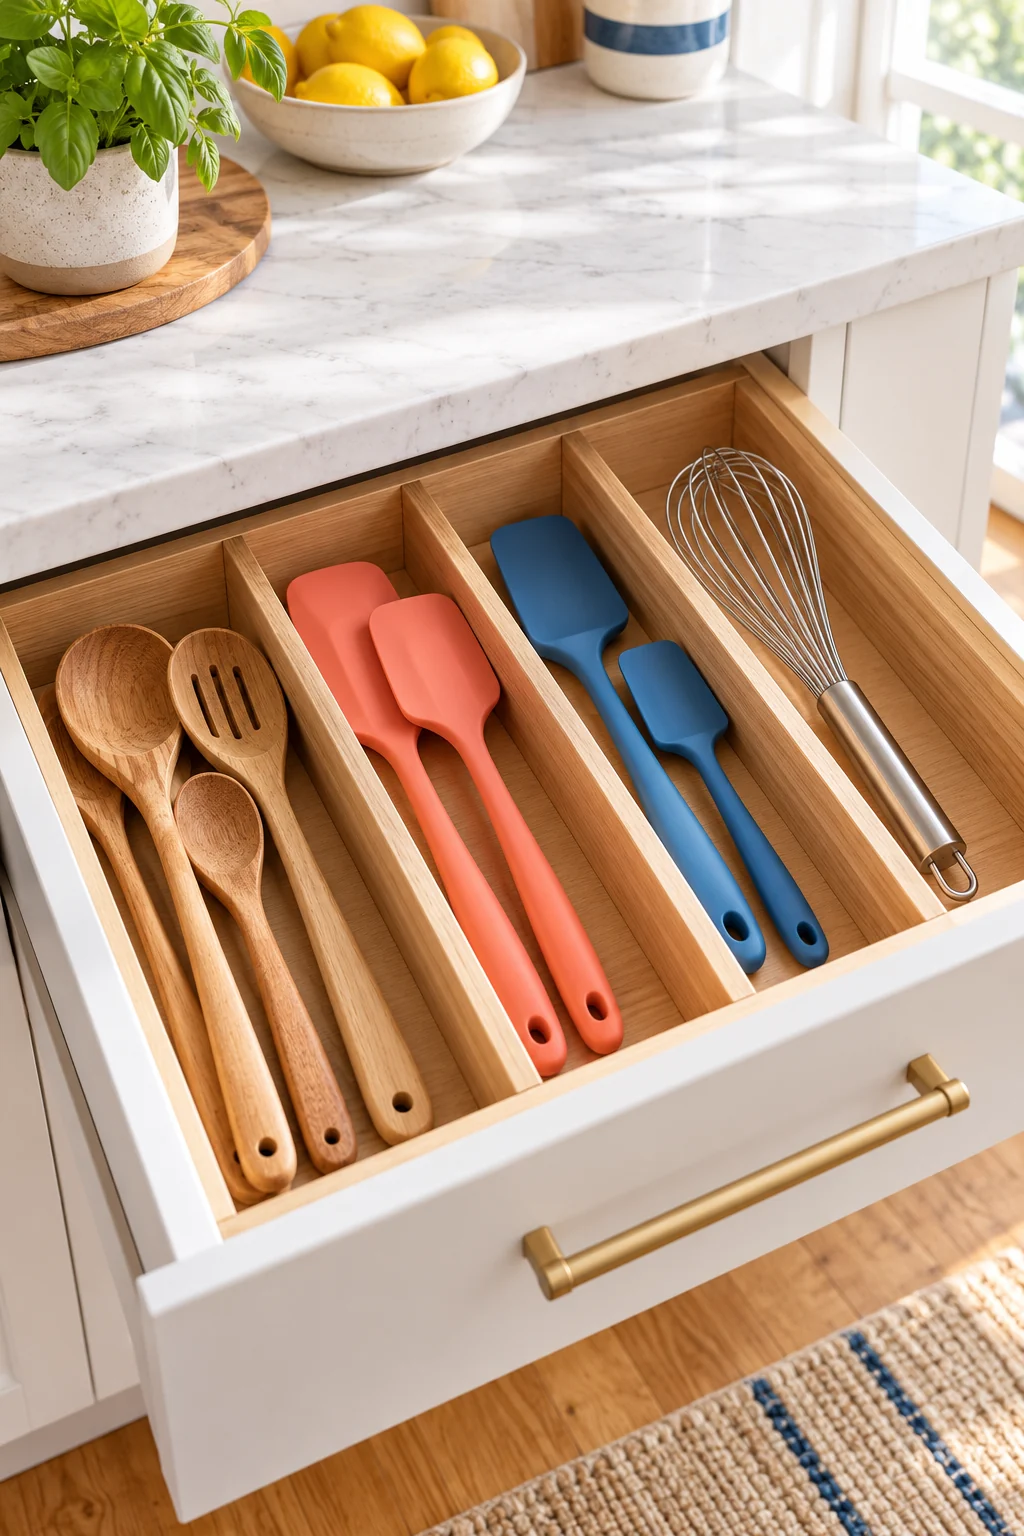
Empty one utensil drawer and group the tools by task: stirring, turning, measuring, opening, and serving. Notice which pieces do the same job and which have a particular purpose that still matters to your cooking.
Return the tools you use most to the easiest positions. Put occasional pieces in a separate group before choosing an insert. Sorting first prevents a new organizer from becoming a more attractive home for duplicates you still have to rummage through.
2. Give everyday flatware a narrow insert
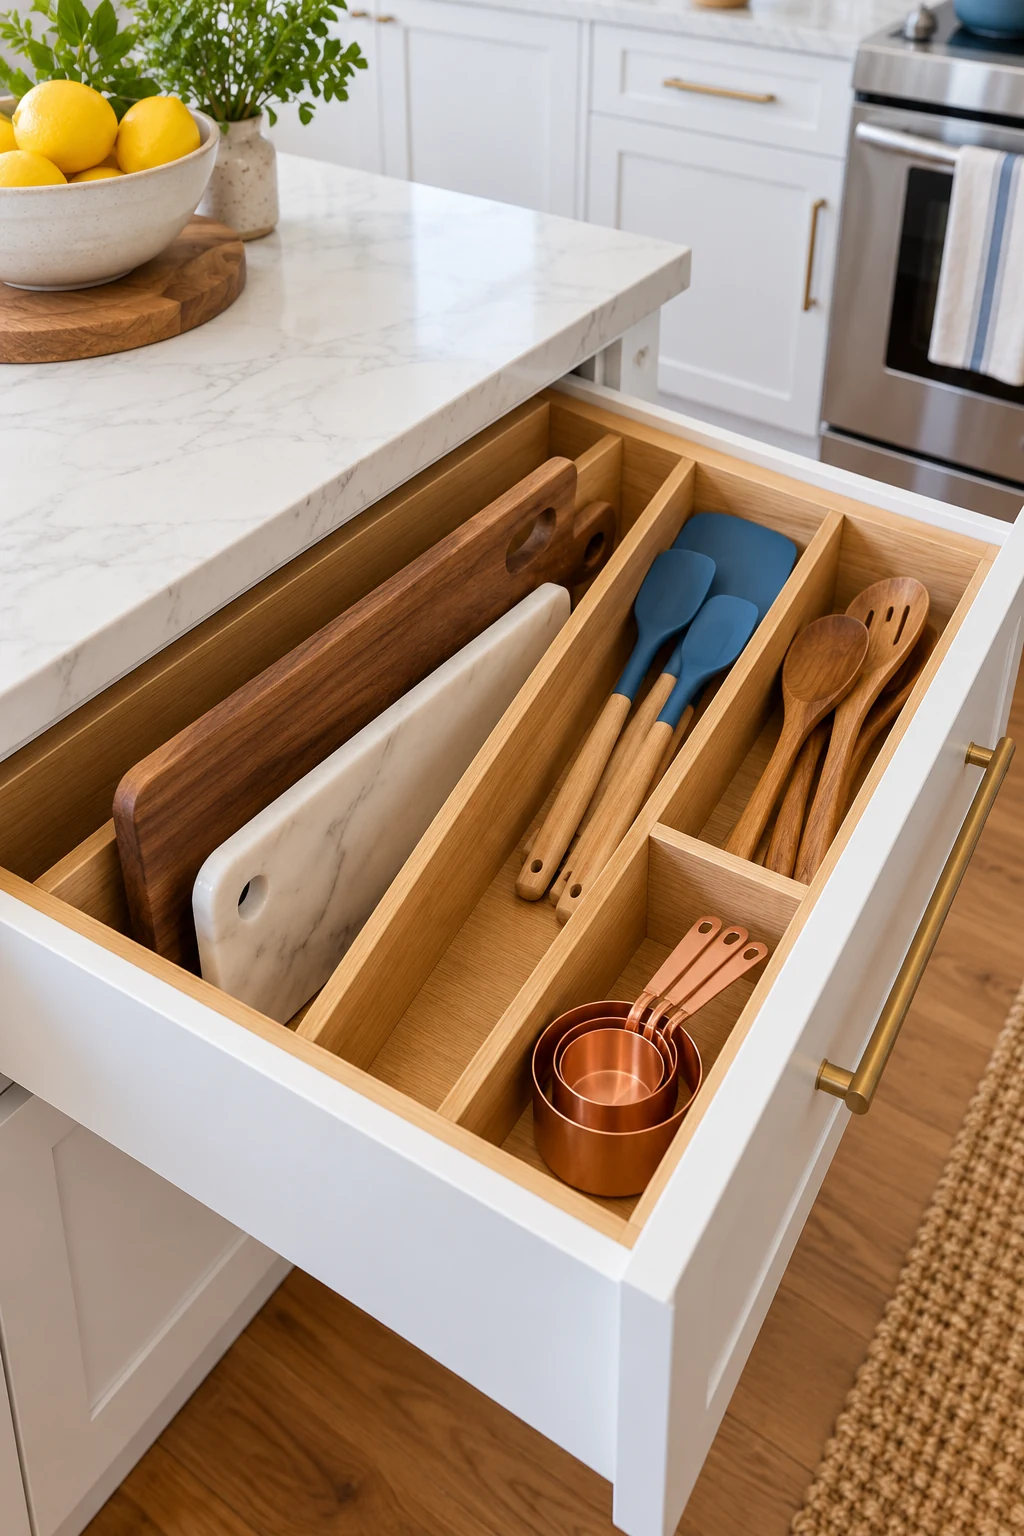
If forks and spoons share a drawer with cooking tools, a compact flatware insert can release a strip of width for another category. Try the actual handles in the compartments before assuming that every set will stack neatly.
The small gray Joseph Joseph DrawerStore Cutlery Organizer measures 15.6 by 4.33 by 2.25 inches. It requires at least 3.25 inches of drawer height because the cutlery sits at an angle. Check loaded clearance and wash the insert as directed. View on Amazon.
3. Keep cooking tools separate from eating utensils
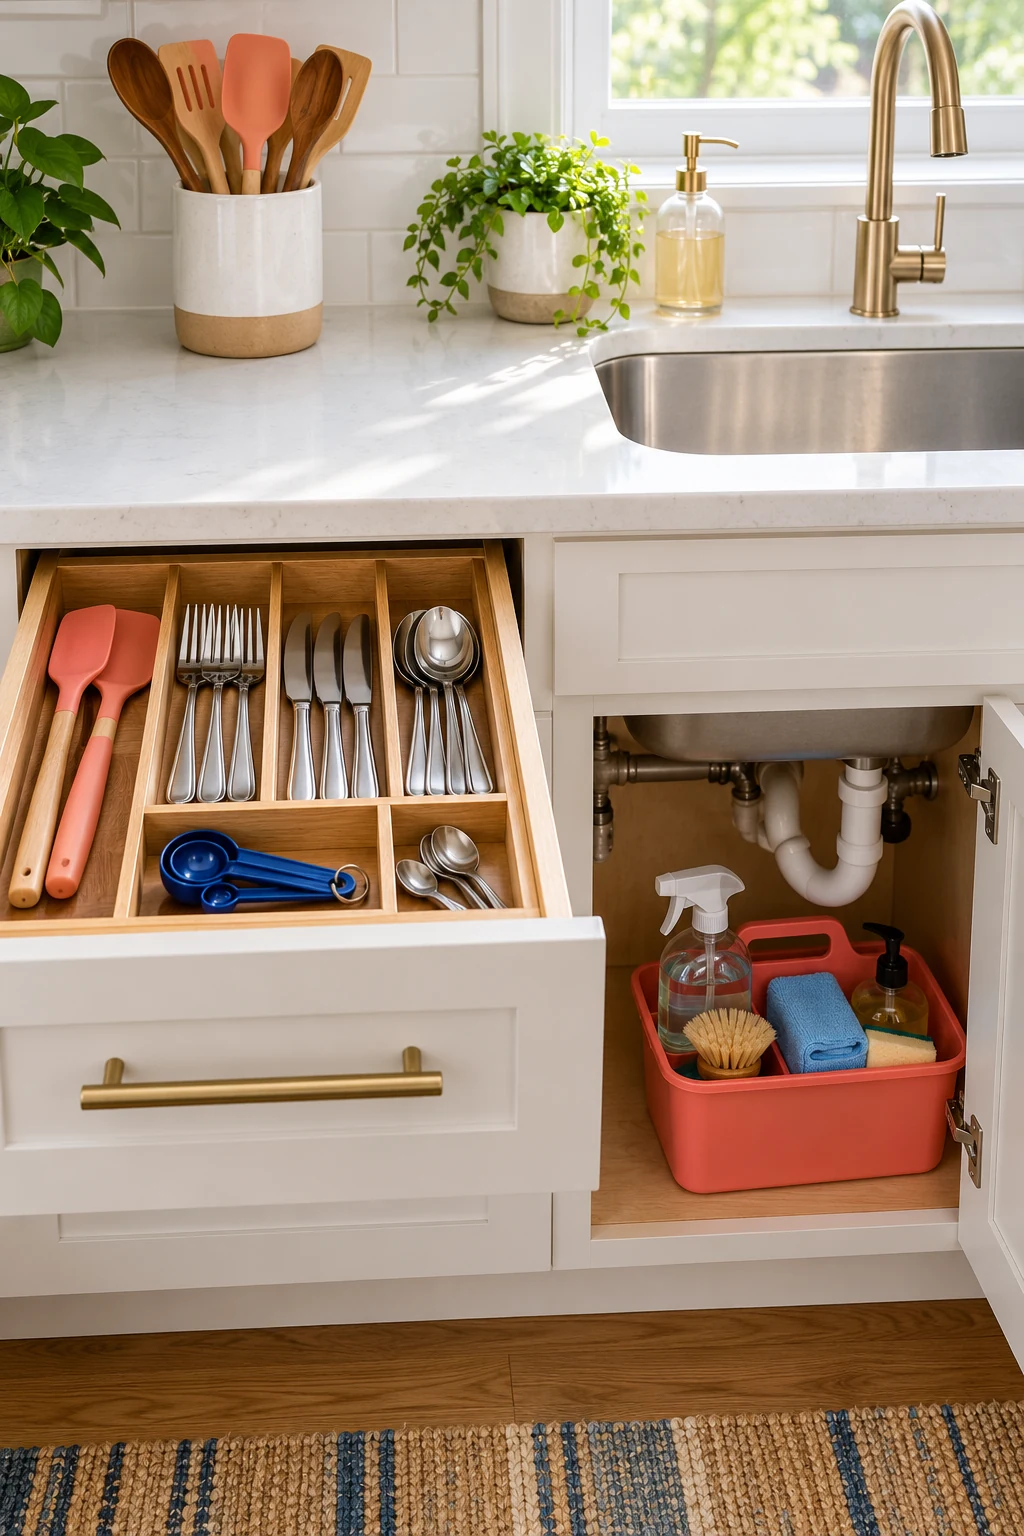
Place spatulas, spoons, and tongs near the cooking area while keeping everyday flatware close to where you set the table or unload the dishwasher. Two small useful zones can work better than one overfilled drawer that serves every task.
If you have only one drawer, draw the boundary inside it with separate compartments. Leave the broad spoon heads enough room to lie naturally. A divider should stop categories from mixing without forcing the cooking tools into a narrow flatware channel.
4. Create long lanes for spatulas and spoons
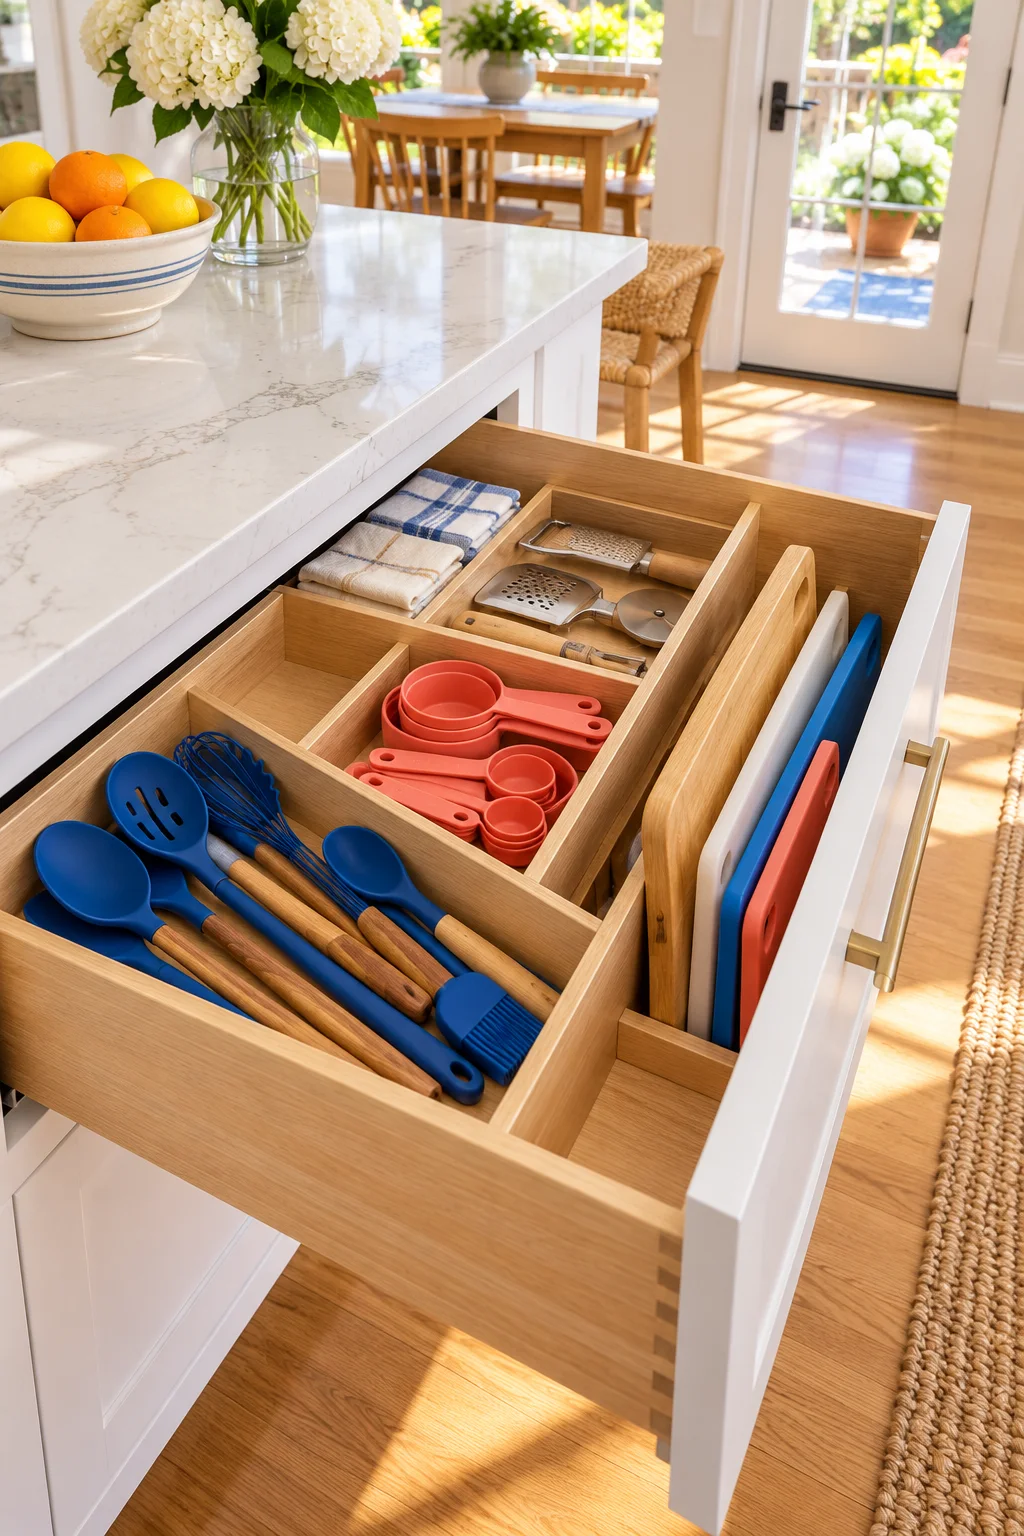
Use full-length drawer lanes for tools with long handles. A lane wide enough for the utensil heads lets you see what is available without turning every piece sideways or trapping one handle underneath the next.
The large Utoplike Bamboo Kitchen Drawer Dividers are 2.4 inches high and suit sturdy drawer spans of 17.8 to 20.6 inches. Use that recommended fit range, not the maximum extension. Check that pressure against the drawer sides is appropriate for their construction. View on Amazon.
5. Reserve one open bay for bulky heads
A ladle, potato masher, or broad spider strainer may fit badly in a standard insert even when its handle fits. Leave one wider undivided bay for awkward shapes instead of wedging them into the same slots as slim spoons.
Place the largest head in the bay first and check the drawer’s closing path. A tool that turns upright when the drawer moves can catch on the frame. Store particularly deep or tall pieces elsewhere if they need constant adjustment to stay flat.
6. Fit modular trays around an unusual drawer
An off-center drawer runner, narrow width, or extra-wide interior can make a single fixed tray waste space. Individual trays let you arrange smaller compartments around the useful area and leave an open section for larger tools.
Joseph Joseph Blox includes ten differently sized trays that clip together. Lay out only the pieces you need, then compare the combined footprint and height with the drawer. Keep the included feet on their intended surfaces and follow the maker’s setup directions. View on Amazon.
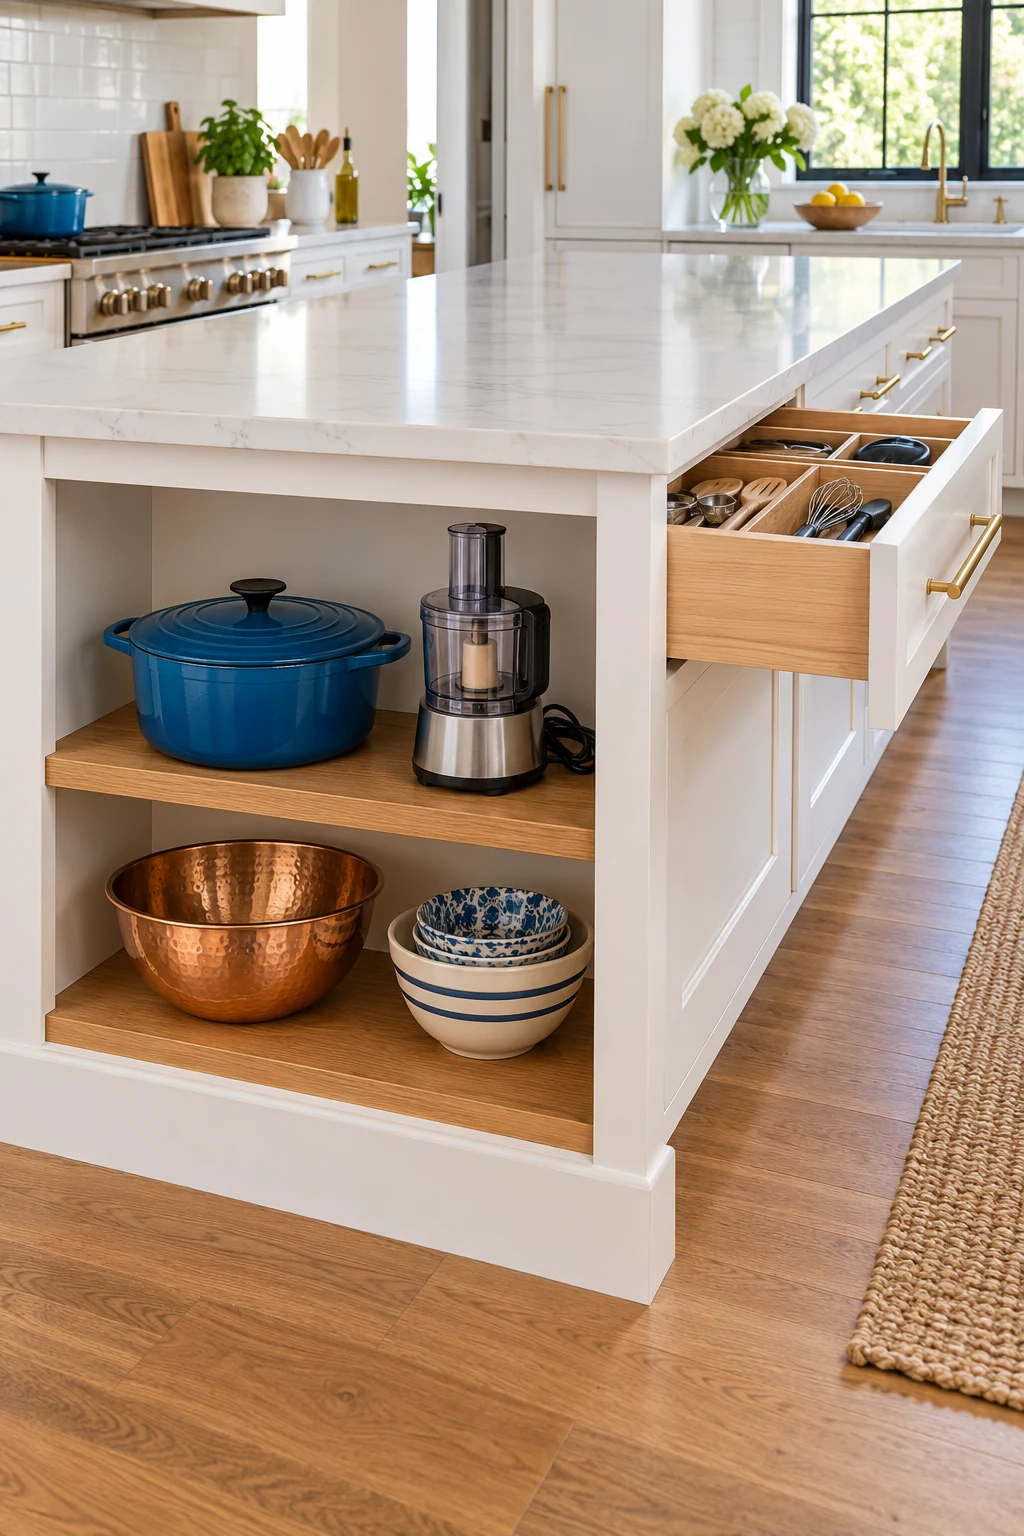
7. Use small trays for the pieces that disappear
Bottle stoppers, reusable bag clips, and other tiny kitchen items need a shallow home where you can see the contents. Give each useful category a small tray rather than letting loose pieces roll beneath full-length utensils.
The STORi SimpleSort six-piece set includes two each of 3-by-3, 6-by-3, and 9-by-3-inch tray footprints. Confirm height and interior space for your items. Keep trays loose enough to remove for cleaning instead of packing every corner so tightly that nothing lifts out. View on Amazon.
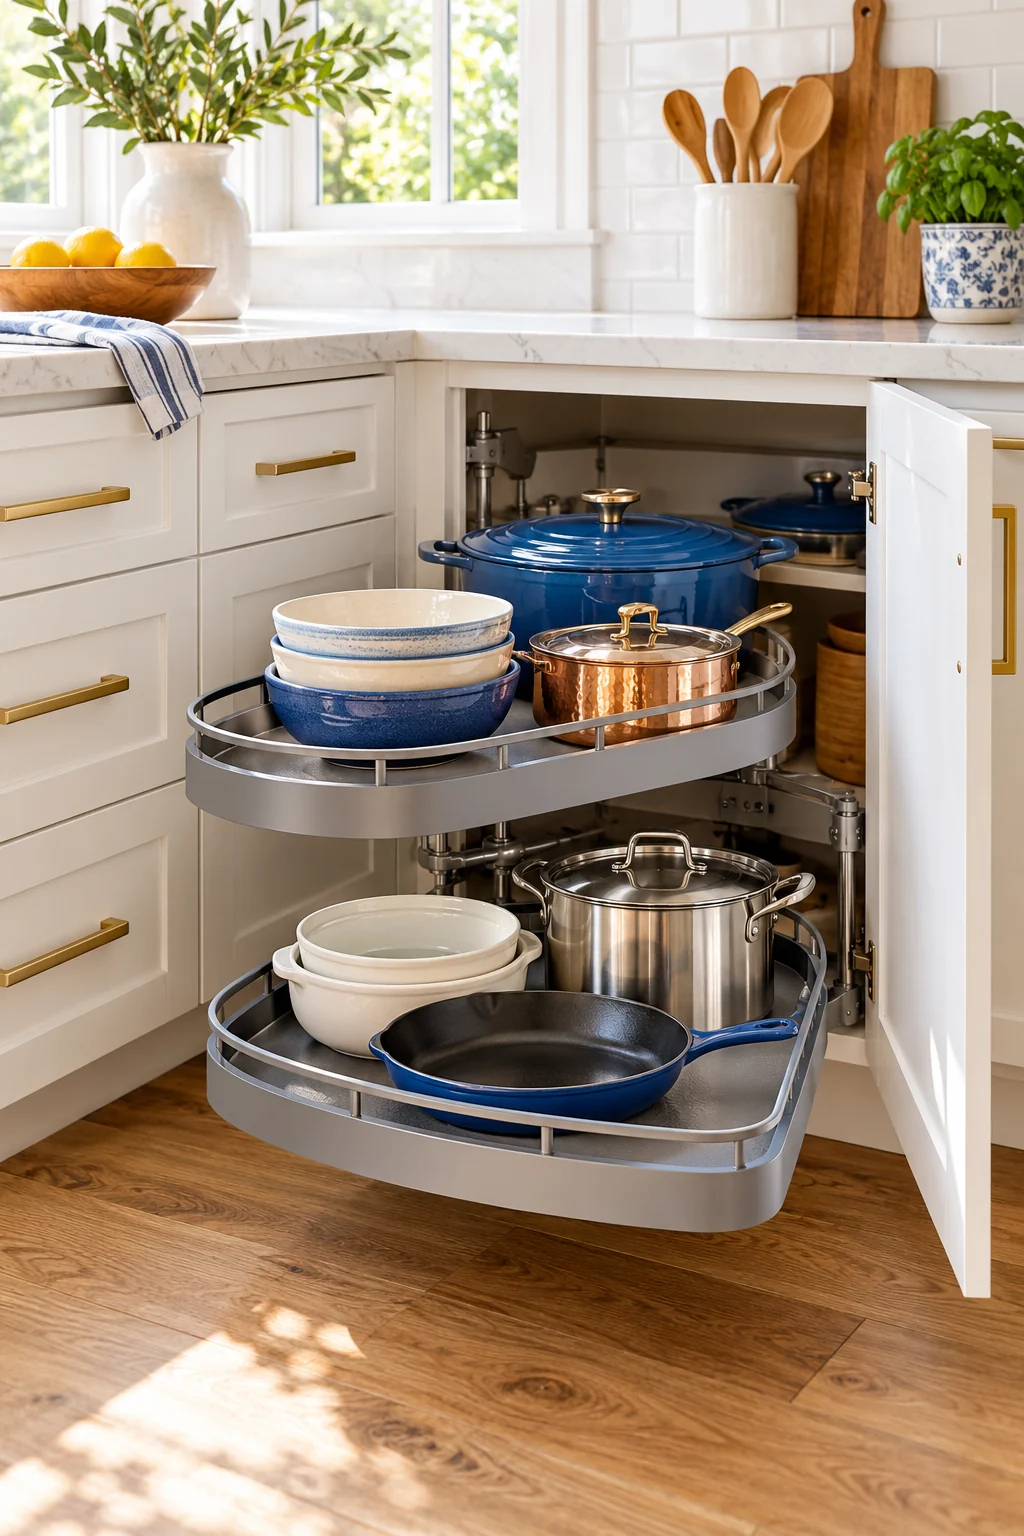
8. Keep measuring tools together
Place measuring spoons and cups close to the mixing bowls or dry-ingredient prep area. Nest compatible cups and keep the spoon set easy to lift as a group so baking does not begin with a search across several drawers.
A removable tray makes it easier to carry the set to the counter and wipe out flour afterward. Keep bulky liquid measures in a nearby cabinet if they make the drawer too crowded. The goal is a complete useful station, even if it spans two adjacent spots.
9. Give knives a purpose-made insert
Keep kitchen knives in storage designed to protect and separate the blades. A dedicated drawer insert can clear counter space while preventing knives from mixing with utensils that someone might grab without looking closely.
The gray Joseph Joseph DrawerStore Knife Organizer uses two tiers and is listed for blades up to 9 inches. Check overall knife length, handle bulk, and closing clearance. Keep the drawer inaccessible to children and follow the insert’s intended knife orientation. View on Amazon.
10. Keep a countertop crock to a daily handful
A crock near the prep area can hold the spoons and spatulas you reach for repeatedly. Choose a stable, easy-to-clean vessel with an opening wide enough to remove one tool without lifting several others along with it.
Keep the vessel clear of active burners, appliance ventilation, and splash-heavy areas. A few daily tools may justify the footprint; rarely used serving pieces usually do not. If the crock feels like a crowded bouquet, move the occasional tools into a drawer.
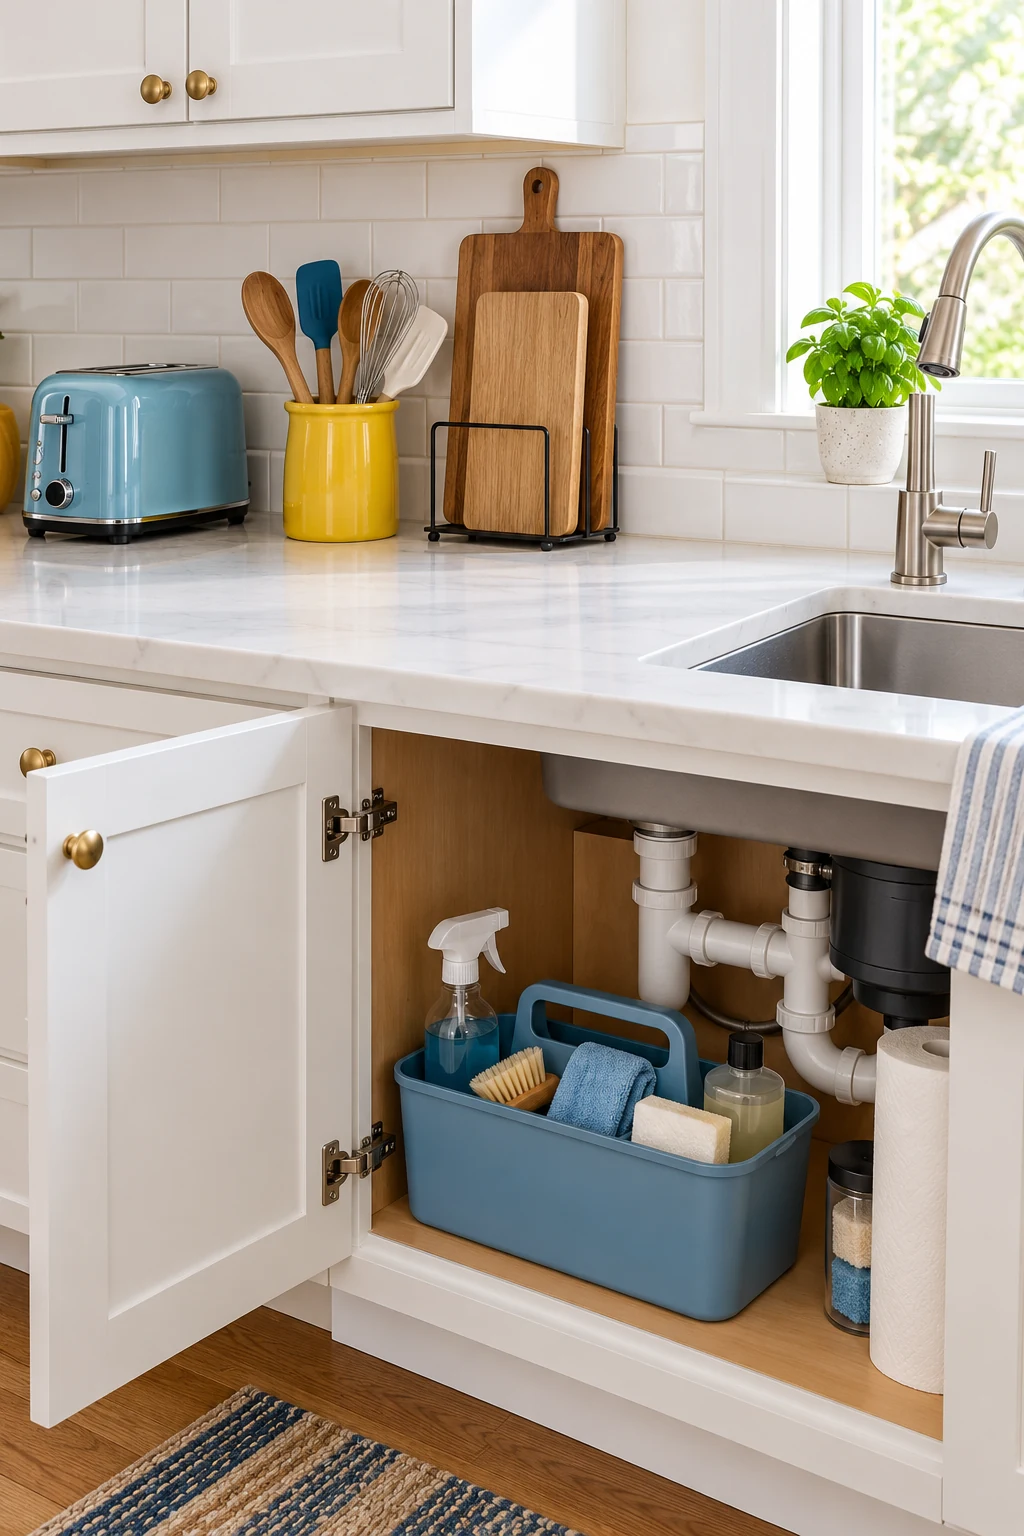
11. Use two small holders for different tool shapes
Two compact holders can be easier to use than one oversized crock when you need both long slim spoons and broad spatulas nearby. Group them by shape so the wide heads do not hide the narrower handles.
Set both holders on the counter before filling them and judge the remaining prep area. This arrangement uses more surface than a single vessel. Skip it in a tiny work zone where the extra container would force your cutting board into an awkward position.
12. Try a vessel you already own
Before buying a utensil crock, test a clean, sturdy container that suits the tools and the counter. A wide-bottomed ceramic vessel may work, while a narrow lightweight jar may tip as soon as a long ladle leans to one side.
Check that the rim and interior are smooth and that the container is intended for the use and cleaning it will receive. Avoid damaged glass or a vessel that keeps tools wet at the bottom. The test should reveal the useful size before you commit to a purchase.
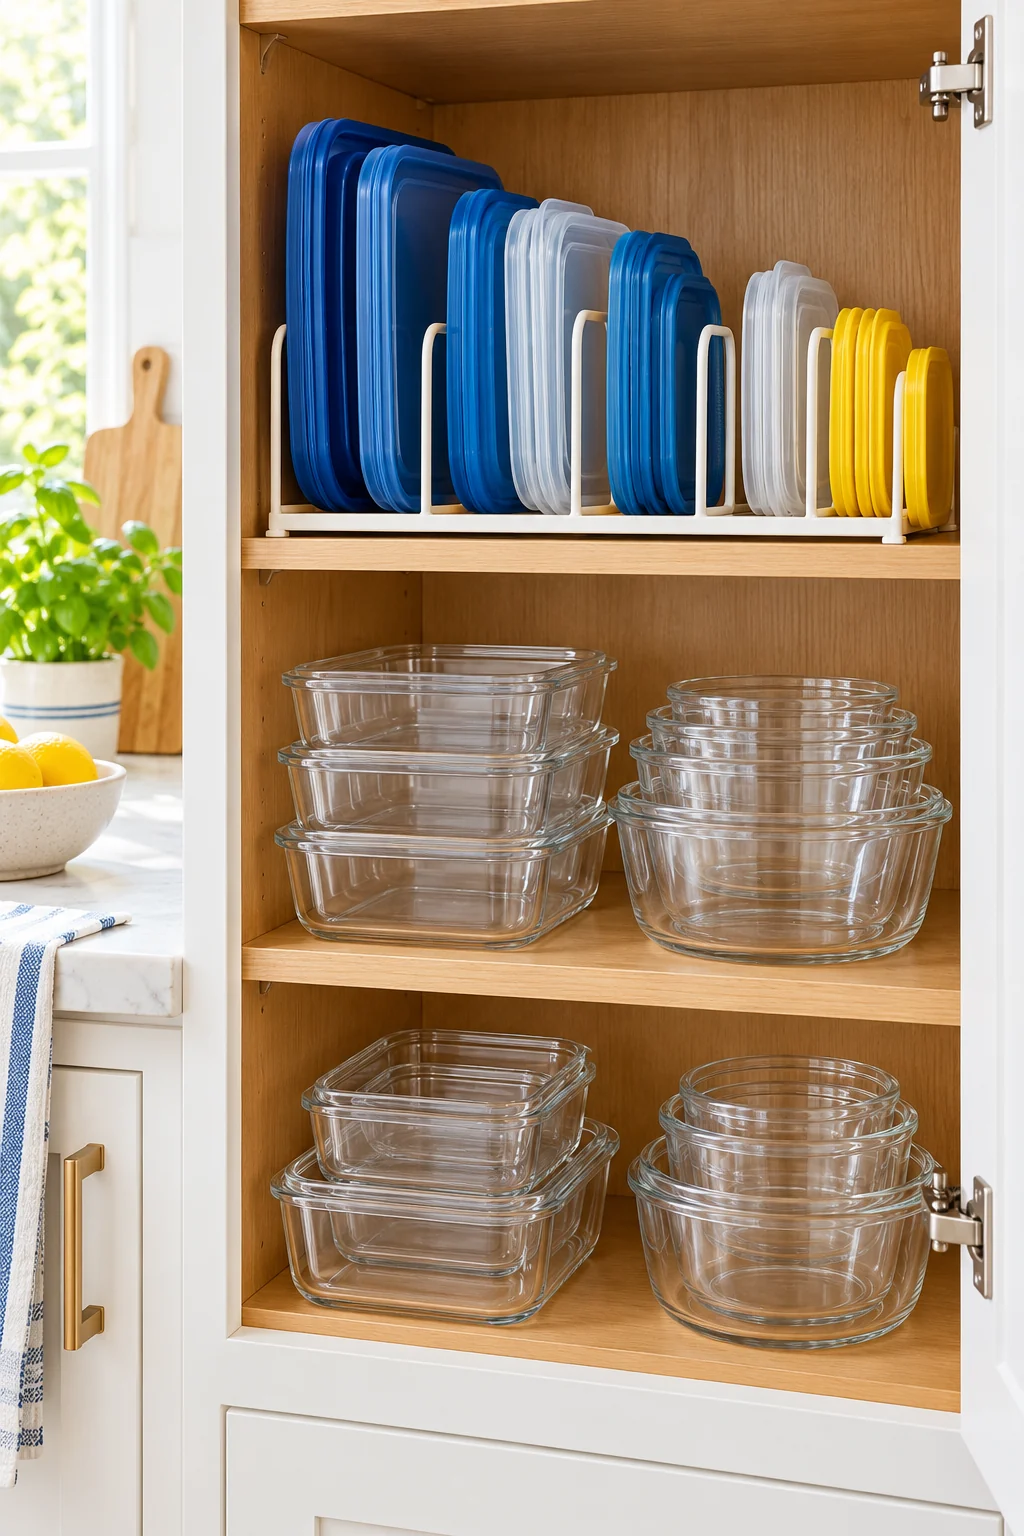
13. Hang a short rail near the prep zone
A purpose-made utensil rail can free a drawer when there is a suitable wall near the counter. Hang tools by their intended holes or loops and leave enough separation that you can remove one without rattling the whole row.
Choose appropriate fixings for the wall and the combined load, following the rail’s instructions. Keep the tools away from heat and cooking splatter, and check the reach before drilling. A short row of daily utensils is easier to maintain than a wall filled edge to edge.
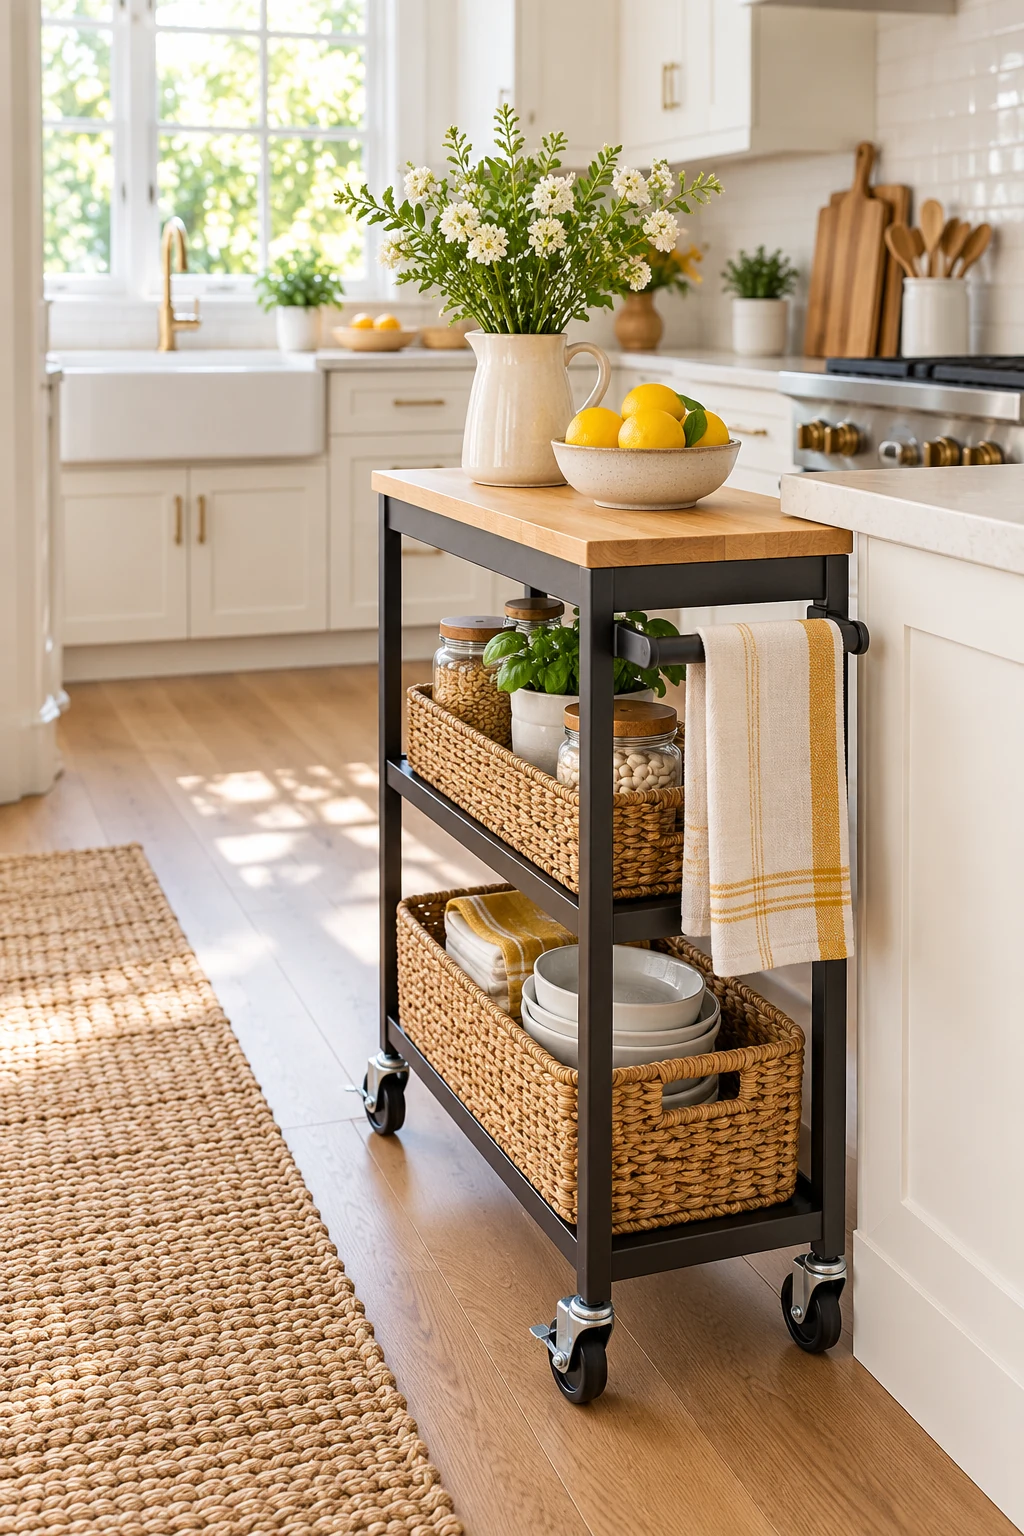
14. Use individual hooks for very light tools
Small hooks are useful when only a measuring-spoon set or lightweight brush needs a home. Space them around the actual tools, keeping handles clear of the counter and away from places where people brush against them.
Command Small White Wire Hooks are rated to 0.5 pound per hook on compatible indoor surfaces. Follow surface, curing, and removal directions; do not add several hooks together to invent a higher limit. Adhesive mounting may damage unsuitable or poorly bonded finishes. View on Amazon.
15. Use a door’s shallow space for flat utensils
Inside a suitable cabinet door, a few flat lightweight tools can be accessible without occupying the shelf. Test the complete loaded projection, including handles and hooks, against the shelf fronts and anything stored just behind the door.
Keep the door layout simple and respect the organizer’s mounting requirements and load limit. Do not put sharp tools in improvised door pockets or hang a heavy collection from unsupported hardware. A door that closes only with pressure needs a different arrangement.
16. Keep tongs from springing across the drawer
If your tongs have a storage lock, use it according to their instructions before putting them away. Give the closed tongs a long lane where the hinge and gripping ends do not get caught beneath other utensils.
For tongs without a lock, allow their natural width rather than forcing them into a slot. Do not add improvised tight ties that make retrieval cumbersome or strain the tool. A wider open bay may use more space but makes the pair easier to return.
17. Alternate broad heads only where access stays easy
In a long drawer lane, alternating spoon heads and handles can reduce the lump at one end. Try this with a few similarly shaped tools so the pieces lie flat instead of building a mound that catches on the cabinet.
Keep the arrangement shallow enough to see every handle. If you need to lift three tools to reach one, the lane is too full. Use this as a small fit adjustment, not a way to cram the entire utensil collection into one narrow channel.
18. Use a diagonal lane for one extra-long tool
A diagonal position can fit a long turner or serving spoon in a drawer that is slightly too short front to back. Test its entire shape and make sure the tip stays clear of the corners and moving drawer hardware.
Leave a defined space around that tool instead of laying it across other compartments. This solution usually makes sense for one awkward piece, not a whole crossed pile. If it blocks several useful lanes, store it vertically or with occasional serving equipment instead.
19. Put frequent tools at the front
Arrange a deep drawer so daily spoons, a can opener, and other regular tools occupy the front section. Use the less accessible rear area for pieces you use occasionally, provided you can still see and retrieve them when needed.
Check how far the drawer actually extends. A rear tray that remains hidden under the counter is a poor home for tools used every day. Avoid stacking a second tray over the front simply to increase capacity if it adds another step to every task.
20. Use supported upright storage in a tall drawer
A tall drawer can hold certain utensils upright in stable, appropriately sized holders. This may suit long spoons and spatulas when shallow drawers are scarce, but the holders need enough support to stay steady as the drawer moves.
Measure the tallest tool against the closed cabinet opening and test with a light load. Keep sharp implements in purpose-made protective storage elsewhere. If the holder tips or tools hit the frame, use flat storage rather than relying on a crowded bundle to hold itself upright.
21. Move party serving tools out of the daily drawer
Cake servers, salad claws, and extra serving spoons may only come out when guests arrive. Store them with platters or entertaining dishes so everyday cooking tools have more room and the serving set is gathered when needed.
Use a clean tray or protected drawer section that keeps delicate edges from knocking together. Label the location if the storage is opaque or shared. Keep one frequently used serving spoon in the kitchen work zone rather than moving the entire category farther away.
22. Make a portable baking-tool kit
Group the spatula, pastry brush, dough scraper, and other small tools you use together for baking. A removable container lets you bring that kit to the counter and return it to the shelf when the work is finished.
The iDesign clear 8-by-8-by-6-inch handled bin can suit a small lightweight kit. Check that projecting handles do not make it top-heavy and that the filled bin can pass through the opening. Hand-wash it as directed, and put tools away clean and dry. View on Amazon.
23. Store attachments with their matching appliance
Keep beaters, dough hooks, and other appliance-specific accessories with the machine they fit. Loose attachments often resemble ordinary utensils but can take up a great deal of drawer space while remaining hard to identify.
Use the appliance manual to check storage and care, especially for sharp or delicate parts. Avoid balancing accessories on the machine where they may fall when it moves. A nearby labeled container can work if the original storage arrangement no longer fits the cabinet.
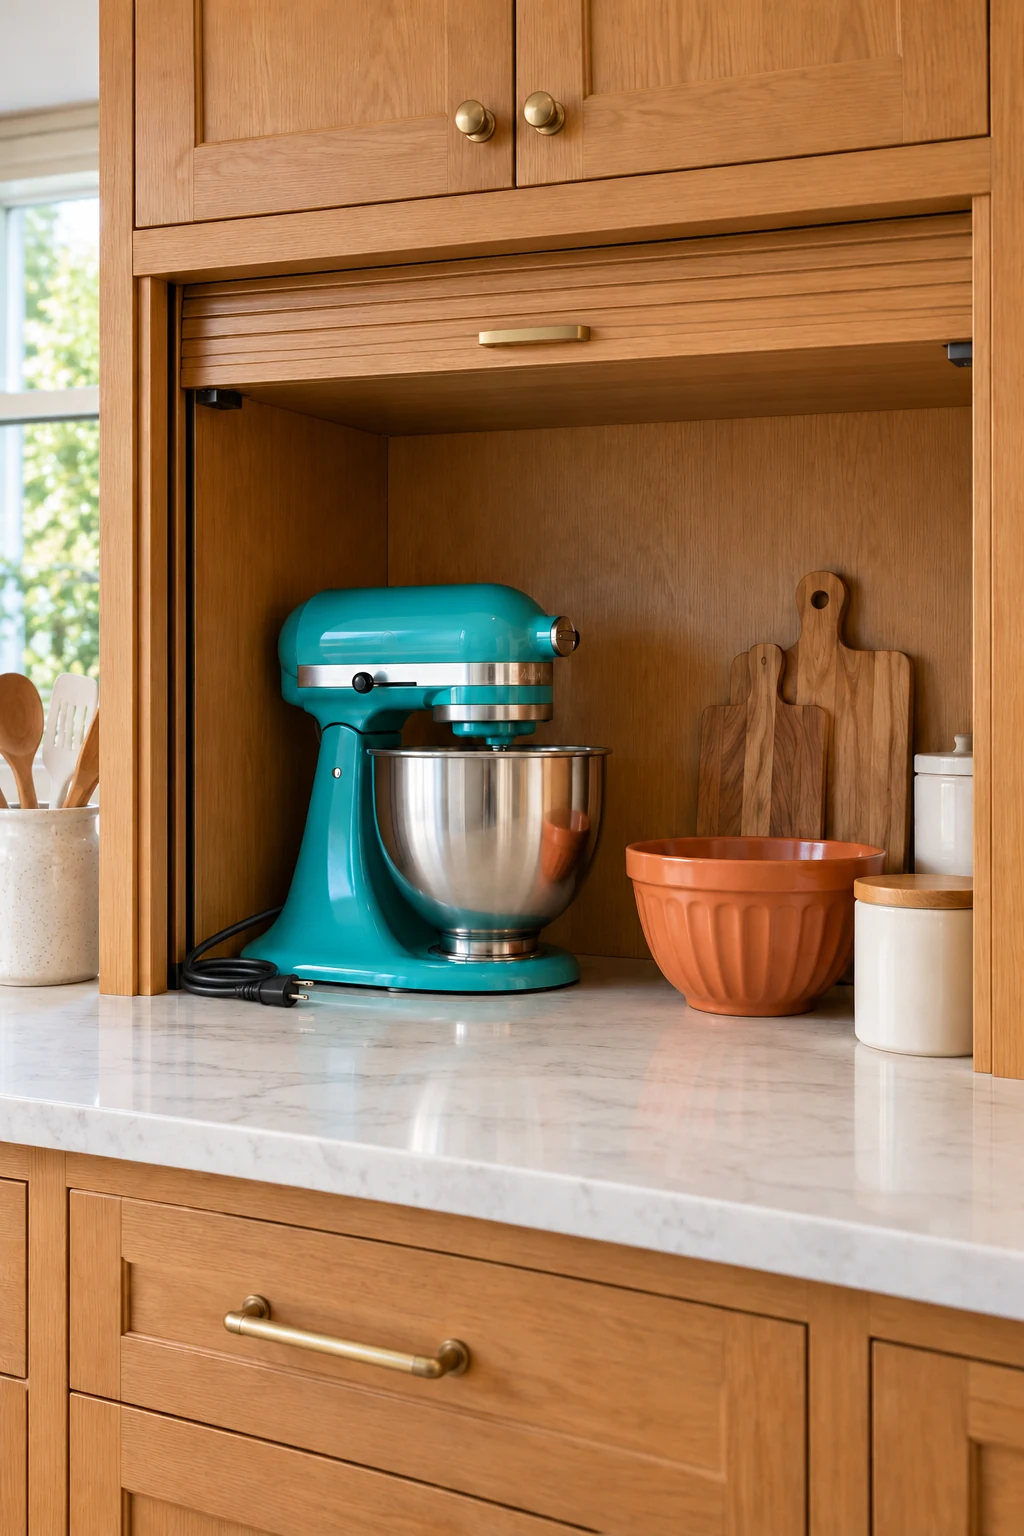
24. Keep sharp peelers and graters easy to recognize
Give peelers, graters, and other exposed edges a defined spot where someone can see the tool before reaching in. Use any manufacturer-provided cover, and avoid mixing these pieces into a bin of clips or measuring spoons.
Leave enough room to grasp the handle without brushing the cutting surface. Store the container where children cannot access it, and check covers after washing. A tidy appearance is useful only when the arrangement also makes the sharp parts obvious.
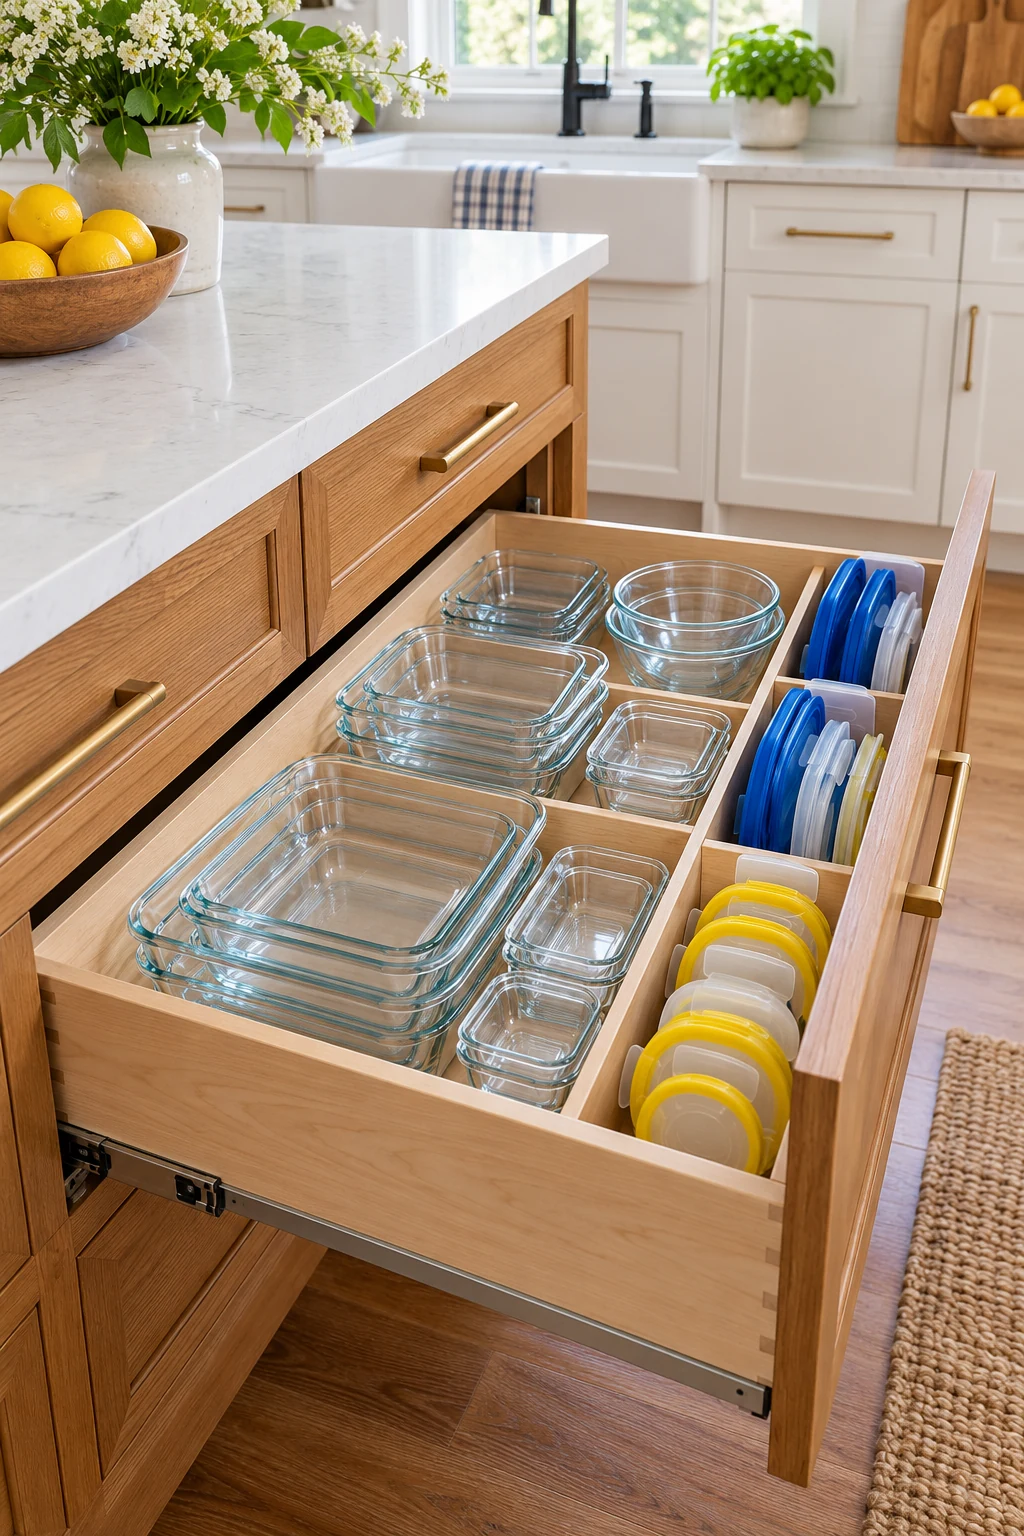
25. Leave enough room to put tools back
Finish the layout with a few open inches rather than filling every compartment to its rim. Tools temporarily in the dishwasher still need their place, and a little space makes it easier to return a clean spoon without rearranging the drawer.
When the same section jams again, check whether the category needs a wider lane or fewer duplicates. Lift out the inserts periodically for cleaning according to their care instructions. The arrangement should work on a busy cooking night as well as the day you set it up.
Start with the utensil that is hardest to find or put away, then adjust its lane, holder, or location. A few thoughtful changes can make the whole cooking area easier to use. Subscribe to the Havelyo email list for more practical small-space decorating and organization ideas.