
Pantry Organization
20 Ways to Organize Your Pantry With Airtight Storage Containers
Airtight pantry containers can make a slumped bag easier to scoop from and a crowded shelf easier to read. They are most useful when the shape, capacity, and lid match the food and the way you use it. A matching set is optional.
These 20 ideas focus on everyday dry-food organization. “Airtight” describes the container design claimed by its manufacturer here; it does not mean food stays safe indefinitely or no longer needs refrigeration. Follow the food’s own label and FDA food-storage guidance, preserve package information when decanting, and choose a few useful containers before replacing everything.
This article contains affiliate links. If you buy through them, Havelyo may earn a commission. As an Amazon Associate I earn from qualifying purchases.
1. Decide which foods are worth transferring
Look for the packages that repeatedly slump, spill, or make measuring awkward. Those are good candidates for a food-storage container. Keep other foods in their original packaging when it is easy to close, pour from, and identify; a pantry does not need every label replaced.
Start with one shelf and a few frequently used dry staples. Follow each food’s storage directions, including any refrigeration requirement after opening. A container described as airtight is an organization tool, not a way to make an unsuitable pantry food shelf-stable.
2. Measure the closed footprint and the opening motion
Write down the shelf depth, width, and height before choosing containers. Include room for fingers at the sides and enough clearance to lift the lid or open the latch. A container that fits closed may still be frustrating to use in place.
Test a cardboard footprint or an existing container on the shelf before ordering a set. Check the narrowest point of the cabinet opening as well as the shelf itself. If access is tight, plan to remove the container to the counter before opening it.
3. Match capacity to your usual refill volume
Choose a container around the quantity you normally keep, with the manufacturer’s fill guidance in mind. The weight printed on a bag does not tell you its exact volume. A bulky cereal and a dense grain can need very different space for the same weight.
The OXO Good Grips POP Container, Big Square Medium, 4.4-Quart offers 4.4 quarts of listed volume for a regularly used dry staple. Compare that with your actual supply instead of assuming every large bag fits. Keep a new refill separate until there is room to transfer it without overfilling.

4. Use a wide opening for ingredients you scoop
Flour and other ingredients measured by the cup are easier to handle when the opening gives the measuring tool room. Check whether your scoop can enter, fill, and lift out without scraping the sides. A taller container is not always more useful if its mouth is narrow.
The Progressive ProKeeper Flour Storage Container, 4-Quart, PKS-100 is a 4-quart option with an included leveling bar and hinged lid. Confirm that this original model suits the measuring tools you use. Keep the rim and seal clean, and follow the ingredient’s storage directions rather than assuming the lid extends its safe use.

5. Use lower canisters under fixed shelves
Low shelf gaps can be useful storage when containers are wider rather than tall. This shape can also make an ingredient easier to identify from above. Leave enough space to pull the container forward without dragging its lid against the shelf.
The Rubbermaid Brilliance Pantry Storage Container, 7.8-Cup, Clear is a 7.8-cup latching container to compare with a short opening. Its clear lid helps with a top-down view. Check the listed external dimensions and remember that this pantry model is not intended for microwave use.
6. Give small quantities smaller containers
A rarely used dry ingredient can disappear at the bottom of a huge canister. Choose a smaller container that suits the amount you keep and lets you spot what remains. This leaves more shelf space for foods you use in larger quantities.
The OXO Good Grips POP Container, Rectangle Short, 1.7-Quart has a 1.7-quart listed capacity for a smaller dry-food supply. Check its exact footprint and lid operation against the available shelf. Keep the ingredient’s full name on the front, especially when similar flours or grains sit beside each other.
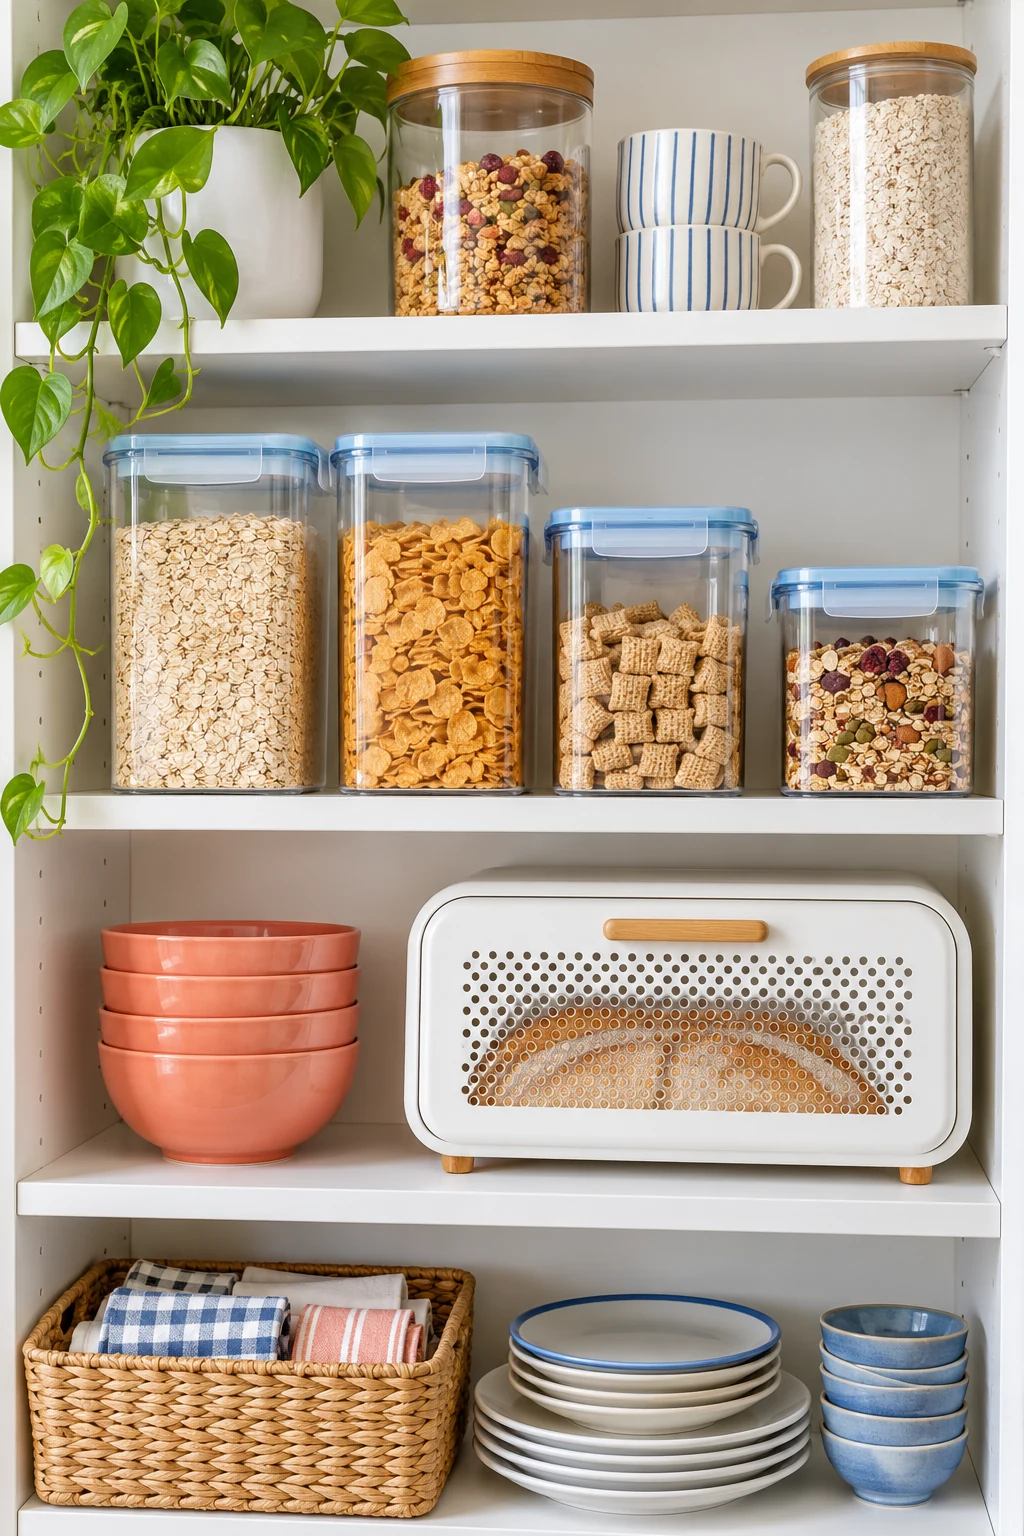
7. Choose a pour opening for a single daily cereal
If you pour cereal directly into a bowl, a grip-and-pour container may suit the routine better than removing a full lid each morning. Check the opening against the size of the cereal pieces. Keep the container easy to hold when it is full, not only when empty.
The Sistema KLIP IT PLUS Cereal Container, 4.2-Liter, Clear/Blue has a pour lid and contoured grip, with a listed 4.2-liter capacity. Check the current selected model’s footprint and opening height against your breakfast shelf. A full container should still feel manageable in your grip, and its lid needs room to close correctly after each use.
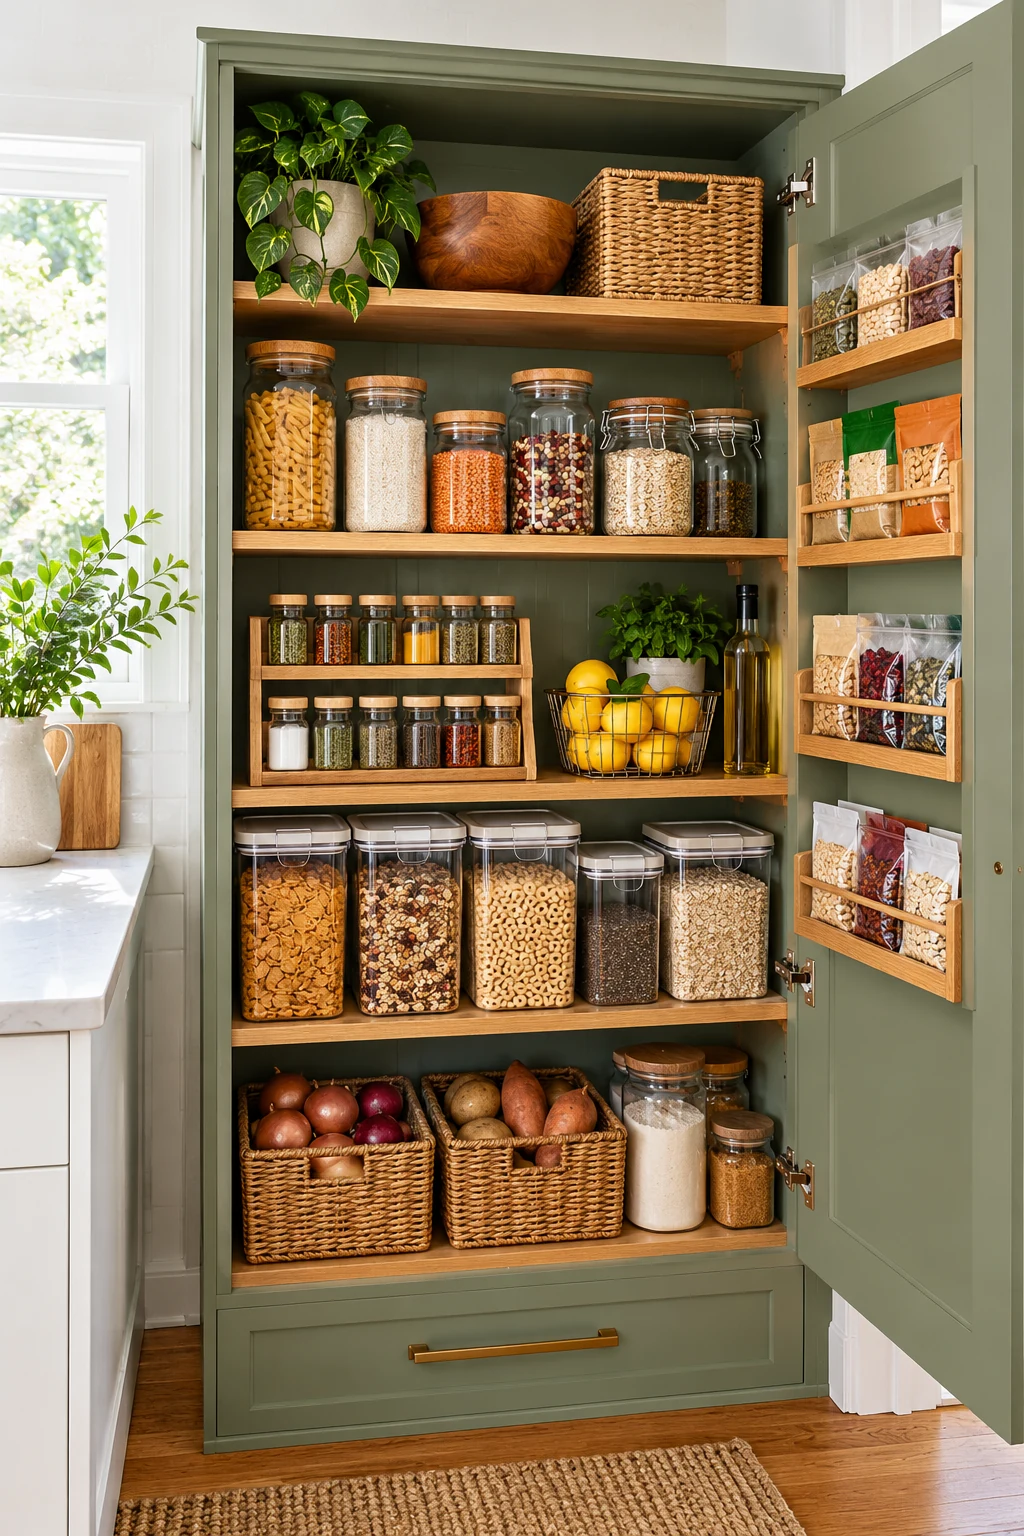
8. Plan a coordinated row only for choices you keep regularly
A small coordinated container set can define the space for several foods you buy consistently. Give each container one named ingredient and leave enough room to remove the middle one. Do not fill every container just because the set includes it.
The OXO Good Grips POP Cereal Dispenser Set, Three 3.4-Quart Containers includes three 3.4-quart dispensers that could form a repeatable breakfast row. Measure the combined footprint before buying all three. Keep different products and their package records separate, and avoid blending leftovers together merely to free a dispenser.

9. Give brown sugar its own dedicated container
Brown sugar has a different handling routine from crisp cereal or dry spice powder. Keep it in its own clearly labeled container so any product-specific accessory stays with the intended ingredient. Choose a size that lets you remove sugar without packing it into the lid area.
The Progressive ProKeeper Brown Sugar Storage Container, 1.5-Quart, PKS-200 is a 1.5-quart model with an included terracotta disk. Use that disk only as the manufacturer directs for brown sugar. Do not add damp accessories to other dry pantry foods, and do not treat the container as a promise of a particular storage life.
10. Keep an original bag inside a suitable outer container
You can sometimes gain a tidier footprint without pouring the food out of its bag. Place the original package inside a suitable food-storage container when it fits comfortably. The ingredient list, cooking instructions, and identifying details stay directly with the food.
Check that the bag does not fold into the lid seal or prevent the container from closing correctly. Keep the package itself closed as directed too. If the outer container is much larger than the bag, a simple bin may offer the same organizing benefit with less fuss.
11. Label the exact ingredient and variety
Write more than a broad category when it helps you cook correctly. Rolled oats and quick oats, different rice varieties, and similar-looking flours deserve distinct names. Put the label on the face you see when the container is in its normal home.
Use a lid label for low drawers or shelves viewed from above. Keep decorative wording secondary to the food’s actual identity. A container’s shape or the ingredient’s color should never be the only clue, particularly when several people use the pantry.
12. Save the details that will not fit on a front label
Before discarding a package, preserve its ingredient and allergen statements, preparation instructions, date, and lot code. A clear photo or a clean saved panel can keep this information available. Give the container and record a matching identifier so you can connect them later.
Update the record every time the source product or batch changes. Keep any required storage directions easy to find rather than buried in a folder. If the information is complicated or changes often, leaving the food in its original packaging may be the better choice.
13. Clean and completely dry every part before filling
Wash containers before first use and between batches according to the exact model’s care instructions. Remove lid components or seals only when the manufacturer says to do so. Let all parts dry completely, including channels around the seal, before adding dry food.
Do not assume every plastic container or lid belongs in the dishwasher. Similar-looking products can have different care limits. Build drying time into the refill routine rather than wiping only the obvious surfaces and trapping moisture beneath the lid.
14. Refill one batch at a time
Finish the contents of a working container before adding a new package whenever practical. This keeps the current batch’s information clear and gives you a chance to clean the container. Pouring a new bag over old remnants makes it harder to track what is inside.
Keep the incoming refill in its original closed package until you are ready. Retain both the package date and a separate opening or transfer date if useful. A fresh label on a container does not reset the food’s history or override its storage instructions.
15. Give each frequently scooped ingredient its own dry tool
A dedicated scoop can make a flour, grain, or other frequently used container easier to work with. Choose a tool that fits the opening and can be kept clean and dry. If it stays inside, check that it does not touch the lid’s sealing area.
Follow the container maker’s guidance for any attached accessory. Keep scoops separate where ingredient or allergen cross-contact matters, and avoid returning a utensil that touched wet or uncooked food. A tidy-looking scoop dock is useful only when the handling routine is sensible.
16. Stack only where the lower container stays accessible
Containers designed to stack can use shelf height, but a tall tower adds work every time you need the bottom ingredient. Keep stacks low and group foods with similar use frequency. Put the ingredient you reach for most where it can be removed without unstacking several others.
Follow the product’s stacking design and keep heavy containers lower. Do not balance mismatched lids or assume an airtight closure makes a stack secure. Leave enough headroom to lift the top container with both hands when the filled weight calls for it.
17. Use clear separation for ingredients that must not be mixed
When foods need separate handling, give their containers clearly distinct locations and names. For example, different flours can occupy separate small trays so similar-looking ingredients are not confused. Keep their original ingredient and allergen information easy to check.
An airtight lid does not make a shared pantry or shared utensils allergy-safe. Follow the household’s required cross-contact precautions, including appropriate cleaning and dedicated tools when needed. Do not rely only on color-coded lids, which can be moved or swapped by mistake.
18. Separate the working container from unopened backstock
Keep the container you cook from in the easiest reach and store unopened refill packages in a designated reserve area. This prevents several half-used containers from spreading across the pantry. A small note on the reserve shelf can tell you what is already waiting.
Check that area before buying another bag, and size your stock around actual use. Bulk packaging is useful only when it fits your storage and food needs. Keep the original package information with each reserve item until the contents move into the working container.
19. Leave a clean landing area for filling and measuring
Use a clear counter space for opening, refilling, and measuring from containers that are awkward to use on a shelf. Bring down one ingredient at a time and keep its label or package nearby. This makes it easier to avoid mixing lids or filling the wrong jar.
Wipe up spills promptly and put food away before moving to another task. Keep the pantry shelf clear enough to slide the full container back without forcing it between neighbors. A little working room can make a container system much easier to maintain.
20. Check lids and seals during the regular pantry reset
As you refill or clean, look for damaged lids, distorted seals, cracks, or crumbs caught where the container closes. Reassemble the parts exactly as directed and confirm that the closure operates normally. Keep any replacement part matched to the correct model.
Replace or stop using a damaged container according to its manufacturer’s guidance rather than trying to force it shut. Review the food separately if there is a storage concern. Organization should help you notice problems, and it cannot determine whether a questionable food is safe.
Start with the ingredient whose packaging causes the most trouble, then choose a container that fits both the food and the shelf. Keep its information, clean and dry the parts, and make refilling straightforward. A small system you use comfortably is worth more than a pantry full of empty matching jars. Subscribe to Havelyo emails for more practical pantry and kitchen organization ideas.