
Kitchen Organization
22 Pot Lid Organizer Ideas to Stop the Cabinet Clatter
Pot lids seem to find every awkward corner: behind a skillet, under a saucepan, or balanced where the next opening sends them sliding. Giving each cover a supported place makes cooking and putting dishes away less of a scramble.
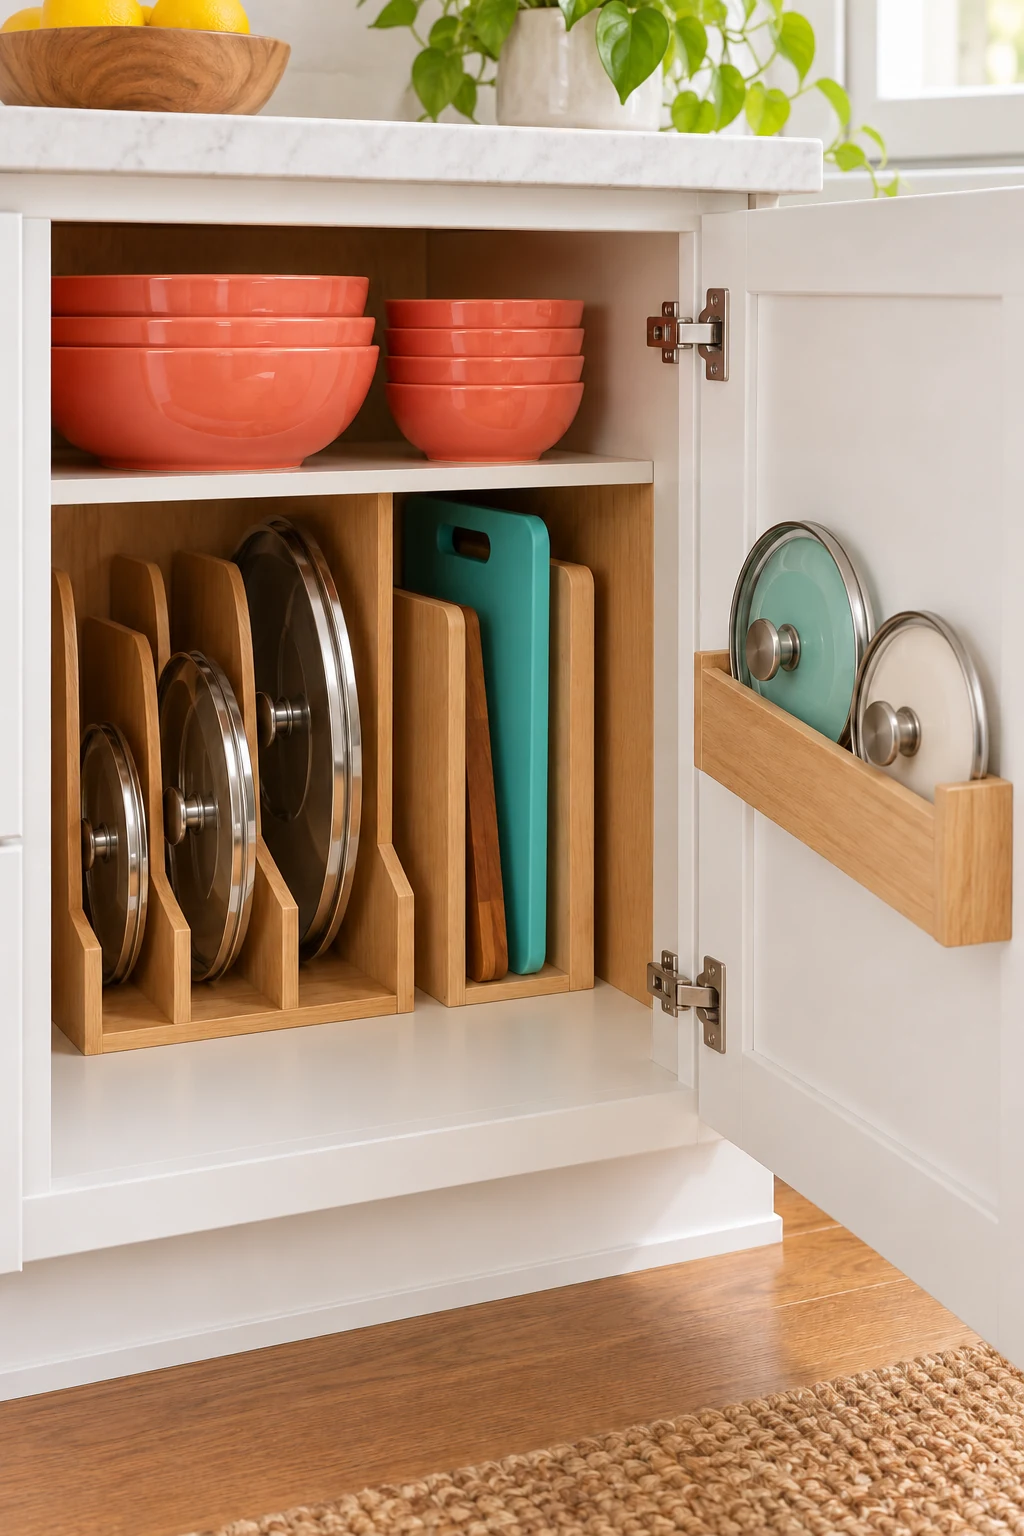
These 22 pot lid organizer ideas cover small cabinets, deep drawers, and door storage. Start by matching lids to their pans, then measure the lid’s diameter and handle depth along with the available space. Choose a few ideas that suit your collection instead of squeezing every lid into one kind of organizer.
This article contains affiliate links. If you buy through them, Havelyo may earn a commission. As an Amazon Associate I earn from qualifying purchases.
1. Match the lids before choosing a rack
Set out your pots and match each lid to its intended pan. Include the small saucepan hiding in another cabinet and the stockpot used only a few times a year. A lid that looks close in diameter may still have the wrong rim.
Keep only the matches you actually use in the cooking zone. If a lid has no partner, check whether that pot lives elsewhere before setting it aside. This inventory tells you whether you need three generous slots or a longer row of narrow ones.
2. Leave a lid on a frequently used pot
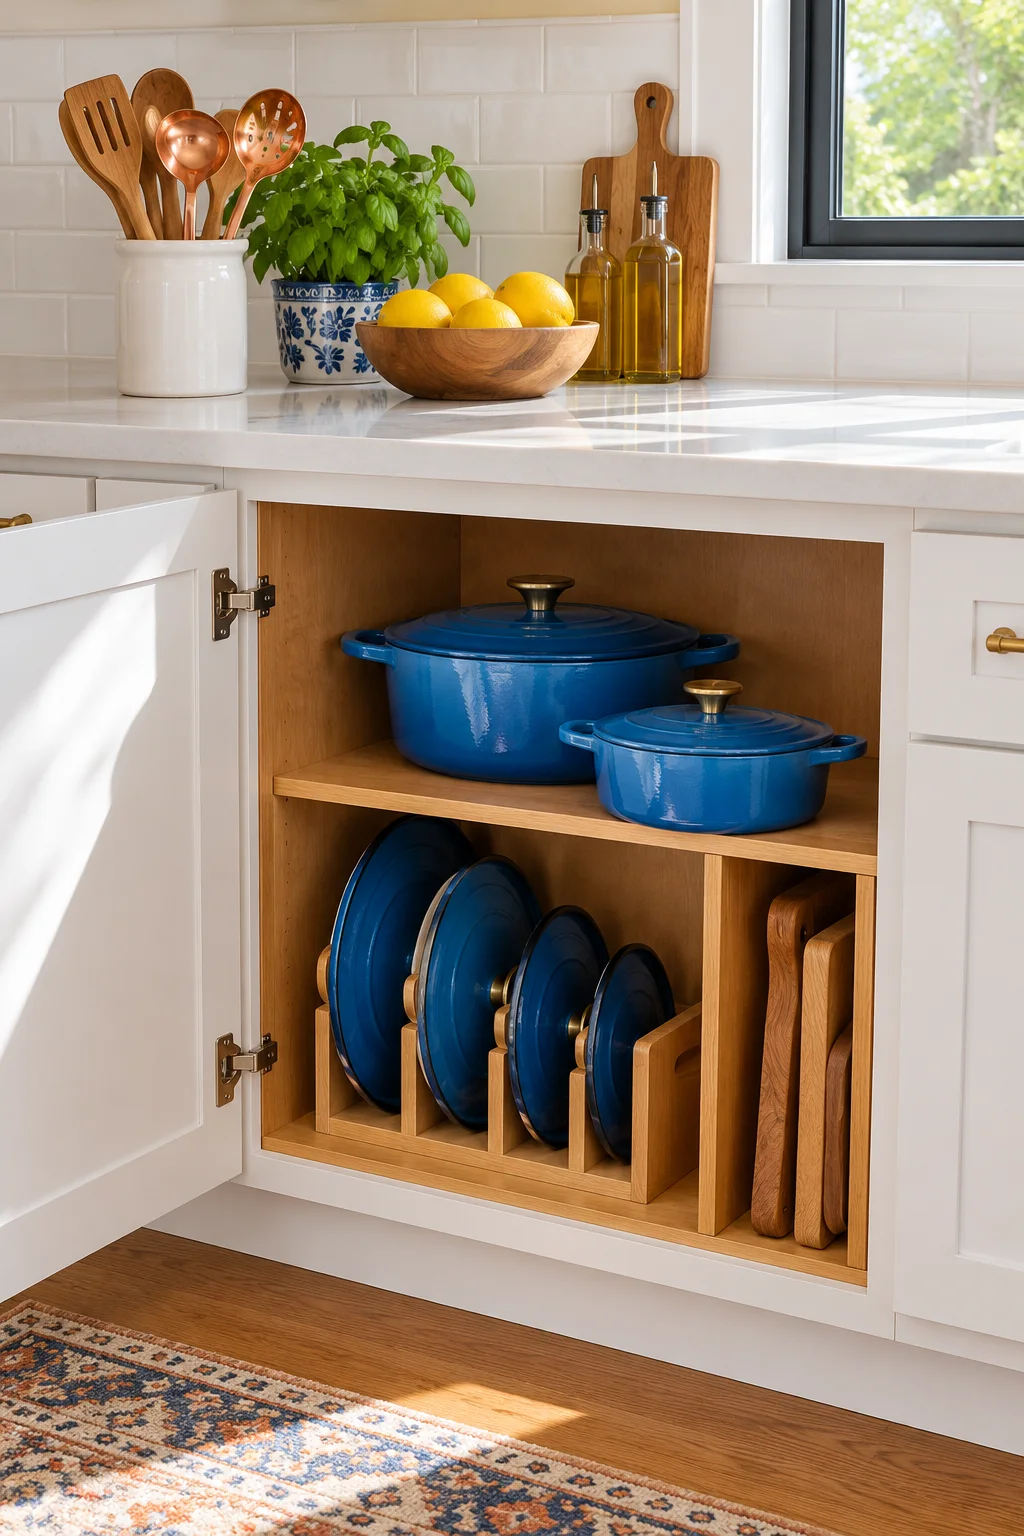
A pot that comes out almost every day can stay with its lid in place. This uses the pot’s existing footprint and makes a complete pair easy to lift from a shelf without searching through a second storage area.
Try the arrangement on a low, reachable shelf with enough height to grasp the handles. It uses more vertical room than nesting, so reserve it for a few useful pairs. Let everything cool and dry before closing the lid for storage.
3. Give mixed lids adjustable upright slots
Stand lids on their edges in a rack designed for cookware, with each lid supported independently. Adjustable dividers are helpful when a thin metal cover sits beside a deeper glass one; identical narrow slots can waste space or squeeze the handles.
The YouCopia StoreMore Expandable Cookware Rack, Premium Edition, adjusts from 12.5 to 21.5 inches wide. Choose the footprint around your collection, then check lid fit, loaded height, shelf support, and the space needed to lift each piece out. View on Amazon.
4. Order the row from small to large
Arrange an upright lid row by diameter, with the smallest pieces nearest your easiest reach. Their handles remain visible instead of disappearing behind a broad stockpot lid. Keep the order simple enough that someone unloading the dishwasher can follow it.
Try retrieving a middle lid before calling the layout finished. If you must slide several others out first, widen that lane or shorten the row. Size order helps you scan, but clear hand access matters more than a perfectly stepped display.
5. Account for the knob before tightening the slots
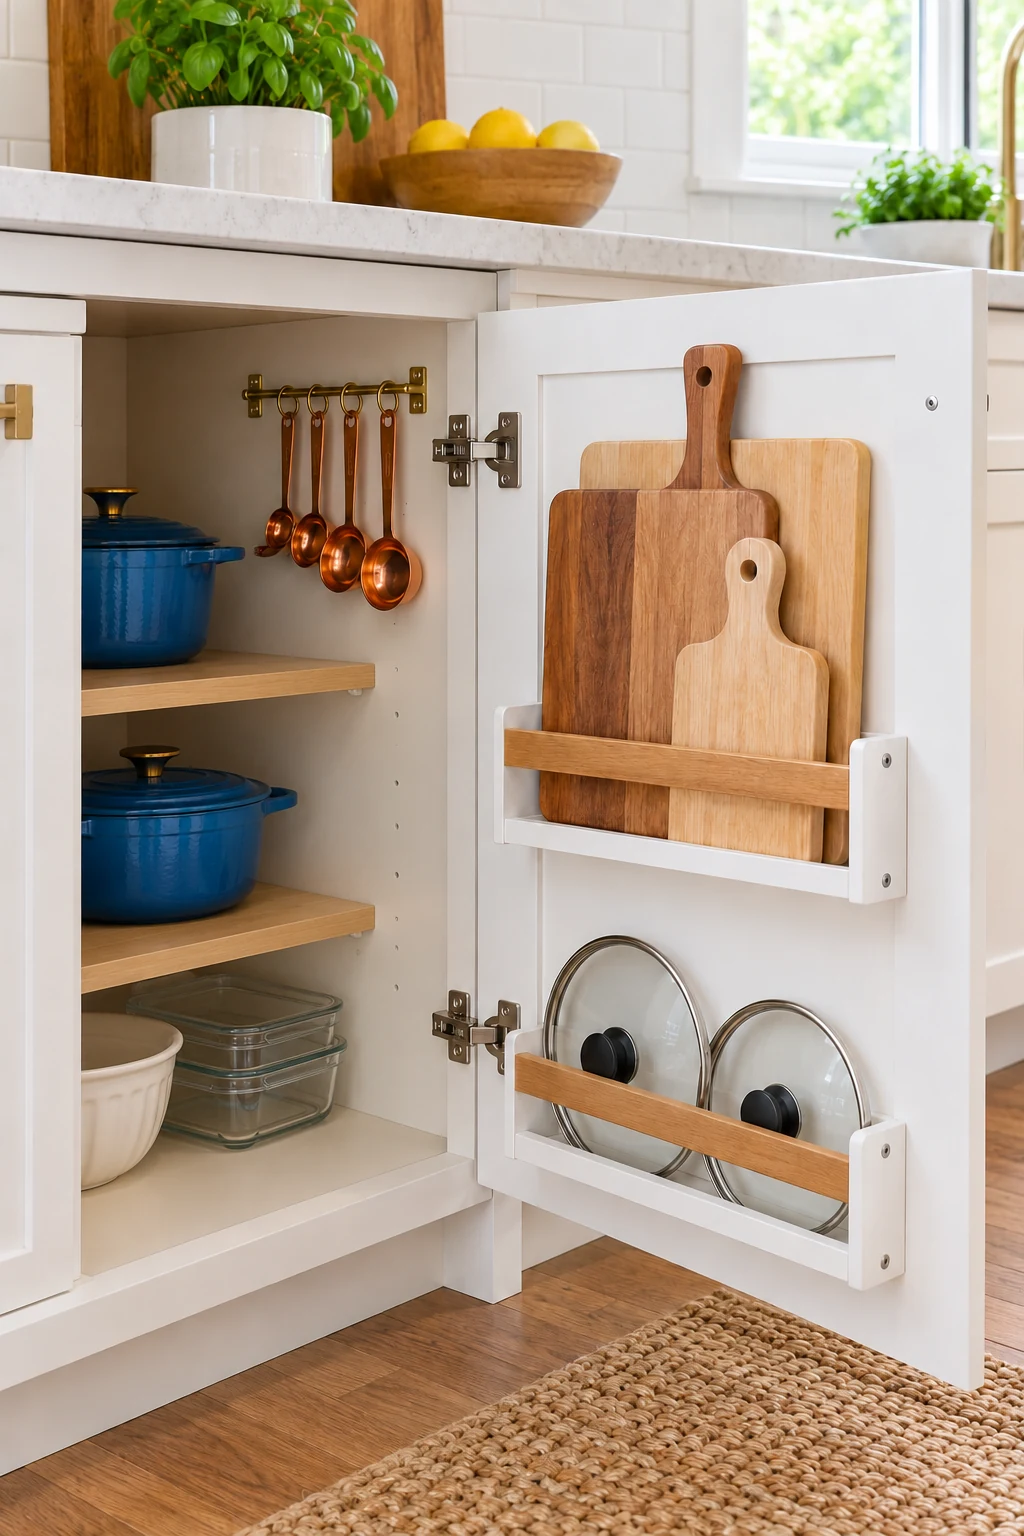
Measure the depth of the entire lid, including its knob or loop handle. A rack can look roomy while empty and become crowded as soon as the handles project into neighboring lanes. Leave enough separation to grasp one without shifting another.
Try alternating handle directions only when every lid remains supported and easy to remove. Do not press glass covers together to save an inch. A slightly wider arrangement can be quieter and easier to put away than a tightly packed row.
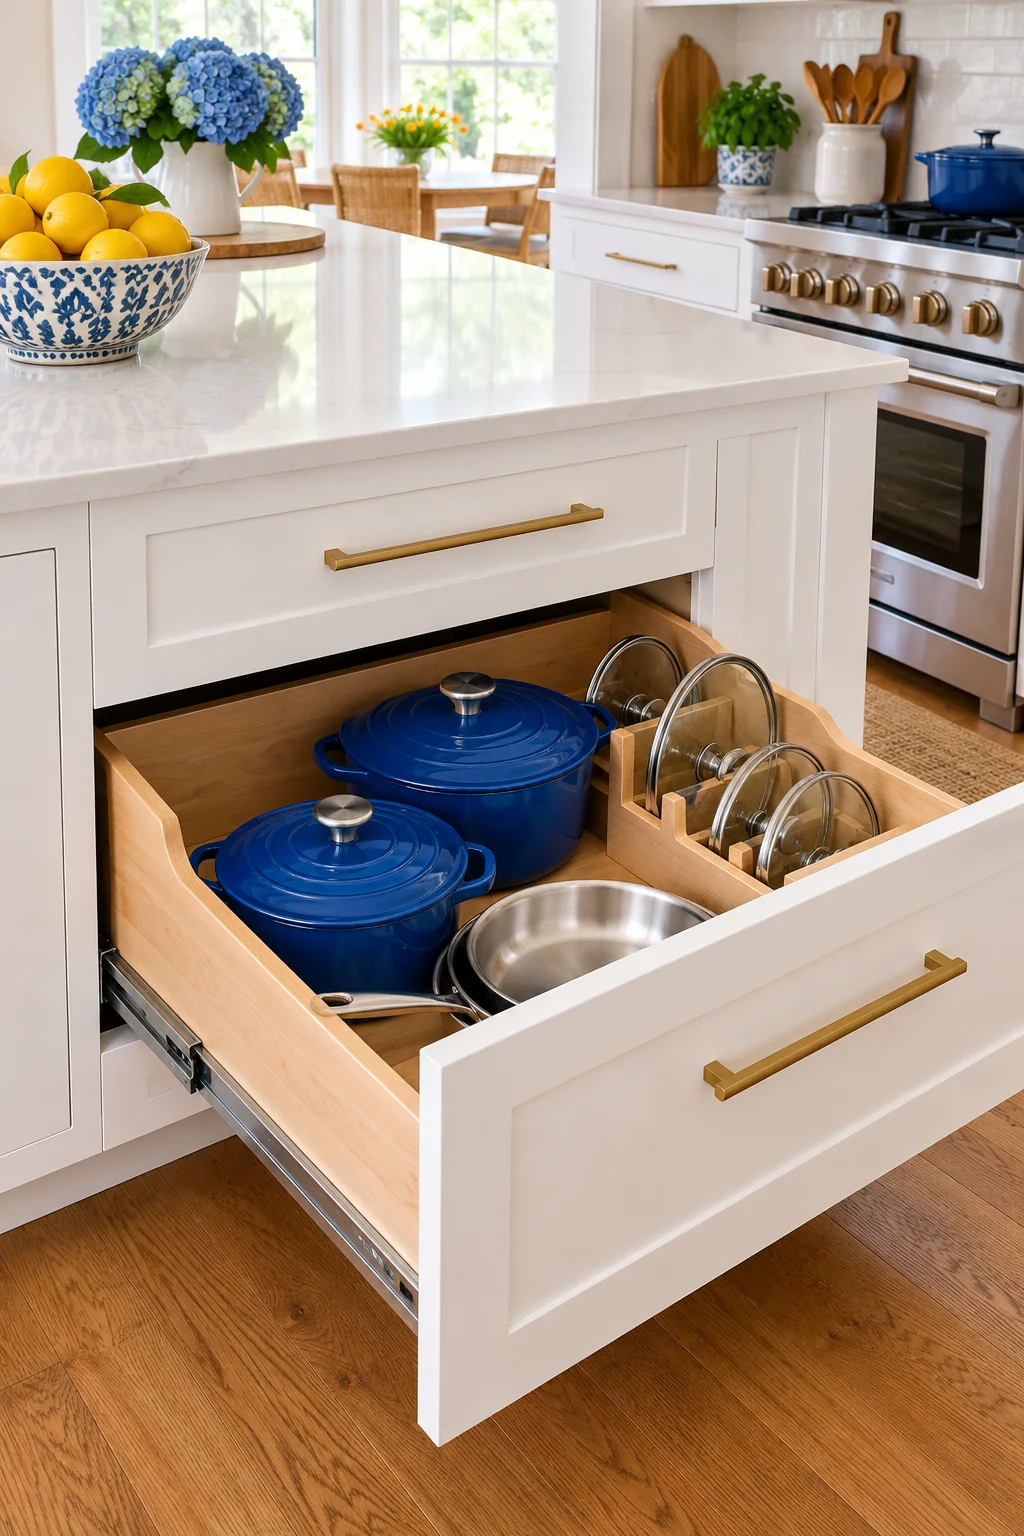
6. Reserve one lane in a deep cookware drawer
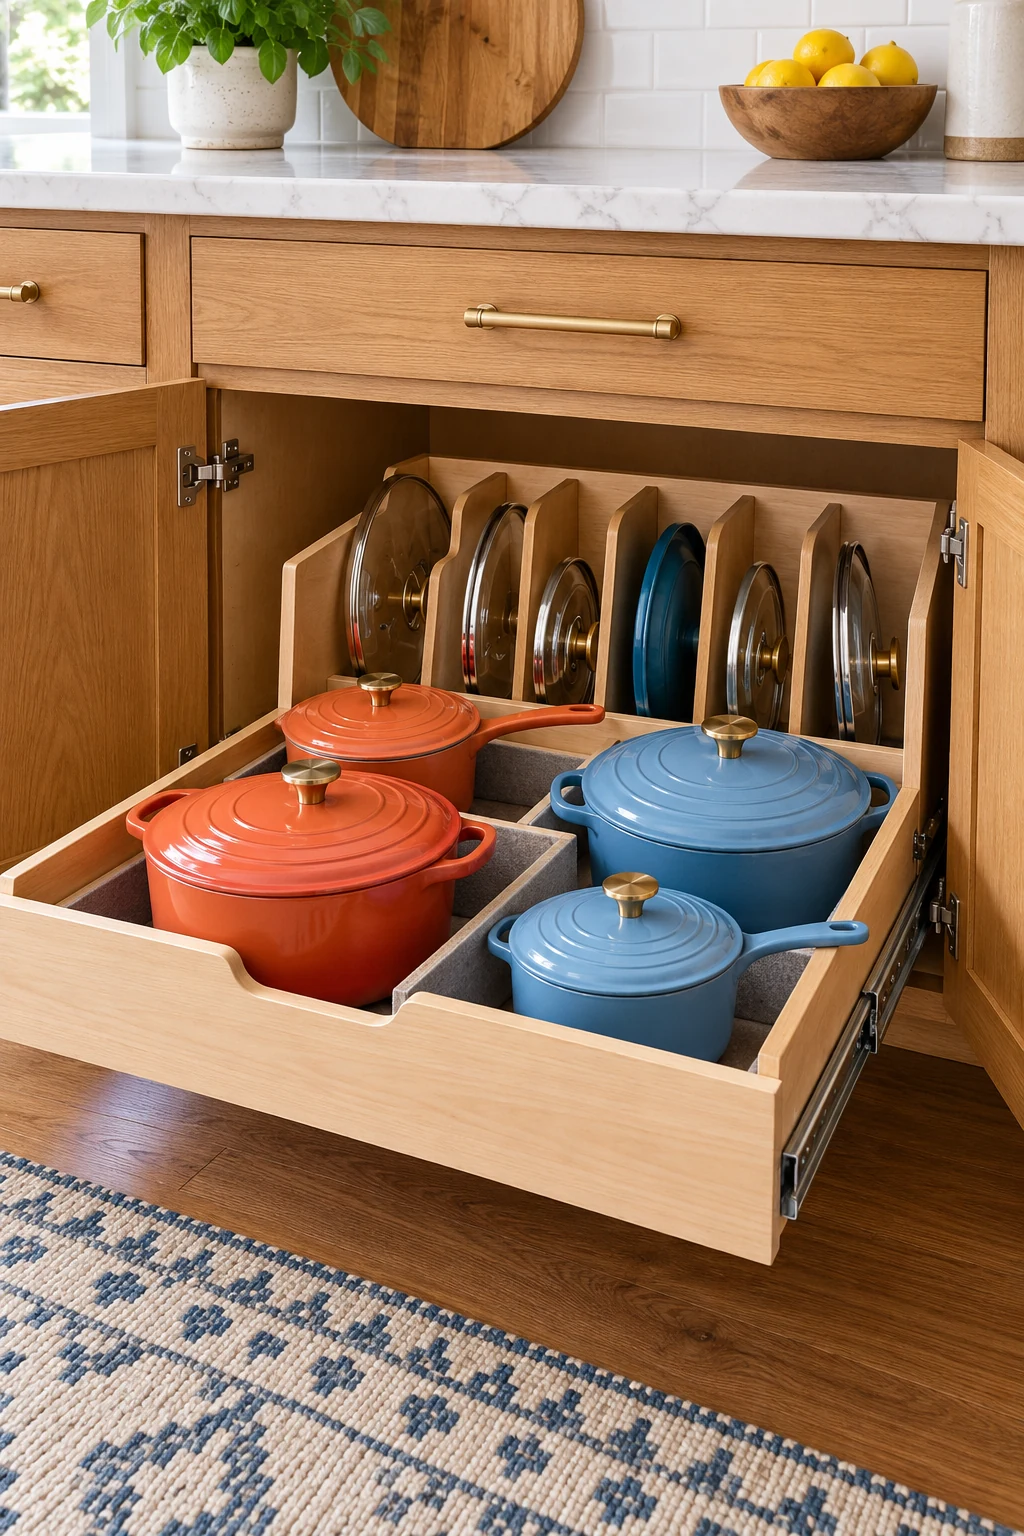
Divide a deep drawer so lids stay beside the pans they fit without falling into the pan stack. A long divider can define the boundary, while a suitable lid rack inside that lane keeps individual covers supported.
The 2.4-inch-high Utoplike Bamboo Kitchen Drawer Dividers suit sturdy interiors spanning 17.8 to 20.6 inches, according to the selected listing. They separate categories rather than cradle lids. Check drawer construction, loaded closing clearance, and the instructions before adding spring pressure. View on Amazon.
7. Lay low-profile lids in a shallow drawer
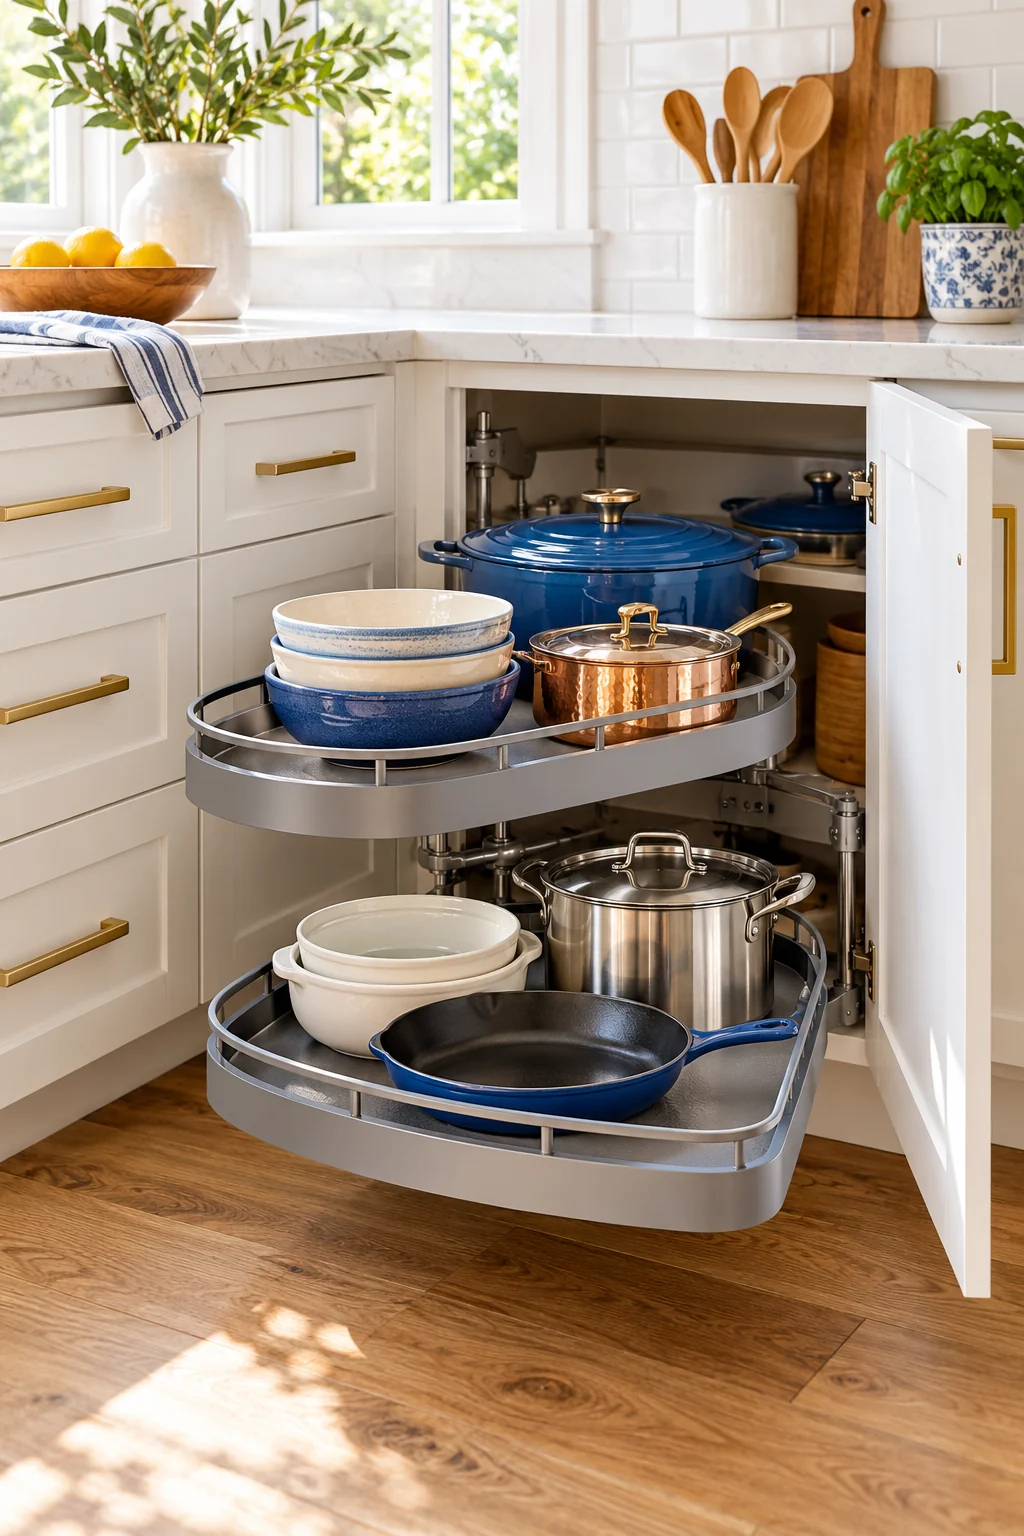
A shallow drawer can hold flat metal lids face up in a single layer when there is not enough height for upright storage. Arrange them so each handle is visible and nothing needs to be lifted off another cover.
Measure the tallest knob against the underside of the cabinet frame, not just the drawer box. This layout gives up some floor area for immediate access. Use it for a compact collection rather than overlapping lids until the drawer catches.
8. Use individual holders on a compatible door
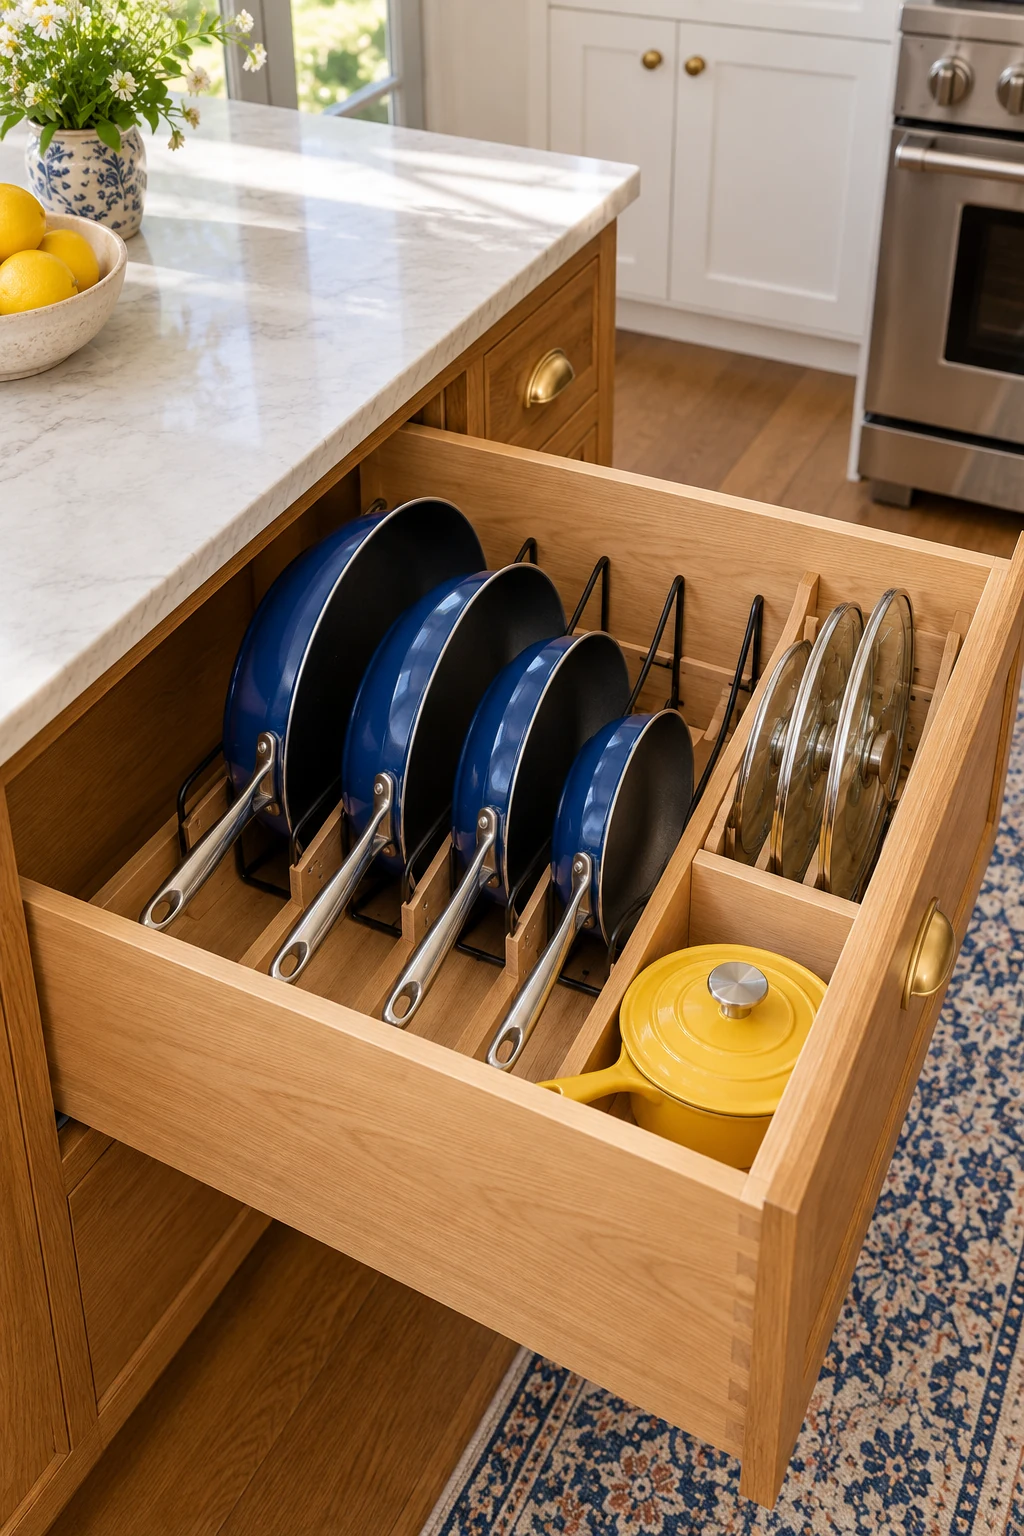
Small, relatively flat lids can fit on the inside of a cabinet door where they avoid the shelves behind it. Hold a lid in the proposed position and close the door gently to check the rim, knob, hinges, and neighboring cookware.
Joseph Joseph CupboardStore gray pan-lid holders use adhesive mounting. The verified listing rates each holder to 1.1 pounds; use the conservative 6.3-to-9-inch lid range. Follow surface preparation and curing directions. Adhesive can damage finishes, and this option does not suit every door. View on Amazon.
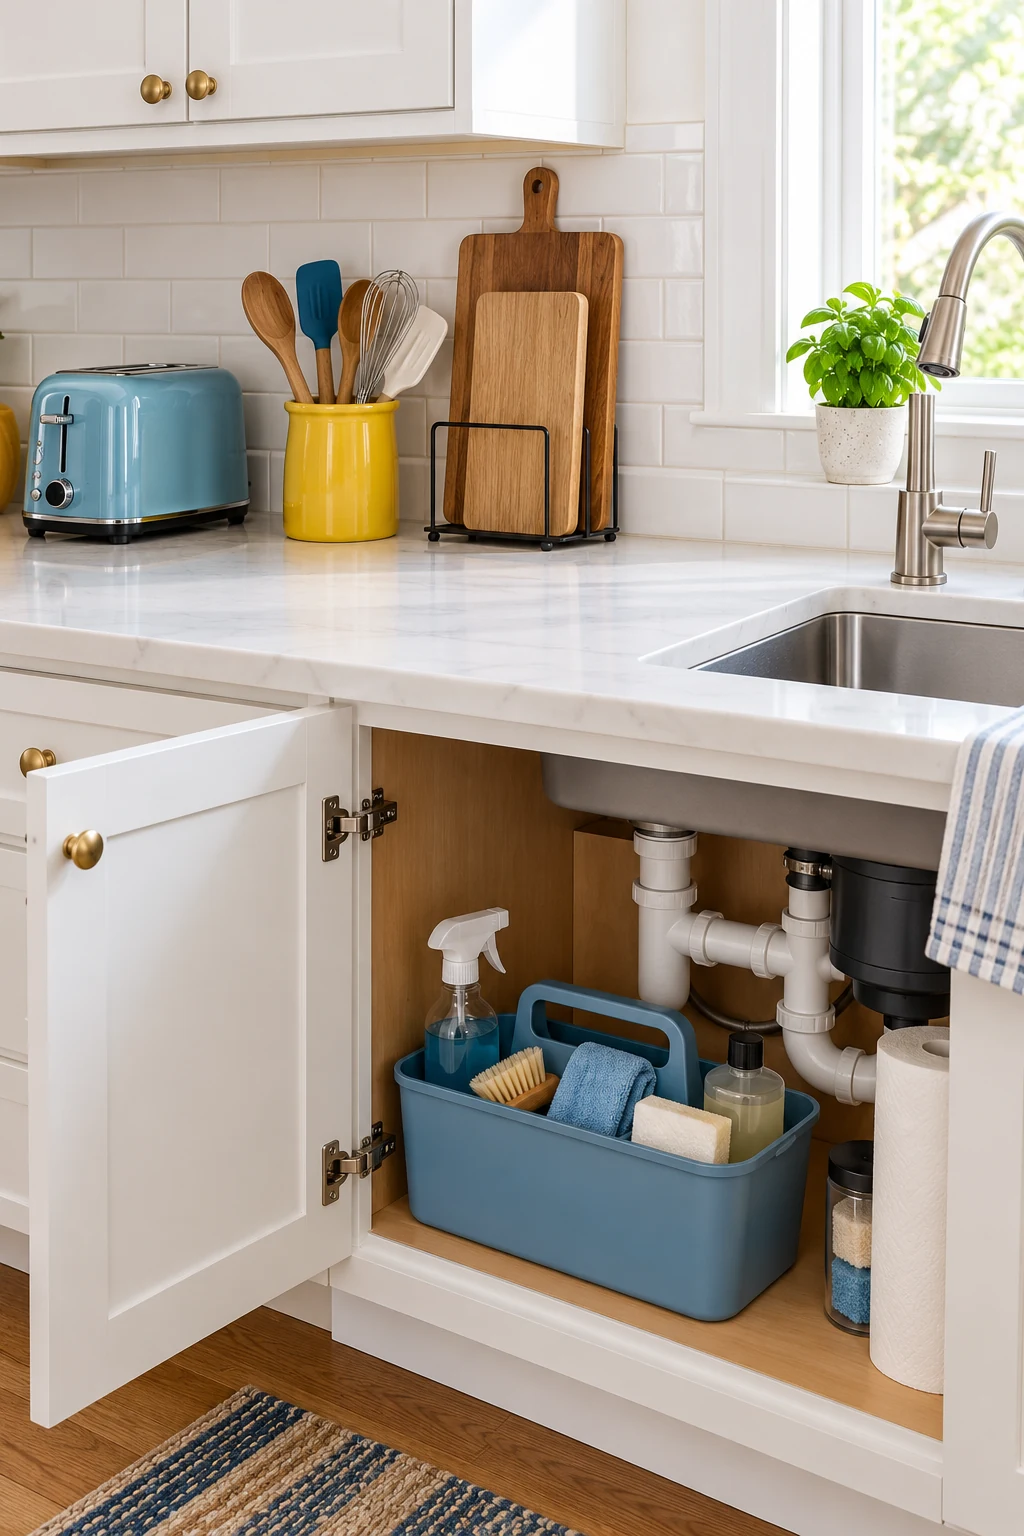
9. Choose a screw-mounted rack for a suitable surface
A purpose-made mounted lid rack can free a shelf when you have a sound cabinet side or wall available. Choose a rack with stated lid sizes, mounting requirements, and a load limit rather than improvising supports from unrelated hooks.
Check permission before drilling, especially in a rental. Fasteners must suit the actual material and must not break through a cabinet panel or reach concealed services. Use an installer when the surface or fixing method is uncertain. Keep the loaded rack away from a door’s swing.
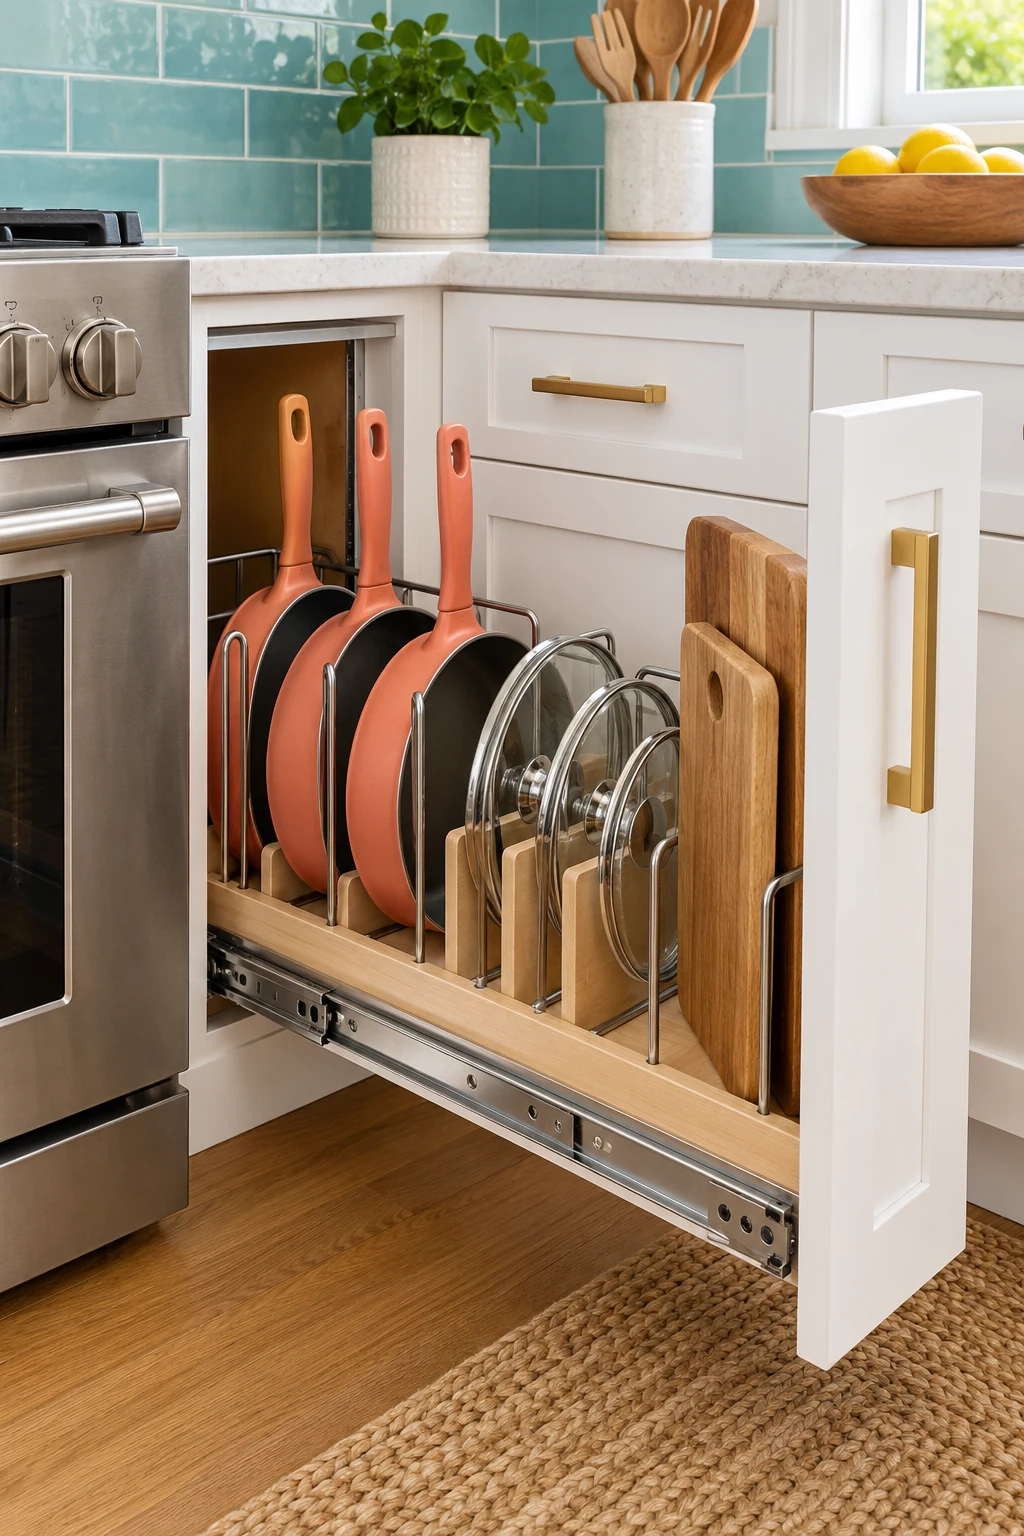
10. Keep a cabinet-side rack clear of the opening
The inside side wall of a wide lower cabinet may have room for a shallow lid rack. Position it where lids stay visible from the doorway, rather than behind a pan stack you would have to remove first.
Measure the loaded rack’s projection before installation. It must leave a clear path for the widest pan, and it cannot interfere with hinges or a rollout. In a narrow cabinet, the shelf space lost to that projection may outweigh the benefit.
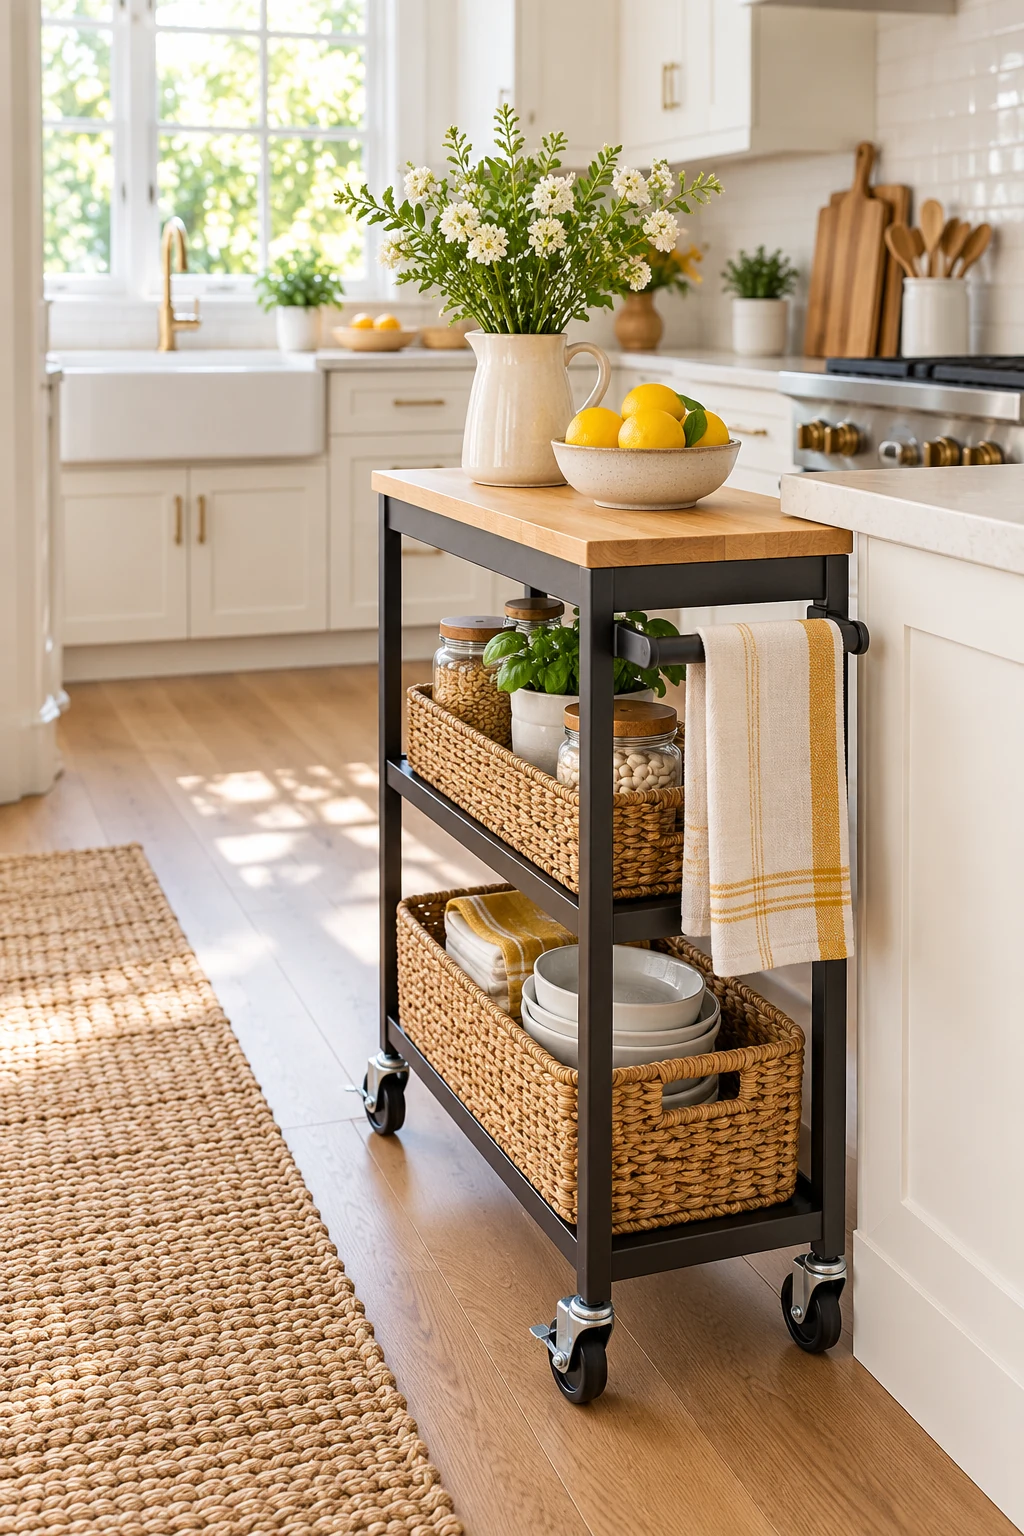
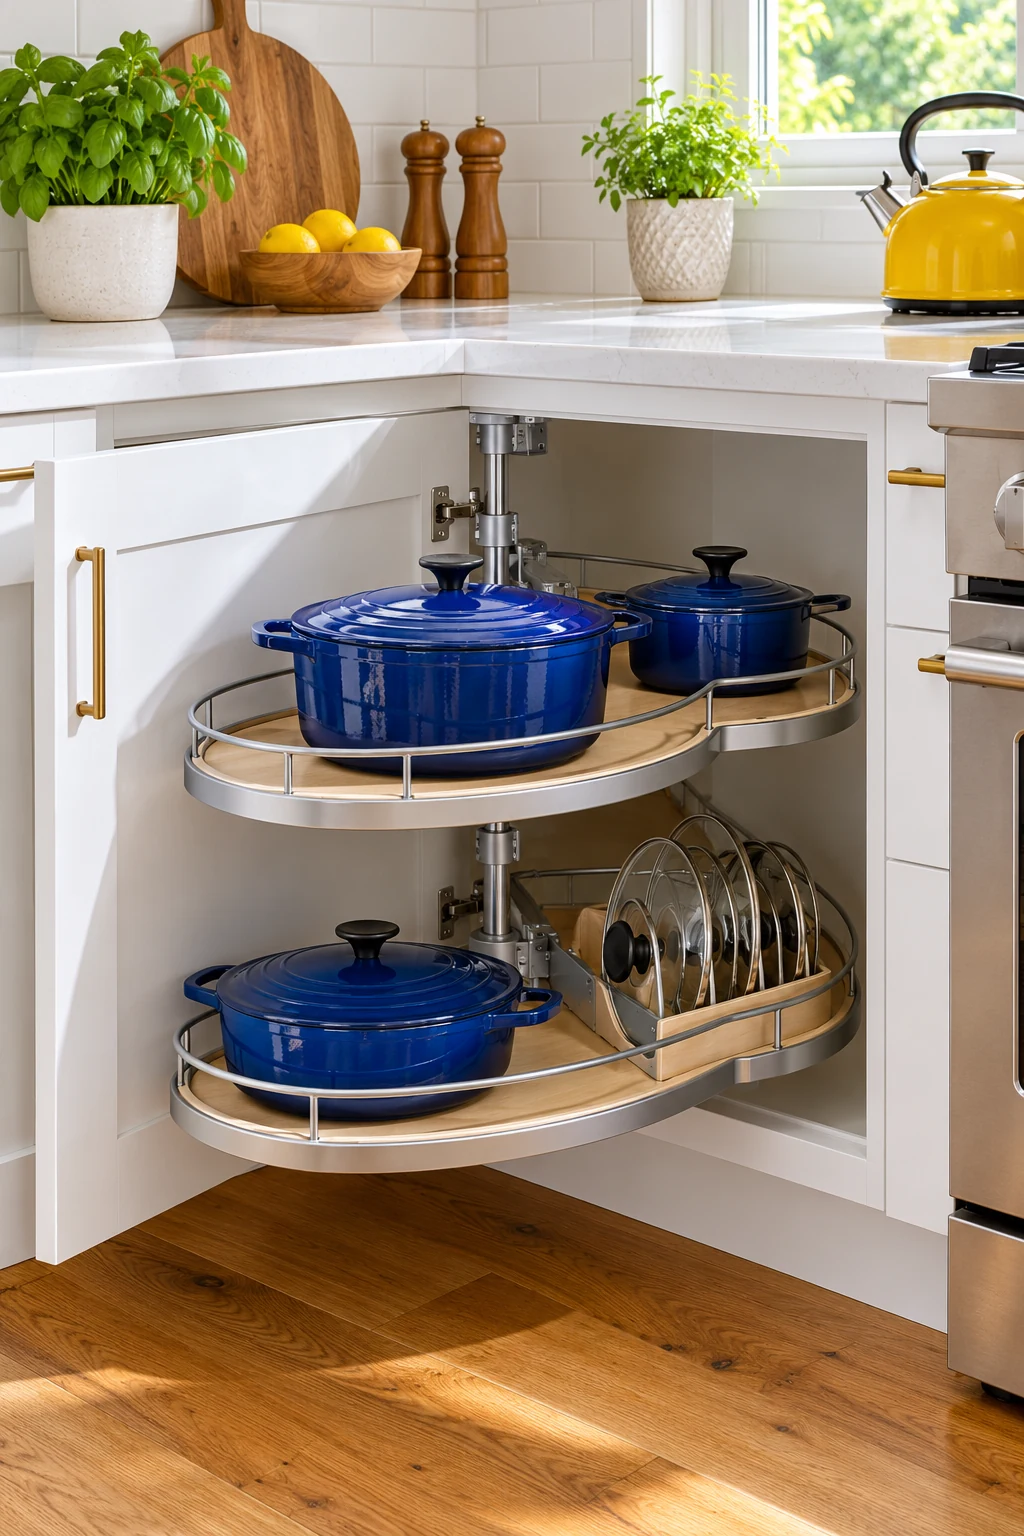
11. Bring the pots and their lids forward together
If a deep cabinet makes you crouch and reach behind cookware, consider one properly mounted rollout for the daily set. Keep lids in supported slots on the same shelf so pulling it forward reveals both halves of the pair.
The LYNK PROFESSIONAL 11-by-21-inch chrome pullout is a cabinet-mounted, single-tier option. Its listed exterior height is 4 inches before loading. Check the current installation requirements, cabinet opening, supported weight, and full-extension clearance; it should not sit loose like a freestanding basket. View on Amazon.
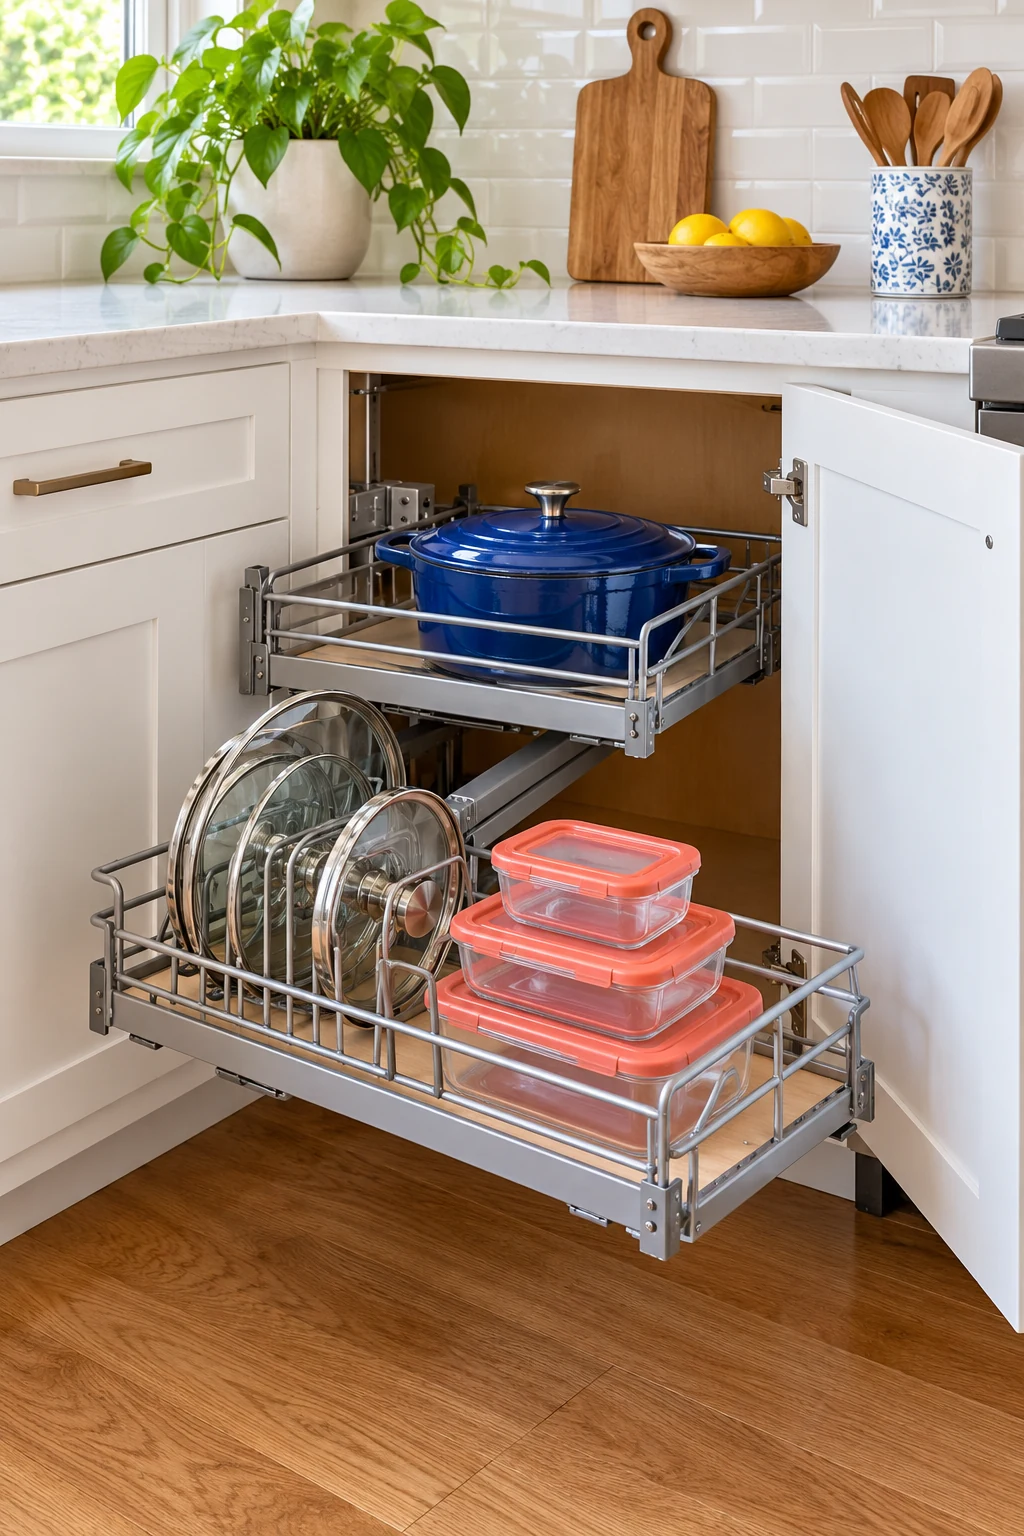
12. Give a lid-only rollout a short front row
In a cabinet with stacked pullout shelves, a shallow upper tray can hold lids while deeper cookware sits below. Arrange the lids so their handles stay below the shelf above throughout the slide’s travel, including at the back.
Keep the row short enough to reach the last lid comfortably. A shelf that slides only partway out may leave its rear section awkward to use. Verify the slide’s intended extension and support rather than assuming every rollout gives the same access.
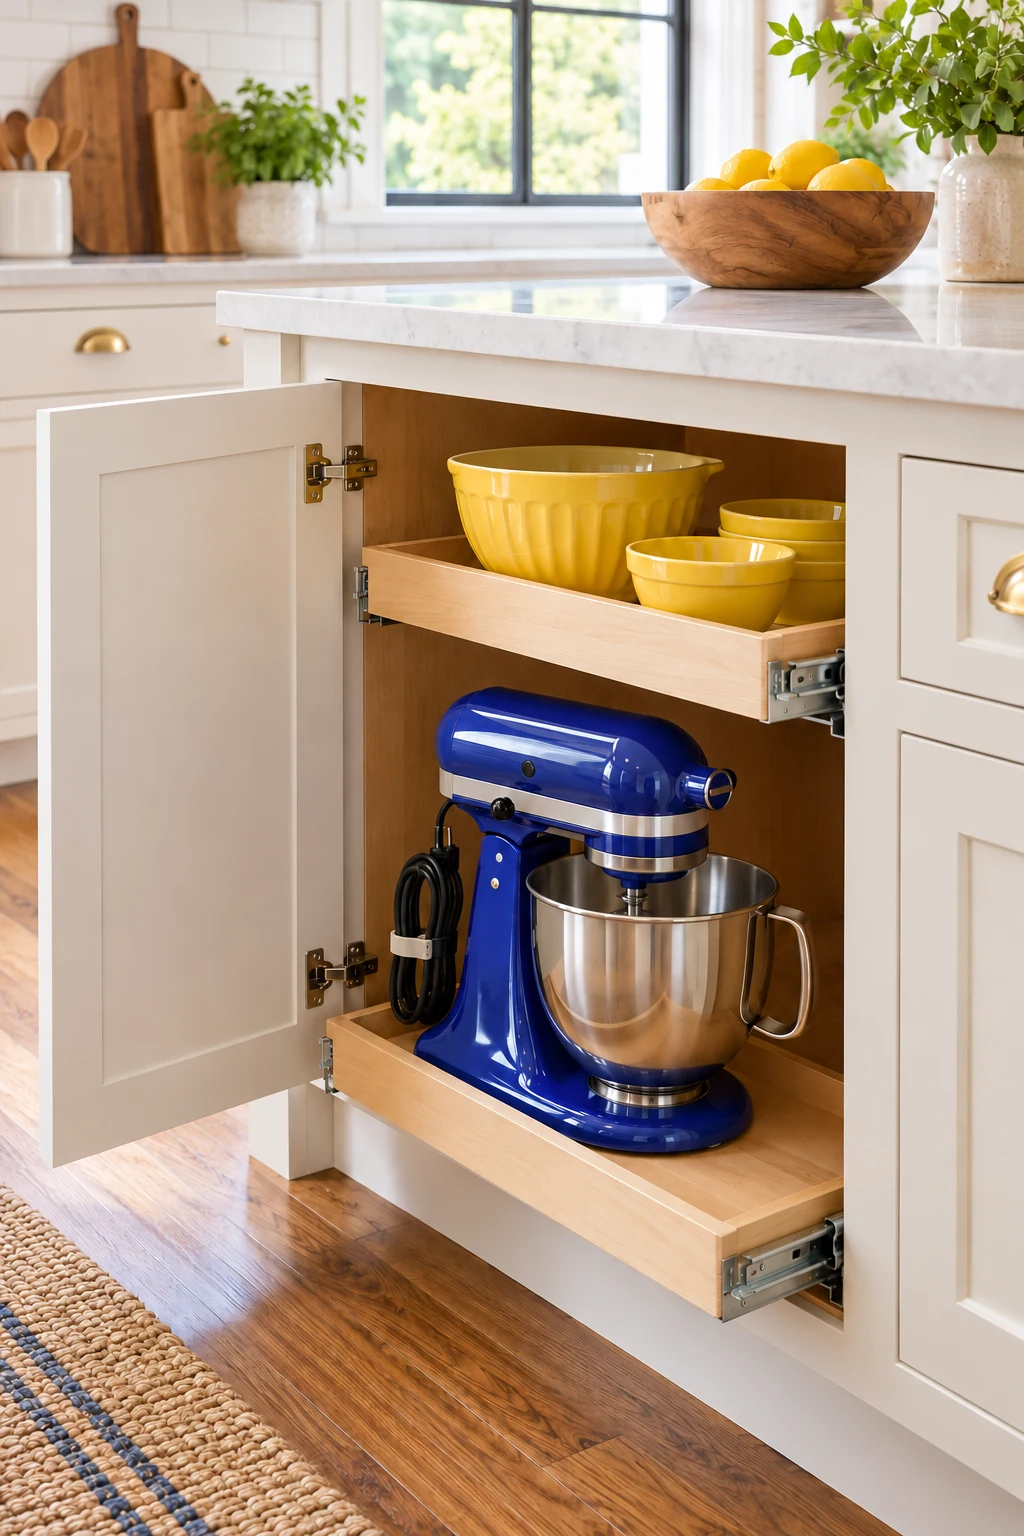
13. Park oversized stockpot lids low
A large stockpot lid deserves a stable, low position with room for its full diameter. A tall dedicated divider bay beside the stockpot often works better than balancing the lid at the back of an upper cabinet.
Check the lifting path as well as the resting position. You should be able to bring the lid through the door opening without tilting it against hinges or other glass pieces. Avoid overhead storage if the lid is heavy or difficult to grip.
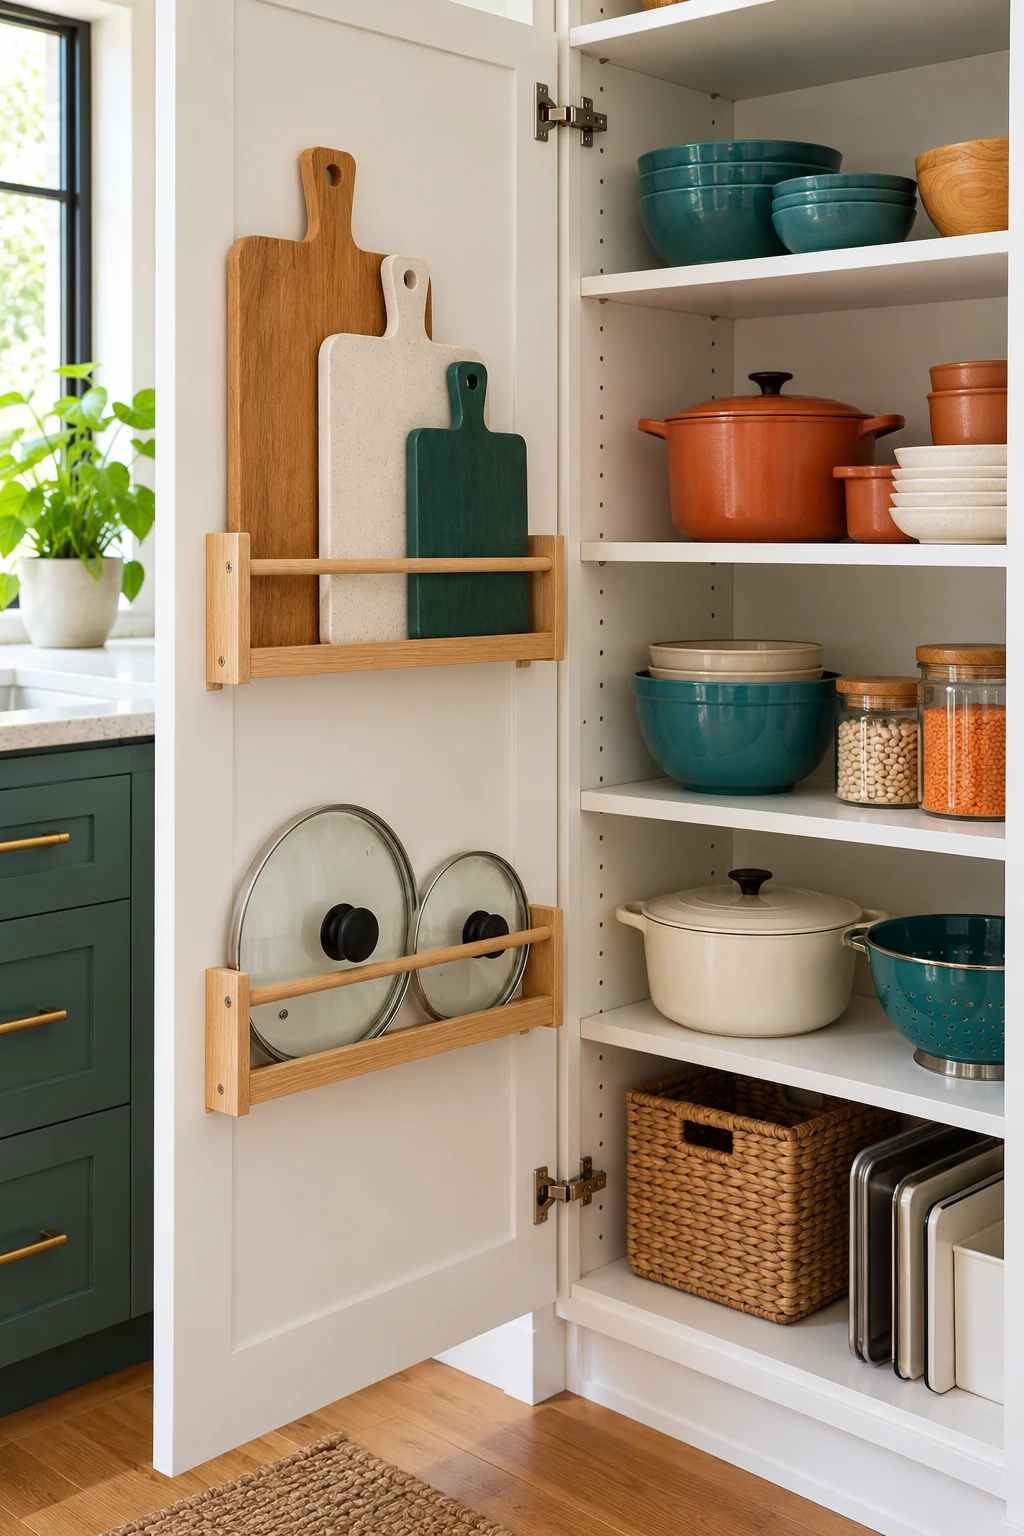
14. Separate glass lids from heavy metal pieces
Give glass lids individual supported positions rather than dropping them into a pile with skillets and metal covers. A slot wide enough for the rim and handle reduces the need to drag one piece across another during retrieval.
Inspect the lids as you sort, and follow the cookware maker’s guidance for damaged pieces. An organizer cannot make a chipped lid suitable for use. Keep the heavier pans in their own section so putting them away does not knock the glass row.
15. Corral small lightweight covers in a removable bin
Small accessory covers can scatter around a large cabinet because they are too short for a tall rack. A modest open bin gives compatible lightweight pieces one home, particularly when you can carry the group to the counter to find a match.
The clear iDesign 8-by-8-by-6-inch pantry bin has handles and is hand-wash only. Compare the inside fit with your covers and leave room to grip it. Avoid a heavy pile of glass lids, which would be awkward to lift and prone to knocking together. View on Amazon.
16. Keep specialty lids with the appliance they belong to
Pressure-cooker and multi-cooker lids often have unusual shapes or removable components. Store each according to its appliance manual, with the correct base, instead of forcing it into a narrow rack intended for ordinary flat pan lids.
Preserve access to seals and other parts that need cleaning, and make sure everything is dry before storage. Keep the manual’s arrangement if it differs from your general lid system. The appliance’s handle or valve should not become a makeshift hanging point.
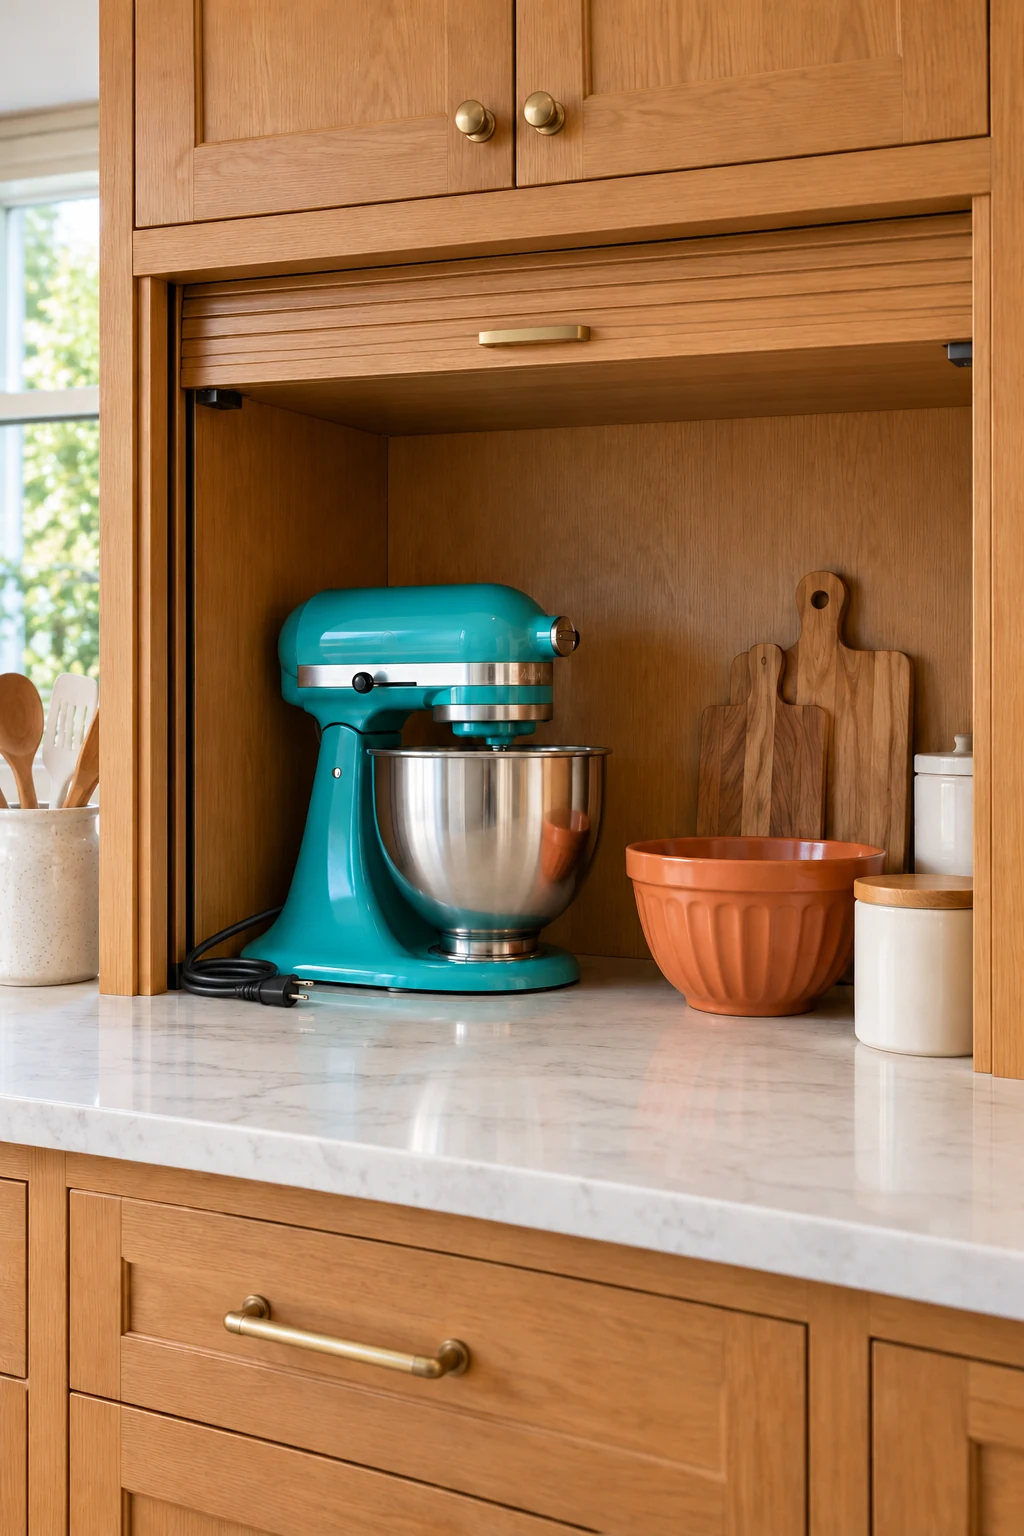
17. Use a tall divider bay beside baking sheets
A cabinet bay for sheet pans can sometimes include one separate lane for a broad, flat lid. The shared orientation makes good use of a tall opening while keeping the lid away from a stack of nested cookware.
Give the lid its own support and enough width for the handle. If it catches every time a baking sheet comes out, move it. This works best for an occasional lid whose dimensions suit the bay, rather than every cover in the kitchen.
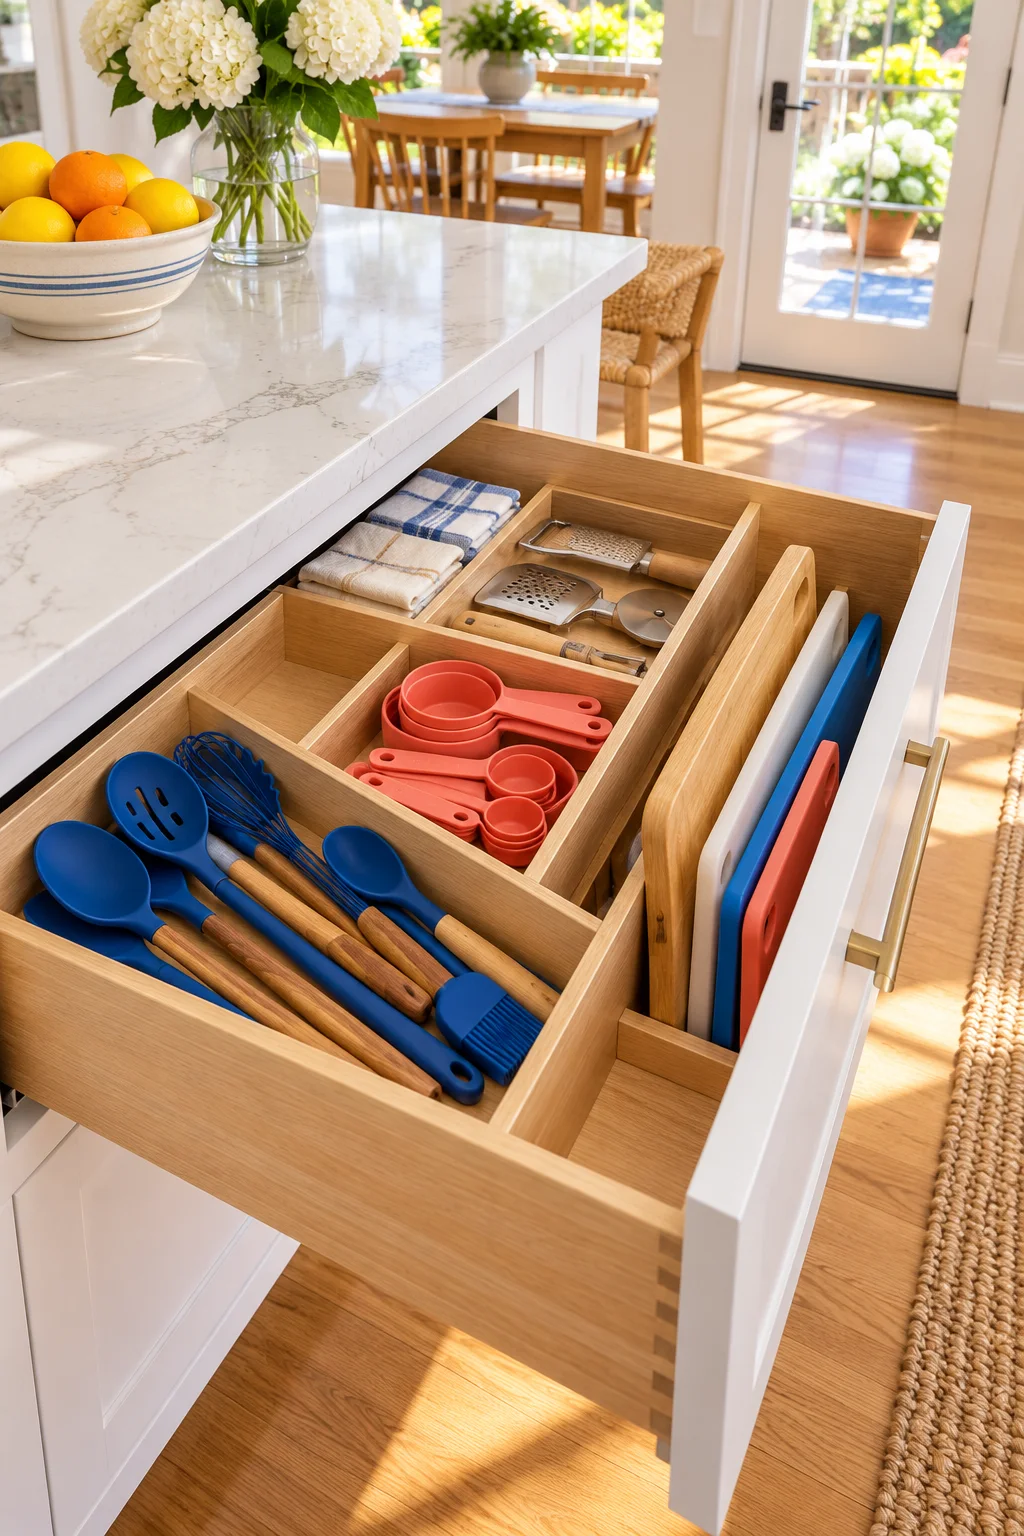
18. Create a separate home for serving covers
Domed serving covers and large casserole lids may be used for entertaining rather than daily cooking. Keep them near the dishes they serve, using a shelf with enough headroom to lift the cover without bumping the level above.
Avoid nesting delicate covers unless the manufacturer allows it. A dish cabinet may offer a calmer, less crowded spot than the main pan cupboard. Put a quick location note with the matching serving piece if it is easy to forget where the cover went.
19. Treat a shared lid as a planned exception
If the cookware maker confirms that one lid fits several pans, give that shared lid a central, obvious position. This can reduce duplicate storage when you already own compatible pieces, especially in a kitchen with only one small cookware cabinet.
Check actual compatibility rather than relying on a diameter label alone. Keep a dedicated lid when a pan needs its own fit or cooking instructions. A shared piece earns its space only if it is easy to locate when either pan comes out.
20. Use a carryable organizer for an awkward low shelf
When mounting a rollout is not practical, a compact freestanding lid organizer can move to the counter as a unit if its design allows safe carrying. Keep it light enough that you can lift it without the lids shifting.
Try the fully loaded arrangement before placing it on a deep shelf. Handles or a stable carrying surface matter; a divider rack is not automatically a basket. If moving the group feels uncertain, leave it in place and shorten the row instead.
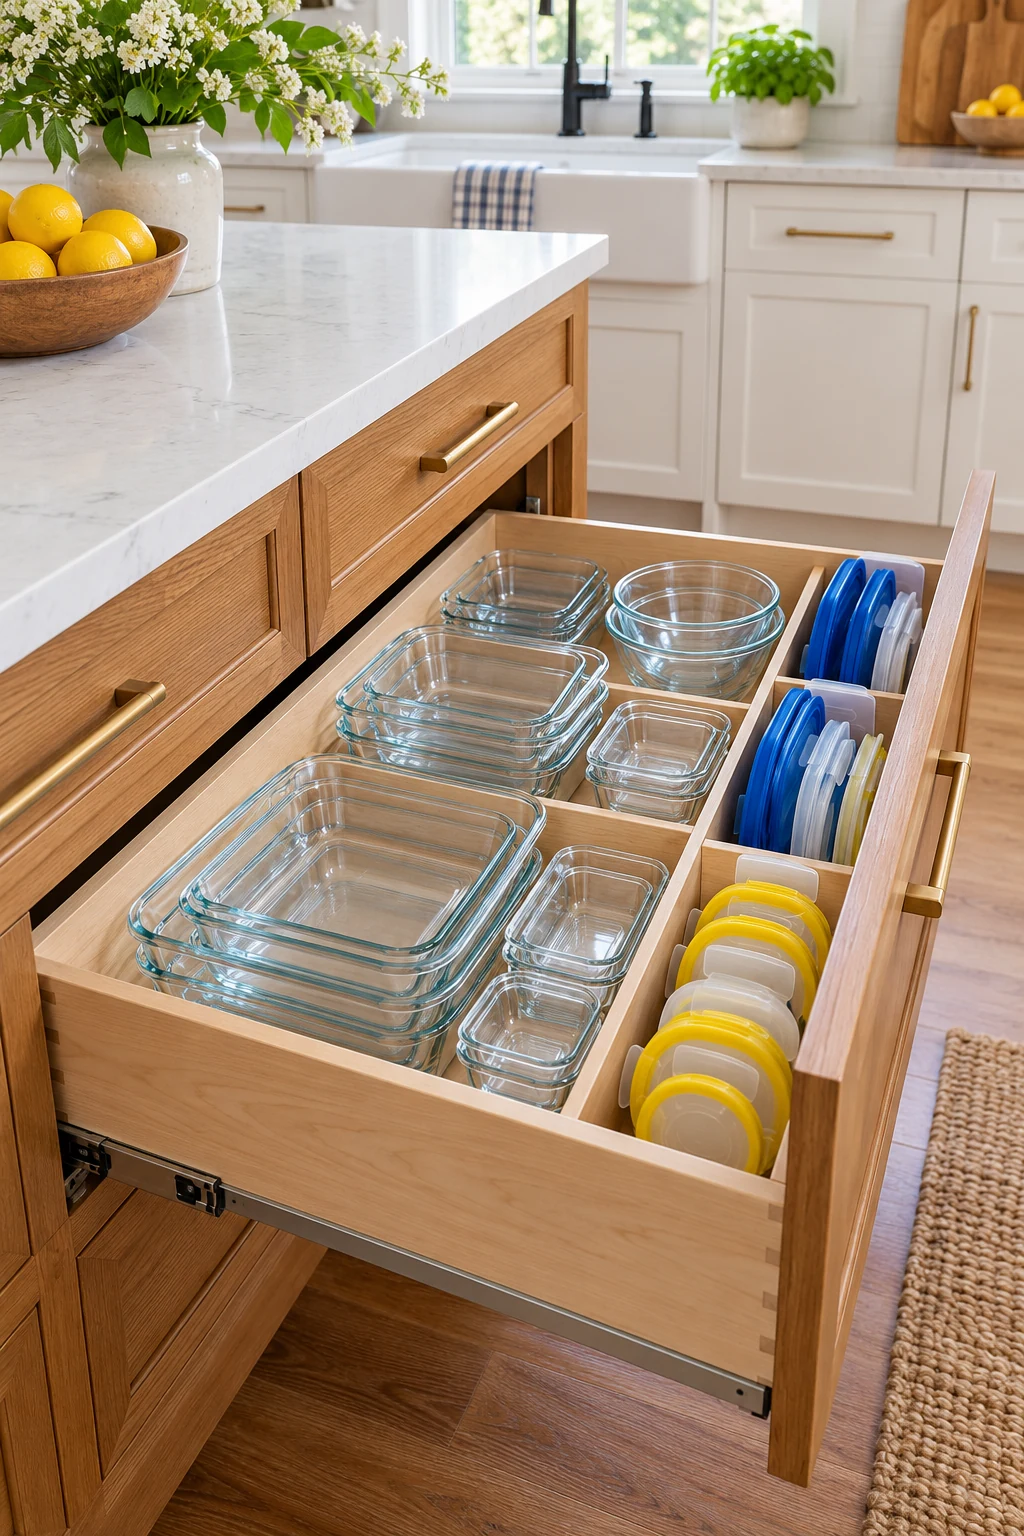
21. Leave room for lids to dry before putting them away
Choose a temporary drying spot suited to the lid and its care instructions, then move it to the cabinet only when dry. The permanent storage rack should not become a hidden drying area where moisture collects around handles and shelf corners.
Keep this step close to the sink without crowding the preparation area. A small daily routine prevents wet lids from being packed tightly together. Wash and dry the organizer as directed, too, especially if droplets or cooking residue have reached its base.
22. Keep each empty slot available for its returning lid
An empty slot is useful when its lid is in the dishwasher or on the stove. Leave it open rather than filling the gap with a stray utensil, baking pan, or newly purchased lid that has no matching pot.
If the cabinet repeatedly overflows, review the collection before expanding the rack. Keep a comfortable amount of space for removal and return. A layout that accepts a clean lid without rearranging everything is more likely to stay orderly through a busy week.
Start with the lid you reach for most often and give it a clear, supported home. A cabinet that lets you take out one cover without disturbing the rest is a useful improvement. Subscribe to the Havelyo email list for more practical small-space decorating and organization ideas.