
Kitchen Organization
30 Kitchen Cabinet Organizer Ideas for Easier Everyday Cooking
A kitchen cabinet can hold plenty and still be difficult to use. The bowl you want is under three others, the matching lid is missing, and the baking sheet catches every time you pull it out. A better arrangement starts with the small moments that interrupt cooking.
These 30 kitchen cabinet organizer ideas focus on everyday access in a real, modest-size kitchen. Start with one troublesome cabinet, empty it, and measure the usable opening before buying anything. Keep the pieces you use most in the easiest spots, then choose a few organizers that solve a specific problem. You do not need to install every idea or make every cabinet look alike.
This article contains affiliate links. If you buy through them, Havelyo may earn a commission. As an Amazon Associate I earn from qualifying purchases.
1. Measure the opening before the shelf
A cabinet can be wider inside than the opening you have to carry things through. Measure between the hinges and face frame, then note the shelf depth and the height beneath the shelf above. Include handles on anything you plan to pull forward.
Make a cardboard footprint for an organizer you are considering and pass it through the opening. This catches an awkward center stile or door hinge before you buy. Leave room for your hand, too; a precise fit can still be frustrating to use.
2. Arrange cabinets around everyday jobs
Choose a home for the steps you repeat: making breakfast, packing lunch, cooking dinner, and putting dishes away. Keep the tools for each job together where you actually do it, even if that means two different cabinets hold bowls.
Walk through one familiar meal before moving everything. The saucepan should be convenient to the cooking area, while prep bowls belong near the clear work surface. Avoid crowding a hot appliance or blocking its ventilation just to keep a category together.
3. Let shelf heights follow your dishes
Many cabinets arrive with evenly spaced shelves, but mugs and tall pitchers need different amounts of room. Move adjustable shelves so each collection has enough clearance to lift an item out without wasting a large empty gap above it.
Check that all shelf supports are seated correctly and rated for the shelf. Keep a taller opening for the pitcher you use weekly instead of laying it awkwardly on its side. Fixed shelves should stay in place unless the cabinet maker approves a change.
4. Give plates and bowls separate levels
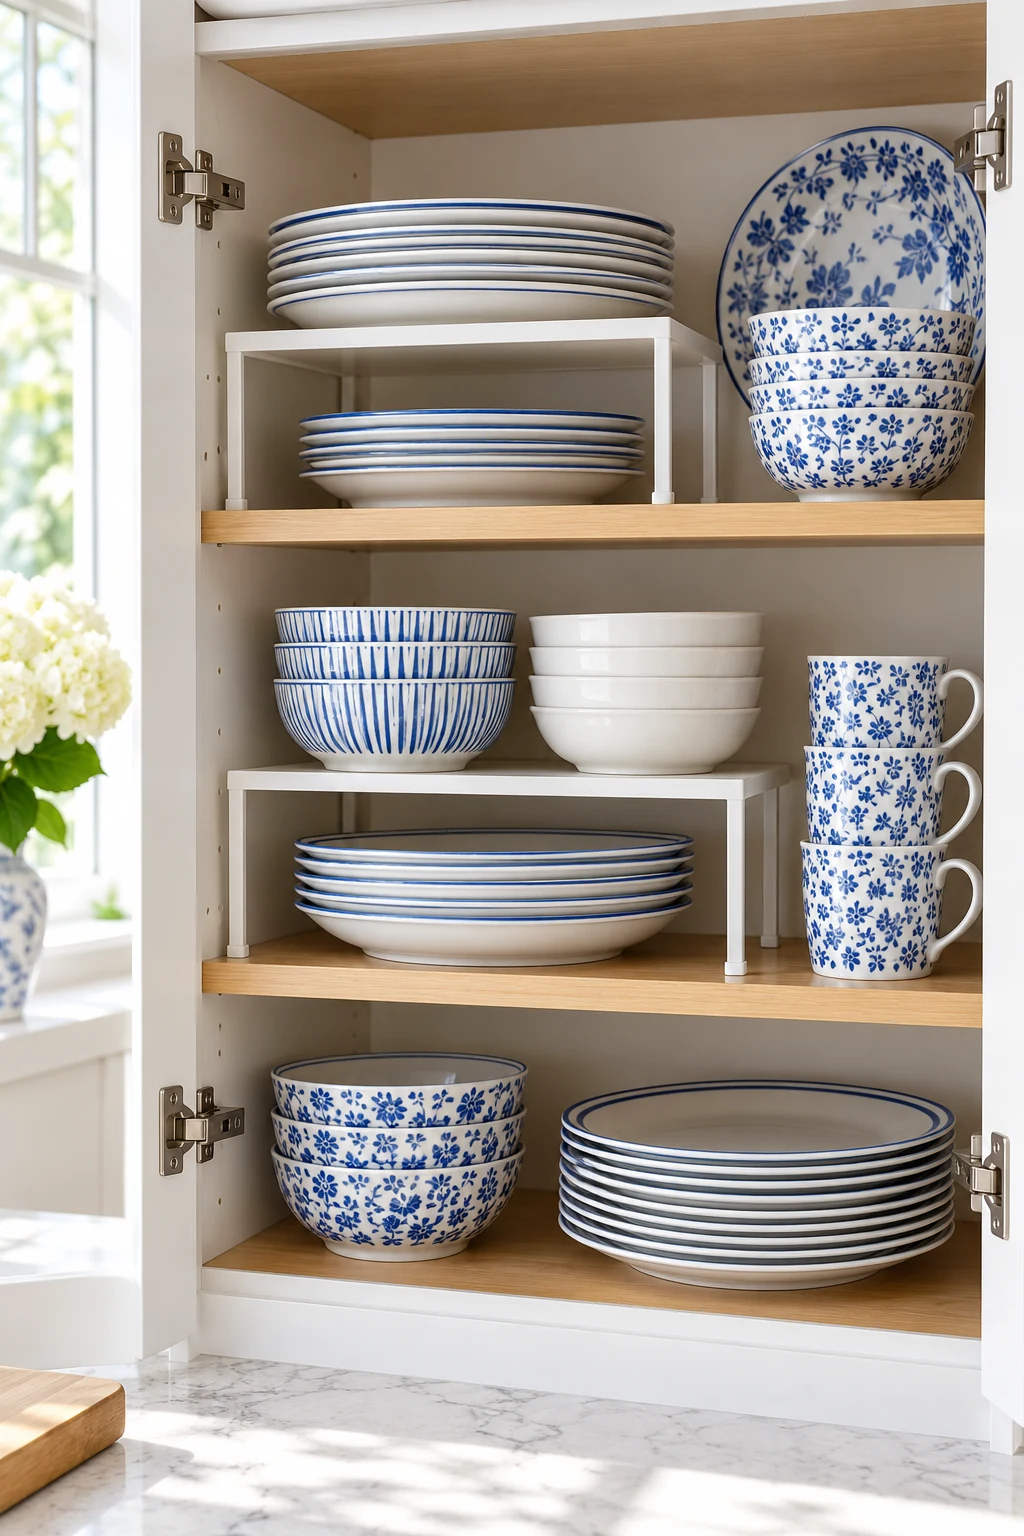
Stacking bowls on top of dinner plates makes every meal start with an extra move. Set a small shelf riser over one category so each has its own reachable level, with the plates beneath and a short bowl stack above.
The SONGMICS two-shelf set can be arranged separately or in supported configurations. Compare both shelf sizes with your dishes, and include the organizer in the cabinet shelf load. Leave enough space under the riser to lift a plate without scraping its rim. View SONGMICS Cabinet Organizer Shelves, set of two on Amazon.
5. Keep the favorite mugs in the front row
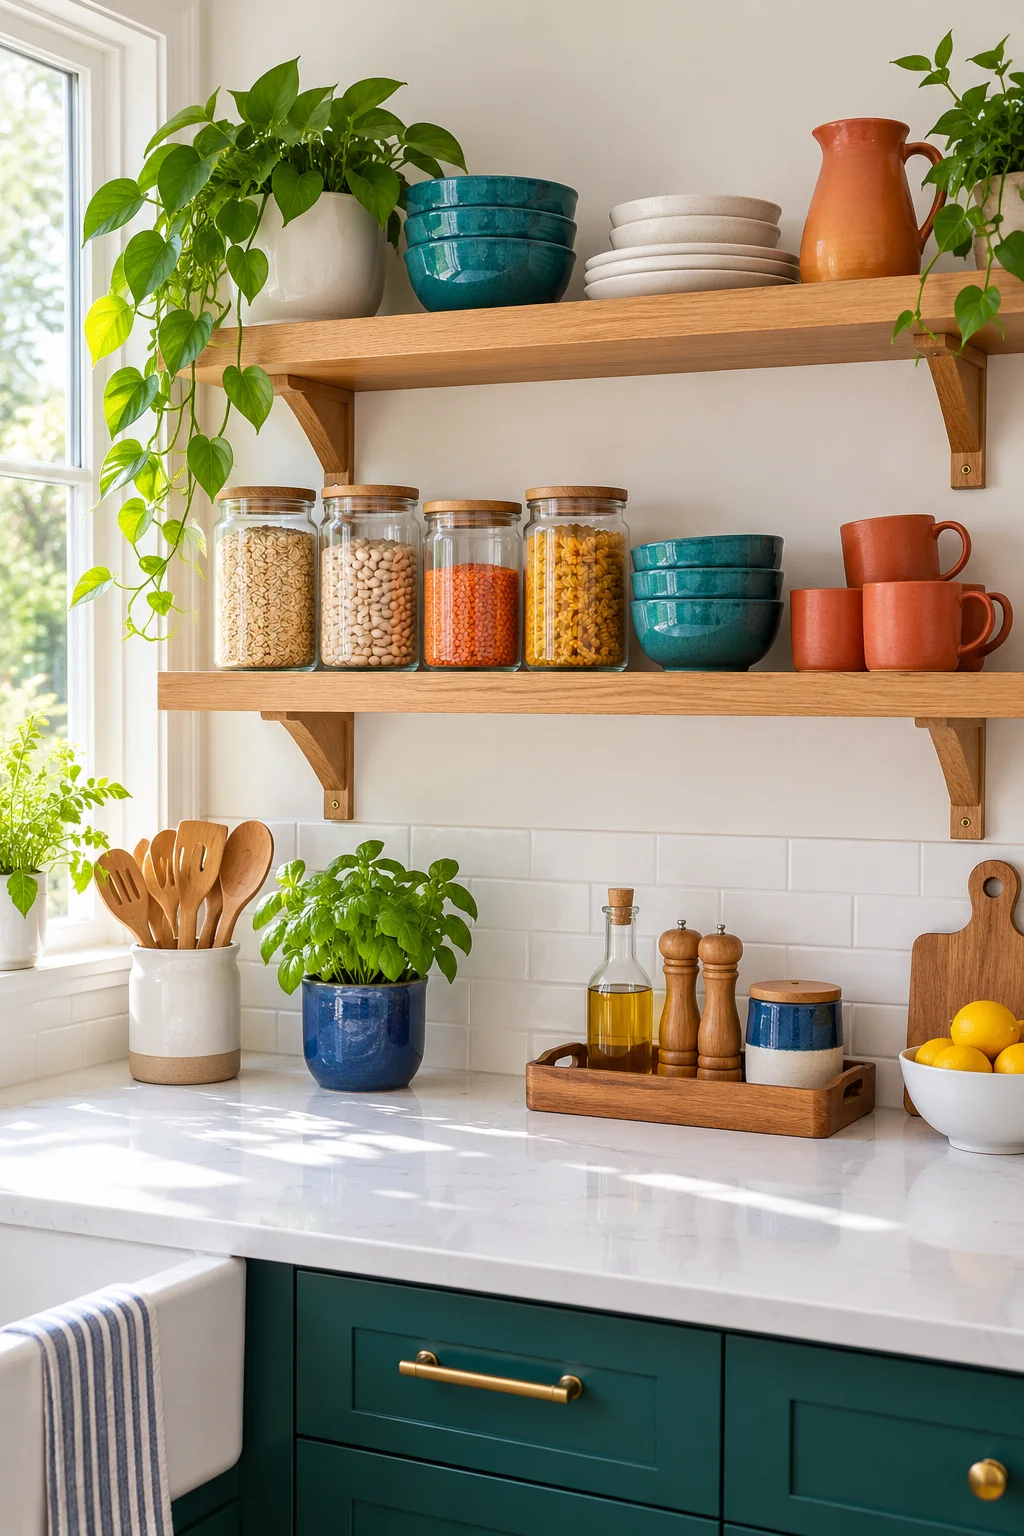
Put everyday mugs along the front of a reachable shelf, with handles turned where you can grasp them. Give tall travel cups their own opening rather than forcing them behind short coffee cups or beneath a shelf they almost fit under.
Limit this row to the mugs your household regularly uses. Occasional souvenir mugs can share a higher shelf if they are easy to retrieve safely. Stacking mugs only helps when their shape and maker allow it; a wobbly tower creates a new problem.

6. File sheet pans beside the baking area
Stand cookie sheets, cooling racks, and muffin pans upright in separate lanes. A vertical arrangement lets you take the pan you want without lifting the whole stack, especially in a narrow base cabinet near your usual baking workspace.
The YouCopia StoreMore Bakeware Rack uses adjustable dividers, so the muffin tin can have a wider slot than a thin cooling rack. Measure your tallest loaded piece and keep room to tilt it through the door. The rack height alone does not tell you whether everything fits. View YouCopia StoreMore Bakeware Rack, Organizing Hero edition on Amazon.
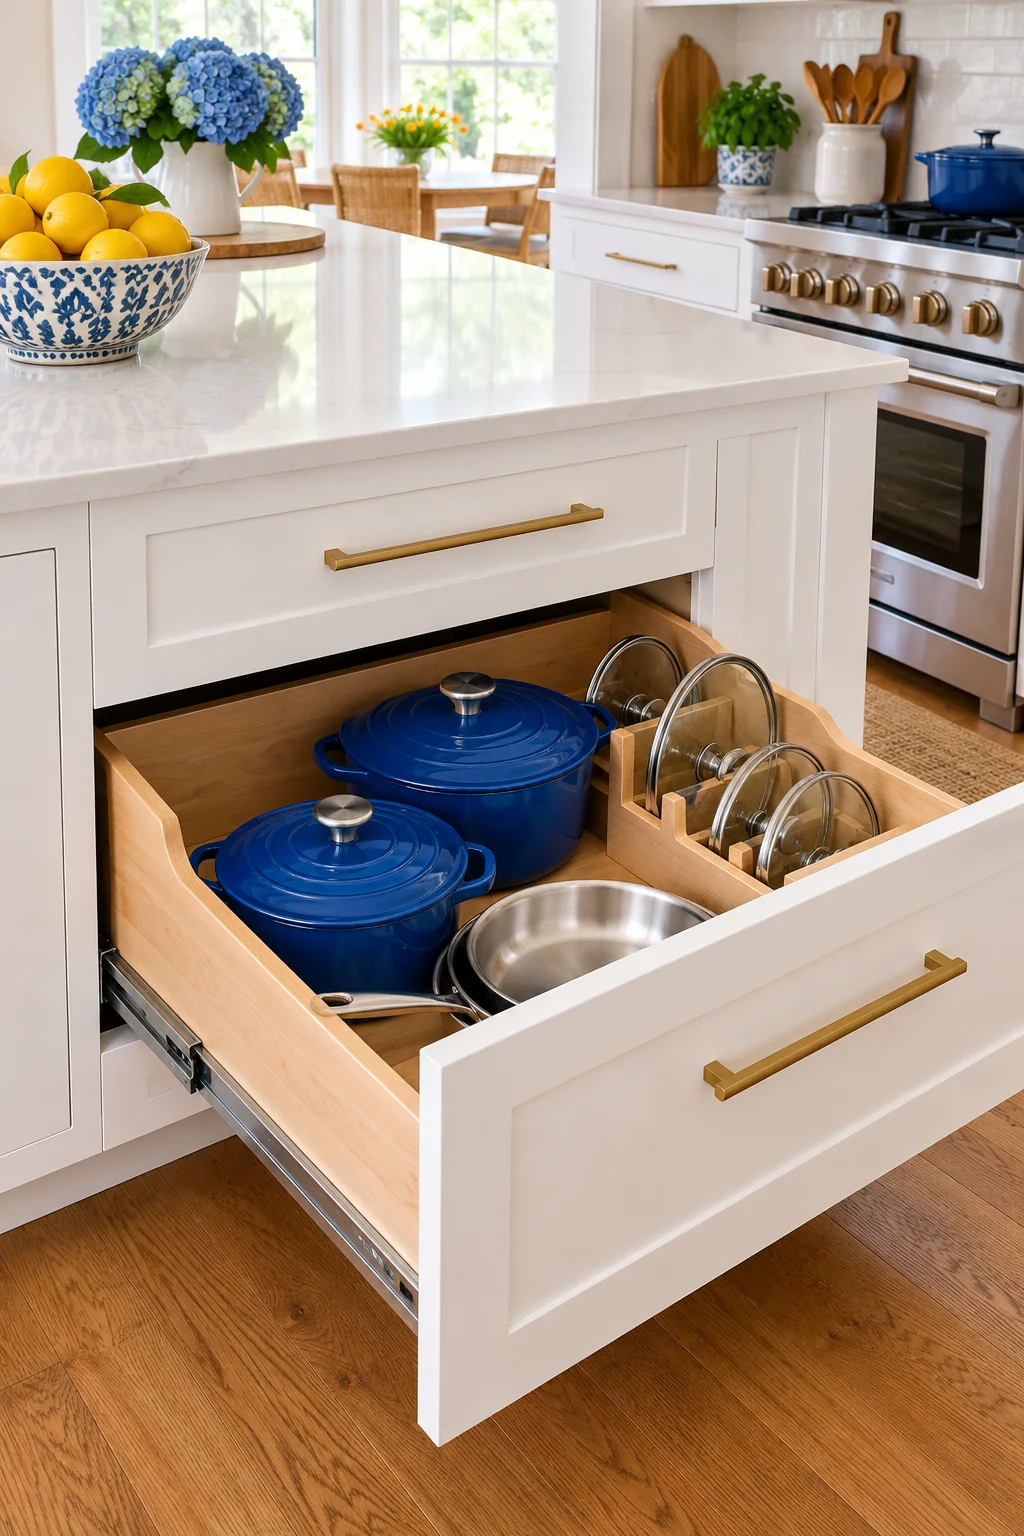
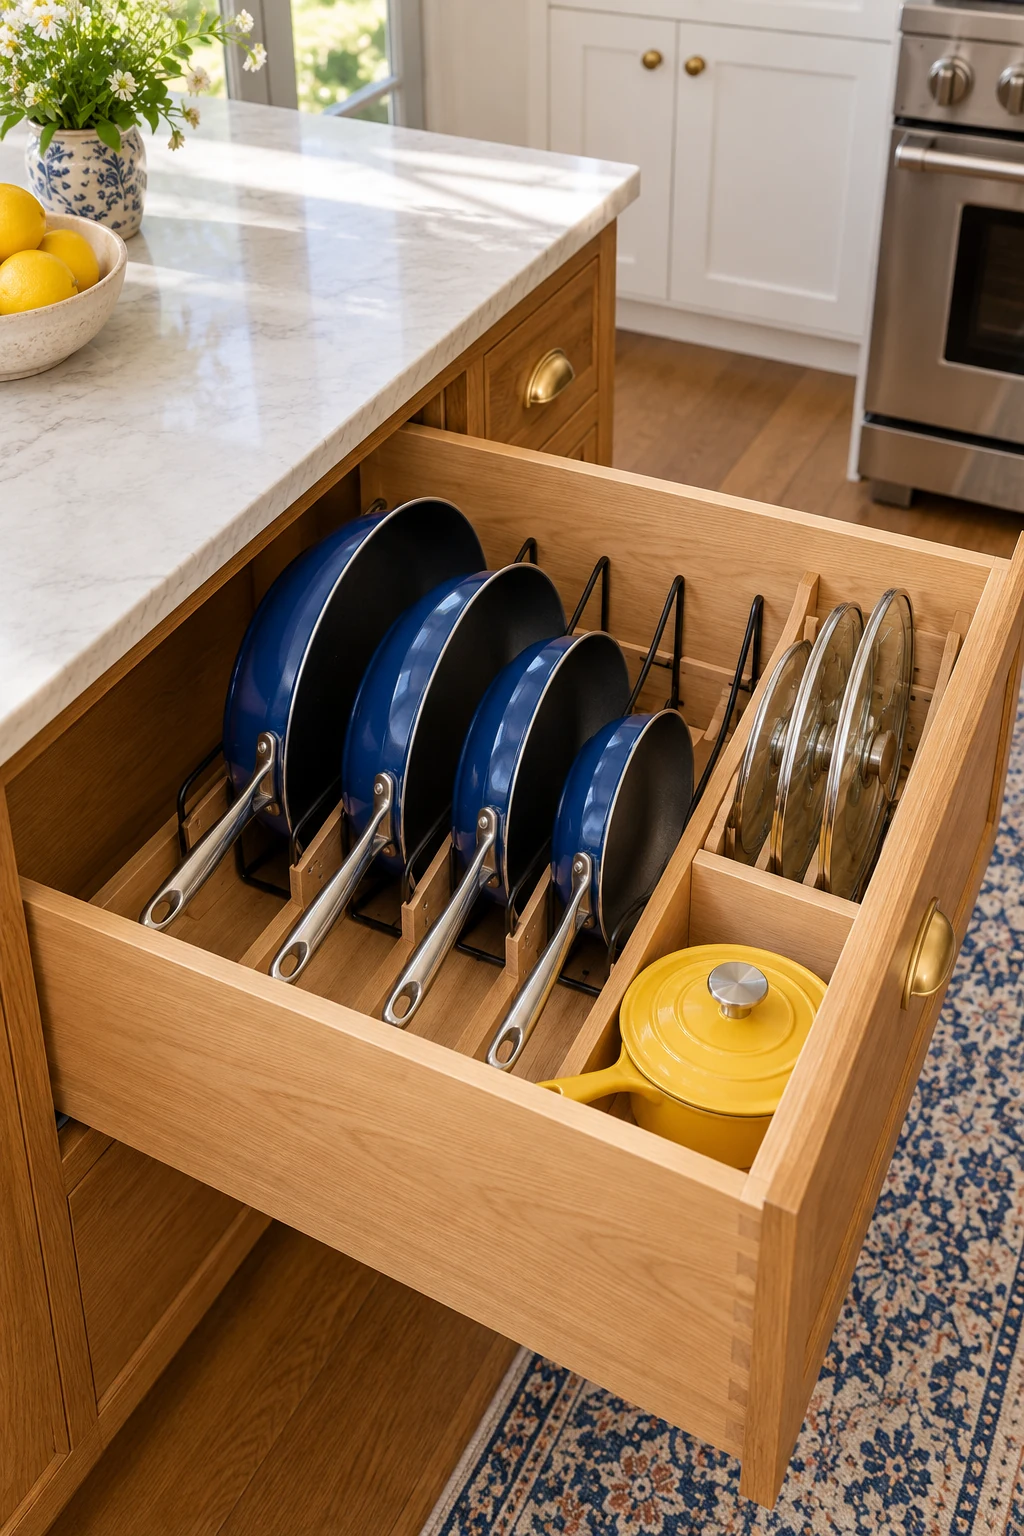
7. Make a row for the pans you actually cook with
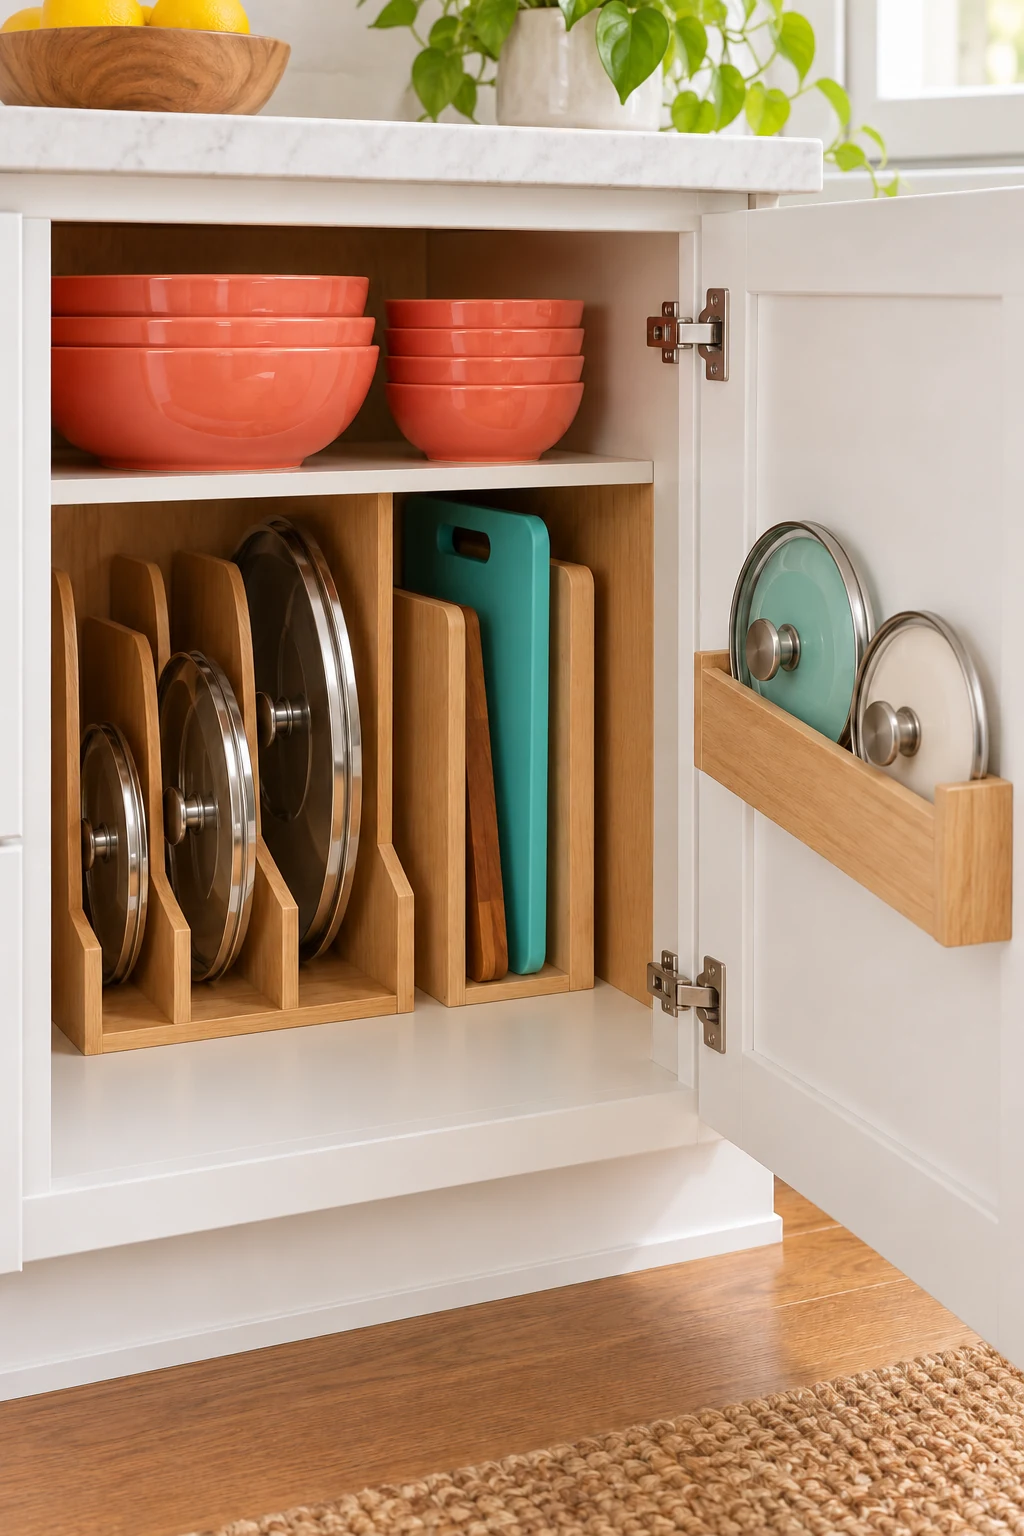
Gather the frying pans and saucepan lids that earn their space during an ordinary week. Stand suitable pieces in an adjustable rack on a sound lower shelf, positioning handles so they do not cross the opening or hook behind a hinge.
The YouCopia StoreMore Expandable Cookware Rack can adapt to the width you have available. Try your largest pan first, then place the smaller pieces. Heavy or unusually shaped cookware may be easier to lift from an open shelf than from tightly spaced dividers. View YouCopia StoreMore Expandable Cookware Rack, Premium Edition on Amazon.
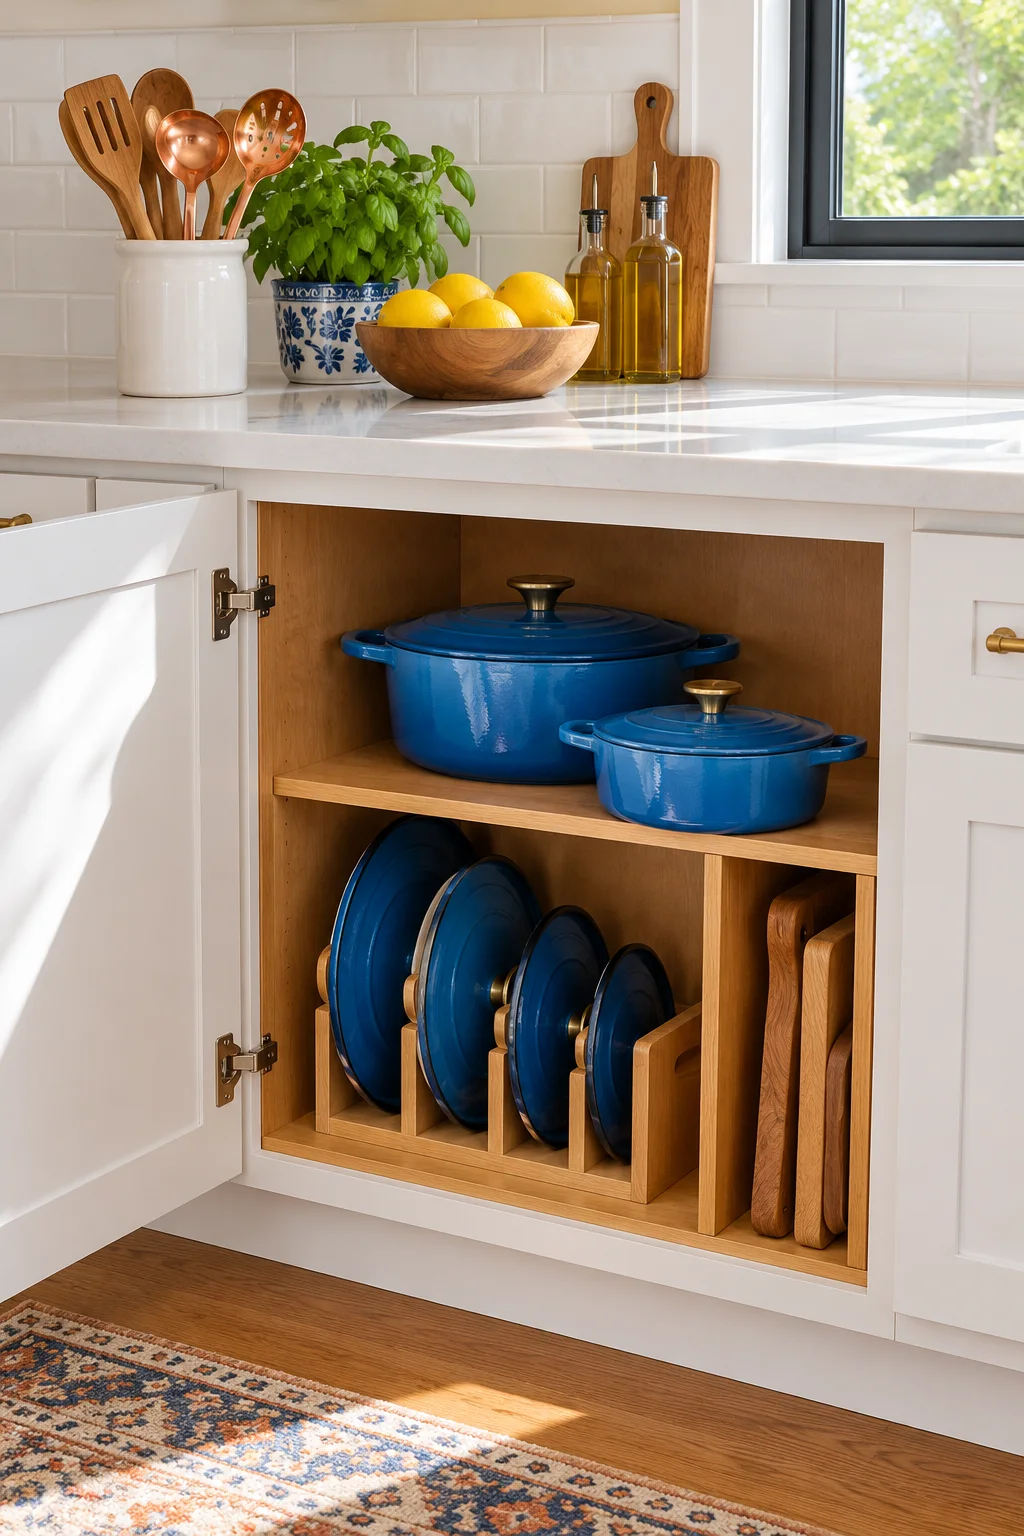
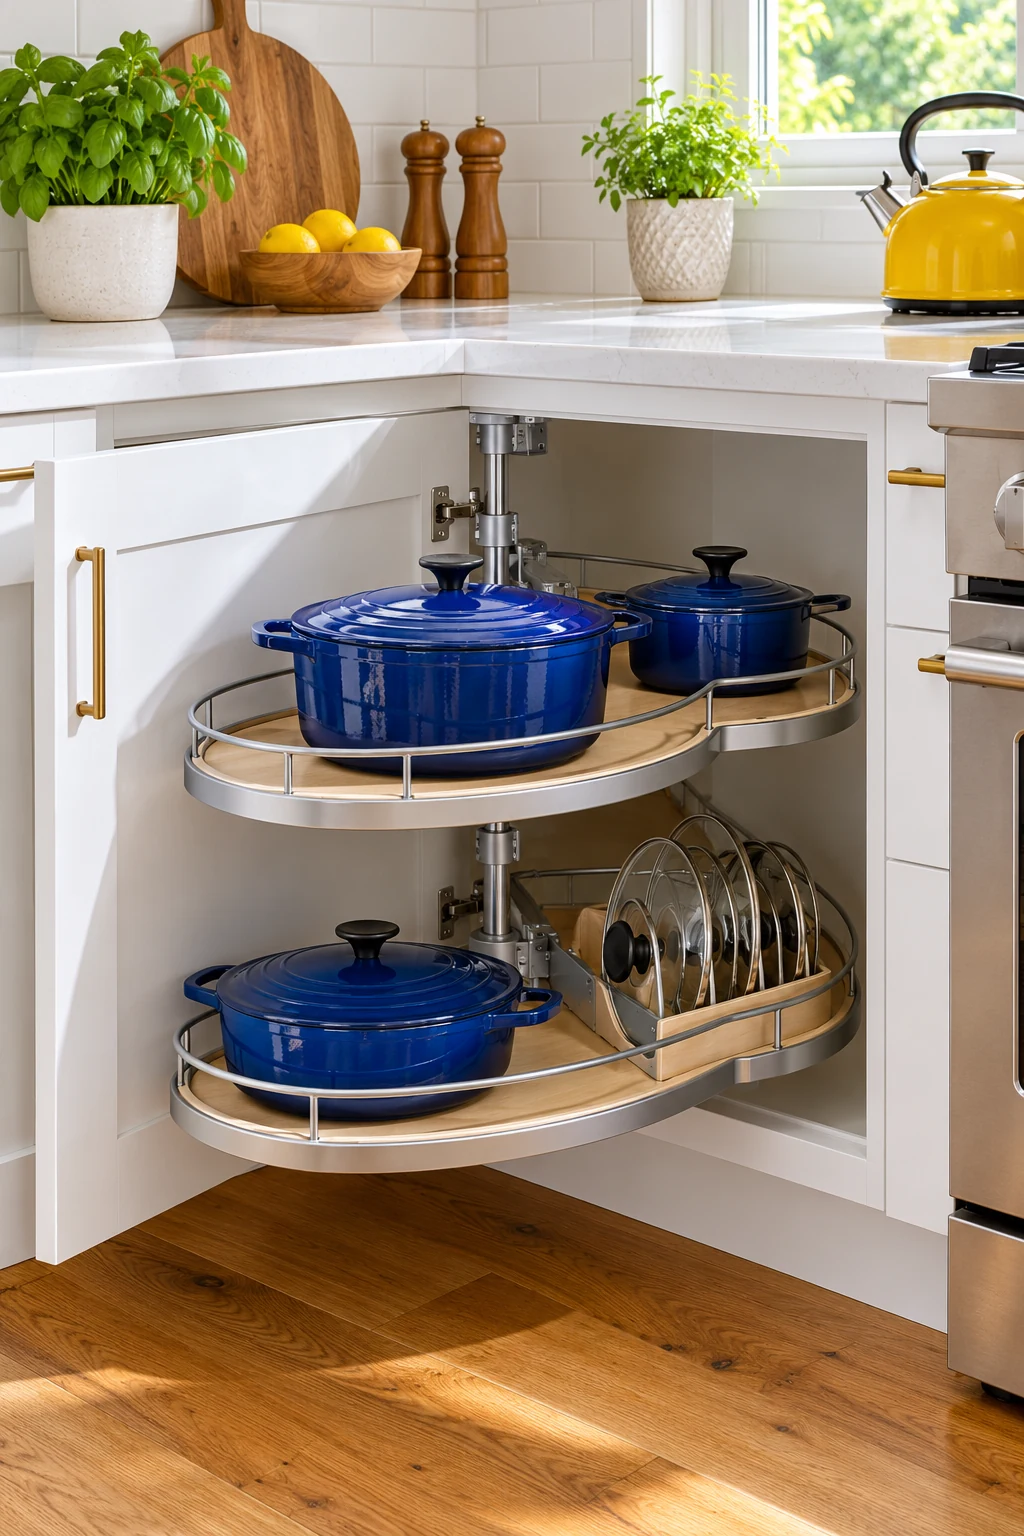
8. Keep the heaviest pot at a comfortable lifting height
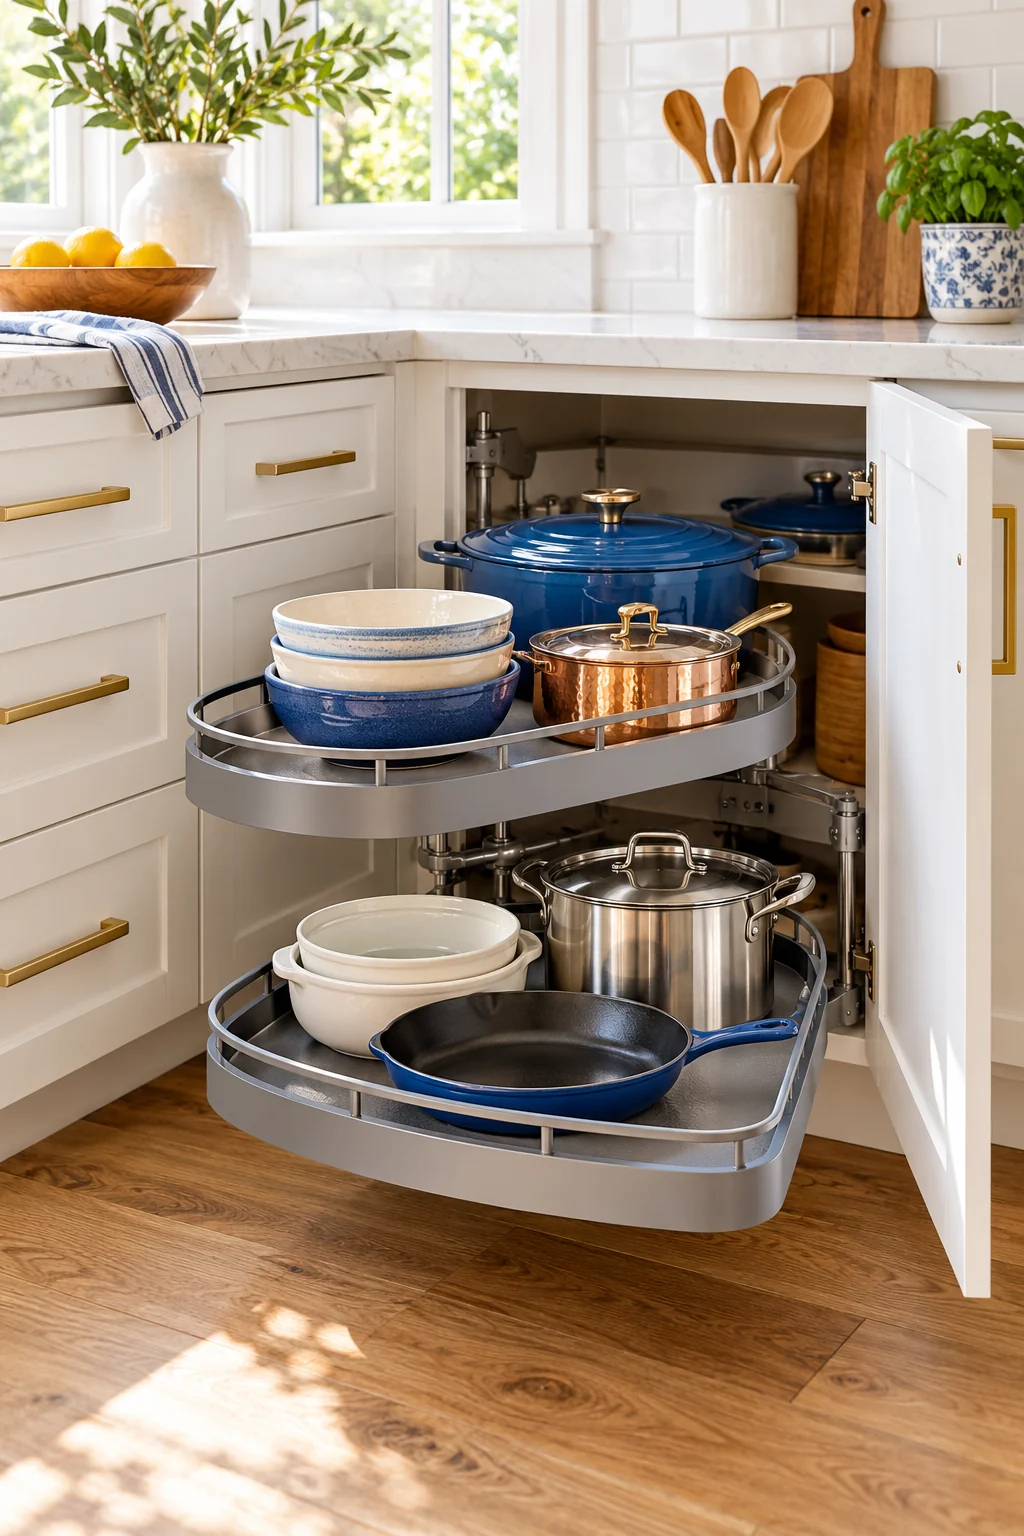
A heavy Dutch oven is awkward at the back of a floor-level cabinet and risky overhead. Choose a solid, reachable shelf where you can use both hands, with a nearby counter ready to receive it. Follow the cabinet’s load limit.
Set the pot in place and rehearse taking it out while it is empty and cool. If you have to twist, reach around a shelf, or balance the lid, change the location. Convenient access matters more than filling an otherwise unused corner.
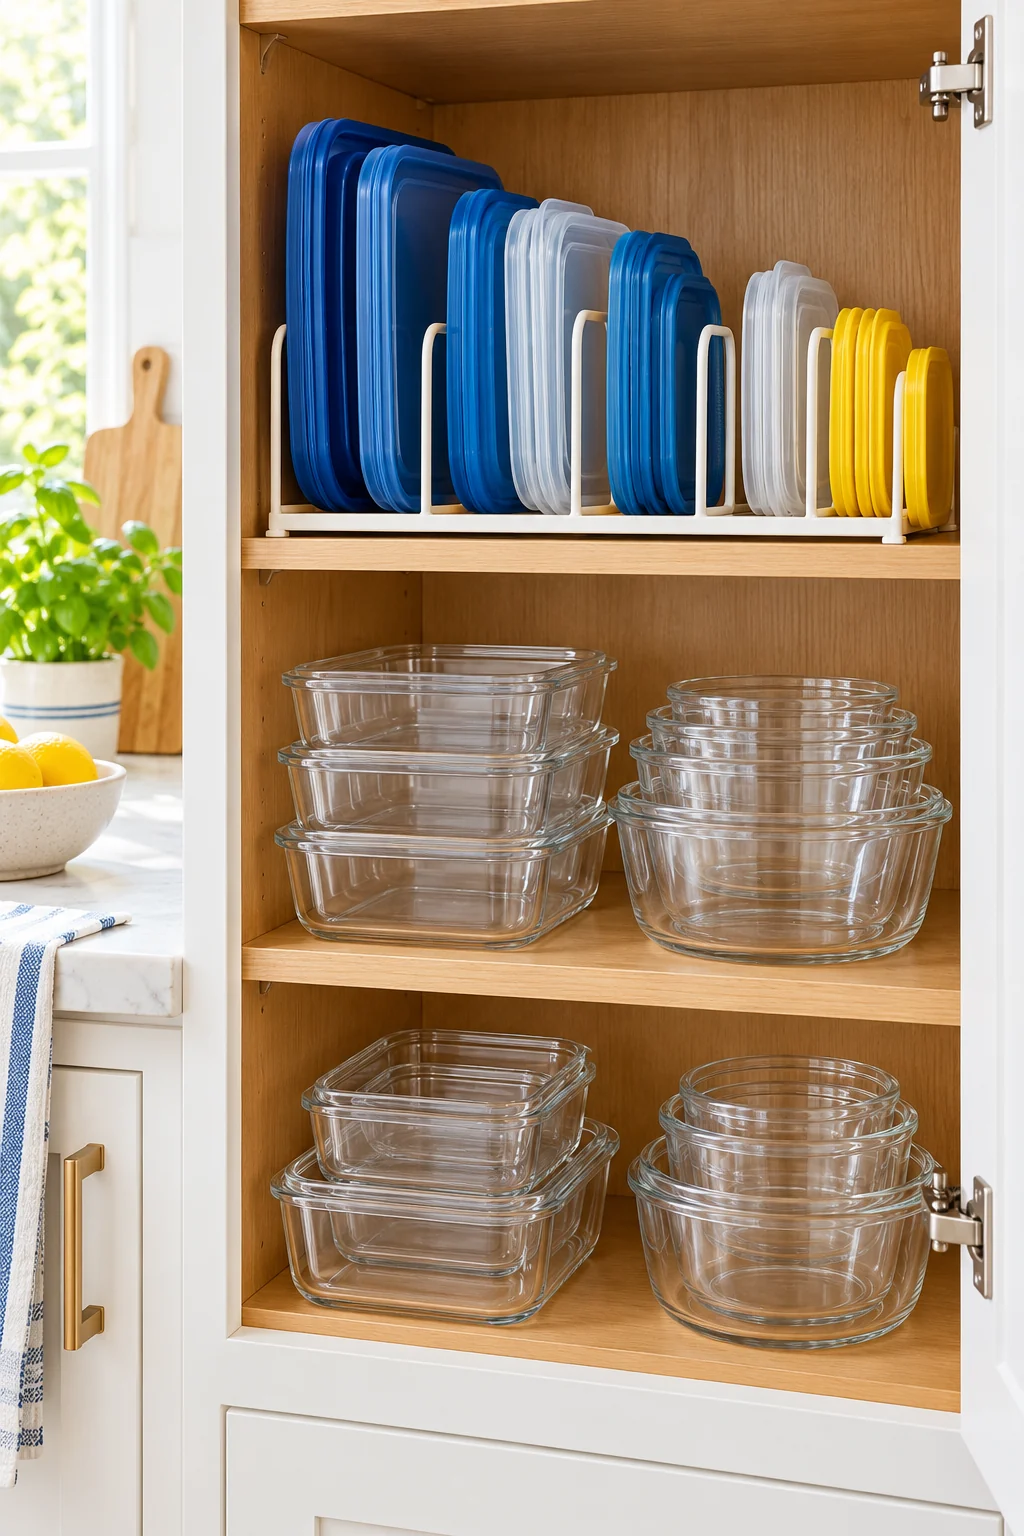
9. Separate container lids by the containers they fit
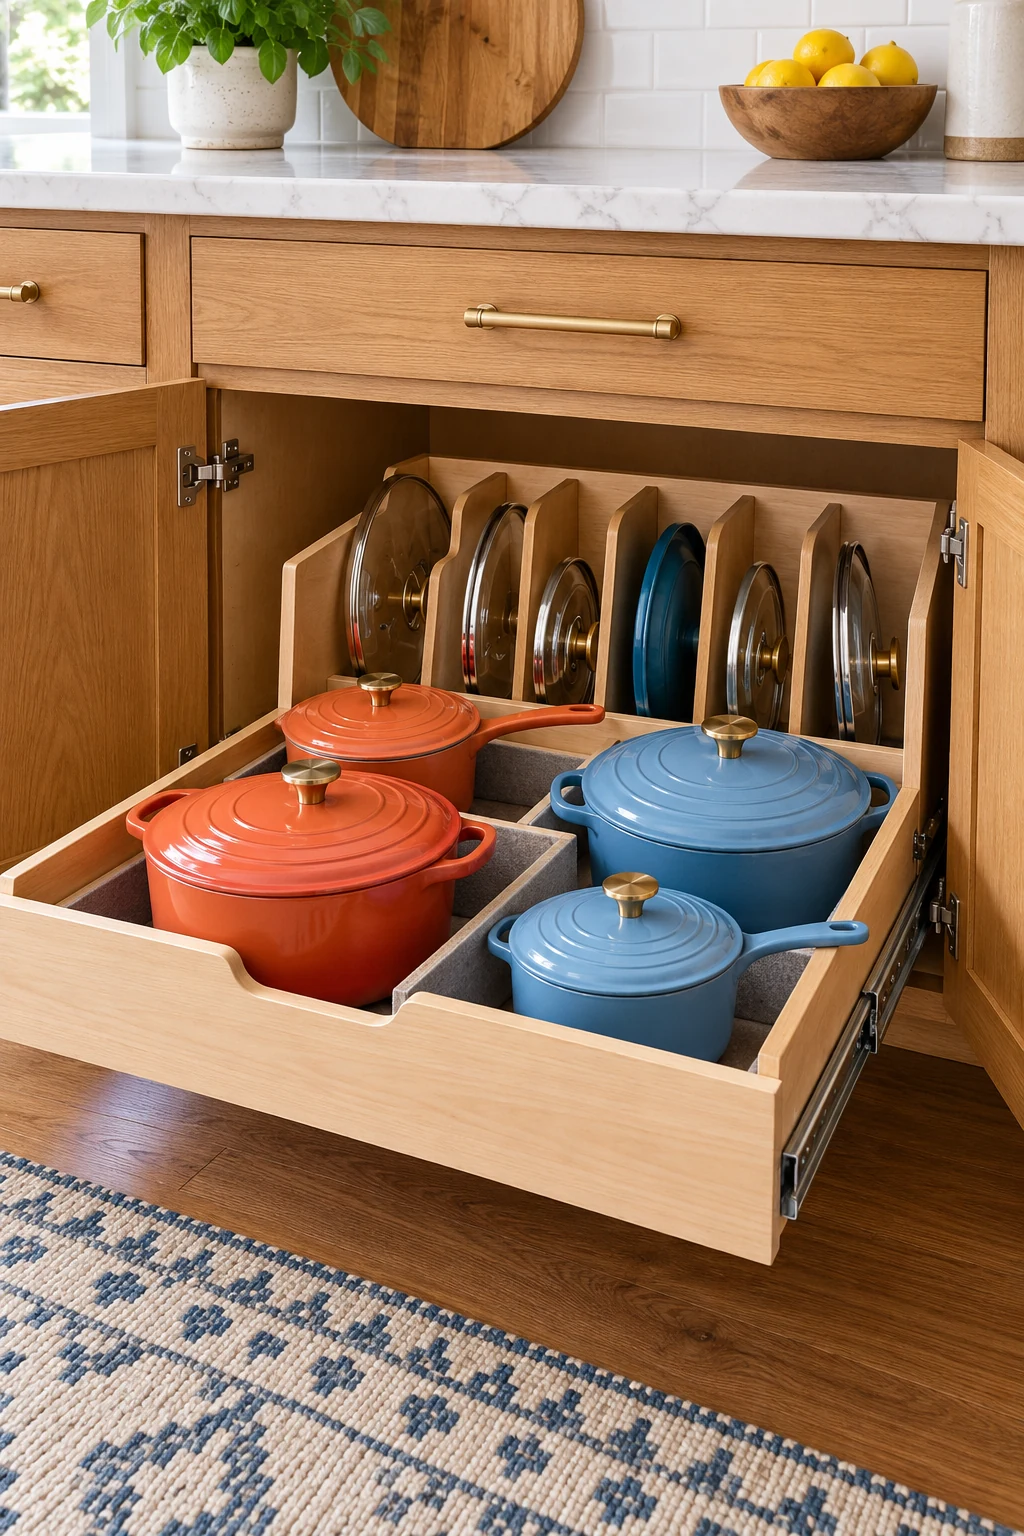
Pair your food-storage containers and lids before choosing an organizer. Remove cracked or unusable pieces according to their materials and local disposal options, then keep compatible lids together rather than sorting every round lid into one oversized pile.
The YouCopia StoraLid 24 Container Lid Organizer has adjustable dividers for distinct lid groups. Put its matching container stacks beside it so packing leftovers stays simple. Leave clearance above the standing lids; a short organizer can still hold a collection too tall for the shelf.
10. Nest only the mixing bowls that release easily
Keep bowls nested in a sensible size order, but stop before the stack becomes difficult to lift apart. A regularly used medium bowl deserves a convenient position even if that means giving it a separate spot beside the larger nesting set.
Test the stack with dry bowls and one hand free for support. If the smallest bowl repeatedly disappears, put it with your prep dishes instead. Store delicate or easily marked finishes as their manufacturer recommends rather than assuming every bowl can rub against the next.
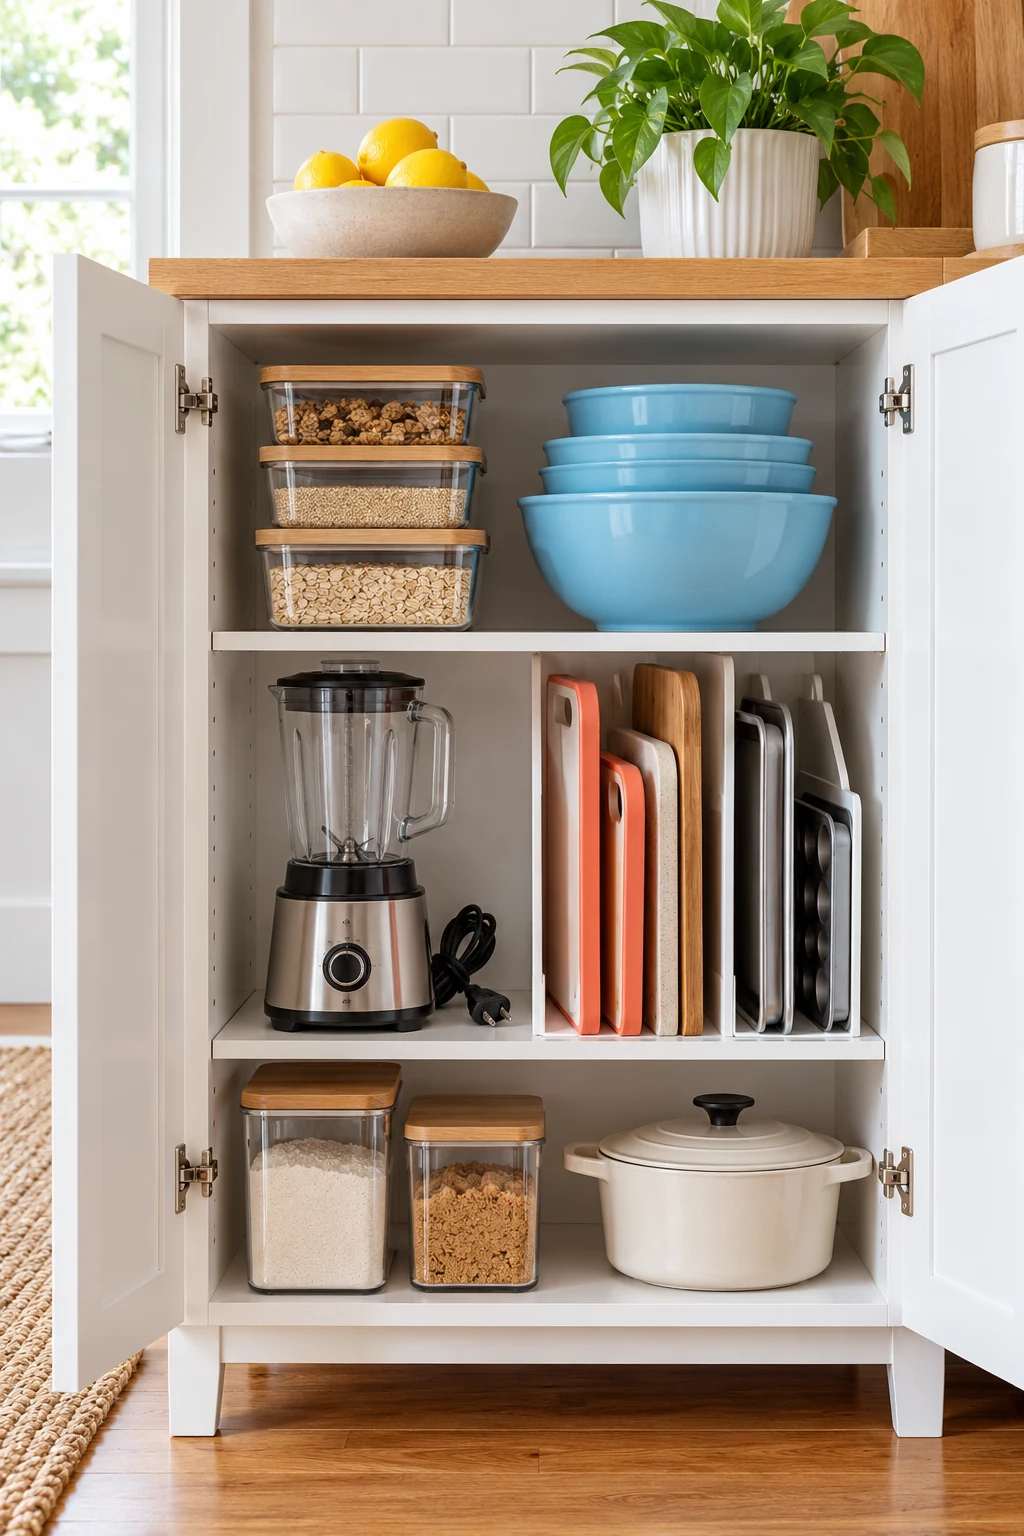
11. Turn a deep shelf into a removable cooking kit
Put a small category in a handled bin: baking decorations, drink mixes, or the measuring tools you use together. Pull the whole kit onto the counter, take what you need, and return it as one piece when the job is finished.
The clear iDesign Pantry Storage Bin with Handles suits compact collections that get lost individually. Its listed 8-by-8-inch footprint still needs space around it for your grip. Keep the filled bin manageable, and use a different container if long tools protrude beyond its edges.
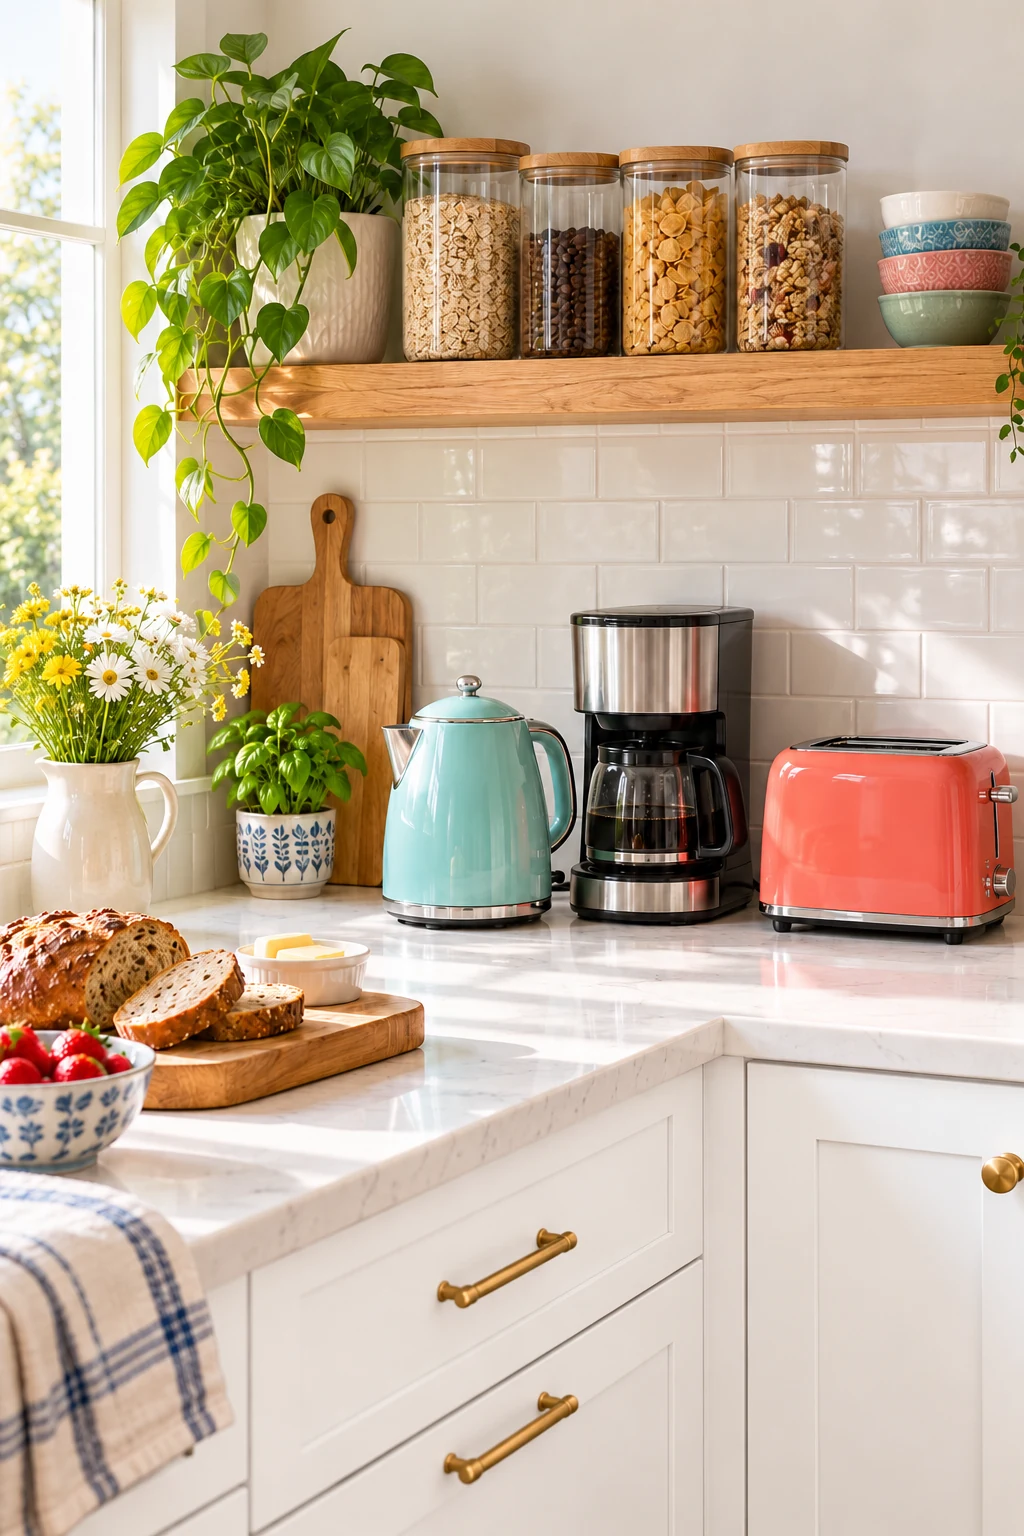
12. Bring small bottles forward with a turntable
A turntable can make a deep but reachable cabinet easier to scan. Group a modest number of bottles around its edge so turning the tray brings each one forward without moving a front row. Leave the center open when filling it would hide the contents.
The Copco 12-inch turntable is a straightforward option for a compatible shelf. Check the full rotation with the door closed, and keep tall bottles clear of the shelf above. A raised rim helps define the tray, but it does not make overloaded or unstable bottles secure. View Copco Nonskid Lazy Susan Turntable Organizer, 12-Inch on Amazon.

13. Give foil and wrap boxes their own short shelves
Long boxes tend to bury one another when stacked in a tall cabinet opening. Add closely spaced, adjustable shelves so the foil, parchment, and food-storage bags can slide out separately while their original labels remain visible.
The small YouCopia UpSpace Cabinet Box Organizer has two adjustable shelves for this job. Measure the full length of your boxes, not just the organizer footprint, and leave a clear path to pull each one out. An extra-wide roll may need a different home. View YouCopia UpSpace Cabinet Box Organizer, Small on Amazon.
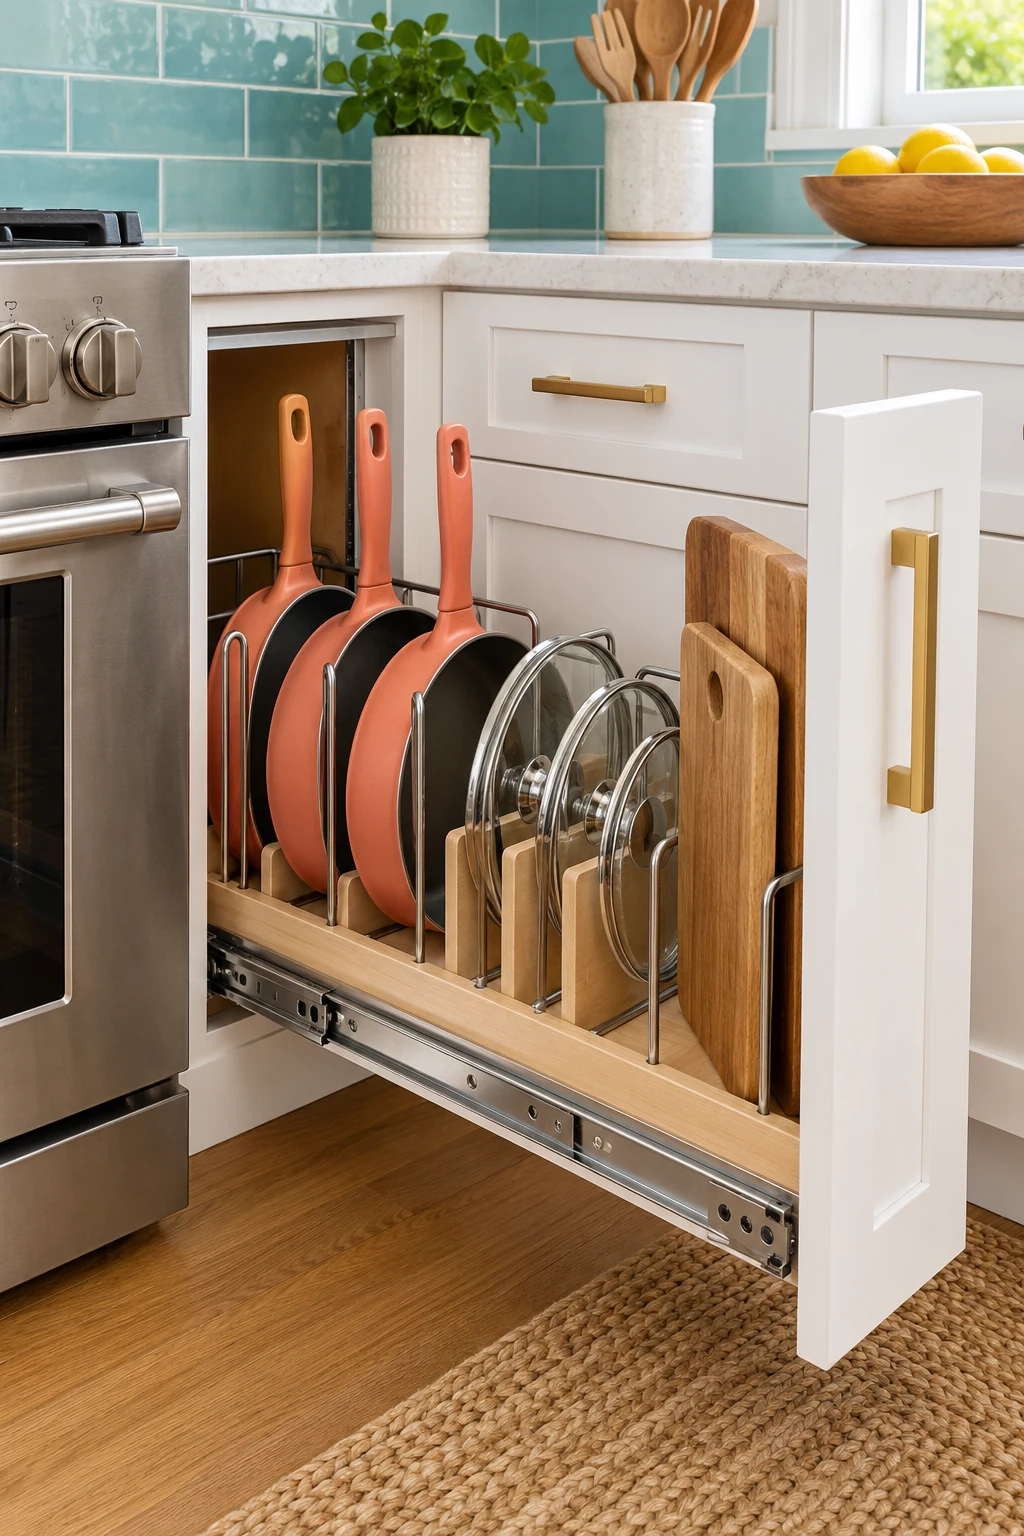
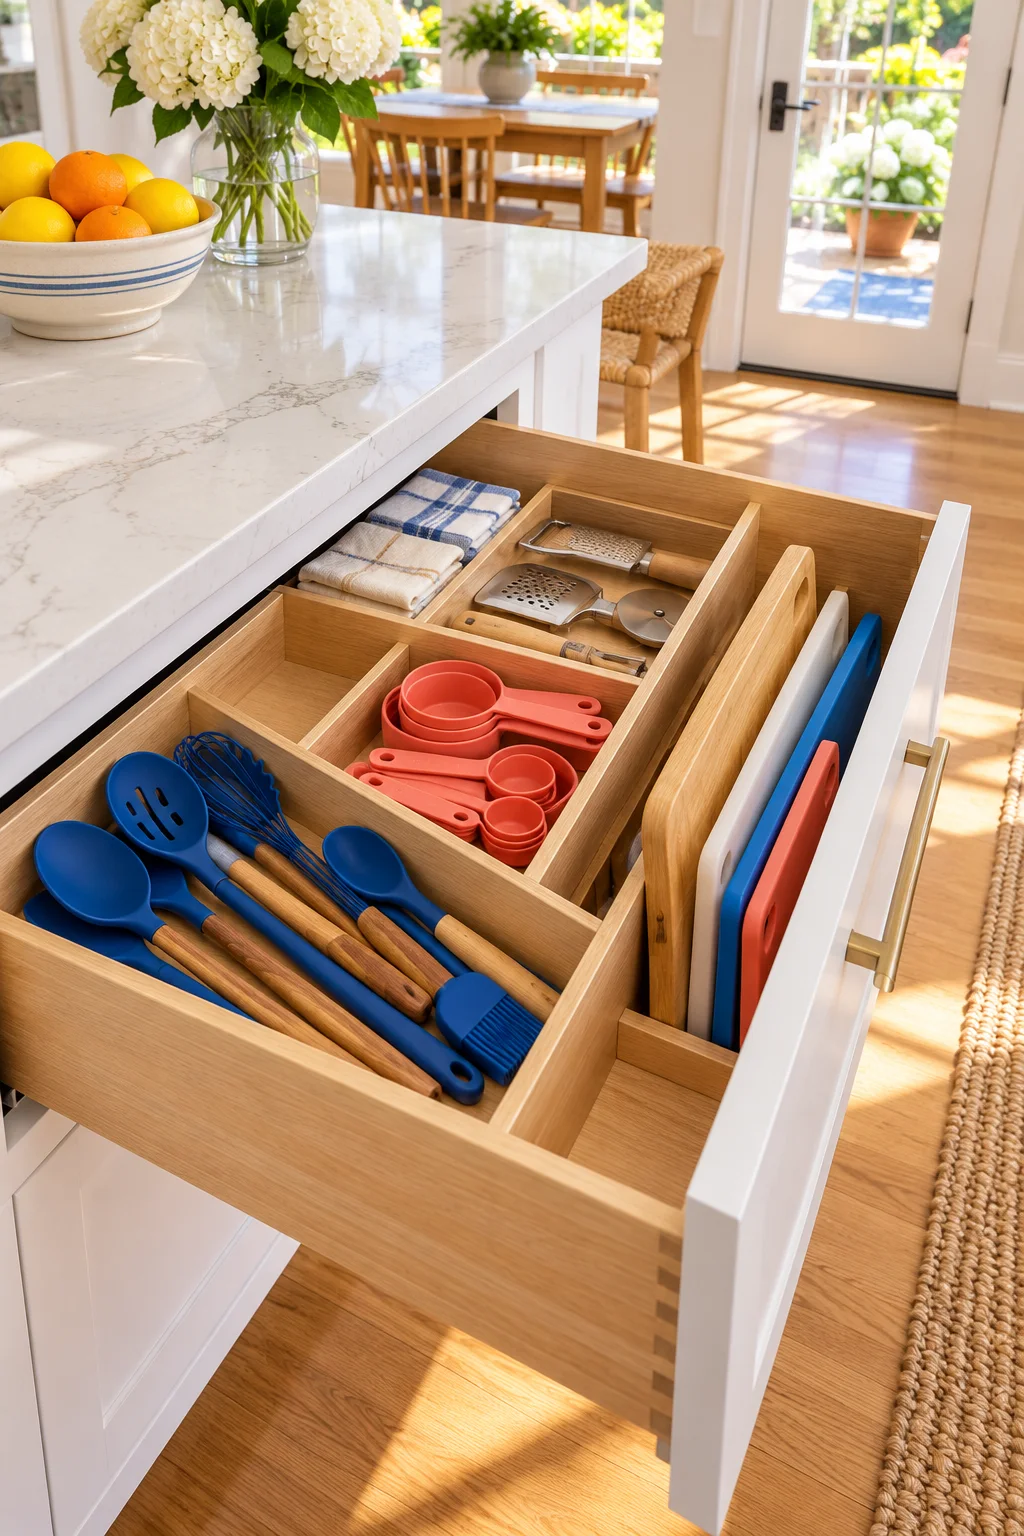
14. Store cutting boards where they can stand freely
Group clean, completely dry boards in a vertical section near the prep counter. Put the most-used board closest to the opening, and choose a layout that lets you lift it without dragging it against the cabinet frame.
A board with a wide handle may need a taller opening than you expect. Do not wedge heavy boards behind loose trays or press a damp wooden board into a tight stack. Follow each board’s care instructions, including how it should dry before storage.
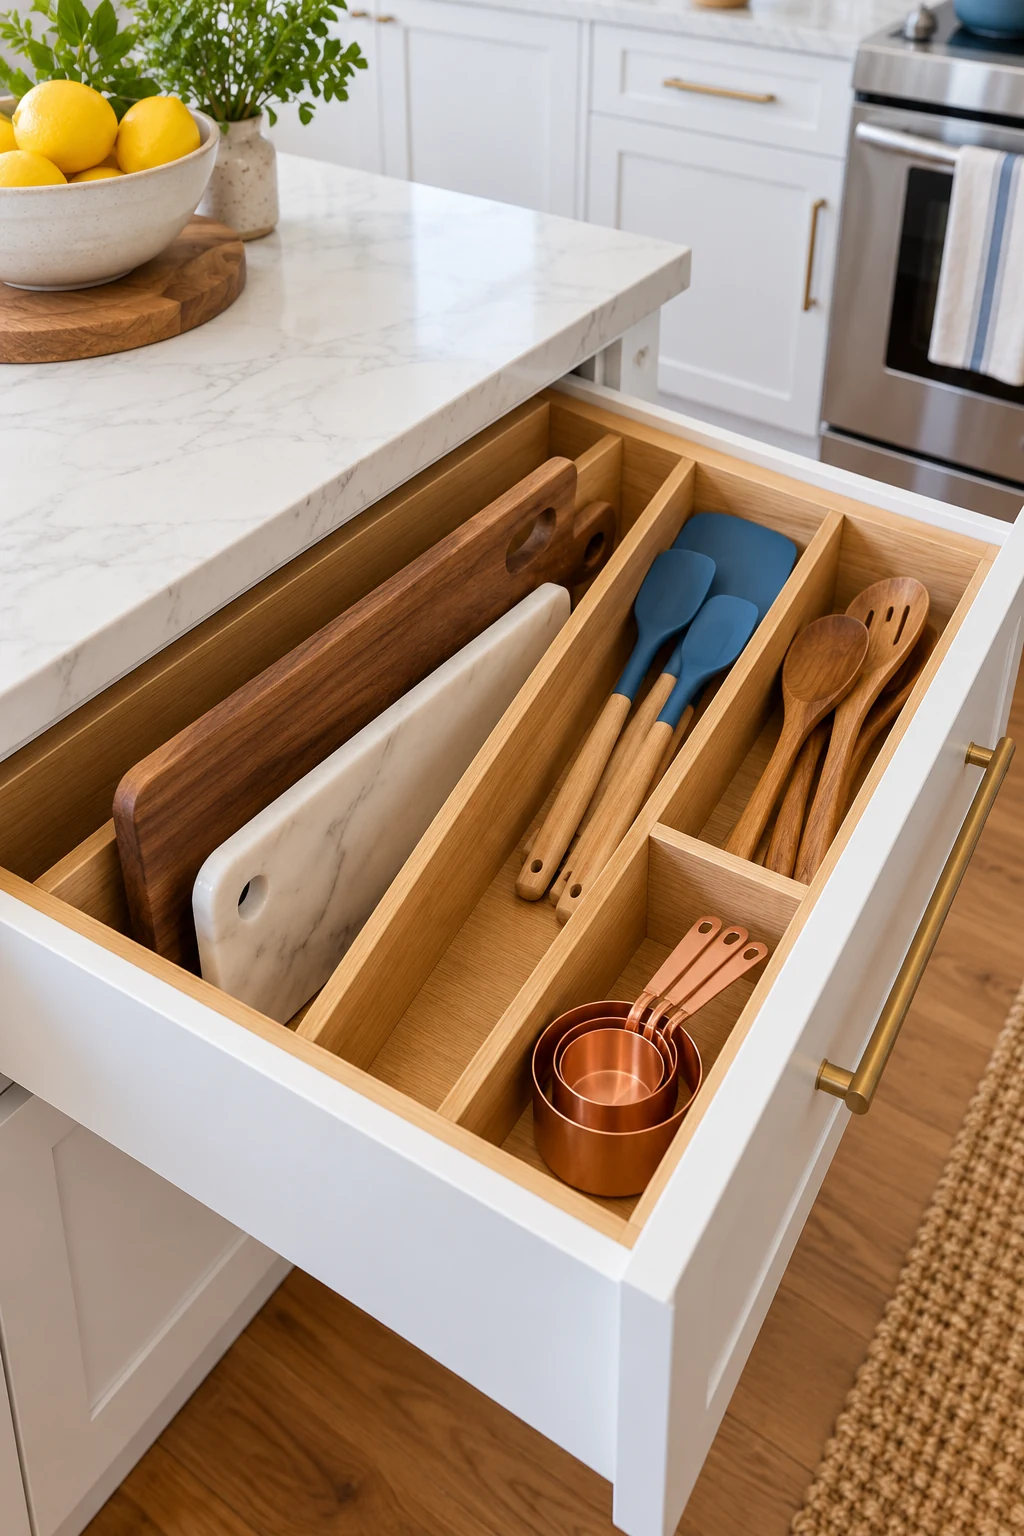
15. Keep the colander above its matching bowl
If you usually use a colander with one large bowl, store the two as a practical pair. Nest them only if they separate easily and their handles do not snag. This is a useful spot for a cabinet shelf with a generous opening.
Leave other mixing bowls in their own reachable group rather than building a complicated tower around the colander. When a shelf has enough height but too little width, turning an oval bowl can help, provided it still passes through the door comfortably.
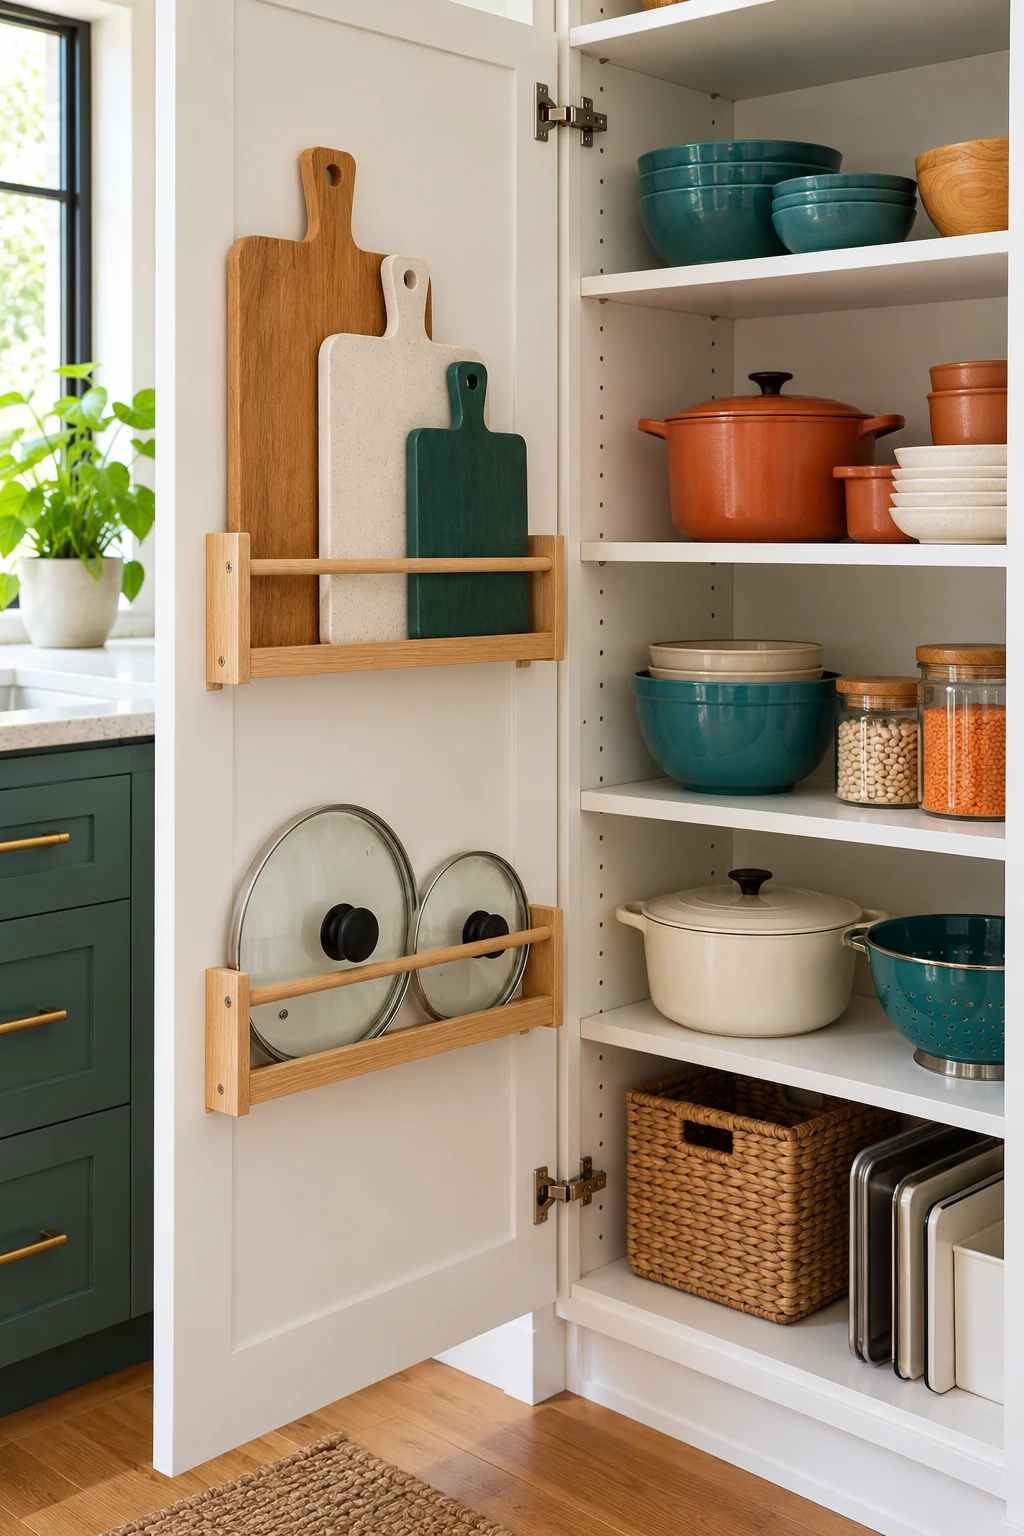
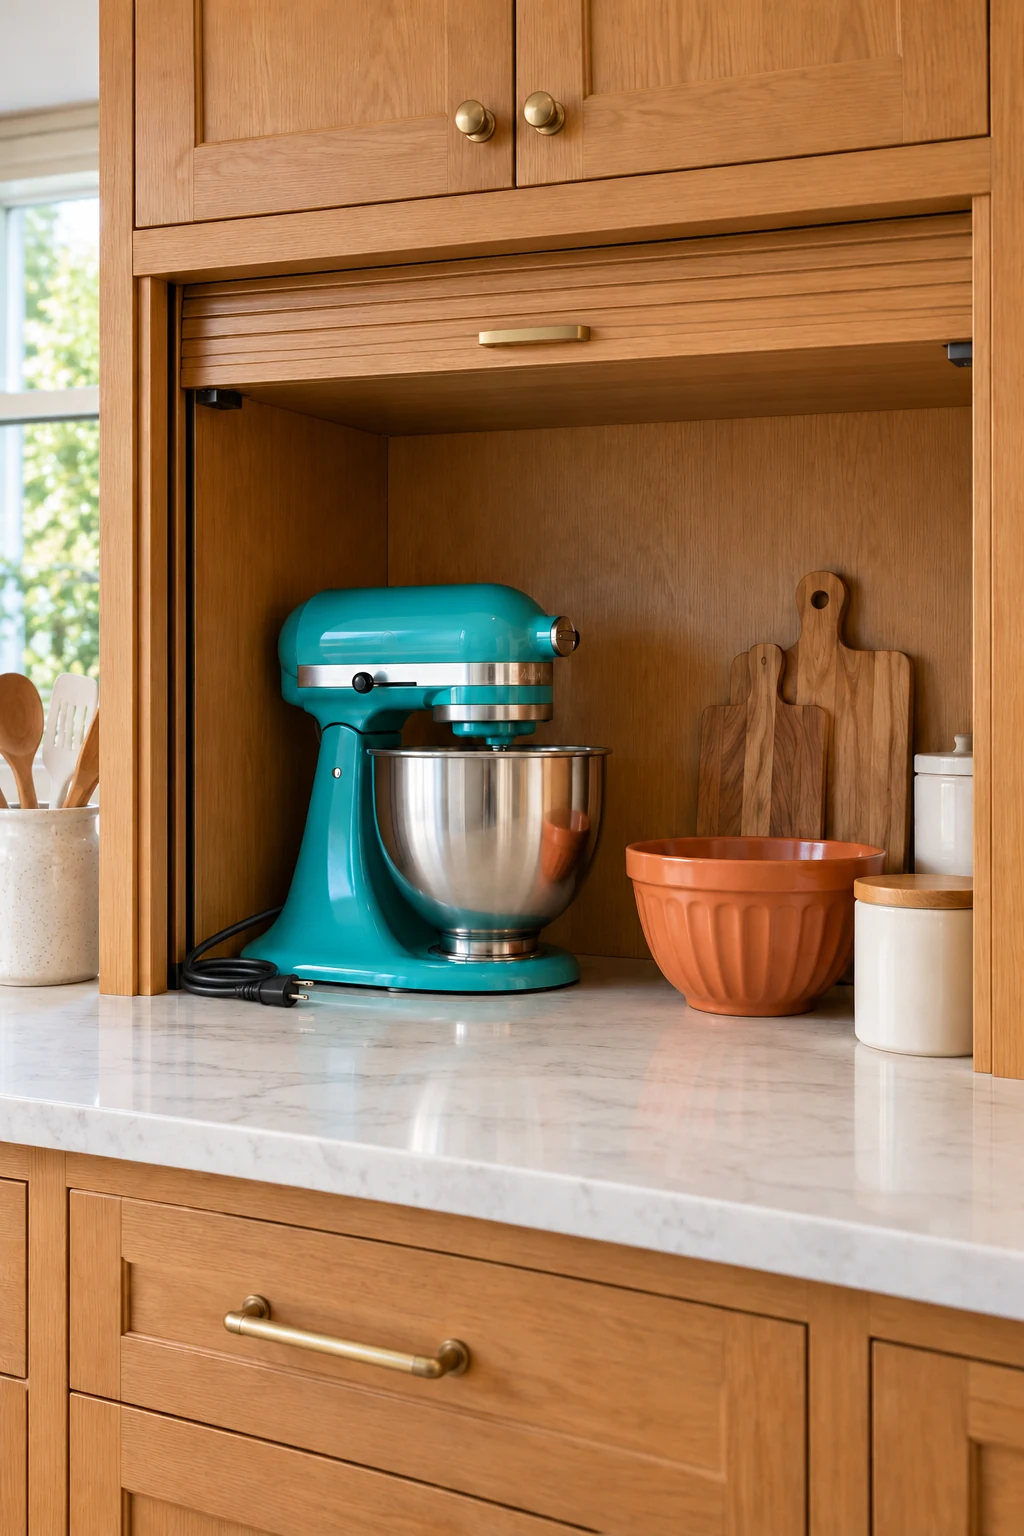
16. Park small appliances as complete sets
Store an infrequently used blender or food processor with its own attachments nearby. A dedicated lower-cabinet bay reduces the hunt for a matching lid or blade before you can even start cooking. Put sharp attachments in their intended protective storage.
Unplug and cool appliances before putting them away, and follow their cleaning and storage instructions. This cabinet is a parking place, not an operating station. Move the appliance to an approved work surface with its required airflow clearances before switching it on.
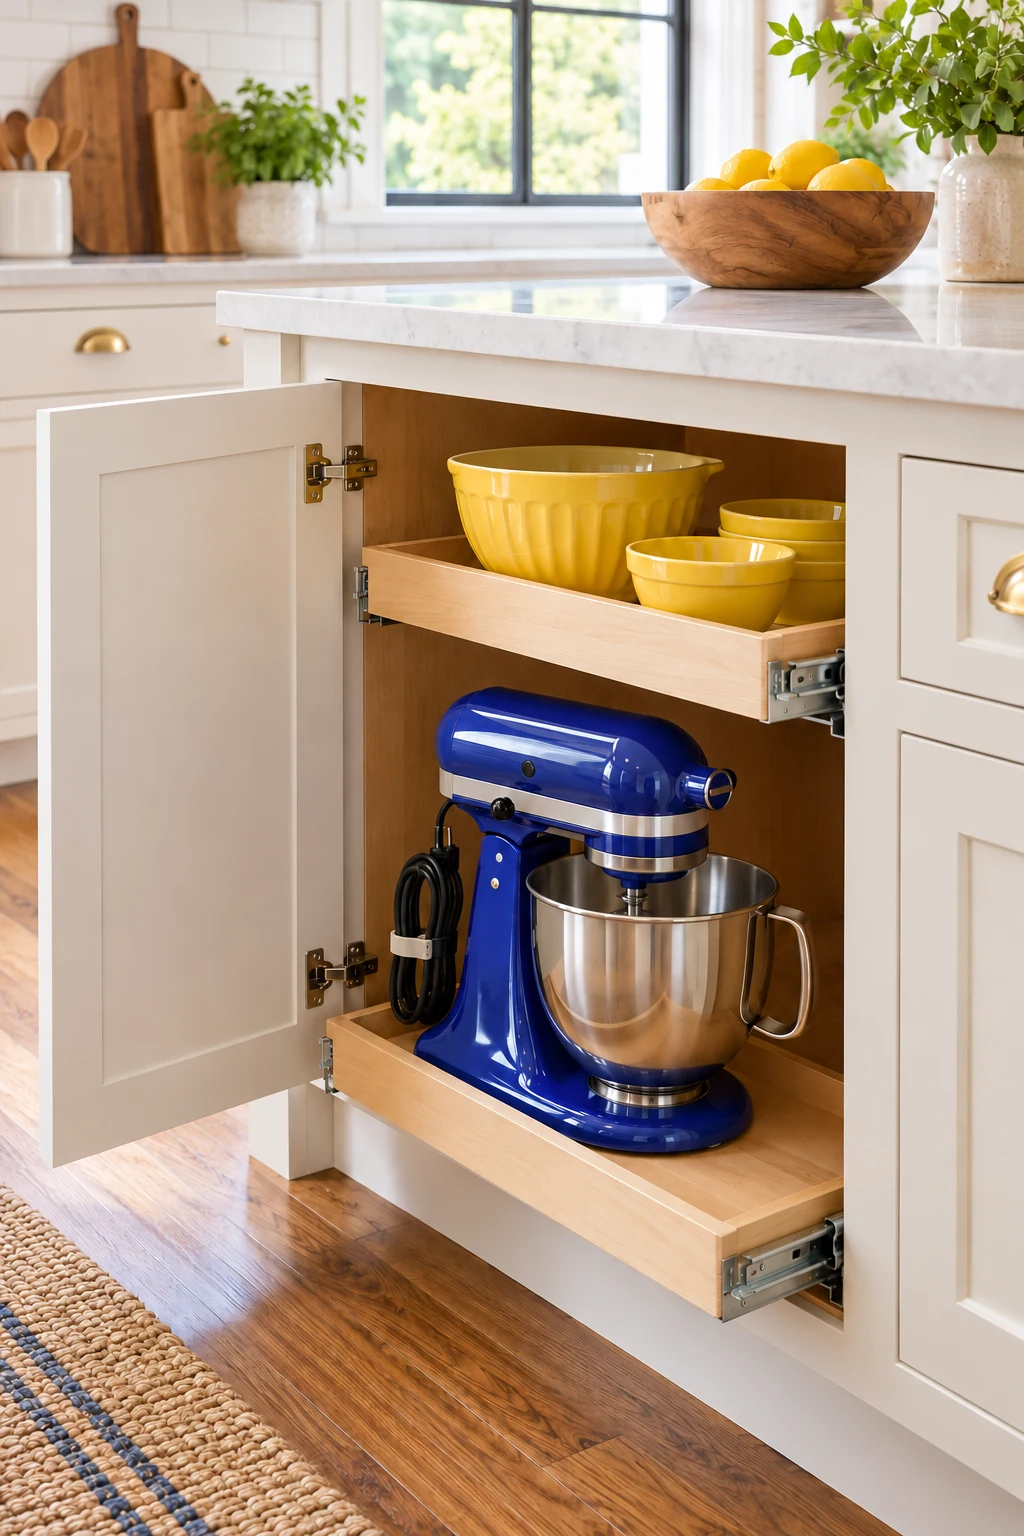
17. Make a tray the boundary for baking extras
A shallow tray can hold your measuring cups, silicone spatula, and frequently used baking accessories on one shelf. Pull it out when you bake and carry it back when you finish instead of returning six loose objects separately.
Reuse a serving tray before buying a specialized caddy. Check that the tray remains comfortable to carry when filled, and avoid storing sharp or unstable tools loose among the handles. If the tray becomes crowded, reduce the kit to what you actually use together.
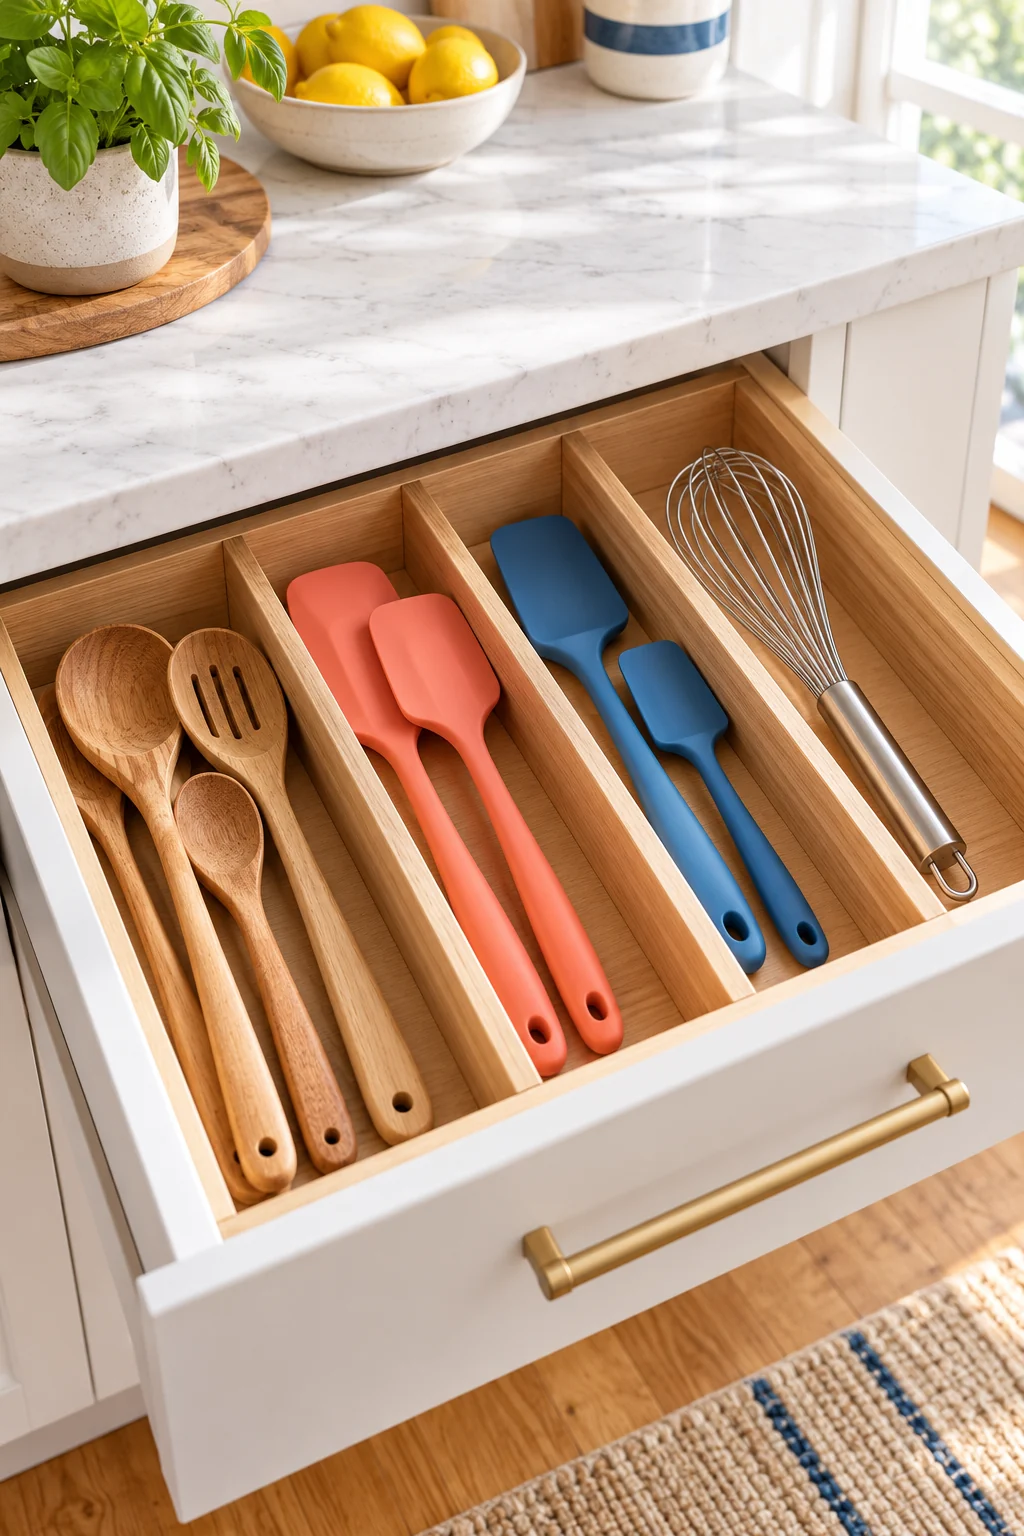
18. Keep breakfast supplies within one easy reach
Set aside one small cabinet section for cereal bowls, oatmeal packets, and the tools you need to make breakfast. Keep foods in suitable packaging and follow their storage directions. A clear group can make a busy morning feel less scattered.
Put everyday supplies at the front and refills behind that same category. Avoid turning the breakfast cabinet into a second pantry for unrelated ingredients. A simple removable label on the shelf edge can help everyone return the right items after unloading groceries.
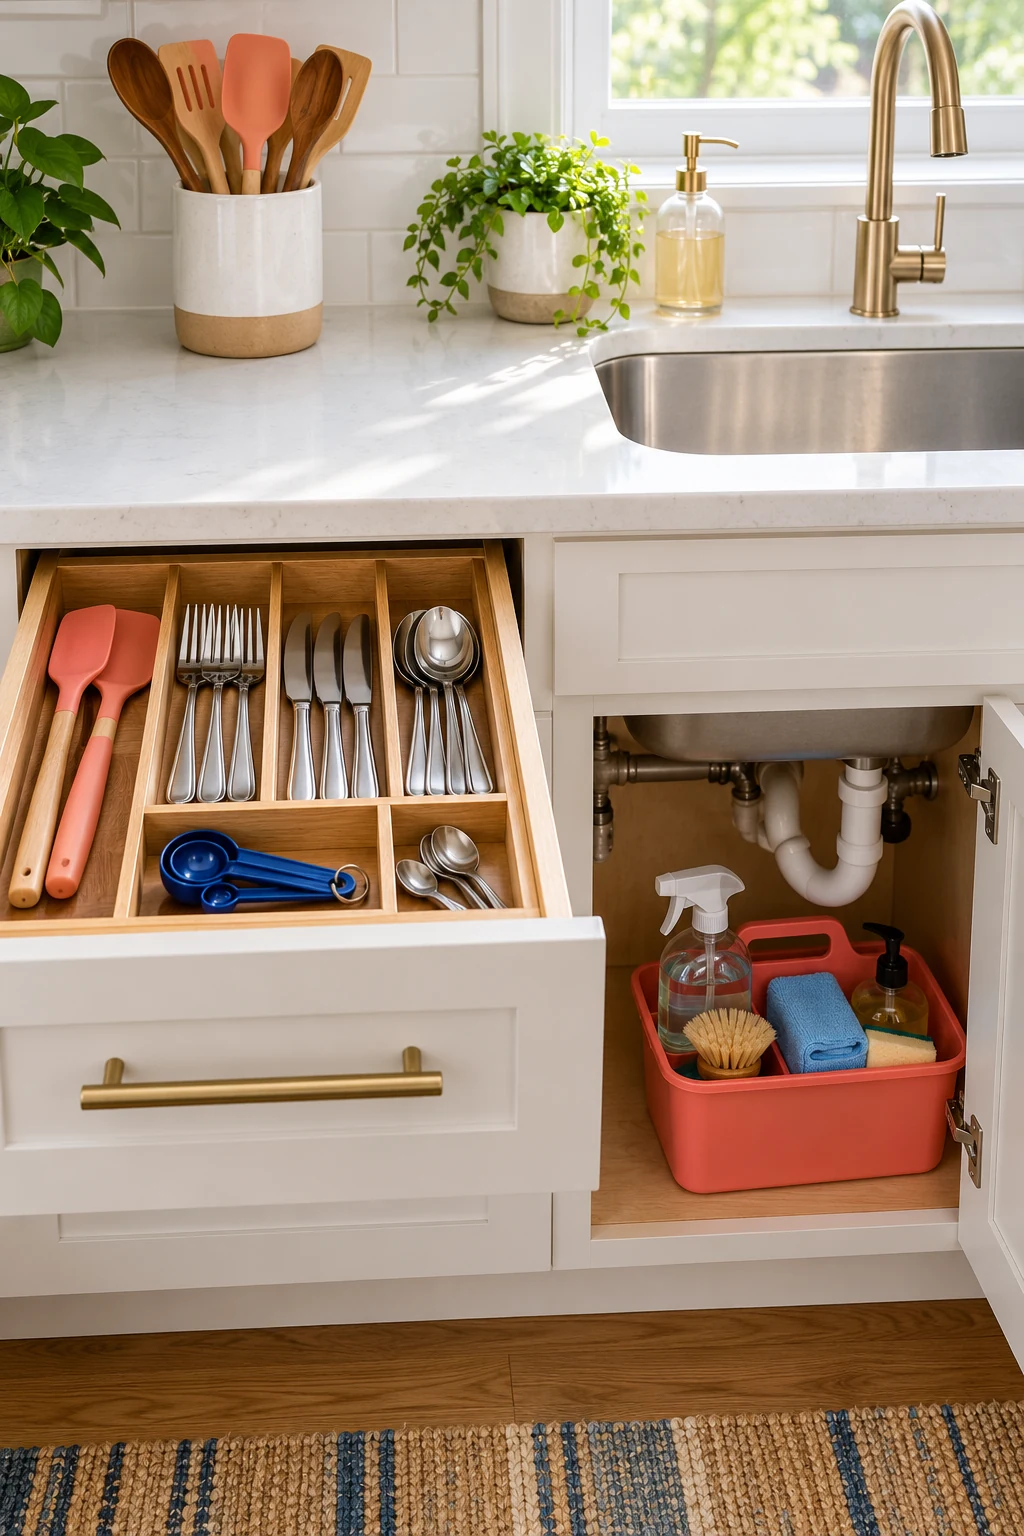
19. Reserve a lunch-packing section
Put lunch containers, reusable bags, and napkins near the counter where you assemble lunches. Keep these separate from the occasional party-serving collection, even when the items technically belong to the same broad category.
Fold clean, dry reusable bags upright in a shallow box so you can see the sizes. Leave insulated lunch bags open to dry as their care instructions require before storing them. Check the collection occasionally; a setup full of unused sizes takes valuable space from the ones you need.
20. Give serving pieces a quieter cabinet
Move rarely used platters and extra serving bowls out of the busiest cooking cabinet. A nearby dining-area cupboard may be a better home if it keeps the daily kitchen shelves clear and the pieces are still easy to find.
Group items by occasion only when it helps retrieval, such as the large platter beside the serving utensils you use with it. Keep heavy pieces at a safe lifting height, and avoid storing fragile items in a hard-to-reach stack merely because they are used less often.
21. Use the front of a corner deliberately
Let the reachable front section of a corner cabinet hold useful everyday items, and give the deep area a specific, infrequent job. Leaving part of the back empty can be sensible when filling it would block everything in front.
Start with a category you can remove as one manageable unit, such as lightweight baking molds in a bin. Do not treat a visible sliver of space as a reason to squeeze in another loose item. The clear retrieval path is part of the storage plan.
22. Add a shelf-edge label where it solves confusion
Label the spot as well as the container when several people share the kitchen. Simple names such as prep bowls, lunch lids, or baking refills make it easier to put things away without guessing where they moved.
Use removable labels suitable for the cabinet finish, and place them where the door will not scrape them. Skip labels on obvious single items. The aim is to reduce decisions, not create so many tiny categories that the cabinet takes longer to maintain.
23. Keep refills behind their open counterpart
Give unopened backups a defined section behind or beside the item already in use. Keep packaging instructions and date information available, and check what you have before adding more. This works well for a small cabinet pantry.
Avoid mixing every backup into one deep mystery bin. Group related supplies and leave a clear front edge where the active item lives. When the space is full, use that as a prompt to review the category rather than spilling refills into the cookware cabinet.
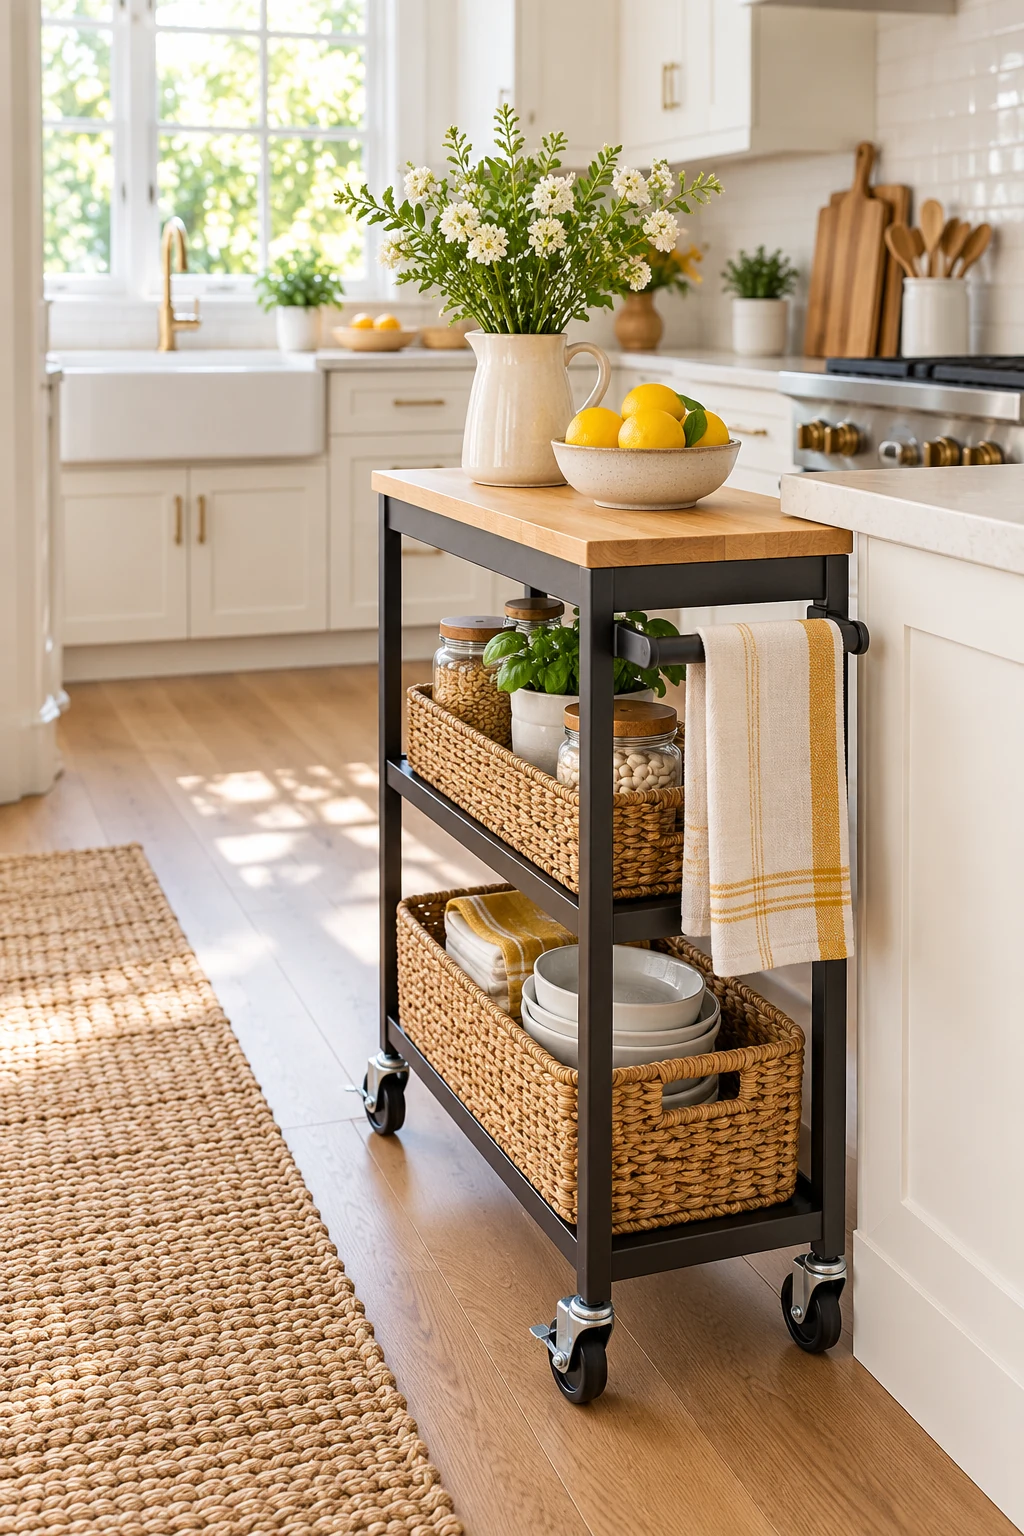
24. Match the organizer depth to the shelf
A deep bin in a shallow upper cabinet can leave the door ajar, while a short organizer pushed to the rear of a deep base cabinet may be almost invisible. Fit the depth to both the shelf and the way you retrieve items.
Try a temporary position near the front before adding hardware. If two rows are necessary, keep the back row for matching refills or occasional pieces, not a completely different everyday category. You should not need to unload breakfast to find the measuring cup.
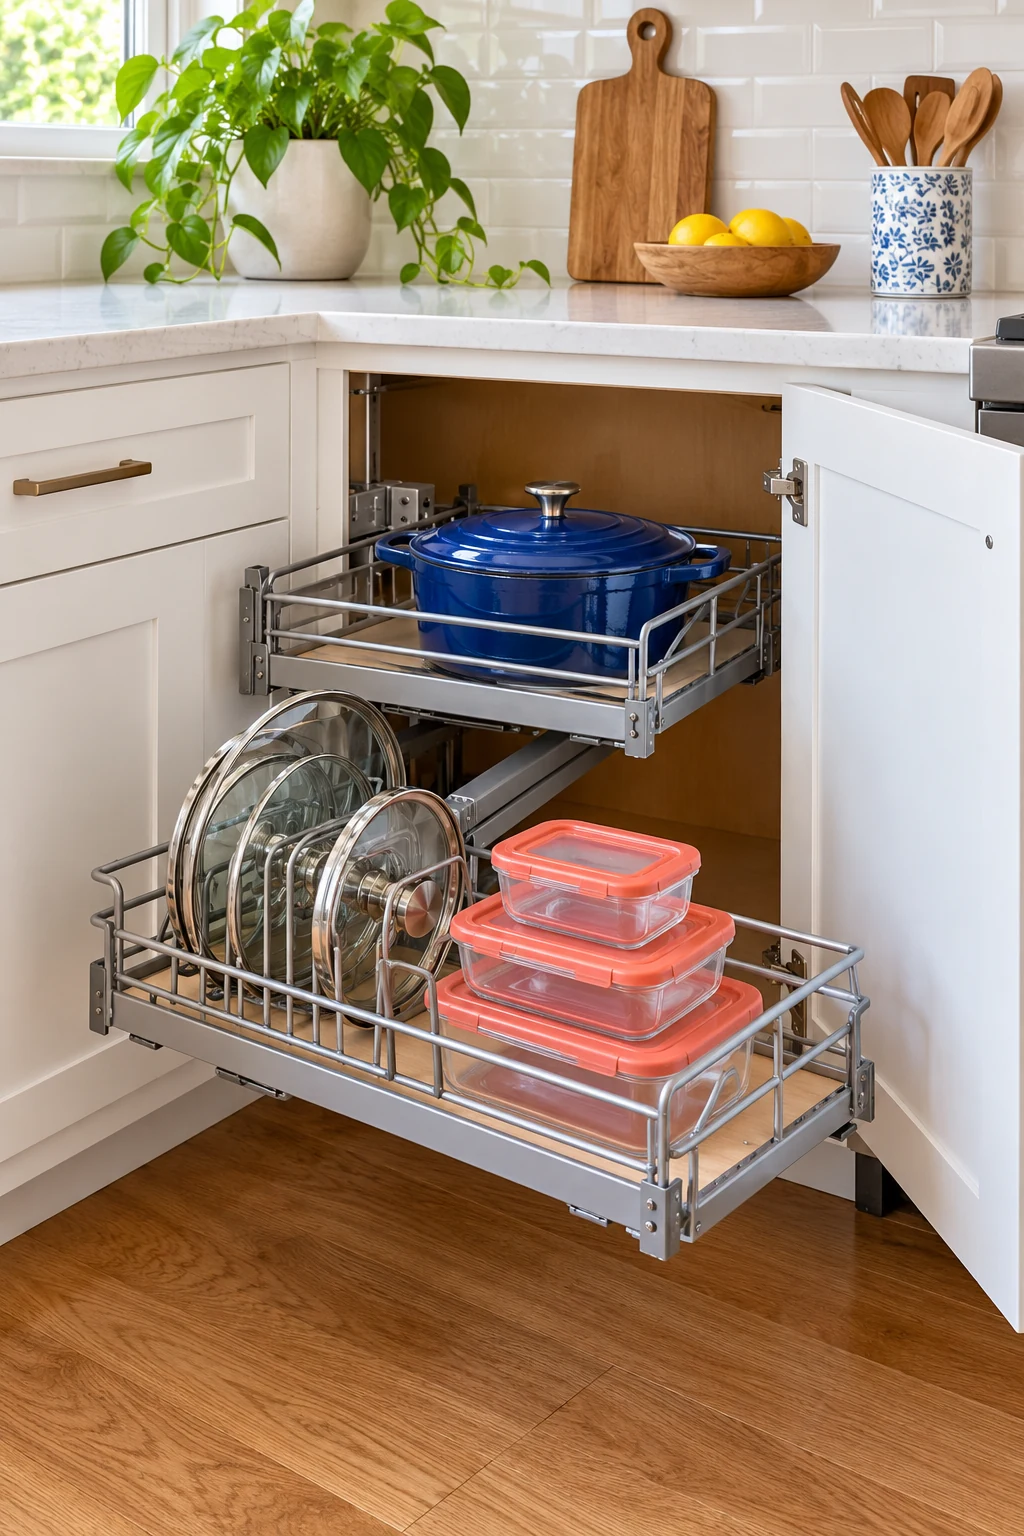
25. Choose a pull-out only when the opening allows it
A properly fitted pull-out shelf can make a deep base cabinet easier to use, especially when reaching into the rear is uncomfortable. Measure the usable opening, hinge projection, shelf depth, and space the fully extended shelf will occupy.
Follow the hardware maker’s cabinet requirements, fixing method, and load limits. Ask an installer about face-frame spacers or other compatibility issues instead of improvising attachments. A pull-out that cannot clear the door is an expensive way to preserve the original problem.
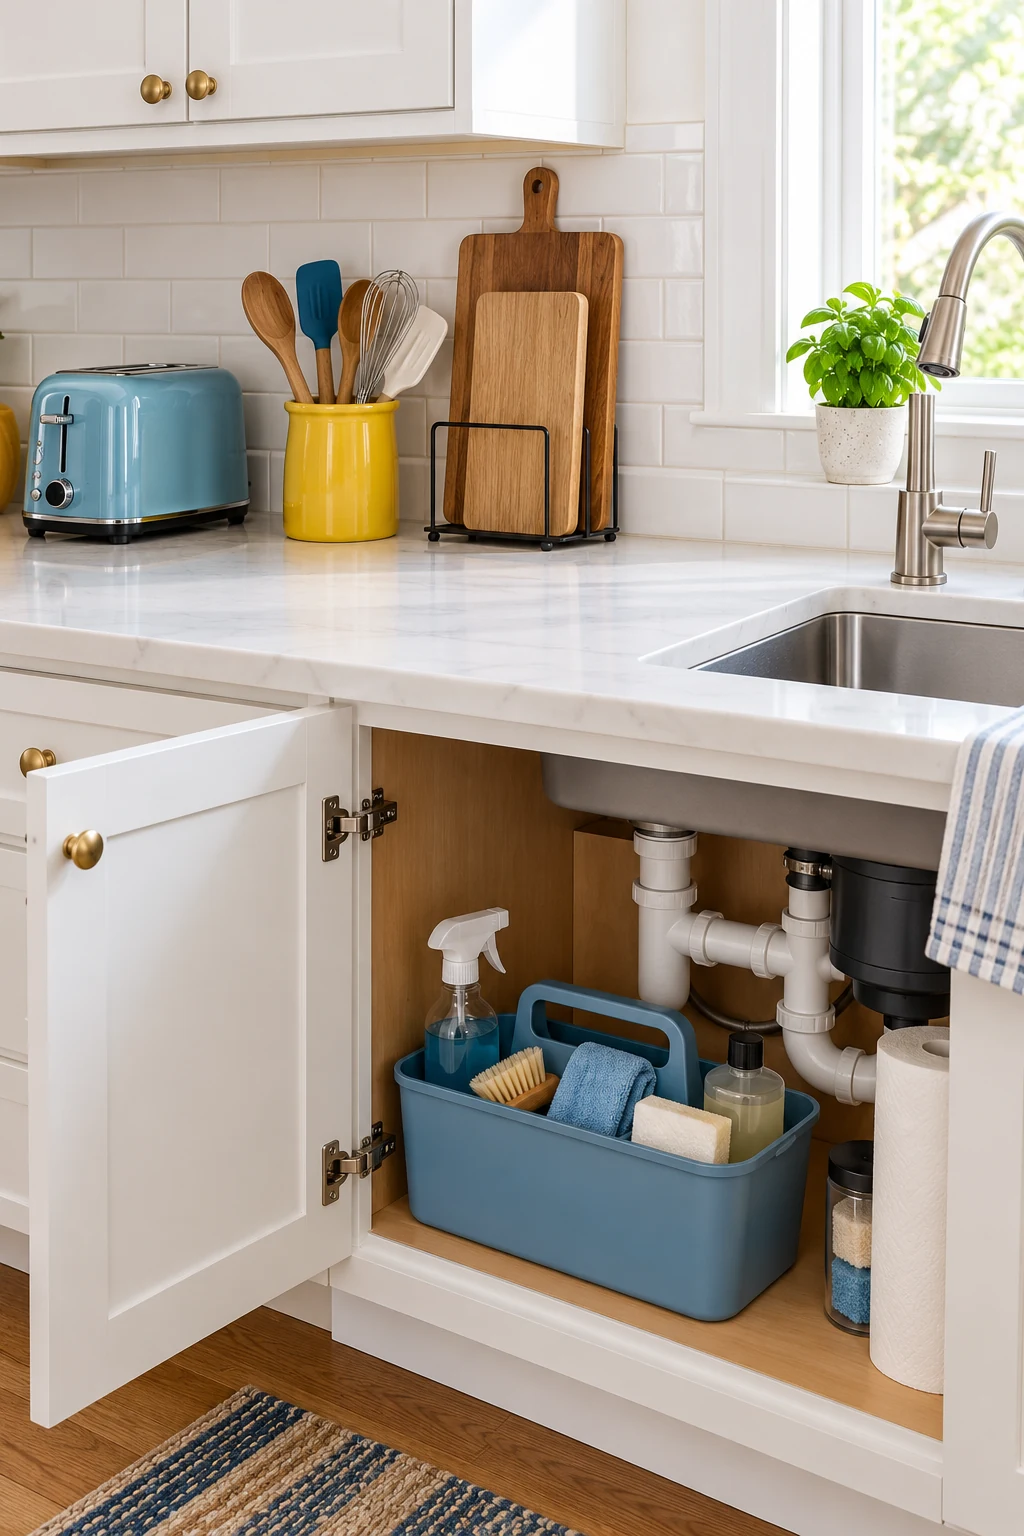
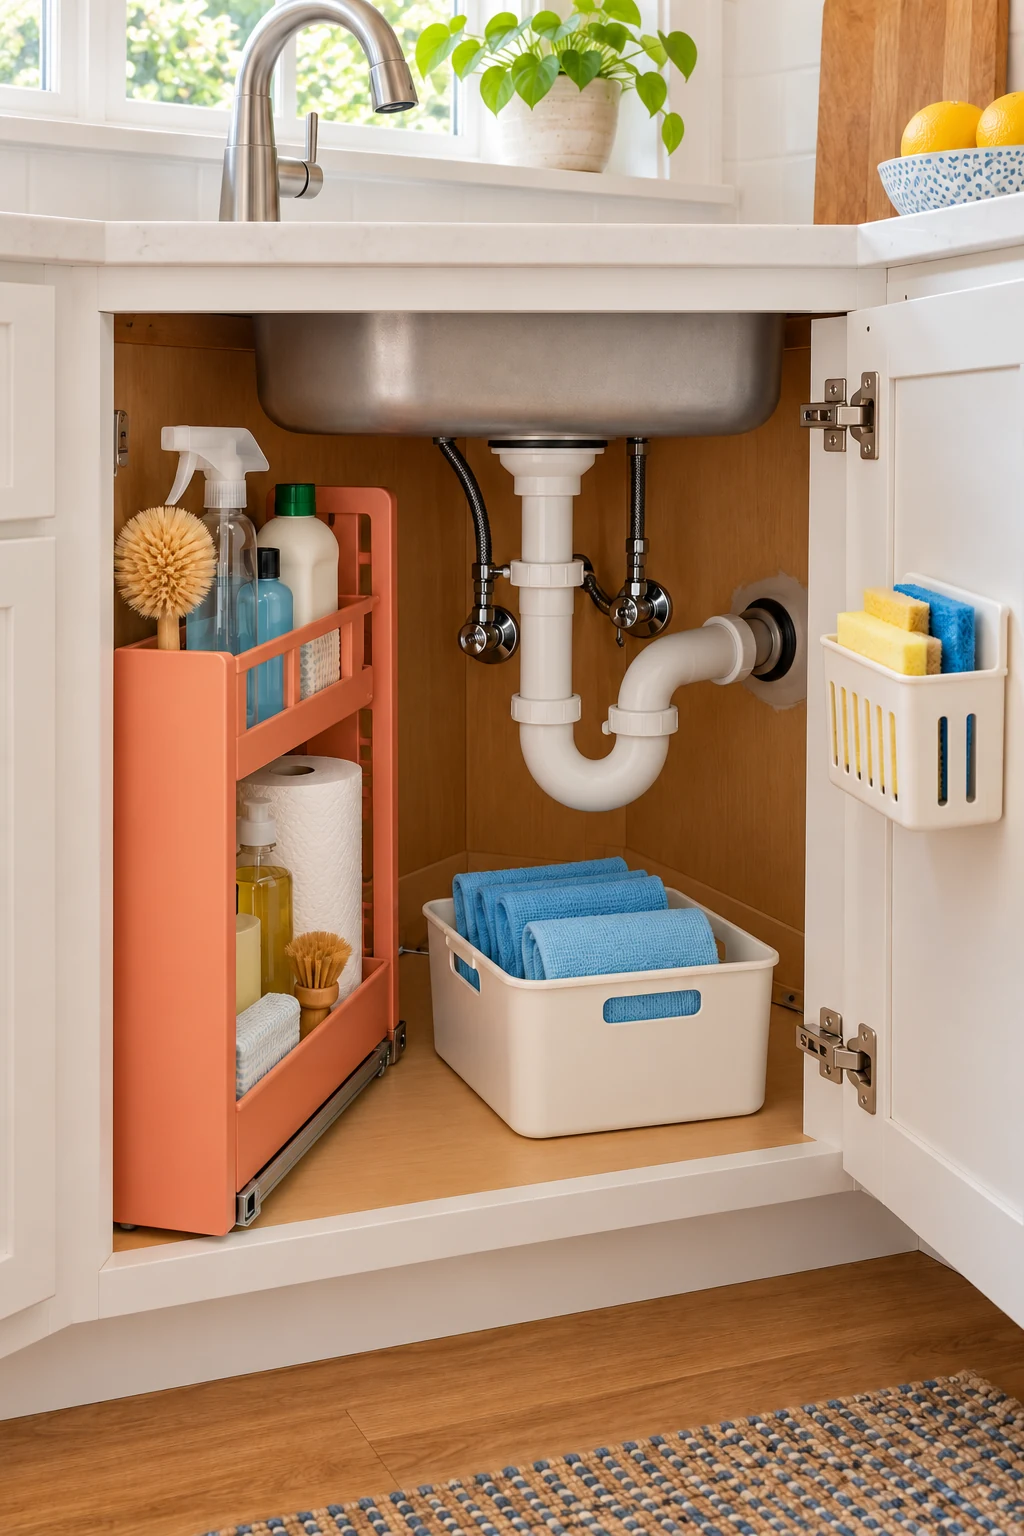
26. Keep the sink cabinet focused on cleaning
Treat the area beneath the sink as its own storage job. Keep cleaning products in their original labeled containers, follow the label’s storage instructions, and use suitable child-resistant safeguards when children may have access.
Leave shutoff valves, drain connections, and any leak sensors reachable. Choose storage around the plumbing rather than pressing pipes aside to fit a basket. A cabinet that is easy to empty is also easier to inspect when something needs attention.
27. Protect the route from dishwasher to cabinet
Watch where you naturally stand to unload clean dishes. The most convenient cabinet is often the one you can reach without stepping around the open dishwasher door or handing fragile items over an obstacle.
Keep the main plate and glass categories together on accessible shelves when possible. If several people unload, agree on the same locations and leave room to set dishes down. A beautiful arrangement that requires a daily detour will probably be rearranged by real life.
28. Leave one landing space while you work
Keep a small clear section of counter near frequently used cabinets so you can set a bin or pot down safely. Storage feels much harder when you must hold one item while balancing another or move clutter just to open the door.
If counter space is scarce, reduce what permanently lives beside the cabinet. Do not use an open oven door, unstable stool, or partly extended drawer as an improvised landing area. A simple empty patch of worktop can improve access without adding any organizer.
29. Test the layout during a real meal
After arranging one cabinet, use it while making a normal dinner. Notice whether a handle snags, a lid falls, or an organizer needs two hands when you expected one. Small problems are easier to fix before the whole kitchen follows the same layout.
Move the most annoying item first and repeat the test. Keep shopping until after this trial; sometimes the fix is a shorter stack or a different shelf height. Take a quick reference photo once the arrangement feels easy enough to maintain.
30. Reset one cabinet when you put dishes away
Use an ordinary unloading session to return strays, straighten one shelf, and notice what has become difficult to put back. This short check works better than waiting until every cabinet needs a full cleanout.
If the same organizer repeatedly overflows, adjust its contents or give that category more room. Keep the system forgiving enough for a tired evening. A cabinet that supports an easy return is more useful than one that looks perfect only before dinner.
Pick the cabinet that frustrates you most and make one change you can try at the next meal. When taking things out and putting them away both feel easier, you have a useful arrangement to build on. Subscribe to the Havelyo email list for more small-space decorating and organization ideas.