
Kitchen Organization
25 Under-Kitchen-Sink Organizer Ideas That Work Around Pipes
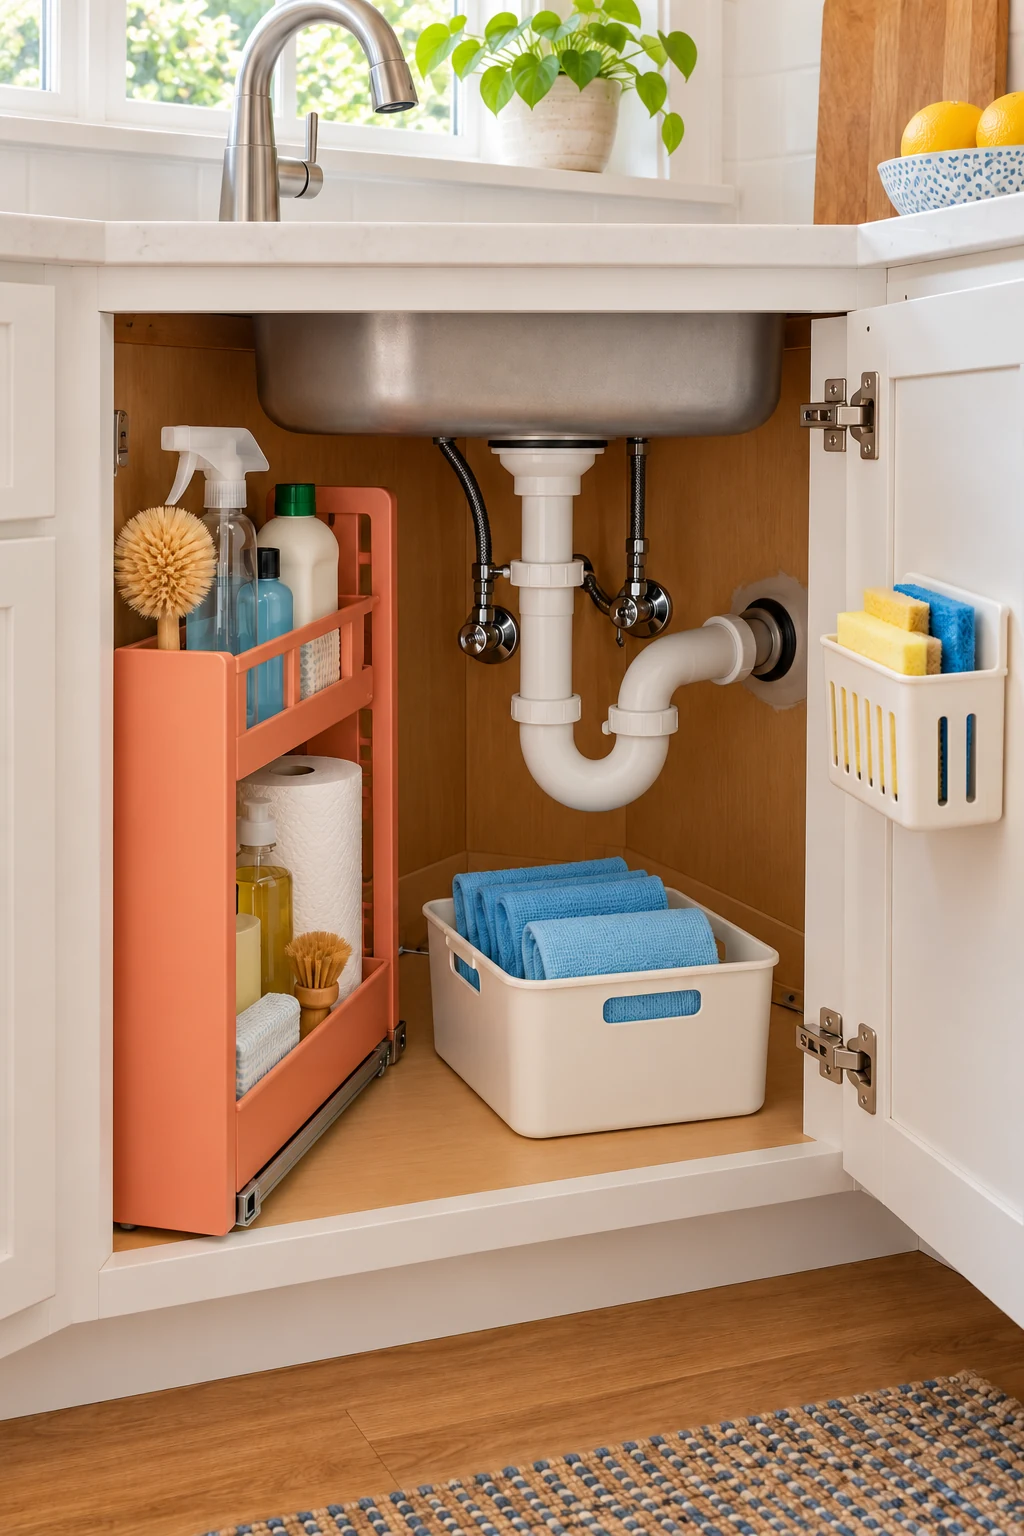
The space beneath a kitchen sink is interrupted by pipes, a sloping sink bowl, and sometimes a disposal or filter. An organizer that fits the cabinet’s outside dimensions can still block a valve or collide with a hose when it slides forward.
These 25 under-kitchen-sink organizer ideas start with the usable pockets around that equipment. Measure first, address leaks before covering the base, and keep maintenance access clear. Store household products only as their labels allow, separated from food and secured from children and pets.
This article contains affiliate links. If you buy through them, Havelyo may earn a commission. As an Amazon Associate I earn from qualifying purchases.
1. Map the usable spaces around the plumbing
Measure the cabinet floor, the door opening, and the clear height in several places. Mark the drain trap, water valves, disposal, hoses, and any filter equipment on a simple sketch. This cabinet rarely behaves like one empty rectangular box.
Look for separate usable pockets rather than the largest organizer that fits wall to wall. Include the area a basket needs while sliding out and the space your hand needs to reach a valve. Do not move, bend, or disconnect plumbing to make an organizer fit.
2. Deal with moisture before adding storage
Empty the cabinet and look for dampness, staining, damaged surfaces, or an active leak. An organizer can make a crowded space easier to use, but it will not repair the source of water or make a damaged cabinet base sound.
Have an appropriate professional investigate suspected plumbing problems before reinstalling storage. Let the area dry as appropriate to the repair. Avoid covering an unresolved damp spot with a liner or tray just because the finished cabinet would look tidier.
3. Leave a clear route to the shutoff valves
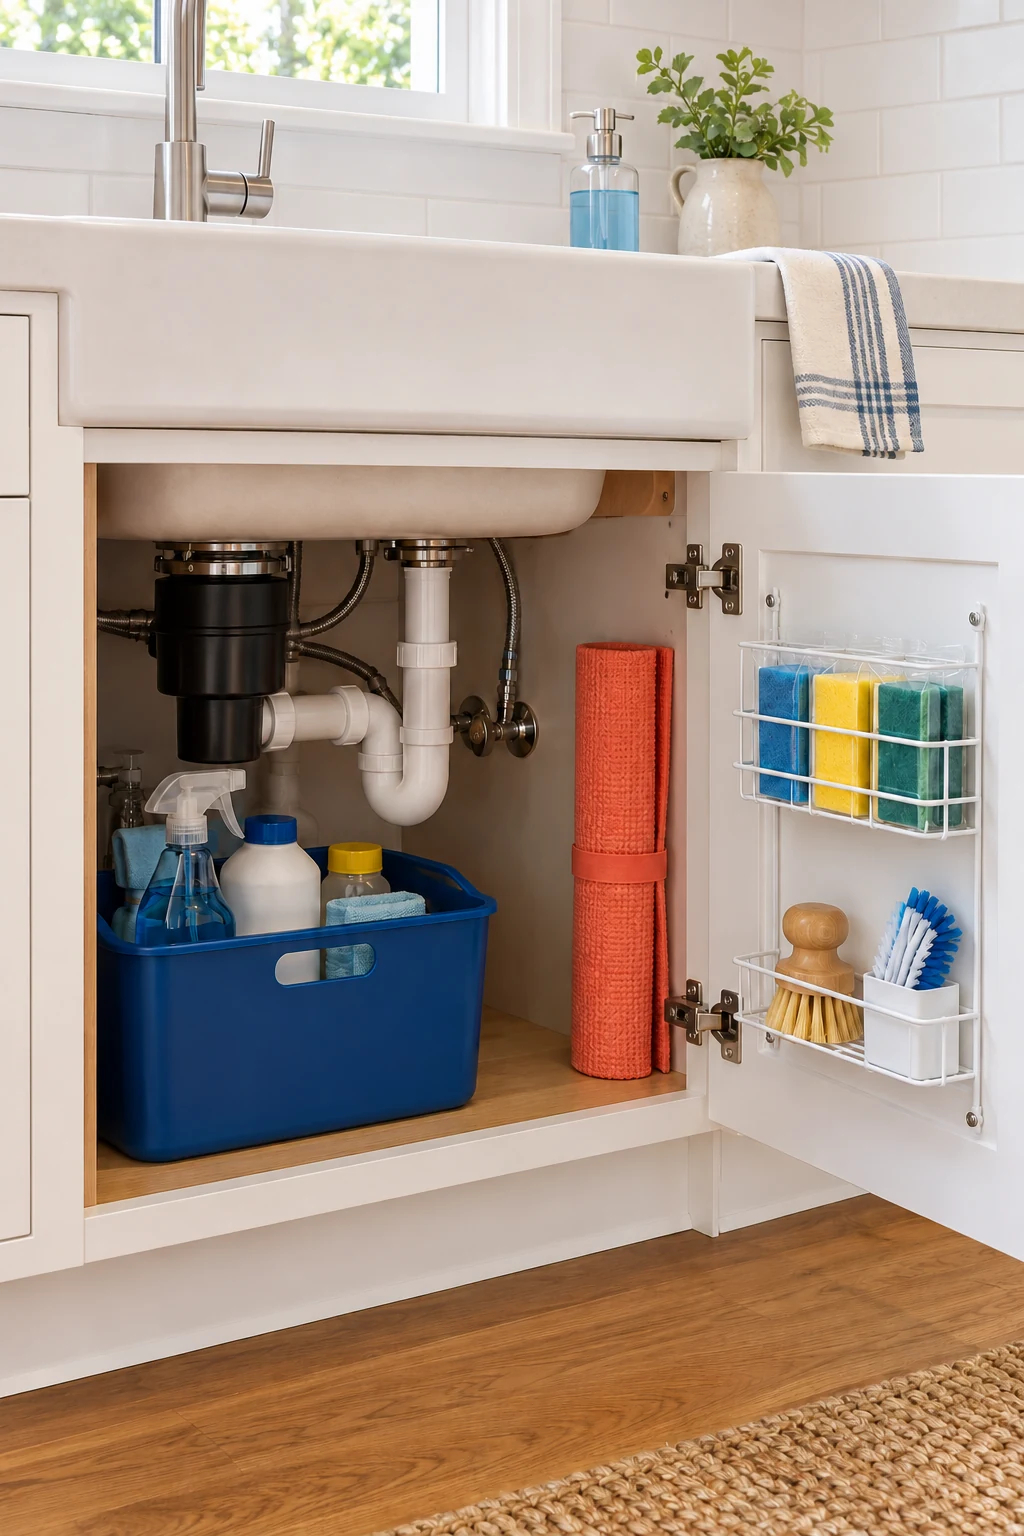
Keep water shutoff valves easy to see and reach without unloading a tower of supplies. A compact removable bin beside the valve is easier to move than a tall fixed frame crossing directly in front of it.
Check access with the organizer loaded and both doors in their normal open positions. Do not let a bottle, hook, or basket press against a valve or connection. If you cannot reach the service area comfortably, reduce the storage footprint.
4. Keep food and food-contact storage elsewhere
Use this cabinet for an appropriate cleaning-supply category rather than pantry goods, cutting boards, or spare food containers. Separating these uses avoids placing kitchen tools next to household chemicals and frees you to plan the cabinet around maintenance access.
The EPA’s household checklist advises storing cleaning products away from food. Follow each product label as well, including any restrictions on storage location. Do not assume a closed decorative bin makes unsuitable items safe to keep together. Read the EPA household storage checklist.
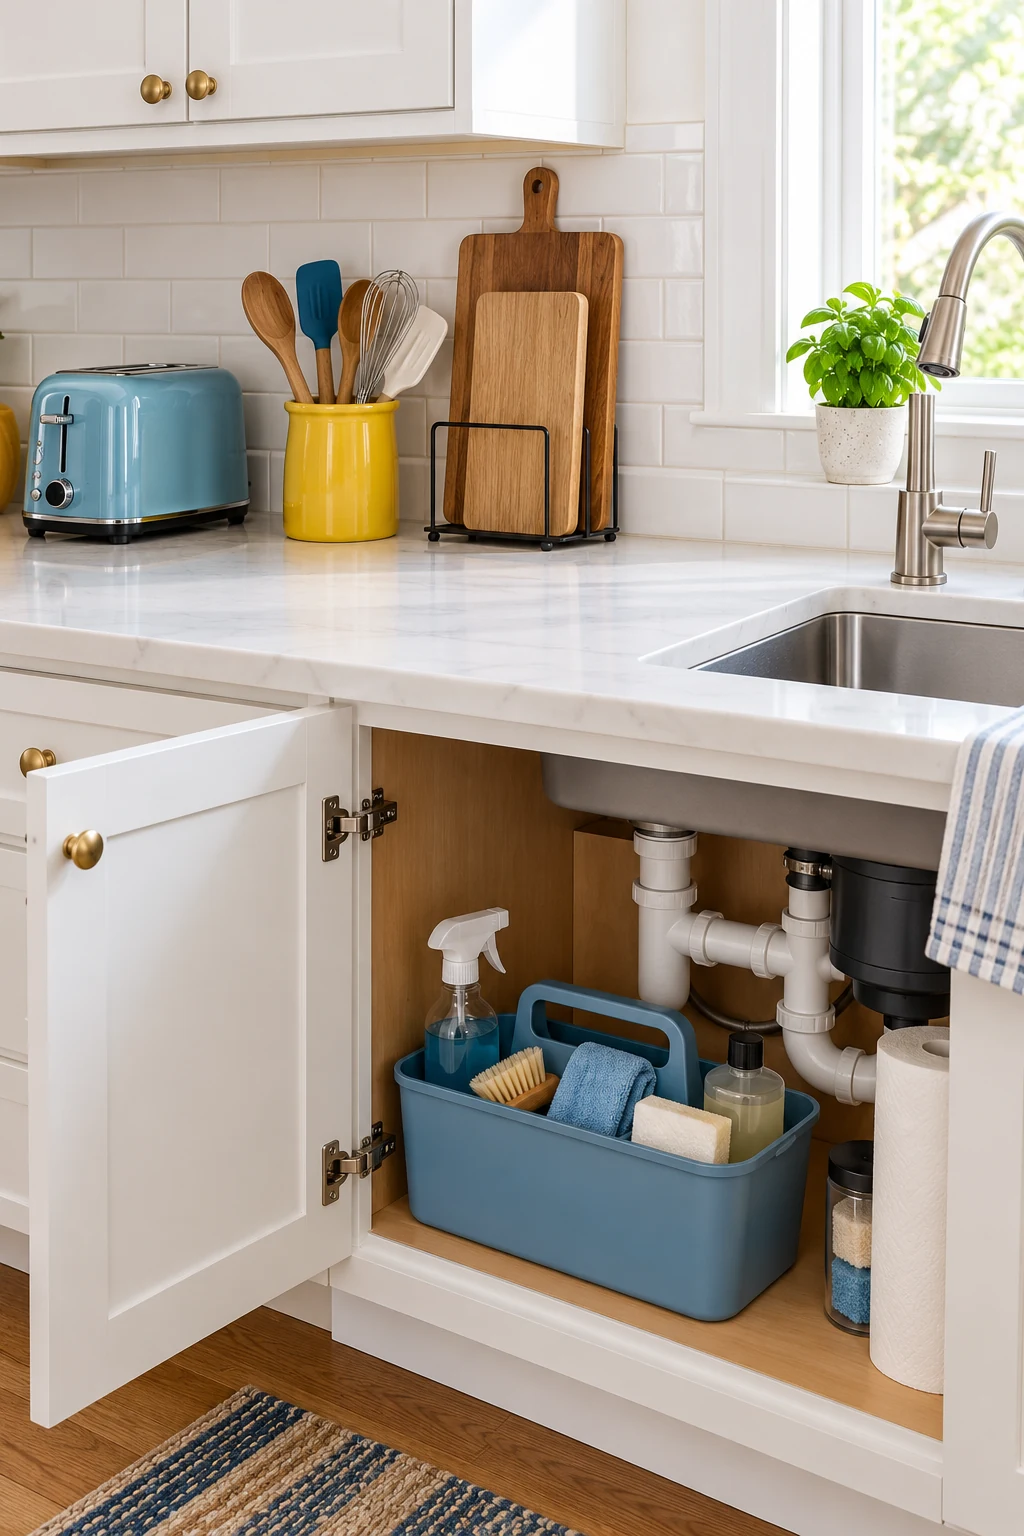
5. Plan secure access before convenient access
Decide whether under-sink storage is appropriate for the products and people in your home. Household chemicals need storage that follows the label and prevents access by children or pets; a low open basket is not a security measure.
Use suitable cabinet security where needed, and relocate products if this space cannot provide the required protection. Check that the organizer does not obstruct the lock or prevent the door from latching. Child-resistant packaging still needs to be closed correctly after each use.
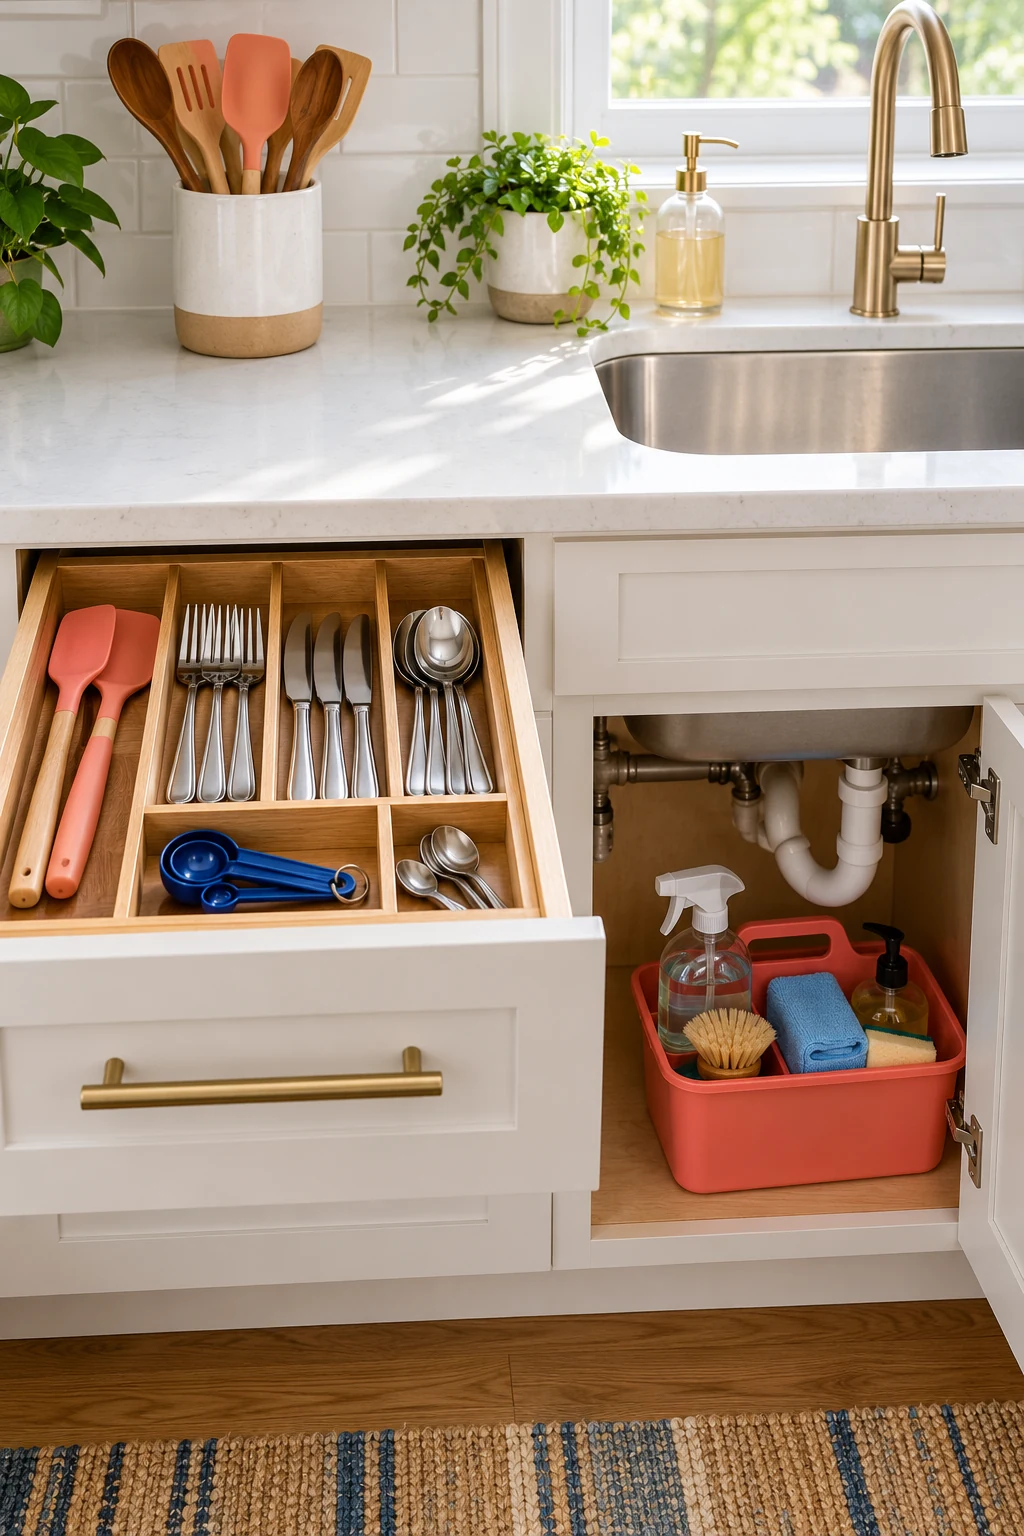
6. Keep cleaning products in their original containers
Arrange bottles so their original labels remain visible and their caps or triggers stay properly closed. The manufacturer’s packaging carries the handling and storage instructions you need, so matching decanted bottles are a poor organizing shortcut here.
Do not combine leftover products to reduce the number of containers. Follow the label for storage and disposal, and seek local guidance for damaged or unwanted hazardous products. The EPA provides practical guidance for keeping original labels and handling household hazardous waste. Read EPA household hazardous-waste guidance.

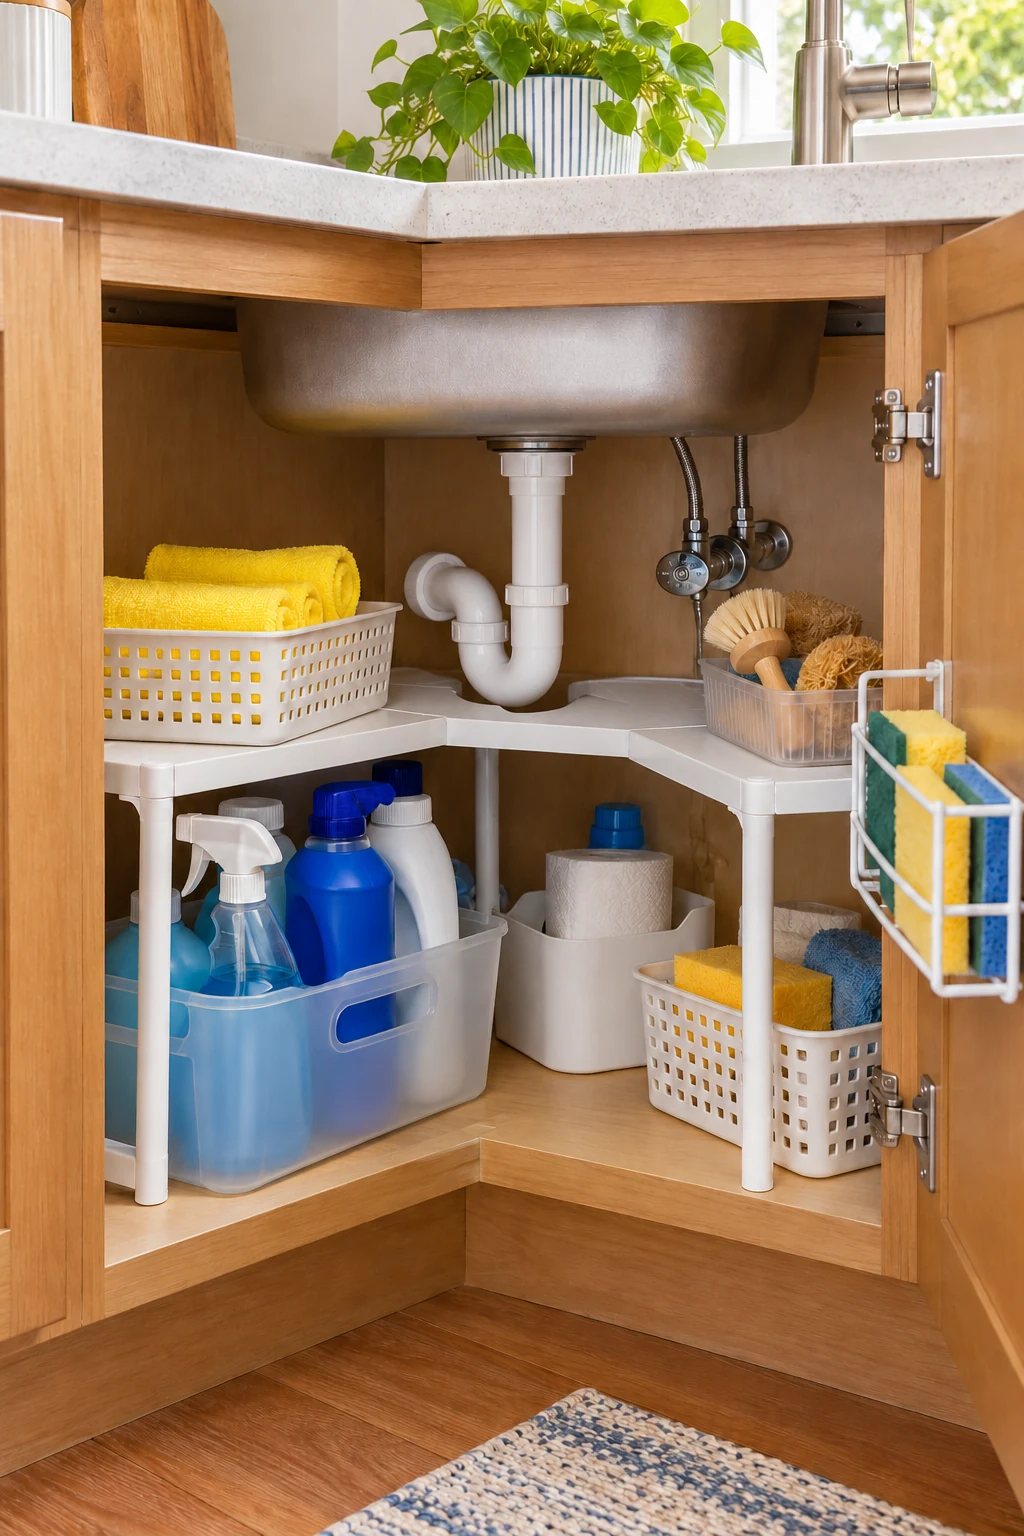
7. Use removable shelf panels around a pipe opening
An expandable shelf with removable panels can create short storage levels while leaving an opening for the drain. Set the panels only in supported positions allowed by the manufacturer, and keep every part of the frame clear of plumbing.
The silver Simple Houseware two-tier expandable organizer is listed at 11.75 inches deep, 15.25 high, and 15.75 to 25 wide. It has repositionable panels and four shelf-height levels. Check the selected configuration rather than assuming the open sections will match your pipes. View on Amazon.
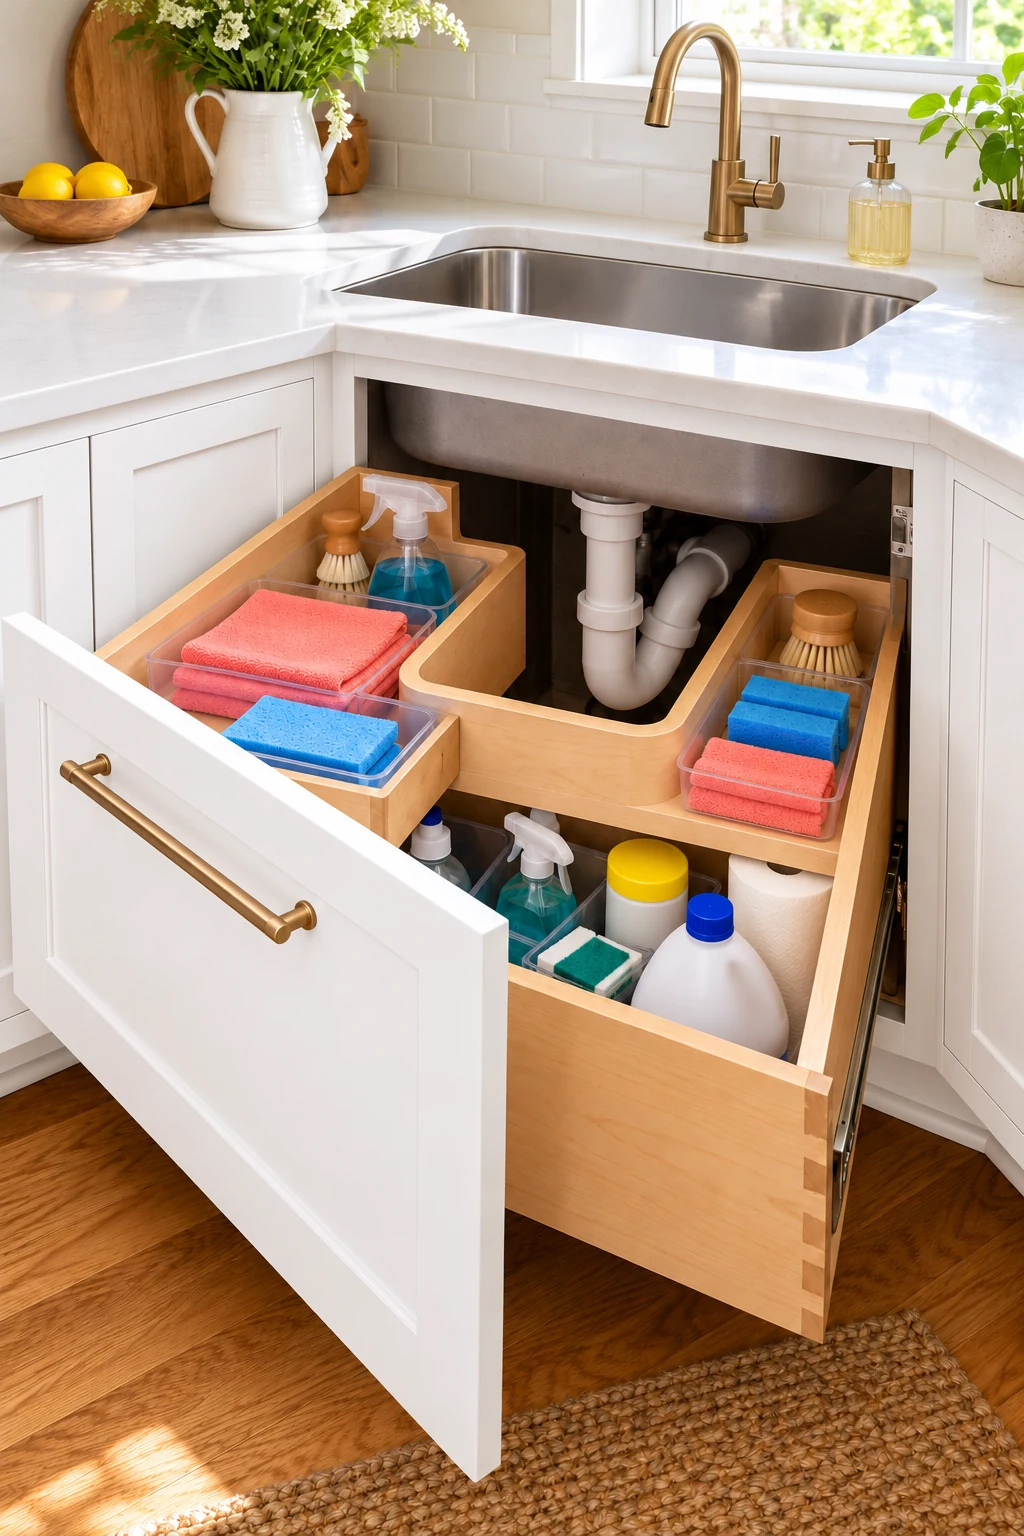
8. Try an offset two-tier pullout on one side
An offset upper shelf can leave a taller neighboring area for bottles while bringing a smaller group of supplies forward. Place the unit in a clear side pocket where the frame and contents can travel without brushing hoses or the sink bowl.
The LYNK PROFESSIONAL model 451118 has a reversible upper shelf and a listed 11.5-by-18-by-14-inch exterior size. The listing calls for a minimum 12-inch opening. Confirm mounting instructions, loaded travel, and service access; the removable tray is not a waterproofing system. View on Amazon.
9. Fit several small bins into separate pockets
Two modest bins can use the left and right floor spaces more effectively than one wide container. Give each a clear purpose, such as dry cleaning tools or a compatible group of closed supplies, while preserving open space around the central drain.
The iDesign clear handled bin measures 8 by 8 by 6 inches and is hand-wash only. Use it only where the contents and materials are appropriate, and leave room to lift it out. An ordinary storage bin has no verified chemical-containment or leakproof rating here. View on Amazon.
10. Use a turntable in a clear side pocket
A turntable can bring small upright bottles into reach when a side pocket is wide enough for the entire rotation. Keep the contents low and balanced so tall triggers do not sweep into pipes, the door, or the sink bowl.
The 12-inch Copco Nonskid Lazy Susan has a raised rim and lined surface. Its outside diameter is not the usable interior diameter. Test the loaded rotation gently, keep original labels visible, and avoid treating the rim as protection against bottles tipping or chemical leaks. View on Amazon.
11. Use a rated holder for a compatible spray bottle
A purpose-made spray-bottle holder can free a small area of cabinet floor. Check the bottle’s neck shape, full weight, and the proposed door position before mounting, then test the door’s swing with the bottle in place.
Command Spray Bottle Hangers are listed for conventional spray bottles up to 2.5 pounds per hanger. Follow the surface and installation instructions, including any curing requirements. Keep the original container and label, and remember that adhesive removal can affect unsuitable finishes. View on Amazon.
12. Give spare grocery bags a contained dispenser
If you reuse grocery bags for appropriate household jobs, limit them to one dispenser rather than a loose pile behind the pipes. Choose a location where the loading opening and dispensing slot remain easy to reach.
The simplehuman wall-mount grocery bag dispenser, model KT1166, can be screw or adhesive mounted. Verify its projection, mounting surface, and instructions before using a door. Keep plastic bags inaccessible to children and away from equipment; the amount that fits depends on how bulky the bags are. View on Amazon.
13. Leave a full-height bay for tall bottles
Instead of forcing every supply onto two levels, reserve one uninterrupted vertical bay for bottles that are too tall for a shelf. Stand them upright on a stable base and leave enough overhead room to grasp their handles.
Check whether the sink bowl slopes into that space farther back. A bottle may fit at the front but catch when moved toward the rear. Keep the bay narrow enough to remain useful, rather than letting it become a deep row of hidden duplicates.
14. Put the daily cleaning kit at the front
Group the few appropriate supplies you use most often near the opening. A small removable caddy or bin can bring them to the work area and return them to their secure storage location when the task is finished.
Keep the kit light enough to carry without bottles leaning or knocking together. Do not leave it unattended where children or pets can reach it. A daily kit should be a convenient selection from the cabinet, not a reason to keep every backup bottle at the front.
15. Keep backups behind their matching products
When labels allow the same storage conditions, place a limited backup supply behind the corresponding product in use. This makes it easier to notice what you already own before buying another bottle.
Maintain access to labels and avoid stacking containers that are not designed for it. Products with conflicting storage requirements need different locations, even if one shared bin looks neater. Keep the reserve quantity small enough that service areas remain accessible.
16. Give dry small tools a shallow compartment
Dry scrub brushes, spare scrub pads, and other small non-food-contact cleaning tools can disappear beneath tall bottles. A shallow compartment keeps them visible and lets you take the needed item without lifting a large mixed basket.
The STORi SimpleSort multi-size set offers small clear trays for dry items. Confirm the tray height, care instructions, and suitability for the contents. These trays have no verified chemical-resistance or spill-containment claim, so use them for the dry tools rather than decanted liquids. View on Amazon.
17. Keep a drying routine outside the closed cabinet
Wet brushes and cloths need the drying and care routine appropriate to their materials before they are put away. A tightly packed closed cupboard is not a useful place to hide damp items after cleaning.
Choose a suitable temporary drying position that avoids dripping on electrical equipment or food-preparation items. Put only dry tools back in their assigned storage. If the cabinet repeatedly smells damp, investigate the moisture source instead of adding a fragrance product or another sealed bin.
18. Store clean cleaning cloths apart from bottle surfaces
Keep dry cleaning cloths in their own clean container or a nearby drawer, rather than loose beneath product bottles. That separation makes them easier to find and prevents the cloth stack from interfering with bottle bases or caps.
If this cabinet is crowded or prone to moisture, move the cloths elsewhere. Keep cloths intended for food preparation or drying dishes in an appropriate separate kitchen-storage area. A convenient location should still suit the cloths’ purpose and care needs.
19. Check the door with every organizer loaded
Test the full door swing after adding a bottle holder, bag dispenser, or shallow rack. The items on the door may collide with a shelf or pipe even when the empty organizer appears to fit.
Open and close slowly, watching both the door-mounted items and the fixed contents. Keep hinge access clear and ensure the latch or safety lock engages normally. If something touches, move or reduce the storage rather than adjusting plumbing or forcing the door shut.
20. Use a removable base tray for easier cleaning
A tray sized for a clear section of cabinet floor can make routine wiping and removal of a small group easier. Choose a material and design suited to the intended contents, and keep it flat without interfering with doors or mounting hardware.
Lift the tray periodically to inspect the surface underneath. Unless the exact product has a verified containment specification for the situation, do not count on it to protect the cabinet from a leak. A tray is an organizing aid; visible moisture still needs attention.
21. Keep filter-service space open
If a water filter lives beneath the sink, check its manual for the clearance needed to replace cartridges and service connections. That space may extend below or beside the filter even when the unit looks compact while installed.
Use small removable storage nearby rather than a permanent rack crossing the service path. Keep replacement parts in a suitable clean location according to their instructions. Do not loosen a filter or reroute a hose to make room for another shelf.
22. Preserve access to disposal equipment
A garbage disposal can occupy much of the upper cabinet space and may have service points that need to remain accessible. Plan storage around the equipment manufacturer’s instructions, with nothing pressing against the housing, wiring, or connected hoses.
Keep supplies away from electrical connections and moving or serviceable parts. If the safe clearance is unclear, ask an appropriate installer before adding a fixed organizer. The space beside the disposal may be useful, but it should not be treated as an empty shelf cavity.
23. Move bulky refills to a suitable alternate location
Large refill containers can consume the entire under-sink floor and block smaller items. If their labels permit it, store them in another secure location with the required conditions, keeping only the working container in the kitchen cabinet.
Do not transfer products into smaller unapproved containers merely to make them fit. Keep original labels and packaging intact. A safer, appropriate storage area elsewhere is more useful than a visually complete cleaning collection squeezed around the drain.
24. Label bins by purpose rather than hiding product labels
A removable label on a bin can help someone find dry tools or spare bags without opening everything. Place the label on the visible front, and use plain categories that make sense to everyone who puts supplies away.
Leave each product’s original label visible and readable inside its area. A bin name cannot replace handling directions or indicate that chemicals are compatible. If the category changes, update the label so the system keeps reflecting what is actually there.
25. Keep the cabinet easy to empty and inspect
Before finishing, check that you can remove each bin and reach the cabinet floor without dismantling the entire system. A collection of small accessible zones is useful when you need to inspect a connection or wipe up ordinary residue.
Revisit the layout when supplies change or you notice dampness, snagging, or a door that no longer closes freely. Keep stored weight within every component’s instructions and the cabinet’s support. The most effective arrangement leaves room for both daily use and maintenance.
Start by clearing one side of the cabinet and checking both storage space and service access. Add only the pieces that fit those needs, then test everything with the doors closed and organizers loaded. Subscribe to the Havelyo email list for more practical small-space decorating and organization ideas.