
Closet Organization
24 DIY Closet Organizer Ideas You Can Customize to Your Space
A custom closet does not have to start with lumber and power tools. Often, the most useful DIY organizer is a simple divider, a labeled container, or a familiar storage piece arranged to fit the way you get dressed.
These 24 DIY closet organizer ideas focus on low-tool projects and adaptable setups you can try in an everyday bedroom closet. Begin with one drawer or shelf, reuse suitable supplies, and measure before buying anything. For mounted parts or furniture, follow the maker’s installation and anchoring directions and check rental restrictions.
This article contains affiliate links. If you buy through them, Havelyo may earn a commission. As an Amazon Associate I earn from qualifying purchases.
1. Make paper templates before you make organizers
Cut paper or lightweight cardboard to the footprint of a bin, drawer insert, or small floor unit you are considering. Set the templates in the closet and mark where the door and drawers travel. This lets you compare arrangements without committing to a purchase or a permanent installation.
Write the usable measurements on each template, including height clearance. Try the layout with clothes hanging above it, because an empty closet hides sleeve and hem conflicts. Keep the successful template with your shopping notes; the interior dimensions of the organizer will still need a separate contents-fit check.
2. Turn clean shoeboxes into sock compartments
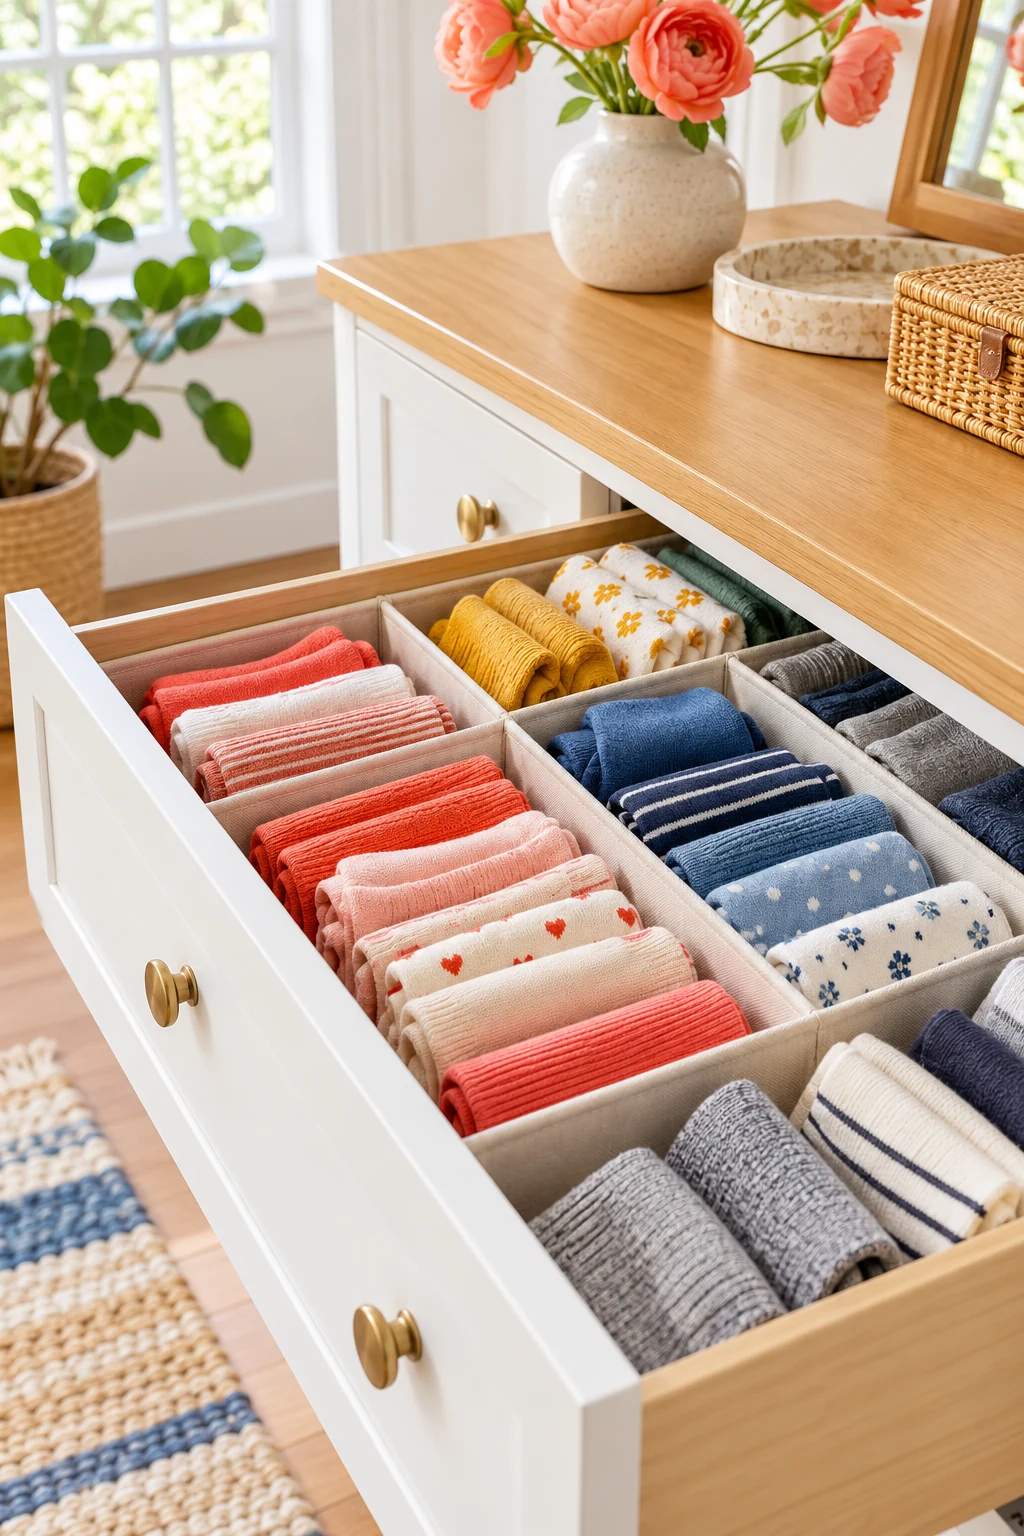
Use clean, smooth shoebox bottoms to divide a roomy drawer into categories such as everyday socks, workout socks, and tights. Test them with the drawer closed before filling them. A box that sits below the drawer front may still catch the frame above it.
Choose boxes that fit the drawer without being crushed together, and remove rough tape or staples. Leave one open section for items that do not suit little compartments. If a cardboard box gets damp, damaged, or rough at the edges, replace it rather than using it indefinitely beside clothing.
3. Build a removable cardboard grid for a drawer
For an unusual drawer width, make a light divider grid from smooth cardboard strips. Measure the interior, cut the strips below the drawer’s closing clearance, and slot them together at the intersections. Test an empty grid before adding small soft accessories.
Keep the cells generous enough that you can remove an item without tearing the dividers. Cover or smooth any rough cut edges, and use the grid only as a separator inside the drawer. It is not structural support, and it should be replaced if it bends or begins catching fabric.
4. Customize broad drawer lanes with adjustable dividers
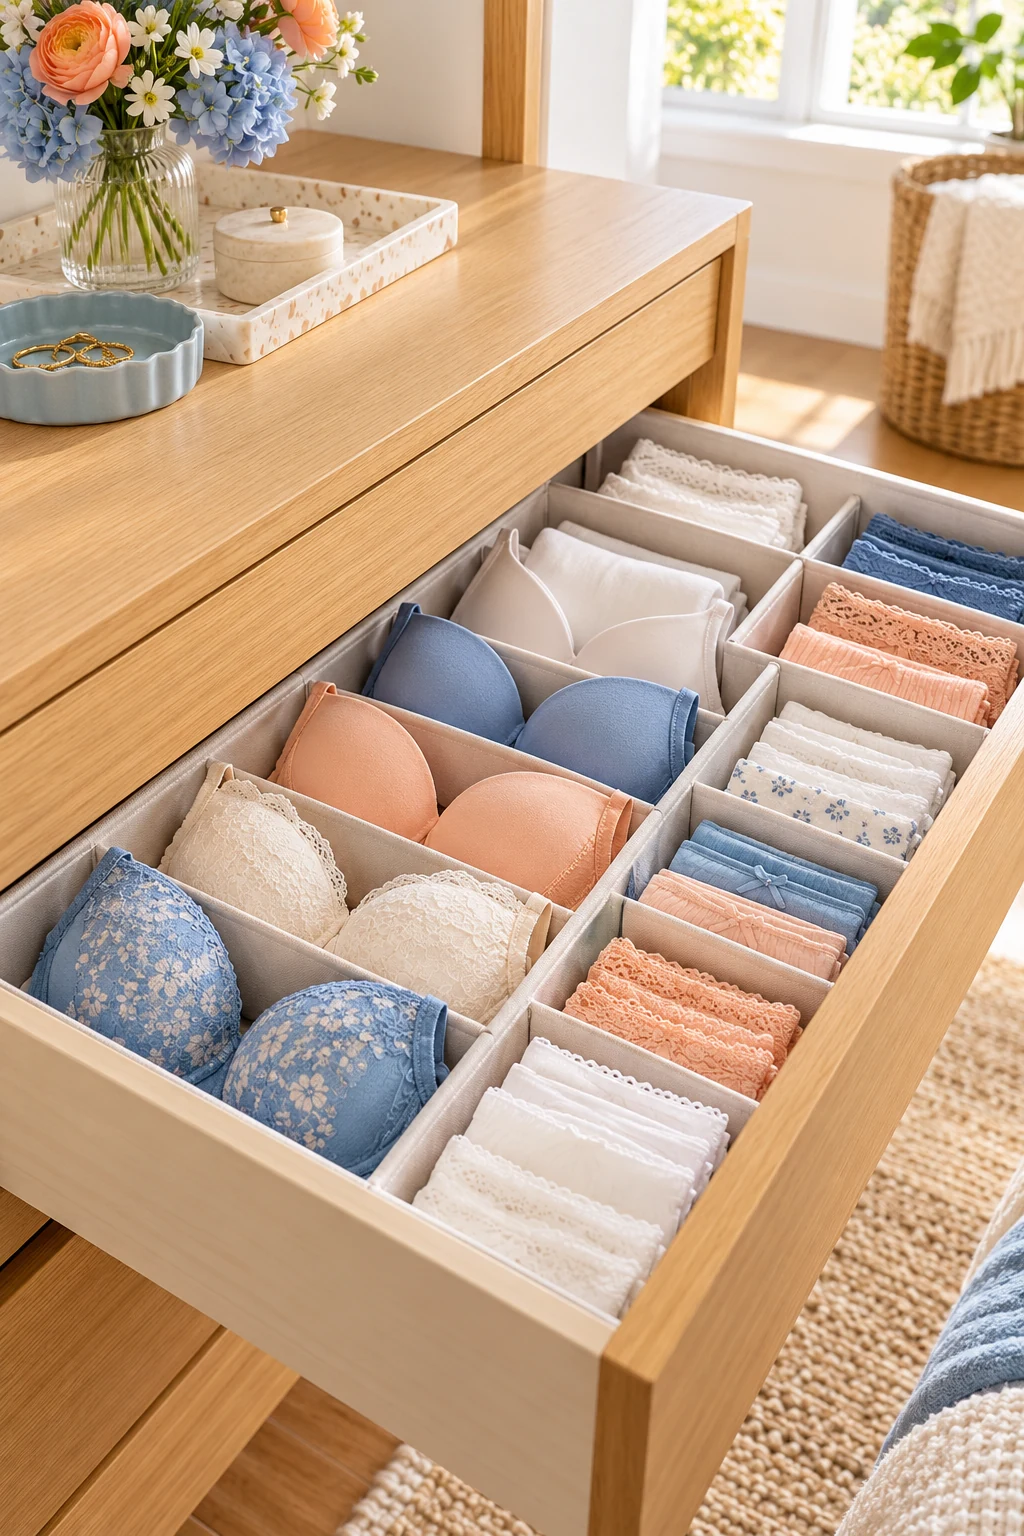
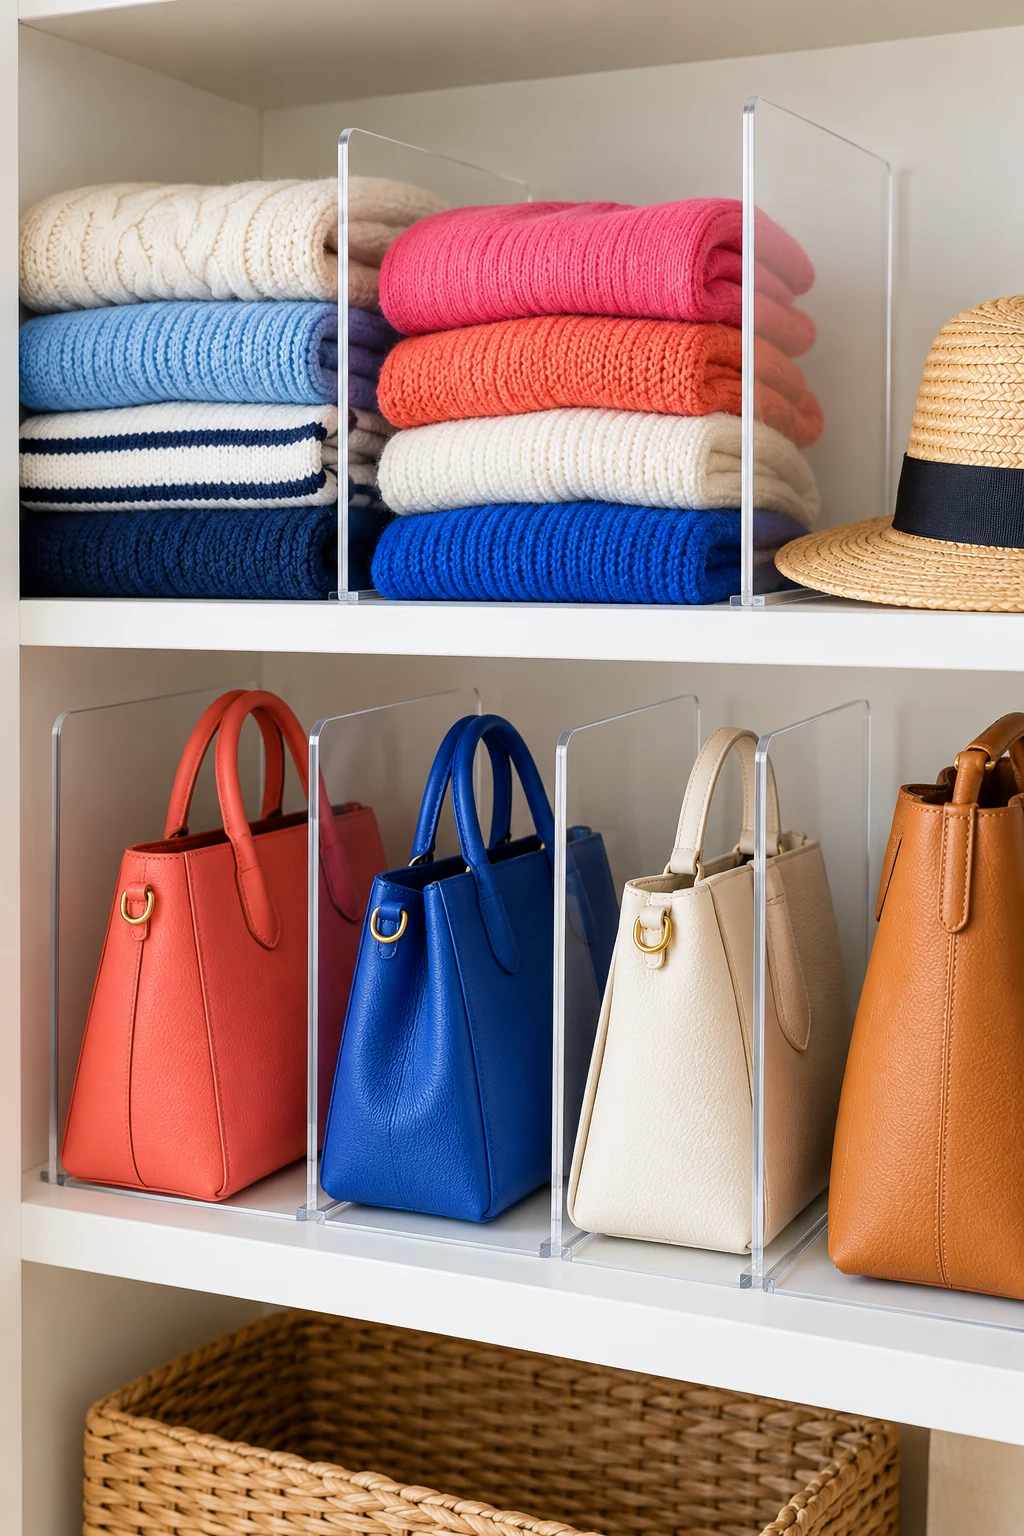
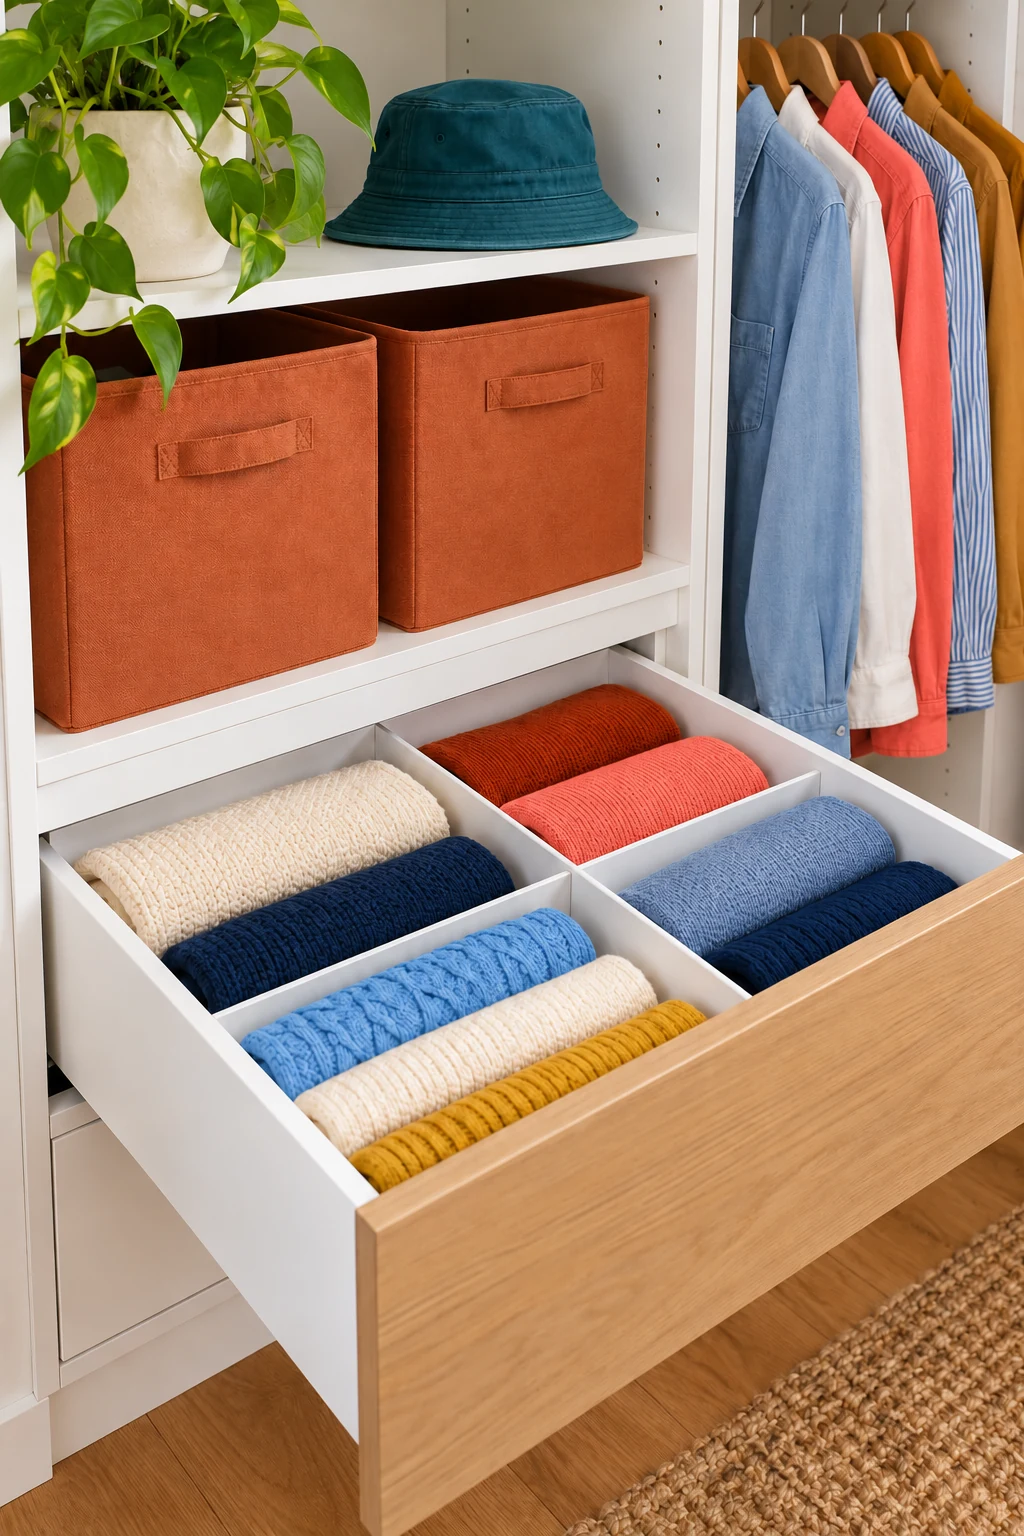
Some drawers work better with two or three wide lanes than dozens of small cells. Set the lane width around a folded T-shirt, leggings, or a lightweight sweater, then leave enough space for your hand. This gives you a layout you can rearrange when clothing categories change.
OXO Good Grips Expandable Dresser Drawer Dividers offer a ready-made part for this custom arrangement. The manufacturer lists an 11-to-17-inch extension range and a 4-inch height. Check your drawer’s construction and clearance, and use the tension mechanism as directed rather than forcing it against delicate sides. View on Amazon.
5. Assemble a lift-out fabric-bin drawer
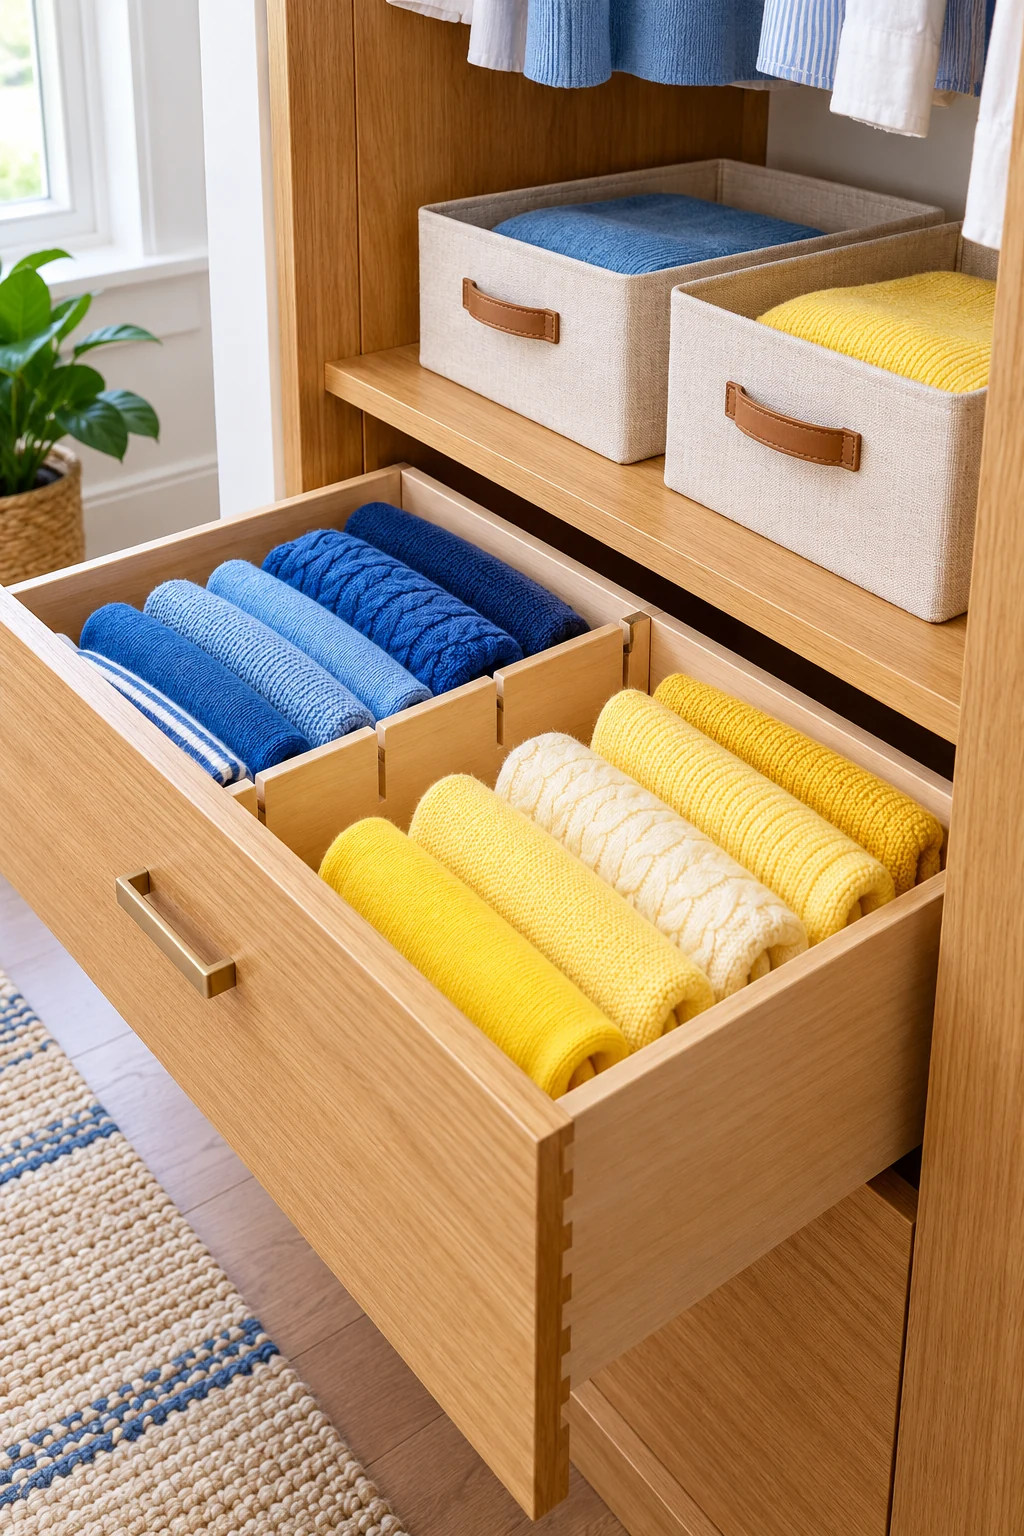
Group small fabric bins inside one drawer so each category can lift out when you sort laundry. This is especially useful if a drawer has more depth than your folded accessories need. Arrange the bins like a loose puzzle and preserve space for the items that are awkwardly shaped.
The Simple Houseware six-bin fabric set provides mixed open-bin sizes for a customizable arrangement. Check every piece against the drawer instead of trying to use the full set together. Empty space between bins is fine when it makes them easier to grip and keeps their sides from bulging. View on Amazon.
6. Add removable labels to the containers you own
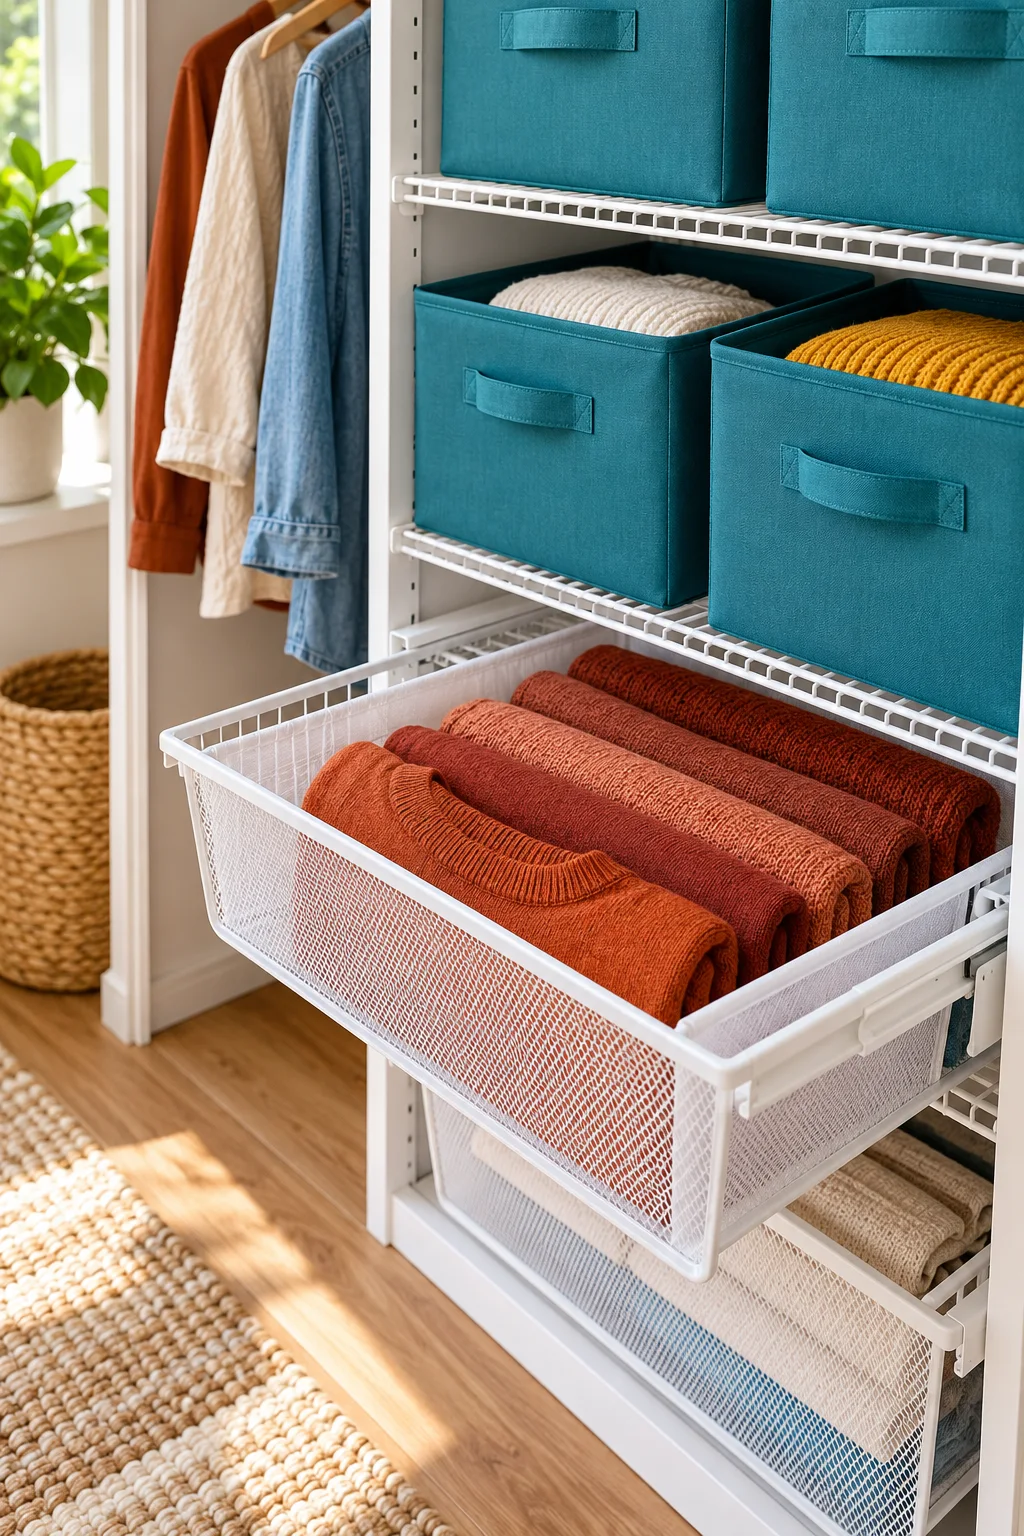
Give mismatched baskets a shared system with simple cardstock labels. Write short category names that tell you where something belongs, such as scarves or spare tees. Slip labels into existing holders or use a removable attachment suited to the container’s surface.
Keep the label on the side facing the doorway. Test the attachment before applying it to a delicate finish, and avoid dangling cords that catch clothing. Labels are easiest to maintain when they describe a useful category; a detailed inventory of every item will become outdated much faster.
7. Make photo cards for hidden seasonal storage
Photograph the contents of an occasional-use container before closing it, then keep a small printed copy with its outside label or save it in a clearly named phone album. A visual reminder can help distinguish two otherwise identical boxes without opening both.
Update the picture when the contents change. Keep private information and readable shipping labels out of the frame, and use a simple container number to connect the image to the right box. The card is an inventory aid; you still need a container and location appropriate for the stored items.
8. Cut a folding guide for one shelf width
Use a clean piece of smooth cardboard as a temporary guide for folding everyday shirts to fit a particular shelf or drawer. Make it a little narrower than the usable space so the finished fold can be lifted out. Try one garment before making guides for other categories.
Remove the guide after folding and store it with your laundry supplies. Do not force bulky knits into a tight shape simply to match the guide. Clothing care and comfortable retrieval matter more than identical rectangles, so use a different fold or shelf width for pieces that need it.
9. Create shelf zones with movable category cards
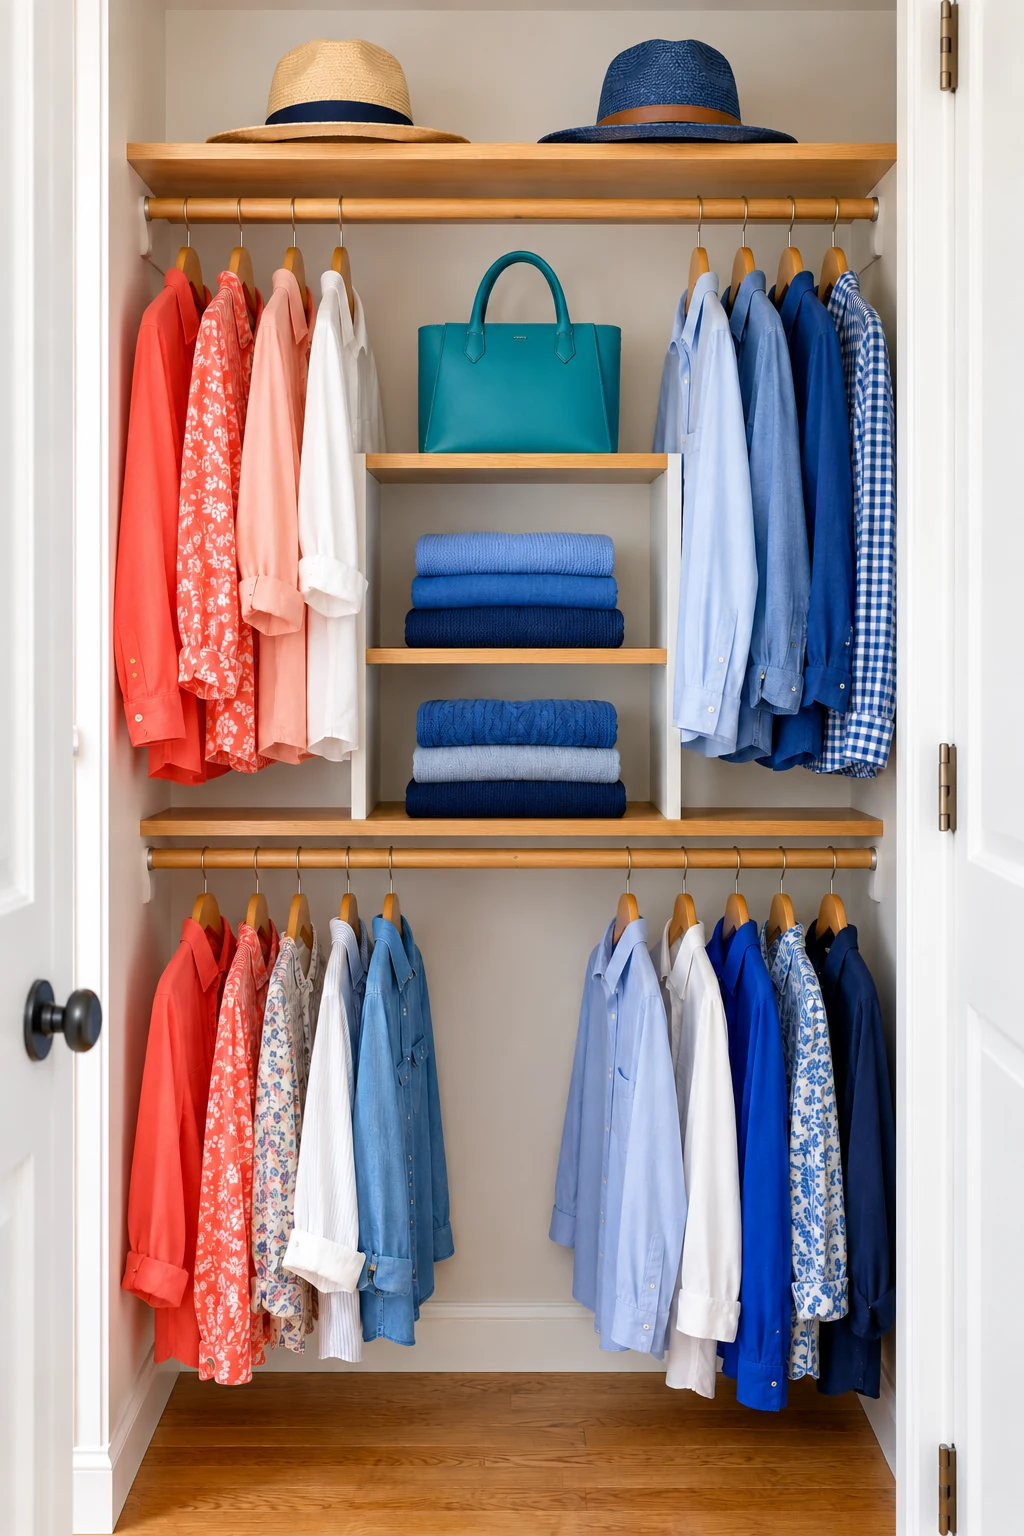
Place small freestanding category cards at the back of a shelf while you test how much room each group needs. A folded cardstock tent can mark tees, sweaters, or bags without sticking anything to the furniture. Move the markers as you work through a normal laundry cycle.
Once the categories settle, keep only the markers that genuinely help. Position them where they cannot tip into clothing or block your grip on a stack. This is useful for testing a shared closet before buying dividers, especially when different people need different amounts of shelf width.
10. Build an accessory station from separate shallow trays
Arrange a few small trays inside a drawer or on a reachable shelf to separate belts, a watch, and everyday pocket items. Start with clean trays you already own and adjust the layout around your actual collection. Keep delicate accessories in storage suited to their materials.
Vtopmart’s 25-piece clear drawer-organizer set is an option if you need several small tray shapes. Use only the pieces that serve a category, and measure their individual footprints and loaded height. Avoid filling every gap with another tray if that makes your daily items harder to pick up. View on Amazon.
11. Sew simple pouches for loose everyday accessories
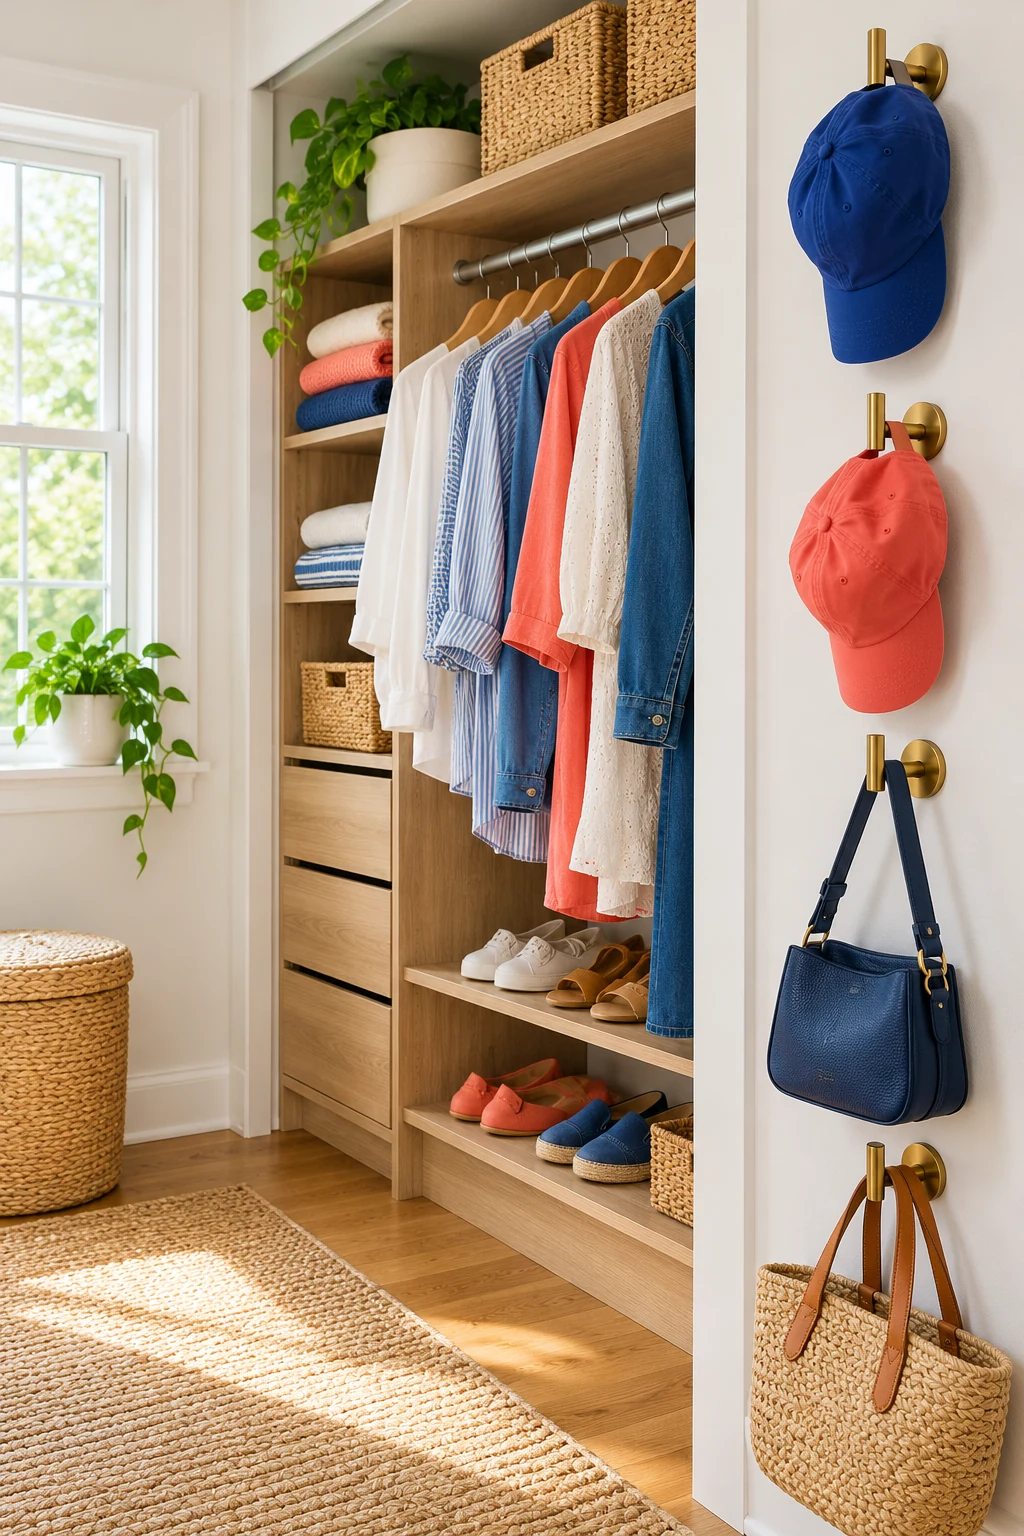
If you enjoy basic sewing, make a few small pouches from clean fabric suitable for the items inside. Size each one around a defined group, such as spare hair ties or travel accessories, and leave room to see and remove the contents. An existing drawstring bag can serve as a pattern.
Keep seams, closures, and loose threads smooth so they do not catch nearby clothing. Label the pouch and store it in an open bin rather than adding a hidden layer inside several other bags. For delicate jewelry or specialty materials, use the item maker’s storage guidance instead of assuming any fabric pouch is suitable.
12. Repurpose a fabric tote as a light sorting bag
A clean fabric tote can become a temporary home for clothes that need to move to another room or be reviewed. Choose one that stands comfortably inside a floor basket or on a stable low shelf. This gives the sorting category a limit and keeps it separate from clothes ready to wear.
Avoid hanging a heavily filled tote from a small hook just because the handles make that easy. Keep its weight manageable and empty it at a regular point in your routine. If the tote becomes permanent overflow, review its contents before adding another bag beside it.
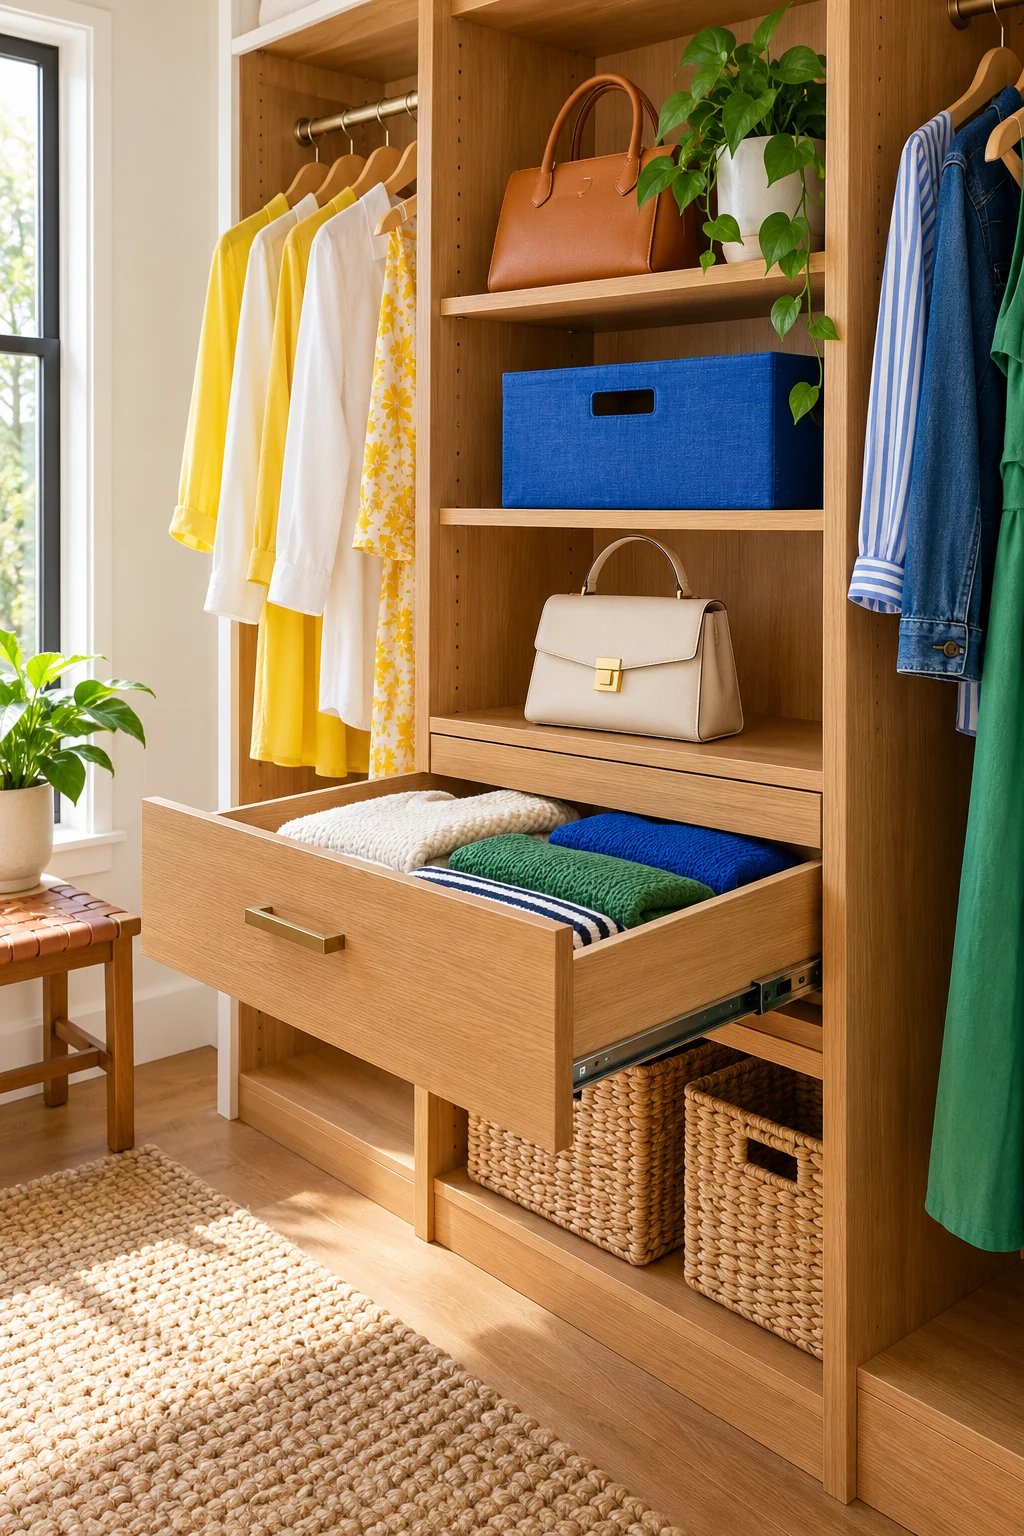
13. Make labeled kits inside a hanging organizer
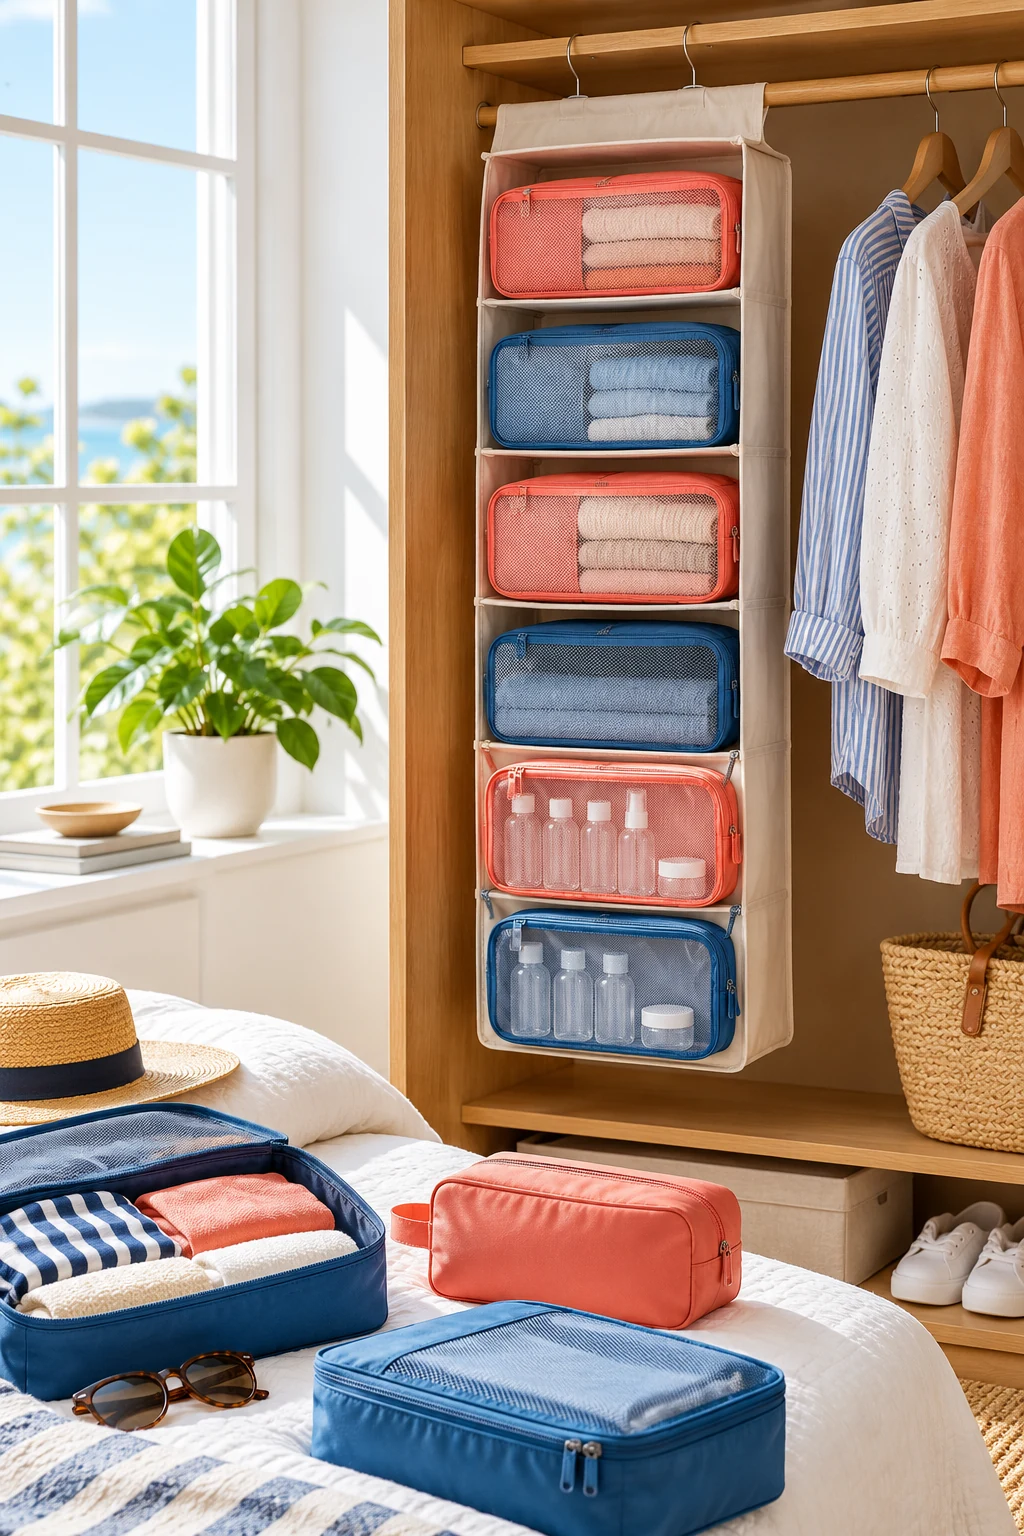
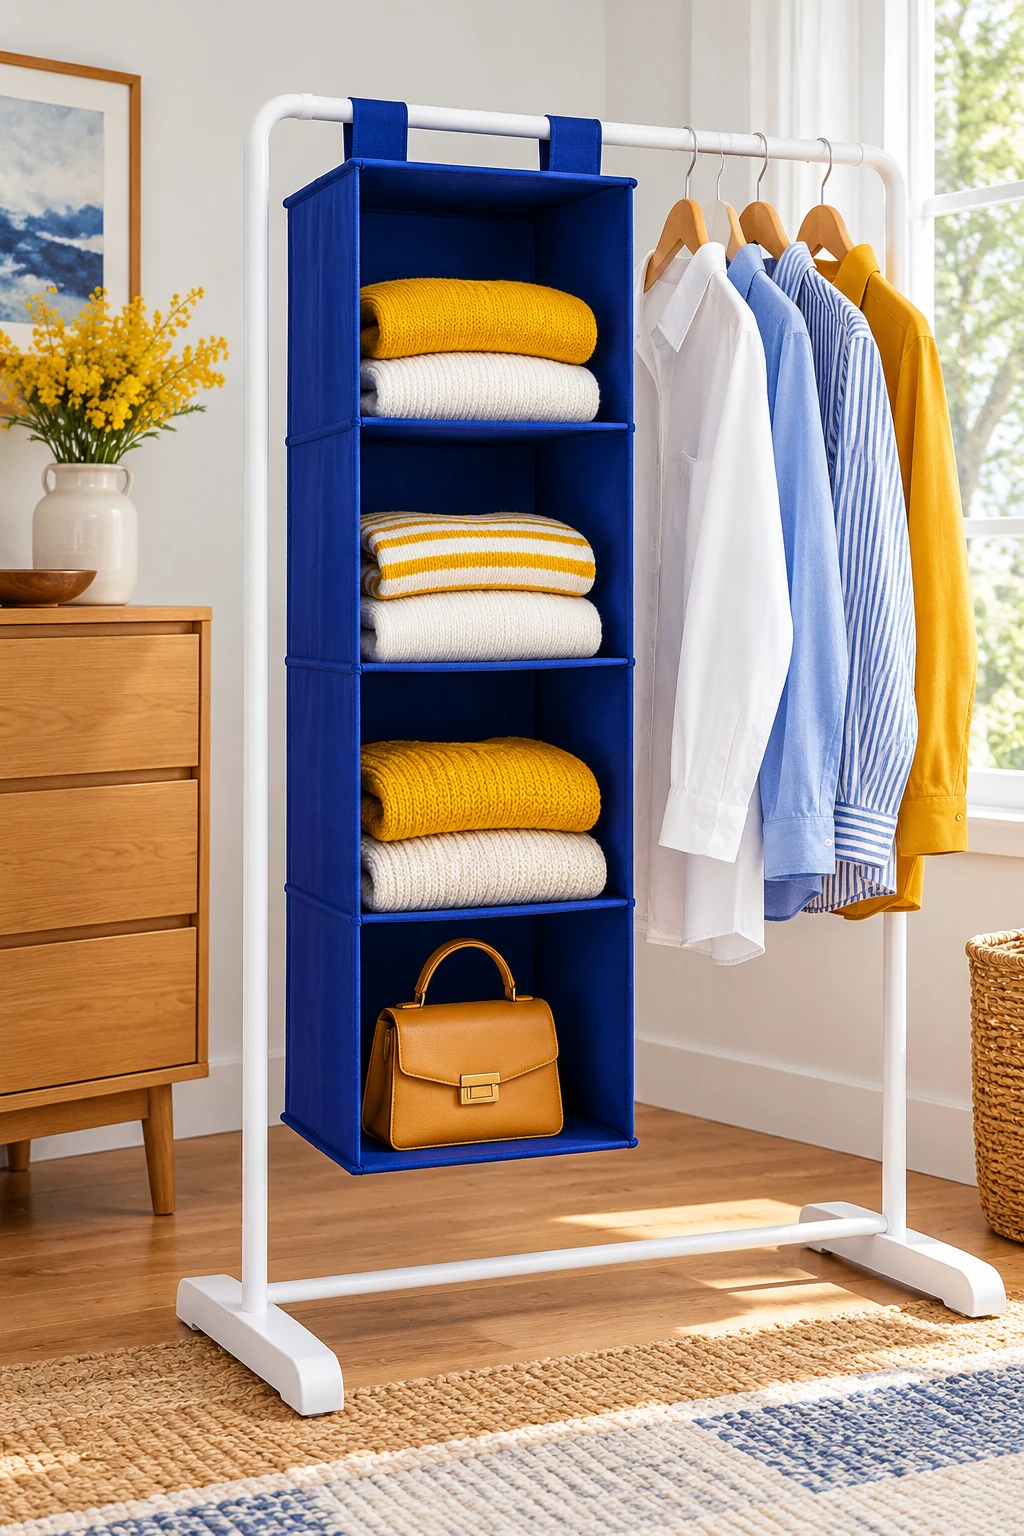
A fabric hanging organizer can become a custom set of mini stations. Give each compartment a clear job, such as workout clothes, lounge tees, or tomorrow’s light layers. Put a small removable label on the compartment edge only if it helps the person using the closet.
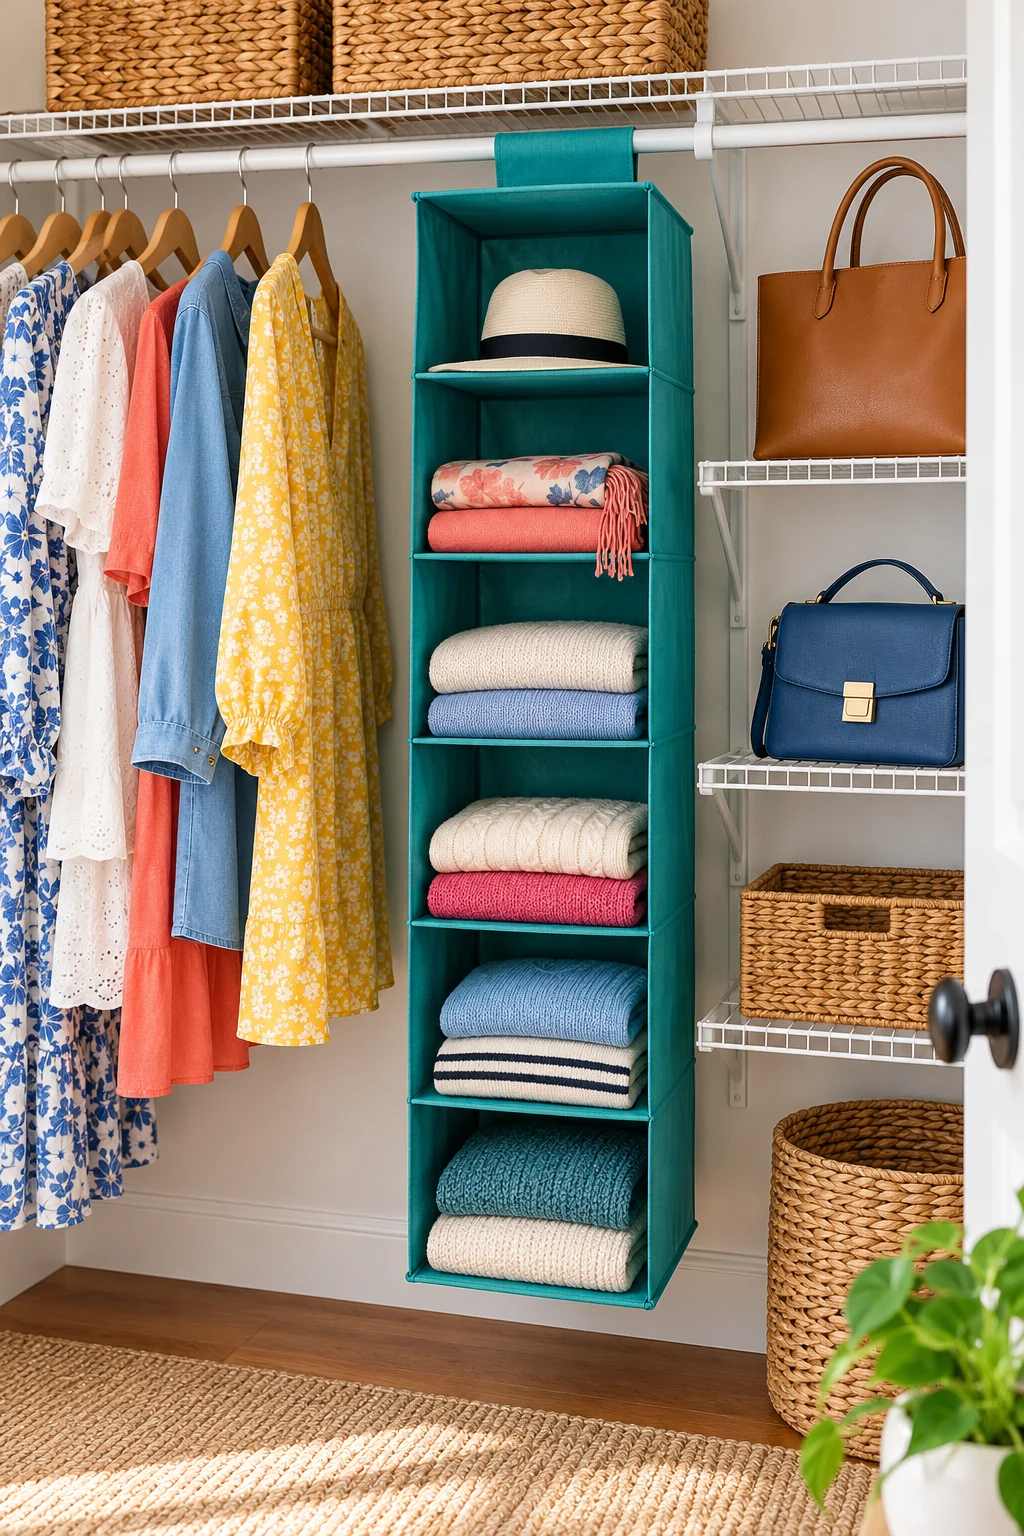
The StorageWorks 6-Shelf Hanging Closet Organizer supplies the ready-made cubbies for this DIY system. Check attachment and load instructions, including the existing rod’s capacity. Keep contents light and avoid letting labels, pouches, or clothing hang across the openings where they make retrieval awkward. View on Amazon.
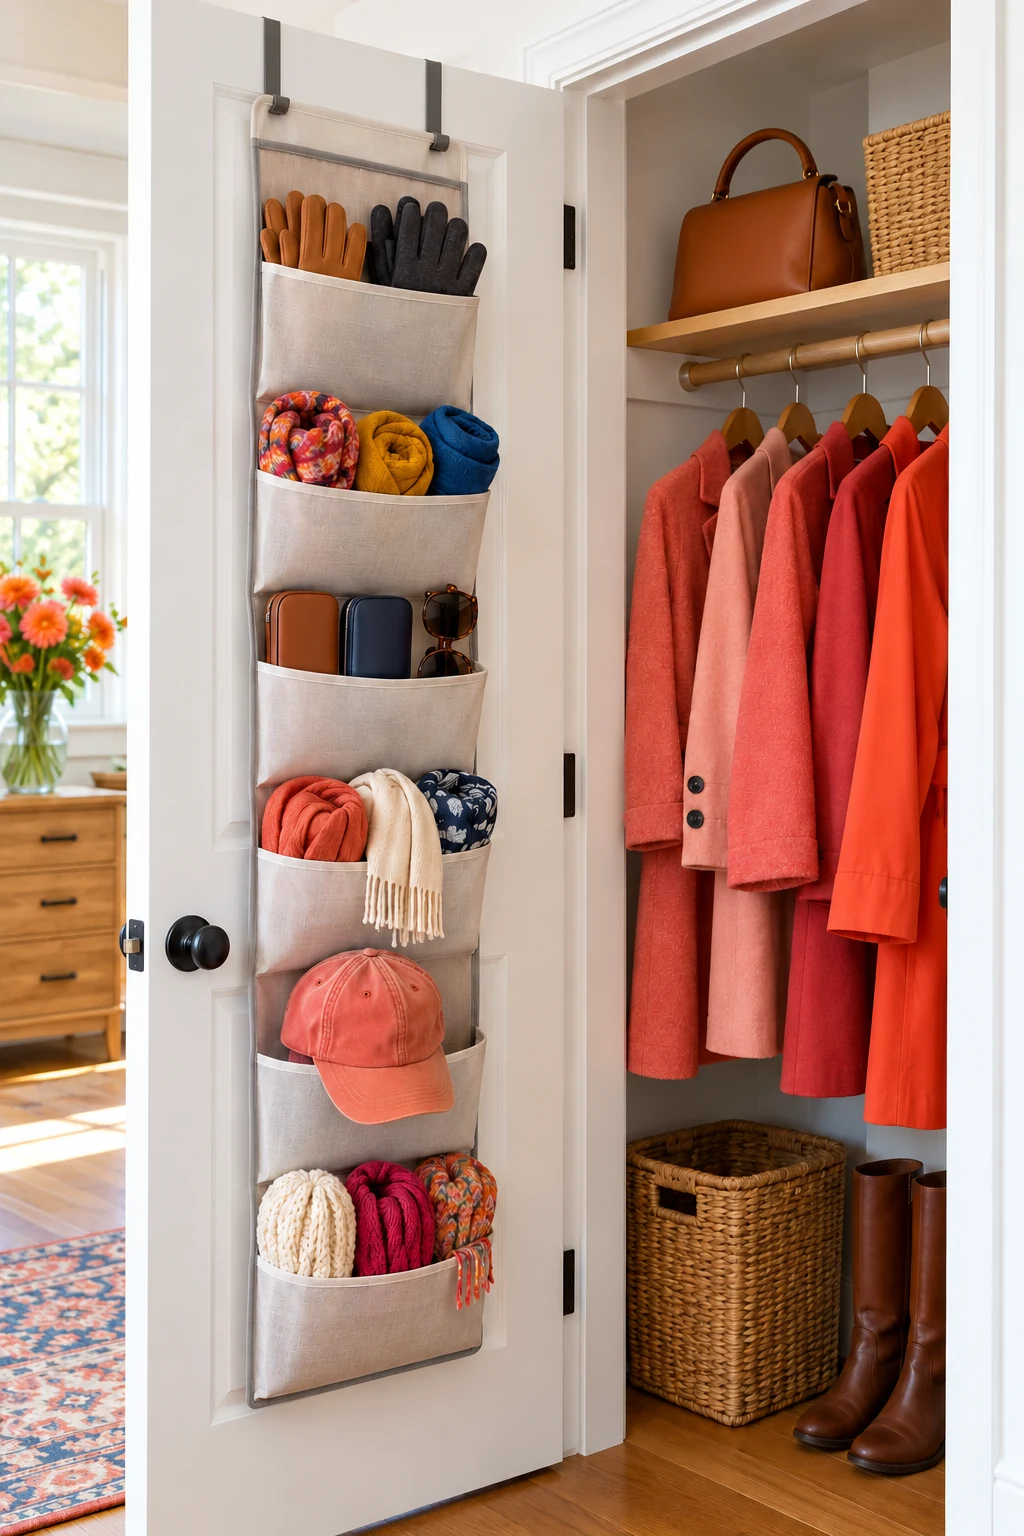
14. Fit a second hanging level around short clothes
Customize the unused area beneath shirts with an adjustable hanging-rod accessory. Lay out the short garments on their hangers first, then set the lower level where neither row touches the other. Keep a separate uninterrupted bay for pieces that need their full length.
The Simple Houseware Adjustable Closet Hanging Rod hooks over a compatible existing rod and has a listed 18-to-30-inch horizontal range. Follow its assembly and load guidance and check the original supports. Treat the added rail as part of the same loaded system, rather than assuming another bar creates unlimited capacity. View on Amazon.
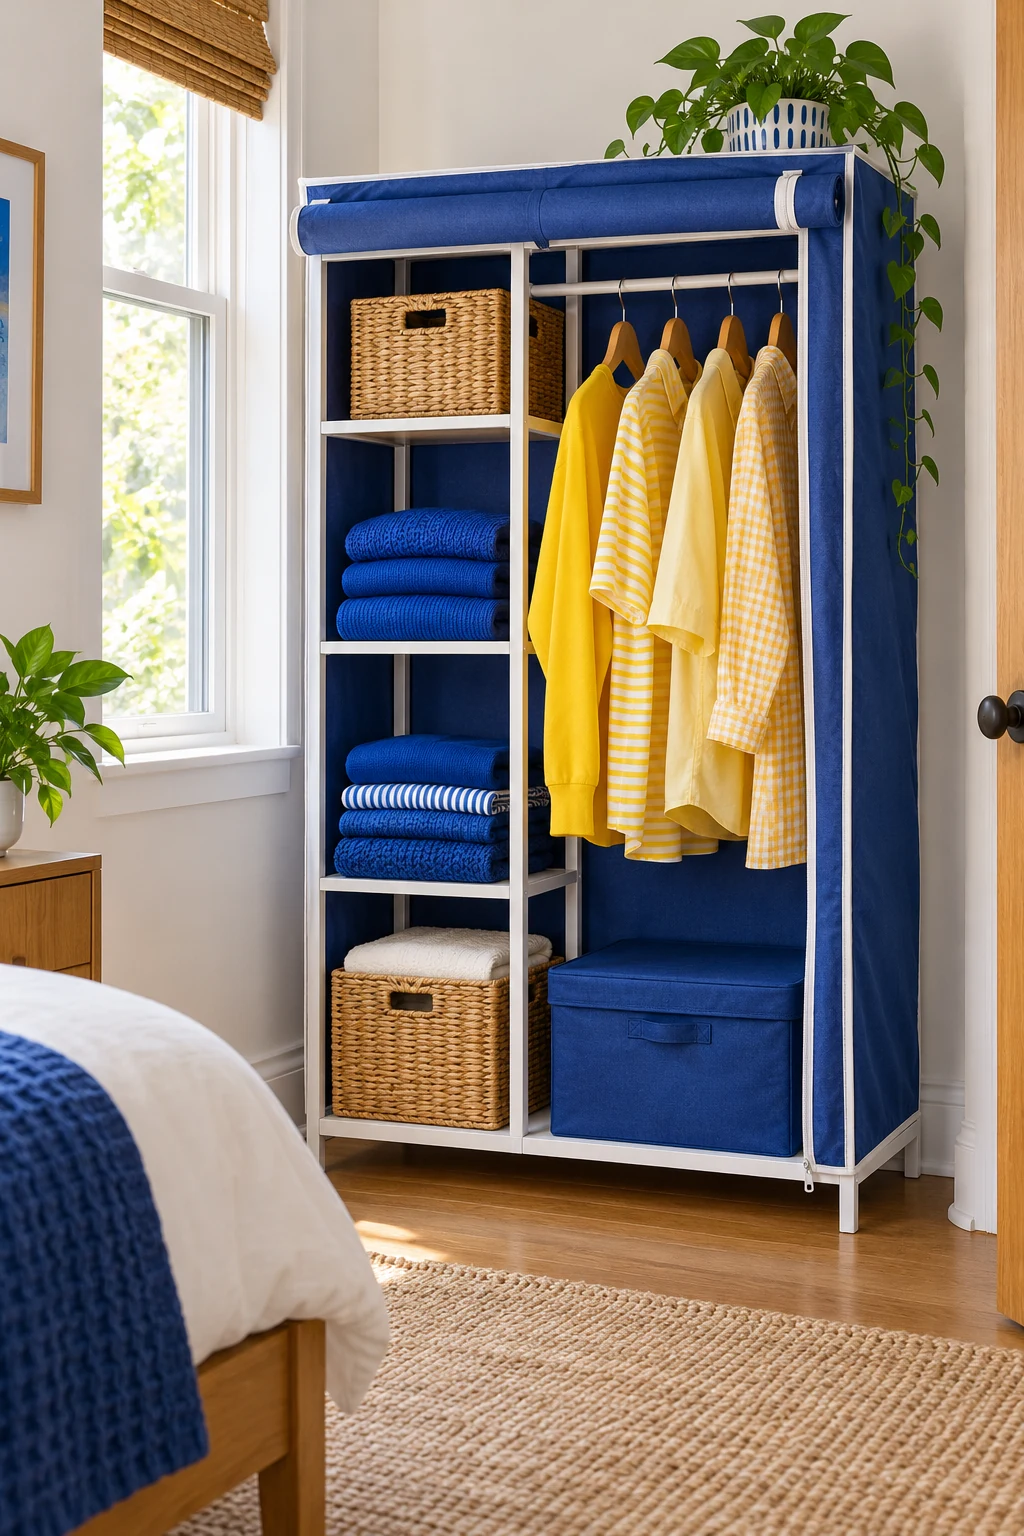
15. Set custom sweater widths with slide-on dividers
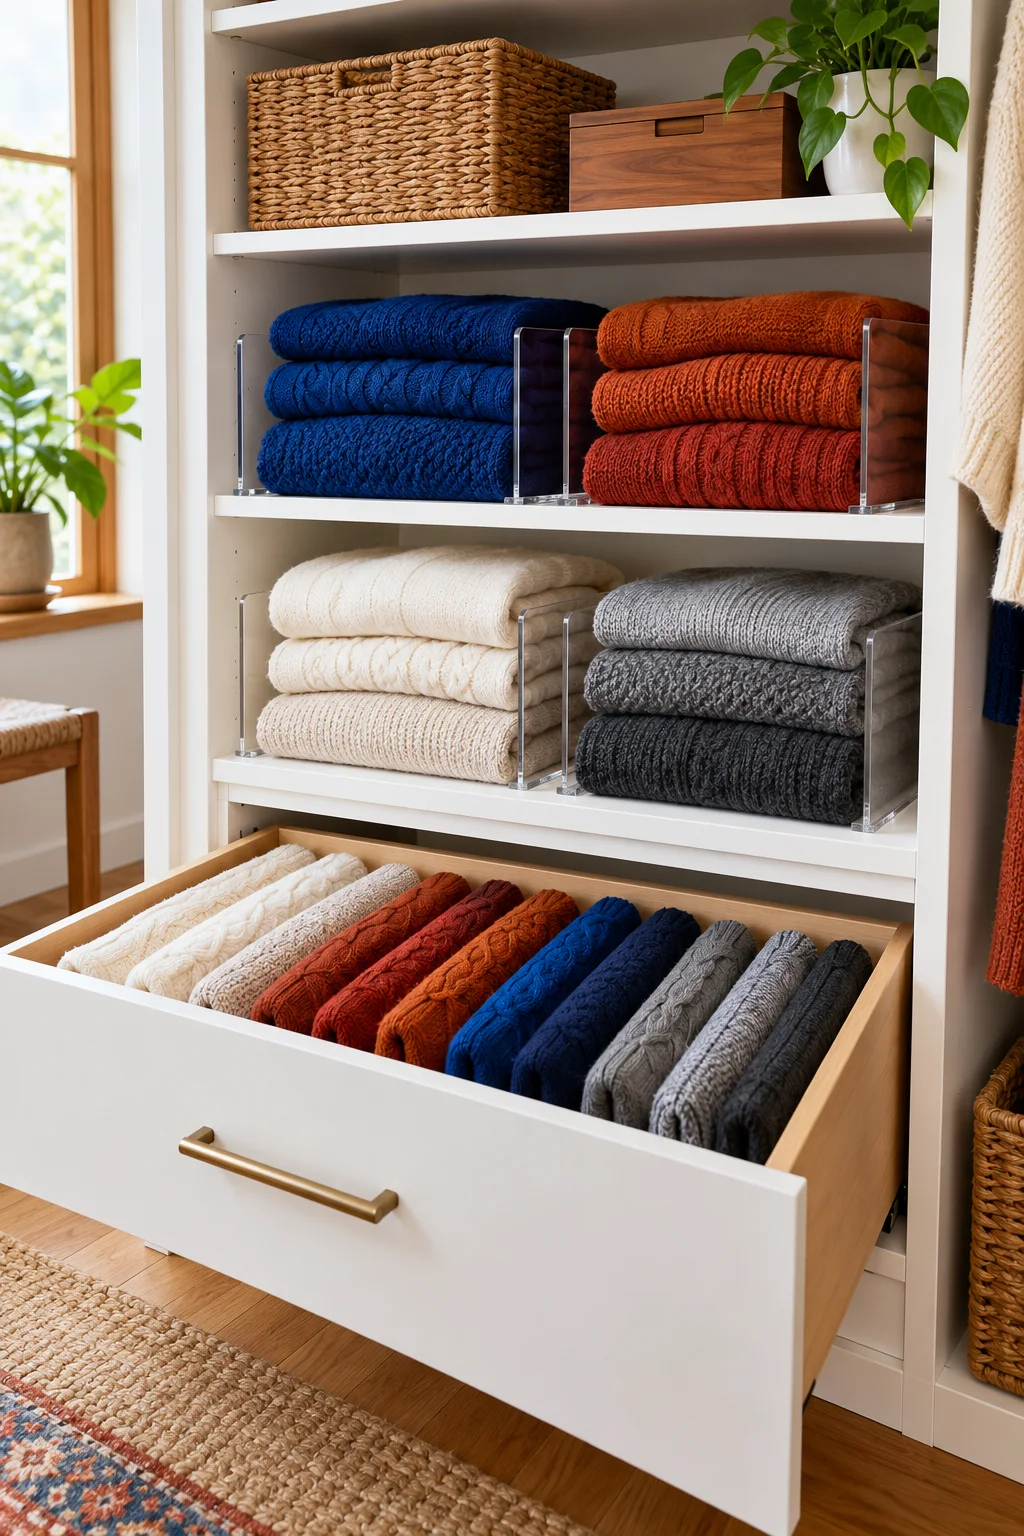
Add movable shelf dividers where folded categories repeatedly lean into one another. Space them around the actual width of your sweater stacks, leaving enough room to slide your hand alongside a pile. A short stack with a little breathing room is easier to use than a tightly packed tower.
LYNK Tall White Shelf Dividers slide onto compatible solid wood shelves up to 7/8 inch thick. Measure the shelf edge and verify the fit before pressing them into place. Do not adapt this particular style to wire shelving or use it as a substitute for missing shelf supports. View on Amazon.
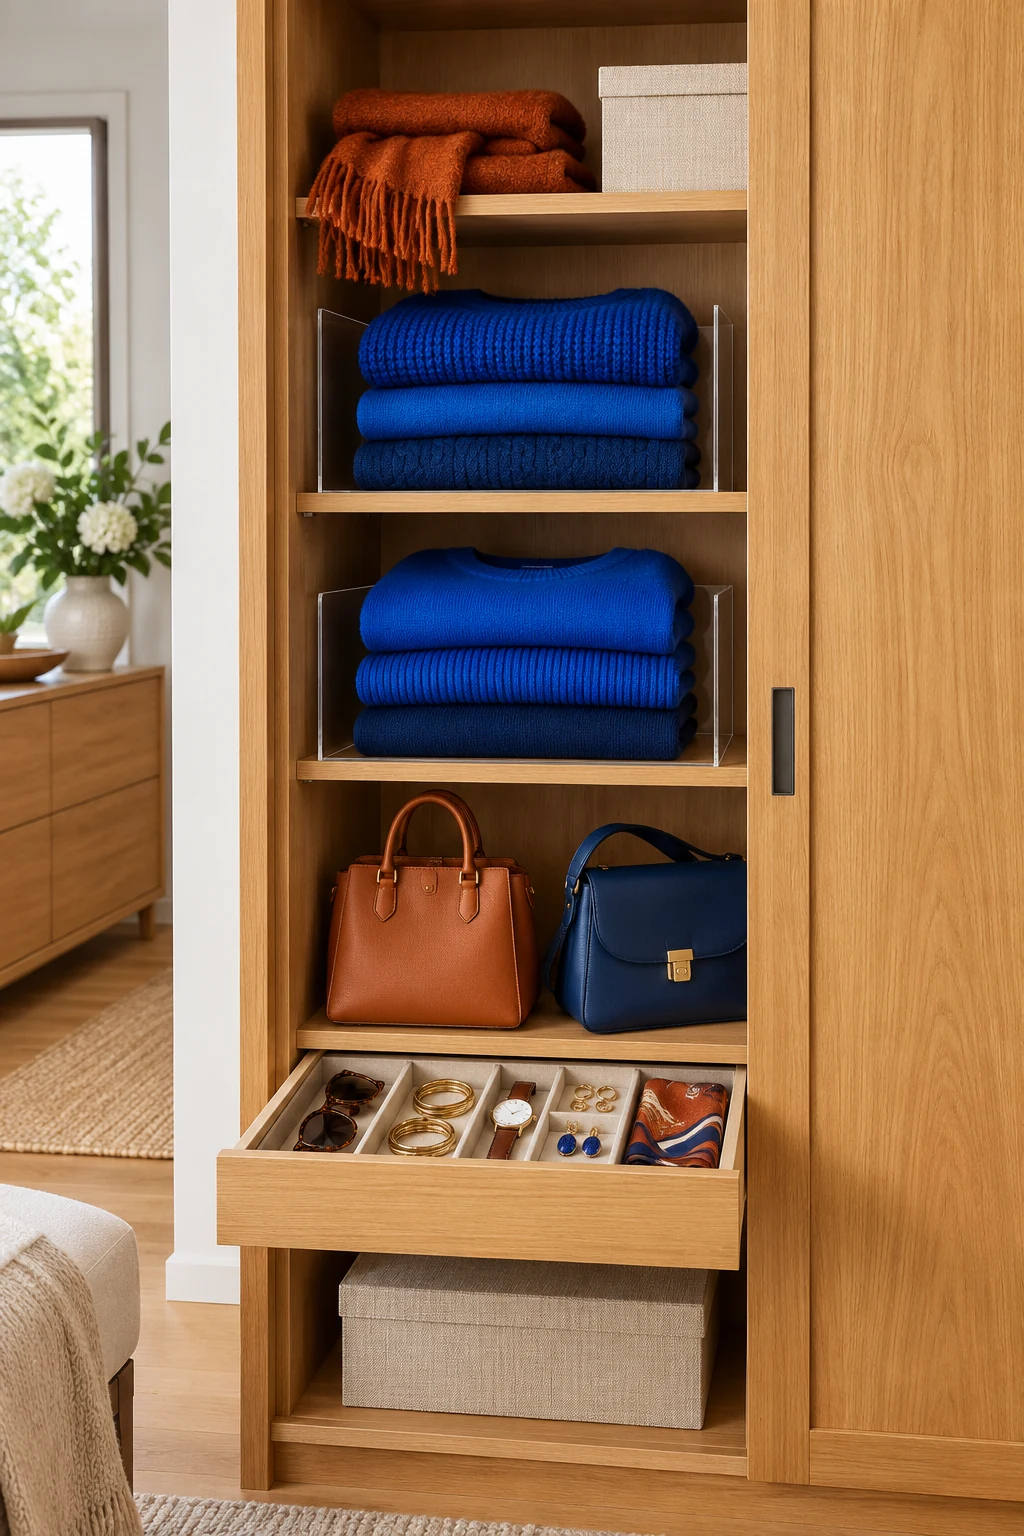
16. Trim a compatible liner for a wire shelf
A shelf liner can give folded small items a continuous surface over wire gaps. Measure the shelf’s usable depth and the area you want to cover before trimming anything. Keep the front edge neat and follow the liner maker’s directions for fitting it around the shelf shape.
ClosetMaid’s 1126 liner roll is a plastic option listed for 12-inch-deep ClosetMaid wire shelves. Match the exact shelf, rather than assuming every wire system has the same profile. A liner changes the surface; it does not strengthen the shelf, correct loose supports, or increase the allowed load. View on Amazon.
17. Turn door pockets into a labeled accessory grid
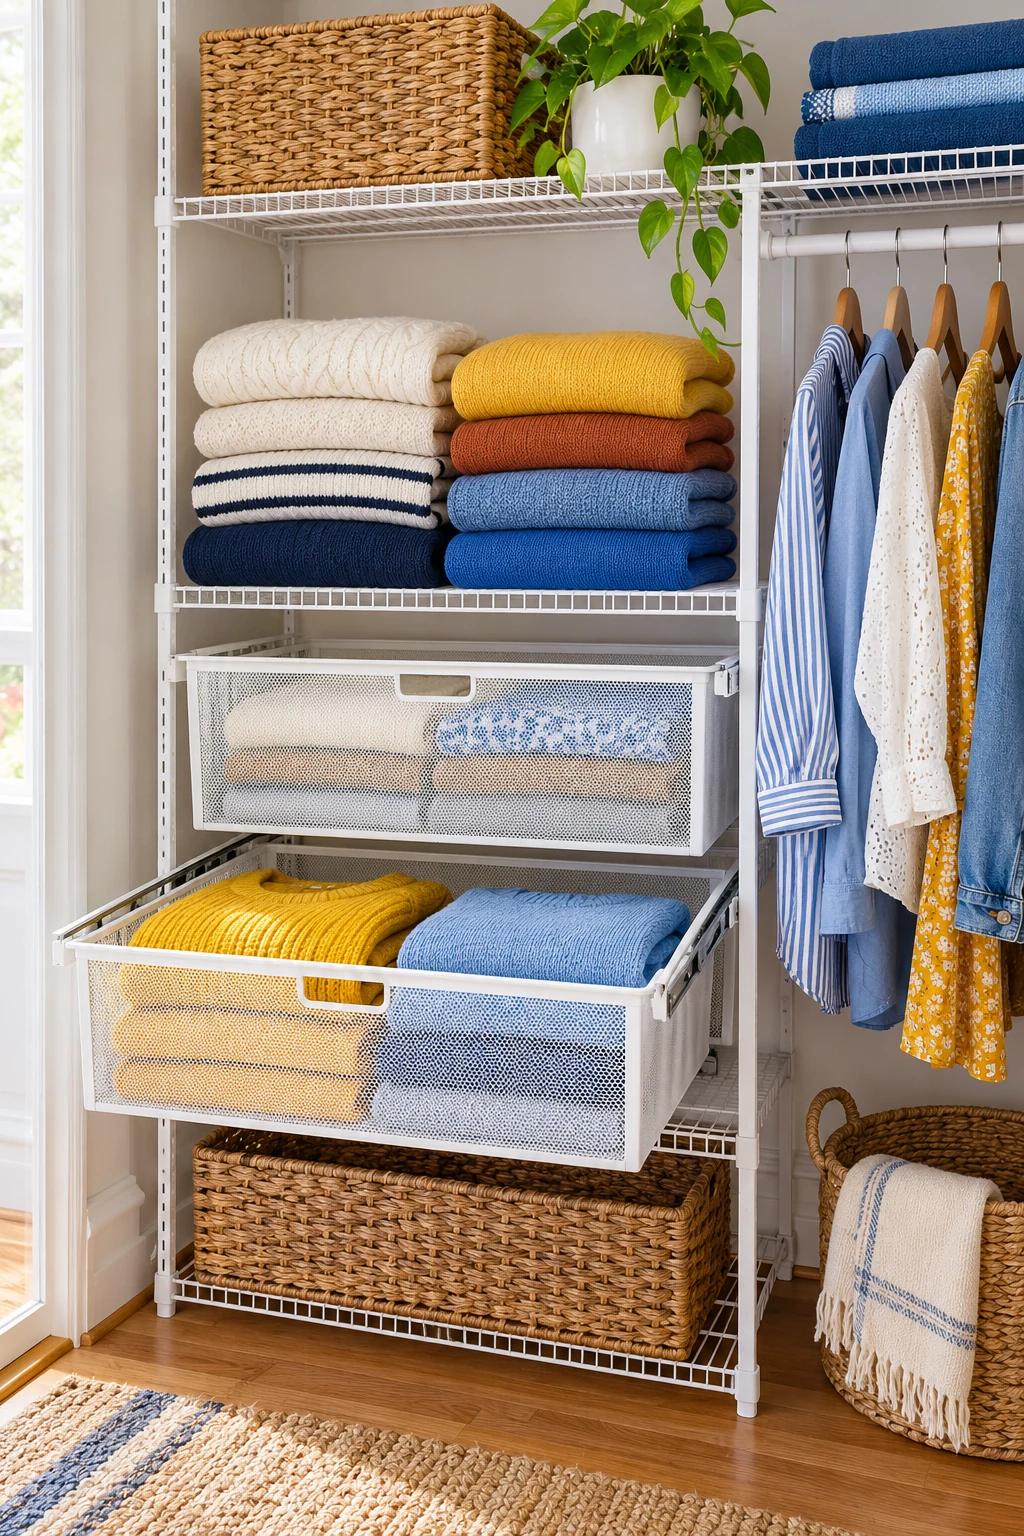
Use a suitable over-door organizer as a custom grid for small soft accessories. Group items by how you reach for them, then add simple removable labels above the relevant pockets. Try the arrangement lightly filled first so you can check the door’s movement and the pocket openings.
The Simple Houseware 24-Pocket Over-the-Door Organizer offers clear pockets for this setup. Check door thickness, top clearance, and the inside closet depth before using it. Keep bulky or sharp objects elsewhere, and do not assume that a pocket large enough to accept an item can support its weight. View on Amazon.
18. Use a sturdy hanger to group a few scarves
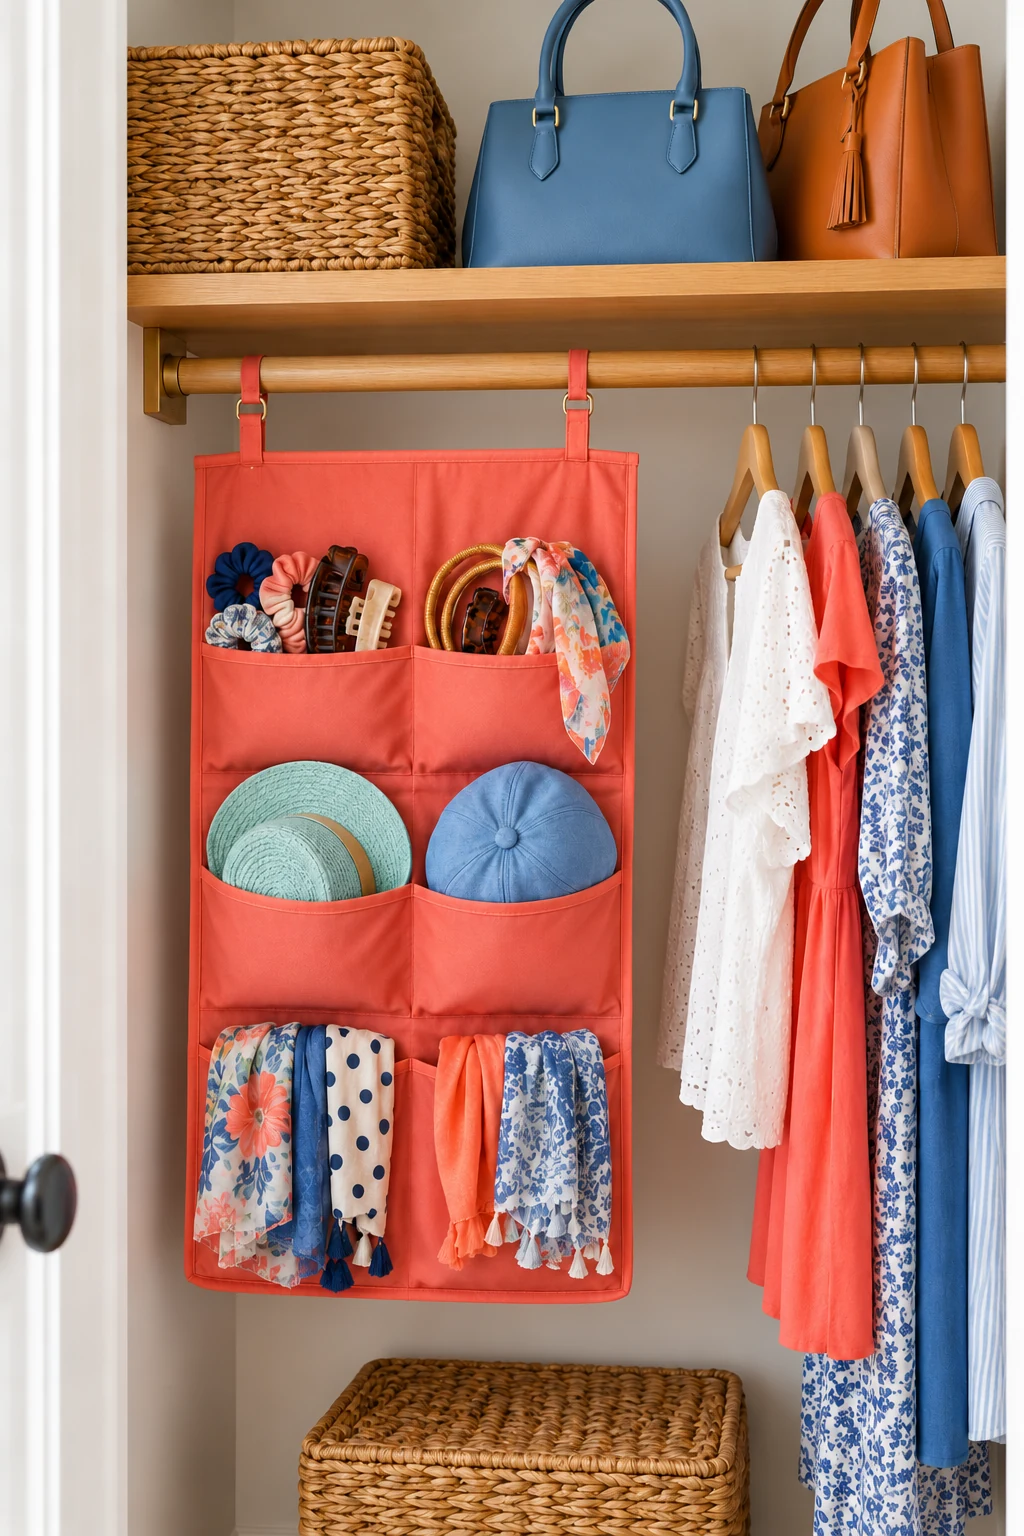
An appropriate hanger can hold a small selection of everyday scarves together. Drape each loosely so you can see its color and remove it without undoing the entire group. Choose a smooth hanger shape and check the scarf maker’s care instructions when the fabric needs special treatment.
Keep the group small enough that it does not turn into a dense knot. Avoid makeshift hardware or rough clips that could snag the fabric, and do not load a light hanger beyond its intended use. This works best for a few frequently worn pieces rather than an entire collection.
19. Make a belt tray with removable sections
Use a shallow open box or tray to give belts a dedicated home. Arrange them loosely in the position their care guidance allows, then use clean small boxes to separate buckles or delicate finishes when needed. Check that nothing sharp presses against a neighboring belt.
Keep the tray shallow enough that you can identify each item without digging. If it lives inside a drawer, close the drawer slowly with the belts in place to check clearance. This project is easy to change as your collection changes, and it avoids fixing permanent compartments around today’s exact belt sizes.
20. Test a smooth file holder for small clutches
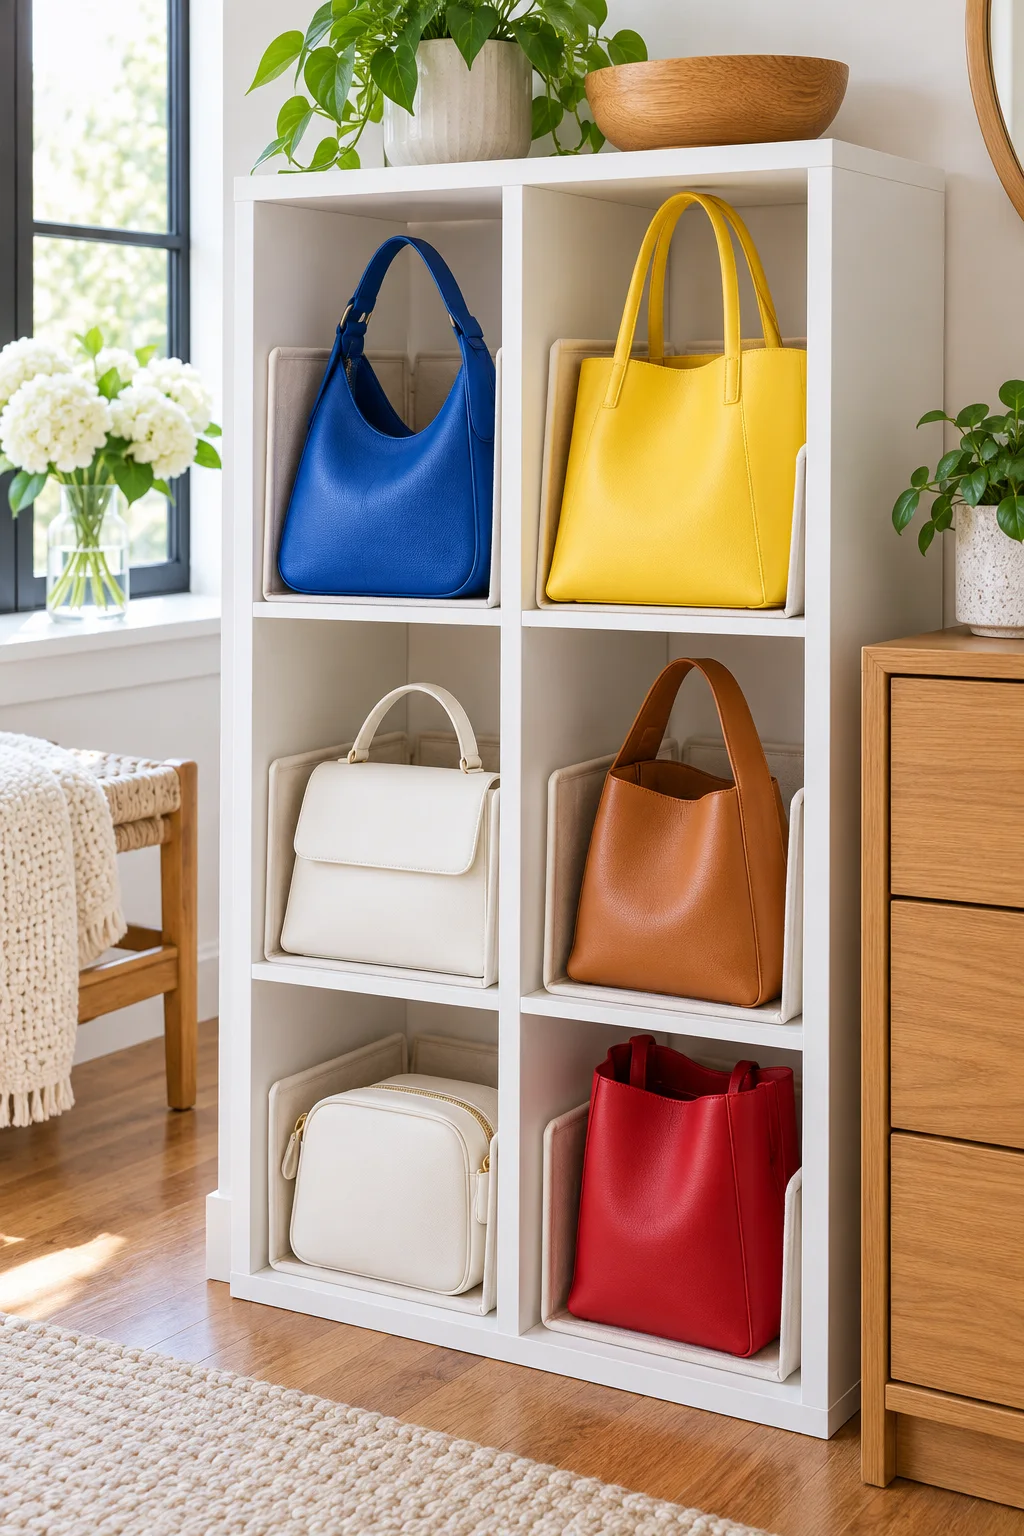
A spare desktop file holder may work for a few small clutches if its slots are wide enough and its edges are smooth. Check the fit with the bag’s normal shape, including clasps and embellishments. Put the holder on a stable shelf where you can lift each clutch straight out.
Do not force a bag between rigid dividers or assume office organizers are designed for delicate finishes. If the holder leans, scratches, or compresses the bags, use a wider open shelf instead. This is a reuse idea for a suitable holder, not a reason to buy one before measuring.
21. Build a shoe station from one floor rack
Create a custom daily-shoe zone around a low freestanding rack. Measure the area under short hanging clothes, choose the pairs you actually wear there, and leave tall footwear in an open bay beside it. A simple category plan can make a basic rack feel fitted to the closet.
The Simple Houseware 3-Tier Metal Panel Shoe Rack is one ready-made component for this project. Use its current dimensions and assembly instructions to check fit. Start with a single floor unit rather than improvising a tower, and leave enough space above each shelf to lift shoes out comfortably. View on Amazon.
22. Create an under-bed drawer from a suitable spare container
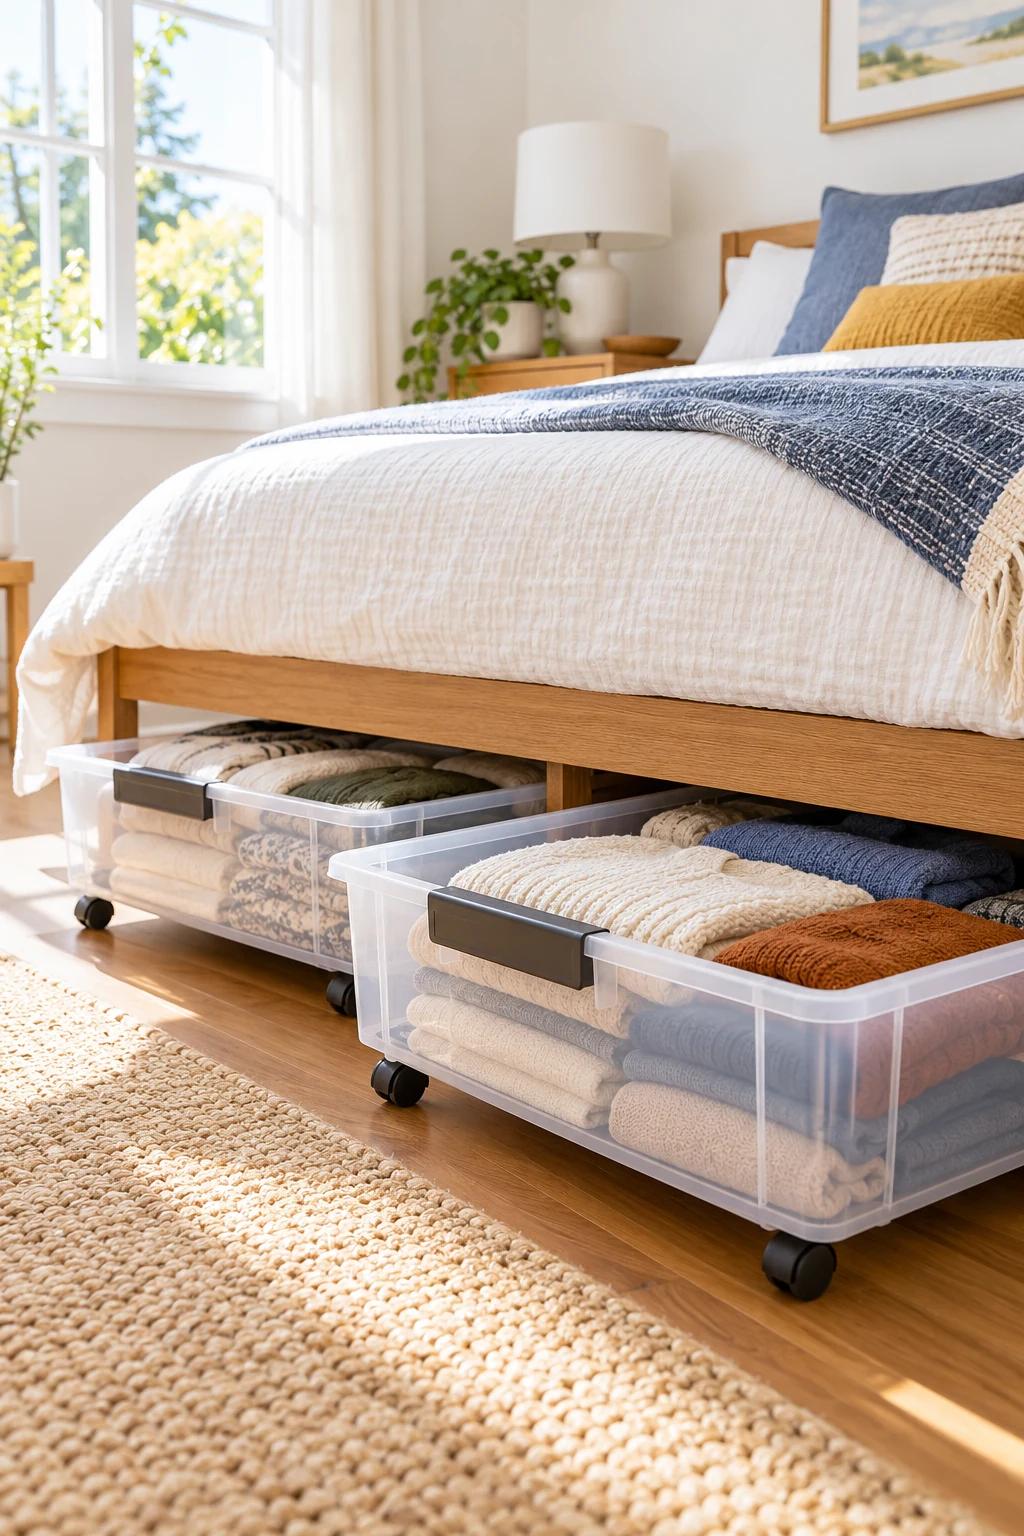
Before buying under-bed storage, test a clean shallow container you already own. Measure the space under the bed and the route it must travel past legs or supports. Choose appropriate off-season soft goods and keep the loaded container manageable to pull out.
Use only a container suited to the contents and the floor surface; do not add improvised wheels or hardware that could catch on bedding. Label the front so you can identify it from the side of the bed. Follow clothing care instructions and leave enough room to close it without forcing the contents.
23. Make removable outfit markers for a busy week
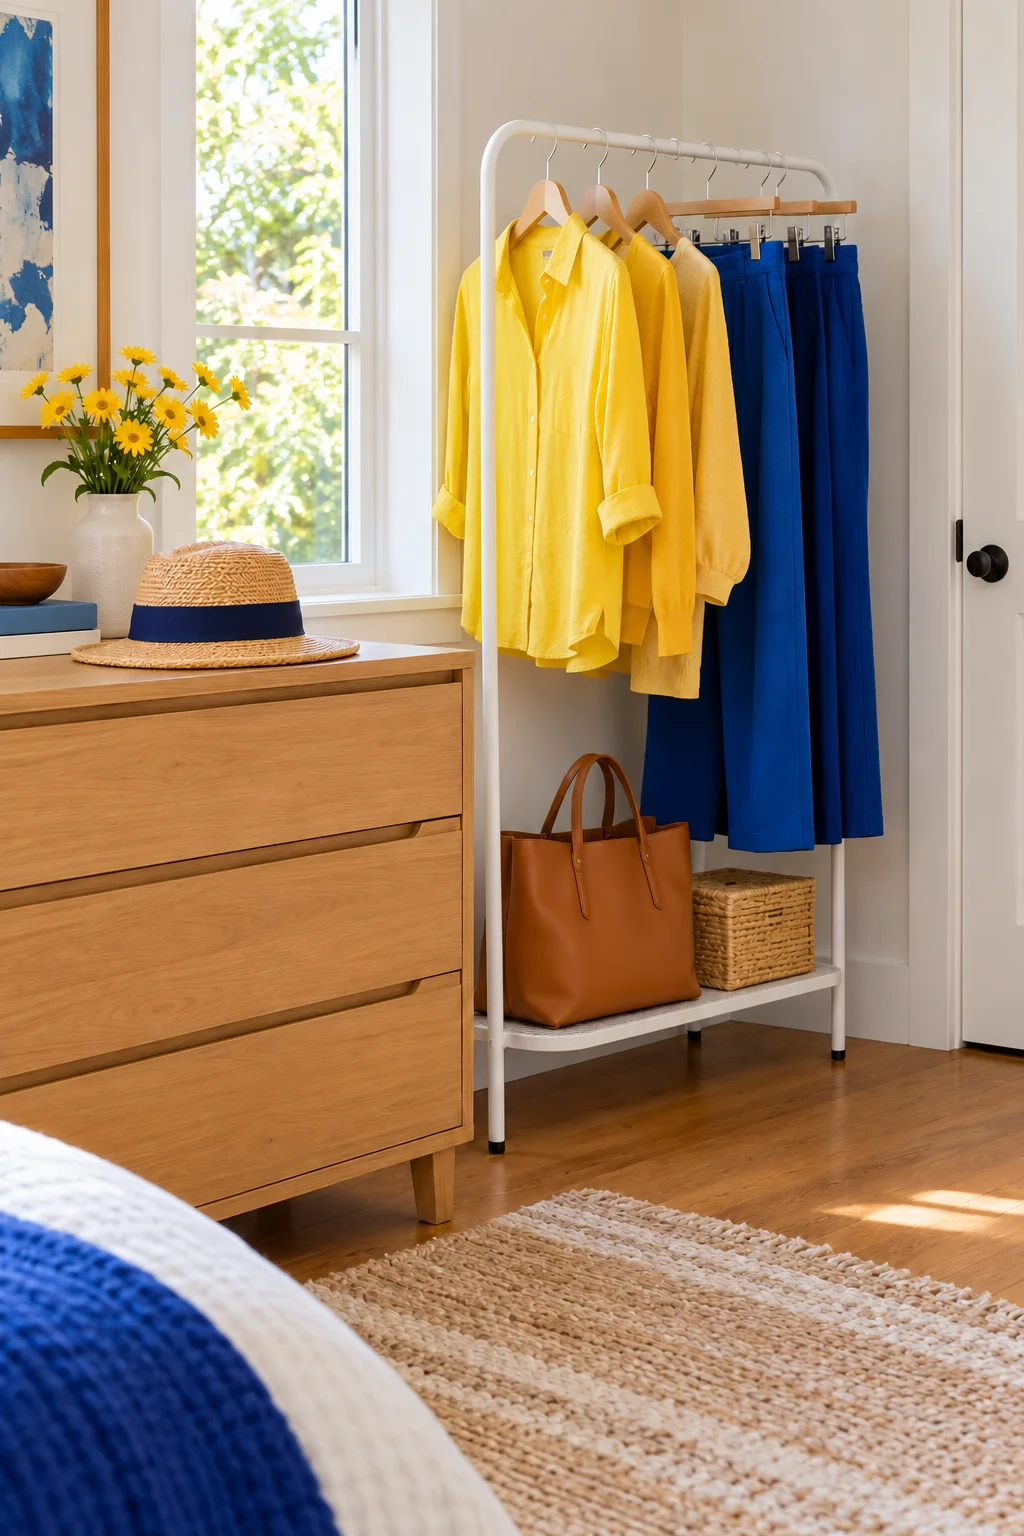
Create a few simple cardstock markers that identify planned outfits on an existing rail. Place a marker beside each small clothing group rather than threading multiple heavy garments onto one hanger. A plain numbered tab can be enough; you do not need to plan every outfit in detail.
Keep the markers smooth and easy to remove, with no exposed fasteners near fabric. Limit the station to the outfits you will actually wear soon, and return unused pieces to their normal categories. The project works best as a short-term planning aid, not a second permanent clothing section.
24. Put together a small repair-and-return basket
Give loose buttons, garments awaiting repair, and items that belong elsewhere a small, clearly defined sorting spot. Use a basket you can carry to the place where the task happens, and keep needles or sharp tools in a closed appropriate case out of reach of children.
Add a short removable note naming the next action rather than a vague label such as miscellaneous. Check the basket when you put laundry away and move finished pieces back into the closet. Keep its size modest so unfinished tasks cannot quietly take over a whole shelf.
Pick the small project that will remove one daily frustration, then use it long enough to see what needs adjusting. A good DIY organizer should be easy to change and easy to put things back into. Subscribe to the Havelyo email list for more practical organization and small-space decorating ideas.